Stage 3 - Airbrush Vallejo Game Ink Black Green (mix with custom made gunk 10:90) PSI 20. Paintbrush - golden parts with Formula P3 Battlefield Brown. Paint Silver parts with Vallejo Air Silver. Paint green parts with P3 Gnarls Green.
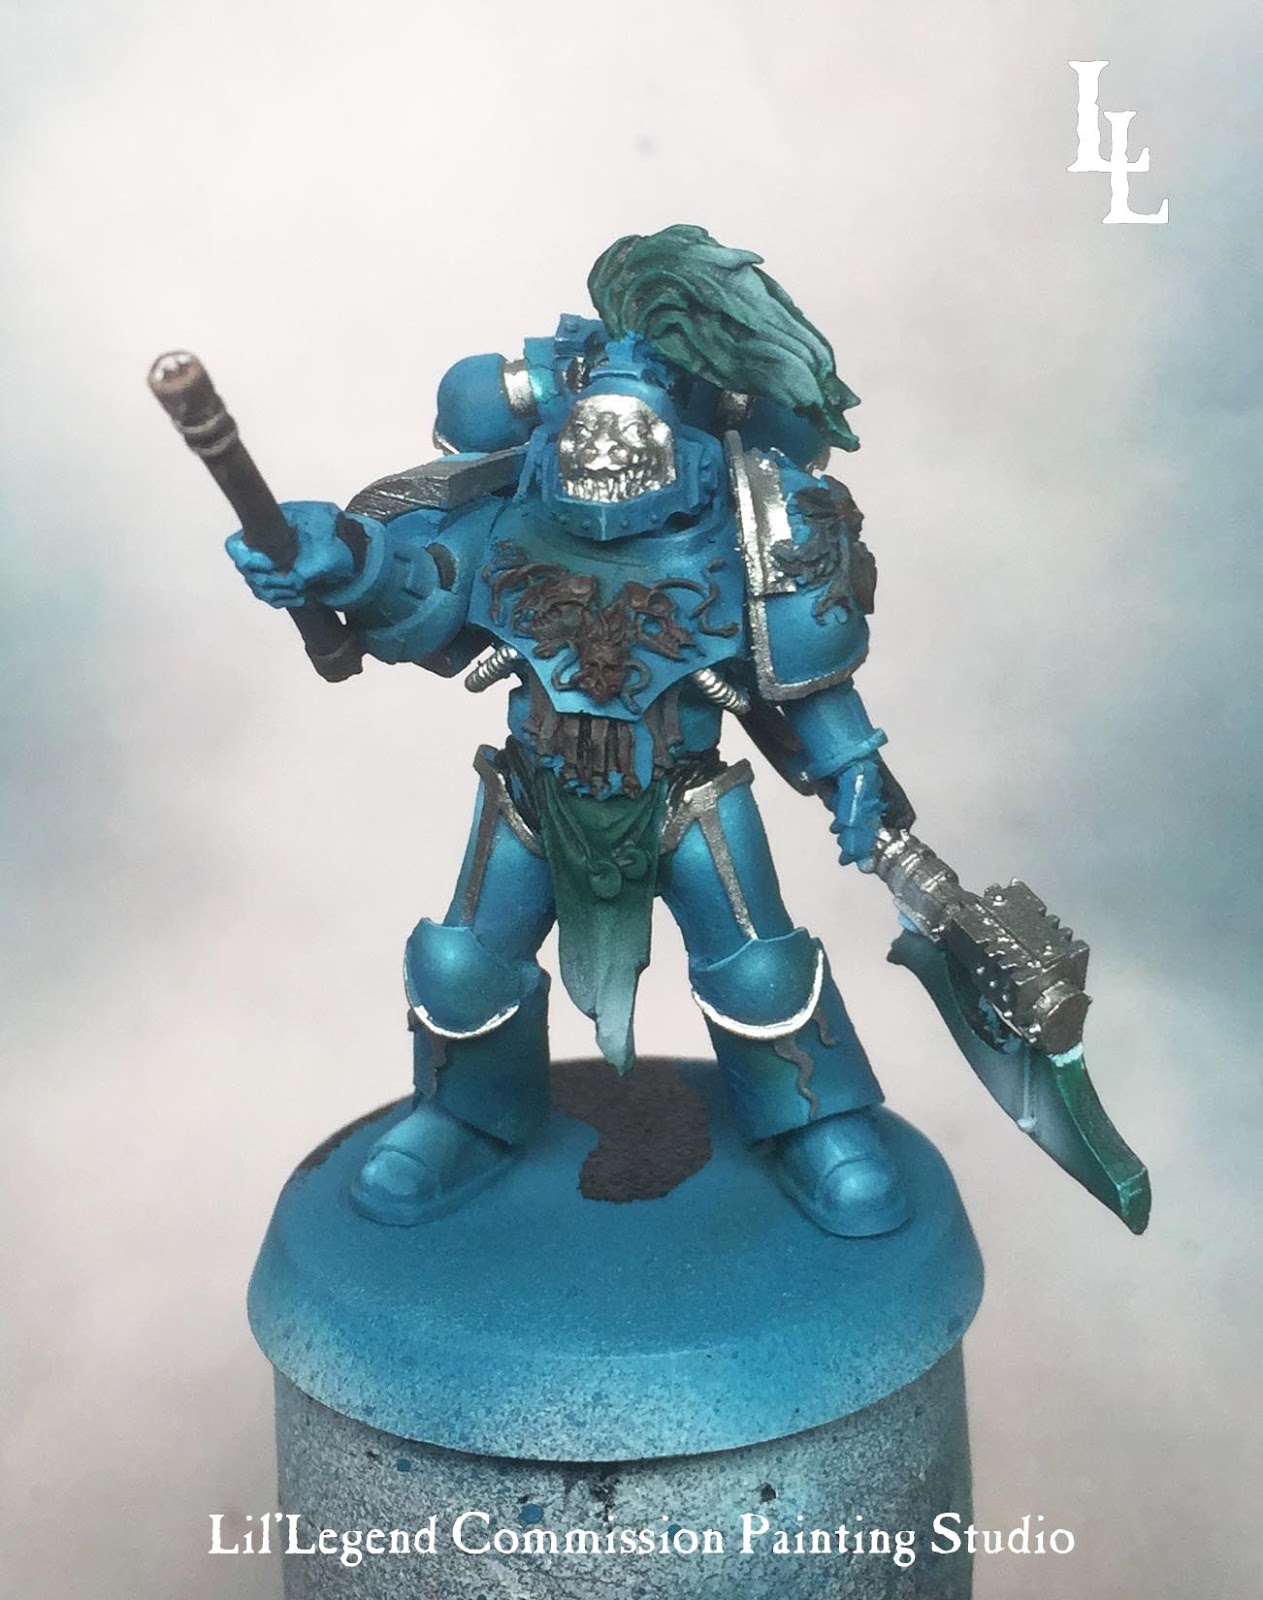
We're deepening the shadows and adding some modulation to the tone of the armour with the green ink.

We are also laying down base layers to work with in later stages. I airbrushed pure white on the power axe to start the highlighting process.
Step 4: Vallejo Air Gold.

Paint the gold parts with Vallejo Air Gold.
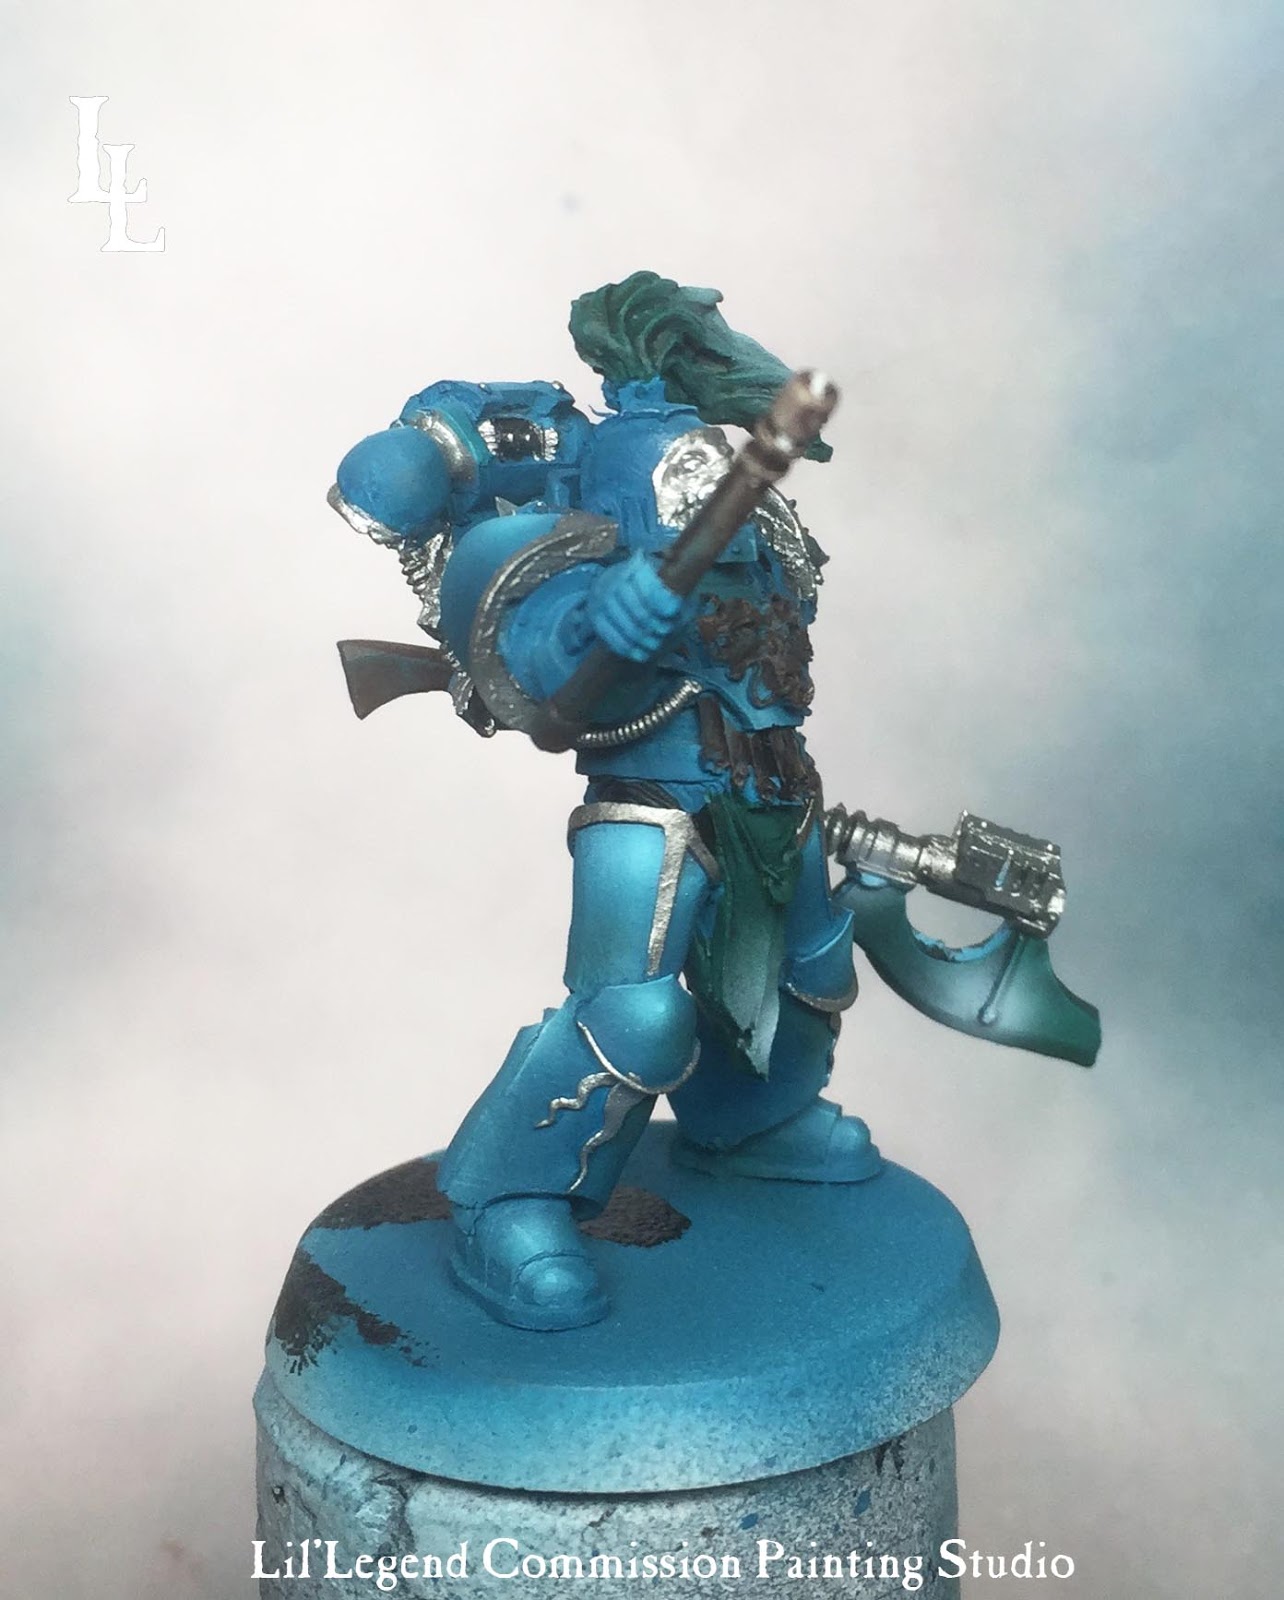
Step 5: Oil Wash. Lamp Black, Umbral Umber.


Mix oil paints with odourless turpentine to create a wash. Run the wash into the recesses of the armour. Use more Umber for the gold and more black in the mixture for the gaps in the panels.
The next stage is completely optional but oil takes a long time to cure and can be manipulated long after you first put it on the miniature. After a couple of hours of drying time try and tease some of the oil from the deepest recesses with a damp brush (dampen with turpentine) to create more convincing shadows.

And there you have it. I hope you enjoyed this tutorial. Let me know in the comment section below what you'd like to see next and please take the time to subscribe to the Facebook page and Instagram as a thanks.
Paints used: Vallejo, Reaper Master Series, Games Workshop Washes, Com Art Medea Airbrush Airbrush: Iwata Hi-Line HP-CH Airbrush Paint Brushes: Rosemary & Co. Raphael 8040, Broken Toad Brushes, Windsor and Newton Series 7