
In Part 1 of this 3 part series I discussed the remodel of an unused den space into my new hobby room. In Part 2 I showed you how I assembled a custom closet library from Ikea Billy bookcases. In this part I'll show you my design and process for constructing a custom wraparound hobby desk from various Ikea furnishings.
Using the SketchUp model I discussed in Part 2 I designed the hobby desk of my dreams. In addition to the library, this hobby room would have to display my models, have a work space for building those models, a separate space for my computer, a printer station, and a desk space for the little lady where she could work from home and work on her scrap booking hobby.
I already had two display cabinets from Ikea so I simply arranged those in the model. I placed the Detolf cabinet in the corner nearest the library, and the long one I've had for some time, not sure of the name but it also came from Ikea was centered over the far wall. With the library and display taken care of I could focus on the desk.
Ikea has many options for those who wish to build their own desk. They have a wide selection of table tops, legs, and under desk cabinets/drawers.
I decided quickly that I would use 3 of the corner desk tops and one rectangular desk top. As far as what I would set those atop I wasn't quite sure.
I noticed that all the legs and cabinet options in the desk building section of the Ikea website were 27 1/2" in height. Since Ikea provides great measurements of all their products I decided to search the website for all furniture with a measurement of 27 1/2". The results I received gave me a much larger variety of options for creating my desks. Searching for items with a measurement of 13 3/4" gave me even more to chose from.
I downloaded and/or built a variety of different Ikea furnishings to test in my SketchUp model. After a few variations, and some input from the little lady, I decided on the below arrangement.

 |
| Although not pictured, I would later have to add two additional table legs, one for the back of each corner desk. |
The above desk build includes the following items from Ikea:
- 4x Adils table leg
- 3x Linnmon Corner table top
- 1x Linnmon Table top
- 1x Gerton Table top
- 2x Alex Drawer unit/drop file storage
- 1x Eket Cabinet with door 13 3/4" x 13 3/4" x 13 3/4"
- 3x Eket Cabinet 13 3/4" x 9 7/8" x 13 3/4"
- 2x Eket Cabinet 13 3/4" x 13 3/4" x 13 3/4"
- 2x Eket Cabinet with 4 compartments
- Total Price: $563.97
One major modification was with the Gerton tabletop. I cut this quite expensive table top down to make the two shelves of my printer station. I cut a couple of 1" wide strips from the Gerton tabletop. these were mounted to the side of the Alex drawer unit and topped with a couple of the rubber feet. The shelves were mounted to the Adils table legs with 1 1/4" galvanized pipe straps. These straps were secured to the shelf and the Table legs. In the end I'm quite happy with the look of my printer station but in retrospect I probably could have found a more cost effective solution.

The next major modification was the organization and monitor stand for my computer table. The top of this was made out of laminated shelves from Home Depot with scraps from my library project forming the vertical supports. Each vertical support was also drilled to accept shelf inserts in the future for added organization.


My hobby space is still a work in progress. As I use it I continue to see ways in which it can be improved. Storage is lacking for sure. I'm currently designing a storage system which will elevate the Vallejo paint racks and provide ample storage place in arm's reach. I'm also debating integrating a spray booth into the corner of the desk space. I currently airbrush in the garage but the hot Arizona summers can make long painting sessions in a garage unbearable.
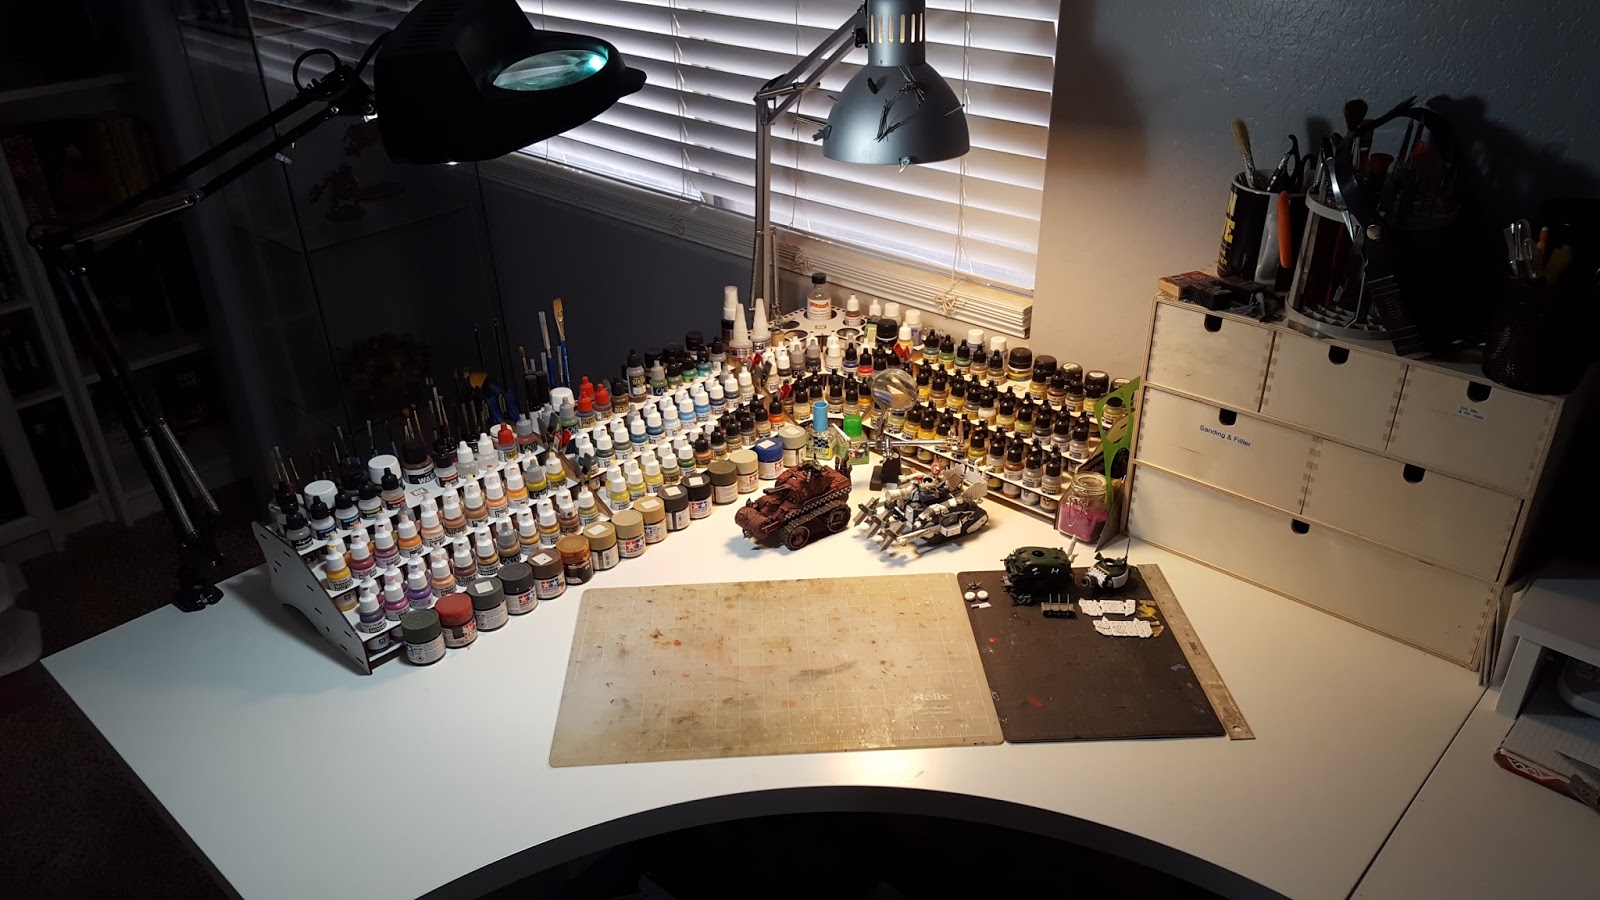 |
| The corner desktop provides ample space for all of my paints as well as my current projects. |
 |
| The back edge helps to support multiple desk lamps. |
 |
| My side of the office |
 |
| My better half's side of the office. |
 |
| Lots of under desk storage for all out board games. |
 |
| Completed armies and works in progress are displayed in easy reach. |