
After building the Centaur Unit... sans the command section which I've forgotten to get... or didn't make the Kickstarter stretch goal... I thought I'd do an assembly post with actual pictures of the process.

This model was produced during a brief period where Raging Heroes (RH) was doing "Pizza Slice Frames"
These frames really protect the model prior to construction but has a much stronger sprue join to break and consumed a tremendous amount of resin.
I ran these through an ultrasonic cleaner twice with a weak Simple Green solution, rinsed them in warm water... scrubbing them with an old toothbrush and then pat drying them with paper towels to prevent any residue from drying in the crevices.
Start by locating all the frames with "Point of Contact" parts. Unlike the Centaur troopers the parts do not have an alphabet matching system. Each frame contains a matched torso sub assembly: torso, head, arms and you must figure out where they should be placed on the main body so dry fitting is extra important here.
 Remove the torso from the sprue and clean it.
 These parts will be hard to reach once installed so its best to do as much cleaning before assembly as possible.
Here you see the rib cage and abs which mark this as the front of the torso.
 Working from the same sprue the torso came from remove the head.
Clean the head and glue it to the torso facing the front of the torso. Each head is matched to its torso and when properly aligned will sit flush at the required angle. This might look a bit strange at first but once you get into the flow of the model the importance of these angles will become clear.

Remove the arms that have the large point of contact pin from the same sprue that you have been working from.
Clean these and glue them into place taking care to have the join be as perfect and seamless as possible. This will result in the arms being in the correct alignment for attaching the model to a base.
Here its worth foot-stomping that you should always assemble these sub assemblies before attaching them to the main body and always assemble them in the order of:
Head to Torso
Arms to Torso
Adding the head after the arms is difficult... and adding the head after the arms while the torso is already attached to the main body is an actual nightmare... the unfortunate voice of experience! Make of it what you will.

Here you can see that I've got a slight mismatch in regards to the alignment of the perpendicular surfaces. Thats OK its close enough. I'll just sort the difference with greenstuff.

Now I apply a generous dot of paint to each of the contact points and orient the model to the base. Once in position press down gently and the base is marked for drilling.

The base shown here is not the base included with the model. RH supplies a nice plain plastic base. This base is from Table-top Art from the same 8 pack I used to base the rest of the unit.
These are very nice bases and will be great for unifying the theme.
There is a bit of a gap between the main body and one of the legs due to my minor misalignment of the torsos. I'll fill this when I do the greenstuff around the points of contact.

As always... construct each sub assembly from a single sprue.
These are not nearly as demanding in terms of required precision as they will be hanging free.
Just line the arms up the way you prefer.

Once dry do any filing or sanding of the putty before moving on.

Assemble the claw. Attach the claw, the breastplate spikes, and the gun arm.
Because this model is also a game piece I wanted to reduce places where it could fracture due to handling. One of these measures was to rest the gun on the top of one of the torso join pads making the gun firmly glued at both the shoulder and the gun itself.


 This huge hair would be a major stress point if it were free standing but there is a small notch... not noticeable if you choose not to use it... that fits very nicely against the top of one of the rear torso joints giving a solid, well supported main of hair that still appears to be flying free.
The final piece is the tail. This is a great looping thing that runs between the torso/legs and I've left it off to paint separately. I'll add it as the last thing I do before sealing the model just to make everything a little easier to reach and paint.

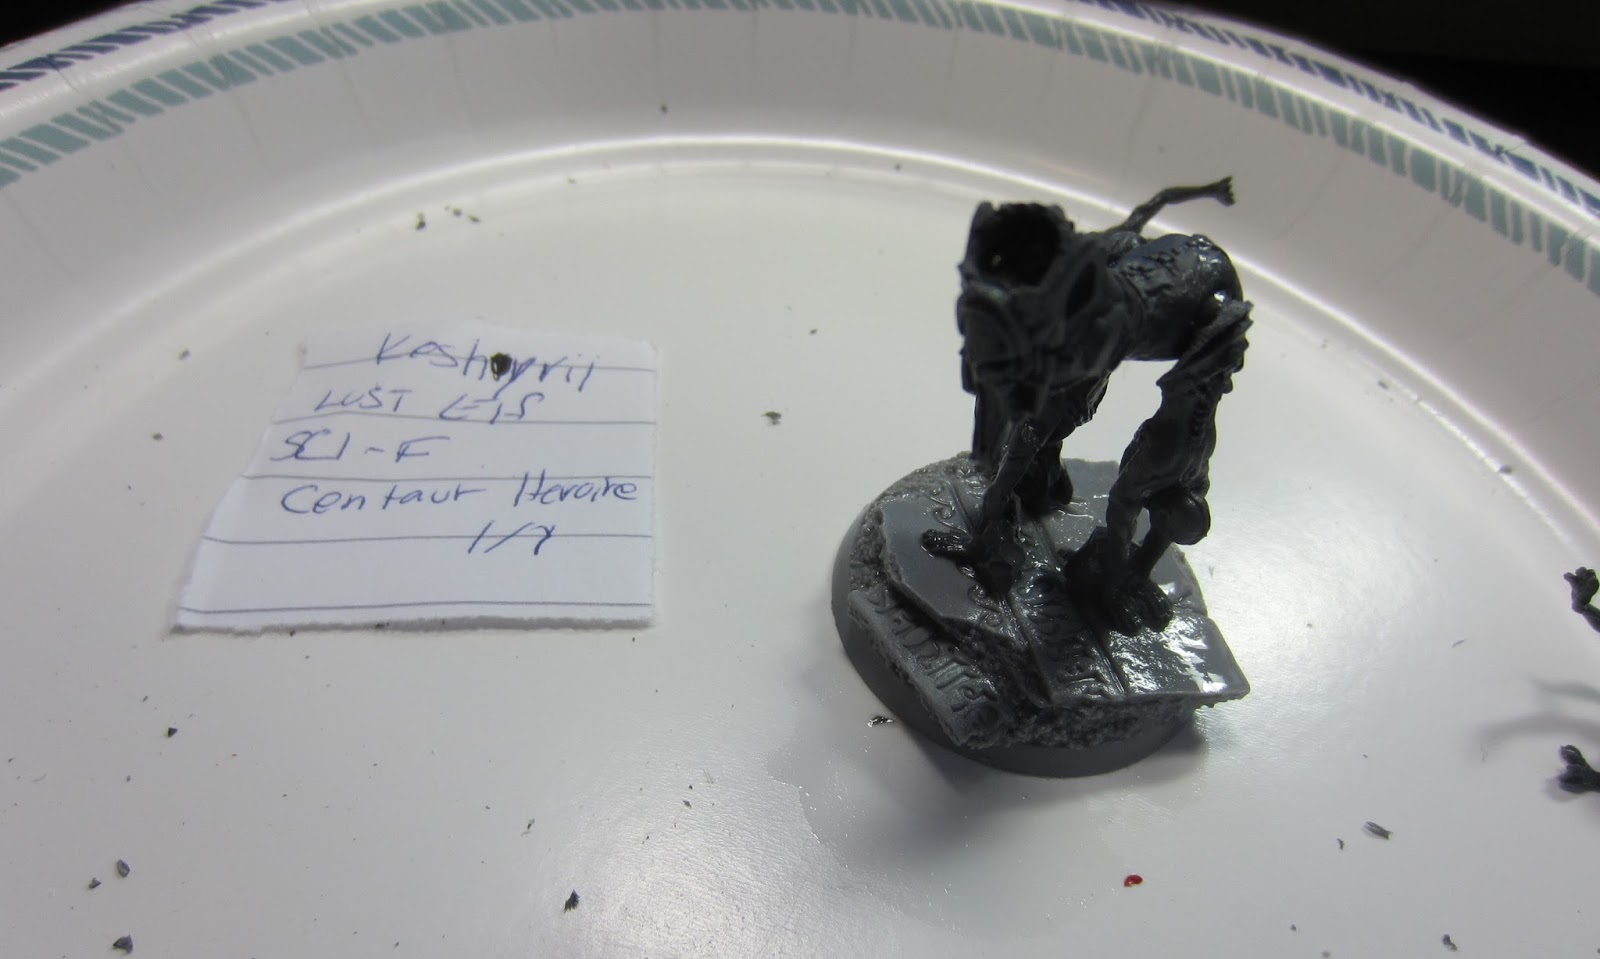
Keshyrii ordering an assault from the midst of her troop of primed and ready to be painted centaurs!