I played against Joey, who also managed to get his army up to 75 points, and was eager to play his first ever game at the points value.
I decided to try out Maelok, who I enjoyed in Mk2, and was eager to see how he'd play in Mk3. After weeks of working hard at assembly, I brought the following:
Minion Army - 75 / 75 points
[Theme] The Blindwater Congregation
(Maelok 1) Maelok the Dreadbound [+28]
- Blackhide Wrastler [16]
- Bull Snapper [0(5)]
- Ironback Spitter [14]
- Gatorman Soul Slave [0(5)]
Gatorman Witch Doctor [4]
Gatorman Witch Doctor [4]
Thrullg [5]
Totem Hunter [0(6)]
Gatorman Bokor & Bog Trog Swamp Shamblers [10]
Gatorman Posse (max) [16]
Gatorman Posse (max) [16]
Gatorman Posse (max) [16]
Swamp Gobbers Bellows Crew [2]
My beast complement is basically unchanged from any other game, as these are the only beasts I have assembled. I realize I really need to get hold of a Blind Walker- Maelok and Calaban can really make good use of it, I think, but I didn't have time to grab one. I ordered one unit of Gatormen Posse from my local Game Store (Games and Stuff), but it didn't arrive in time (despite assurances to the contrary), so I'm also proxying a unit of them this game with Cryx miniatures.
Otherwise, my thought with this list is that 120 health of Gatormen Posse would be really tough to deal with, especially with the great armor from Unyielding and Death Pact. The Witch Doctors would be there to sacrifice Shamblers if I could find good targets, and speed up Posse units where needed. I figured that I could win by assassination (Mortality + Posse to the caster, or something), or grind down an opponent (and I could Revive Posse, if needed). So yeah, I'm pretty happy with this list.
Joey currently only runs Rhulic Mercenaries, but has been building and painting diligently, and was able to drop a 75 point army for the first time. He brought the following:
https://conflictchamber.com/#c6201b_-0mb_9494949393it98iriripipiEhX
Mercenary Army - 75 / 75 points
[Theme] Hammer Strike
(Ossrum 1) General Ossrum [+28]
- Ghordson Driller [10]
- Ghordson Driller [10]
- Ghordson Driller [10]
- Grundback Gunner [6]
- Grundback Gunner [6]
Hammerfall High Shield Gun Corps (max) [16]
- Hammerfall High Shield Officer & Standard [0(5)]
Horgenhold Artillery Corps [0(6)]
Horgenhold Artillery Corps [0(6)]
Horgenhold Forge Guard (min) [10]
Horgenhold Forge Guard (min) [10]
Tactical Arcanist Corps [7]
Hammerfall Siege Crawler [18]
More of the same, really... aside from the Siege Crawler. I didn't really didn't give it too much though- I figured that once I had to deal with it, I'd find some way to do so, with the Blackhide, the Posse, and Mortality in some combination. Regardless, this is a tough list to eat through- his army has a lot of staying power, and with Ossrum's feat, can get where it needs to be.
We rolled for scenario, and rolled The Pit II (the Championship Belt), and Joey won the roll to go first, and elected to go second, choosing the side that would ensure he had good shooting lanes.
Deployment:
 |
| Gator deployment |
 |
| Dwarf Deployment |
Turn 1
My turn basically involved running almost everything in my army but Maelok up, and casting Death Pact and Soul Harvester onto the unit of Gatorman Posse on my left. I figured with two units of infantry staring at them- the Gun Corps and Forge Guard- they'd have ample opportunity to generate some souls for Maelok over the course of the game.
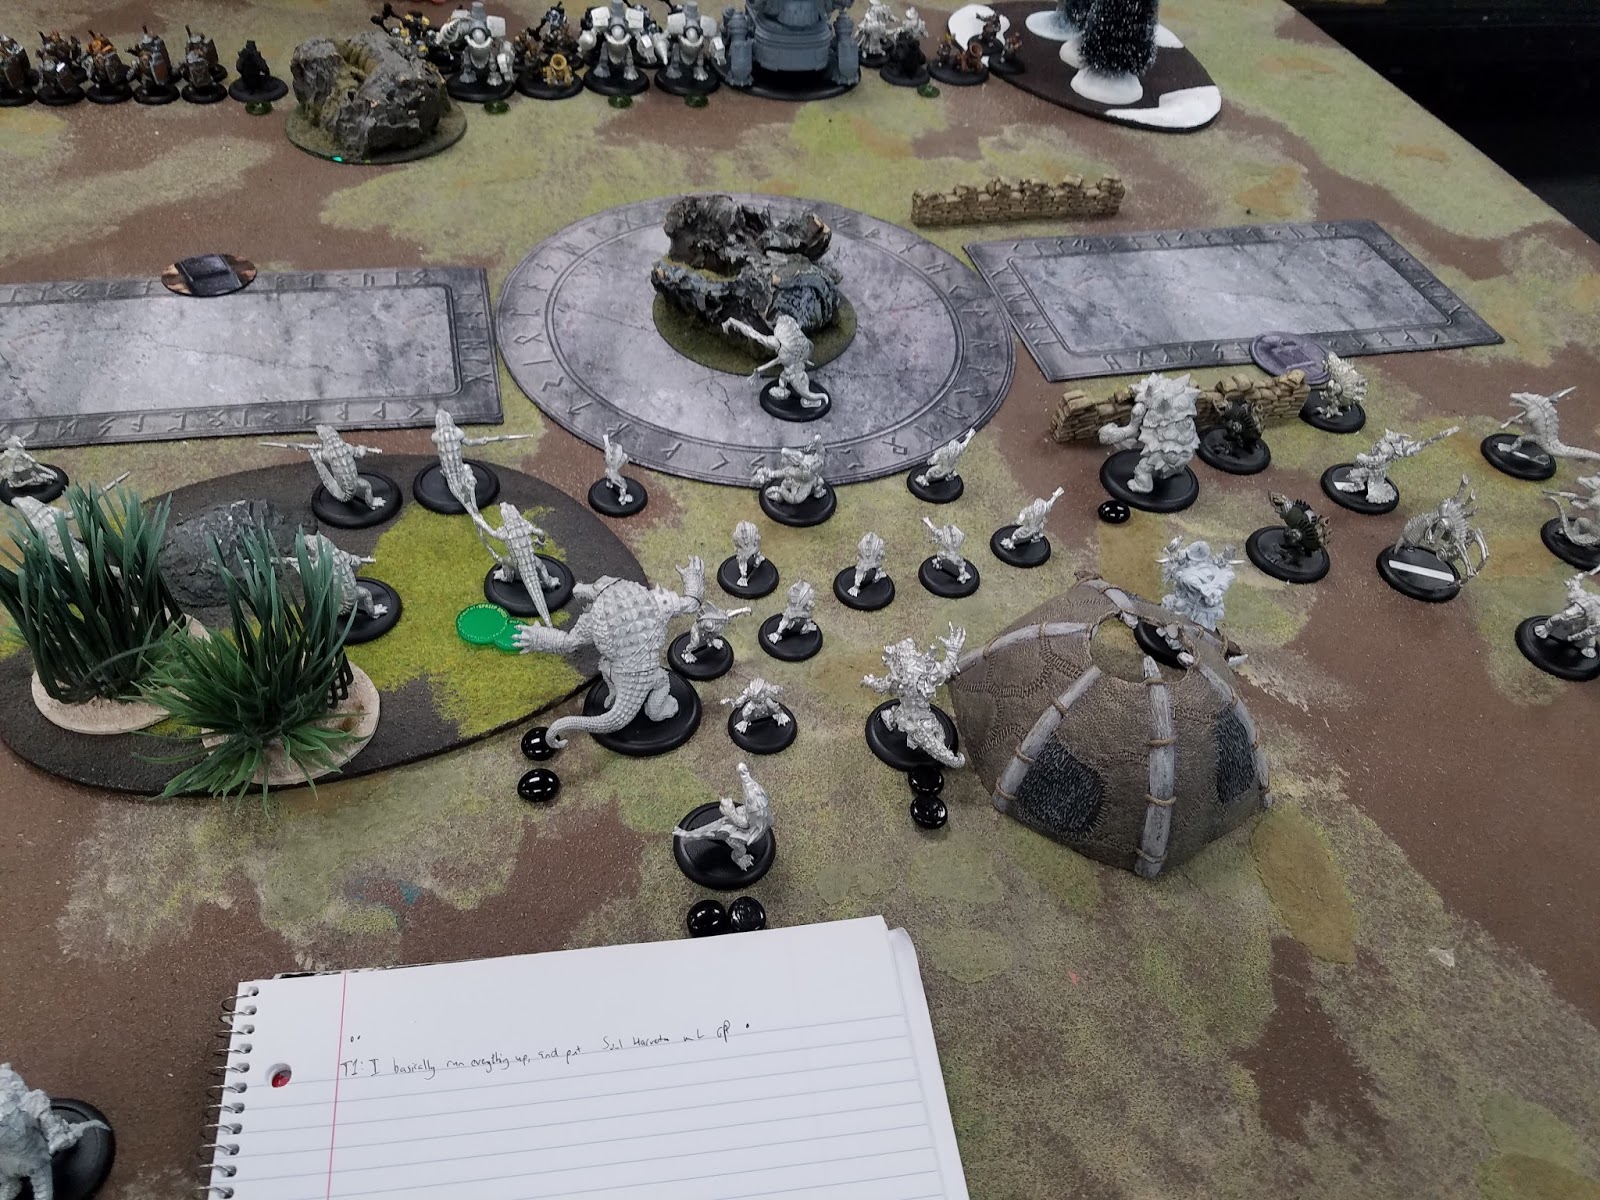 |
| Mid Turn 1 |
The Snipe'd Artillery takes a shot at the Ironback Spitter, somehow misses, and scatters to no effect. The other Artillery moves up, and decides to go after the objective, and finishes it off, giving him the first (and our only!) scenario point.
On my left, the Gunner moves up and kills my Totem Hunter, and the Gun Corps move up and Shield Wall, so they can threaten that left zone on the next turn.
The rest of his army runs forward.
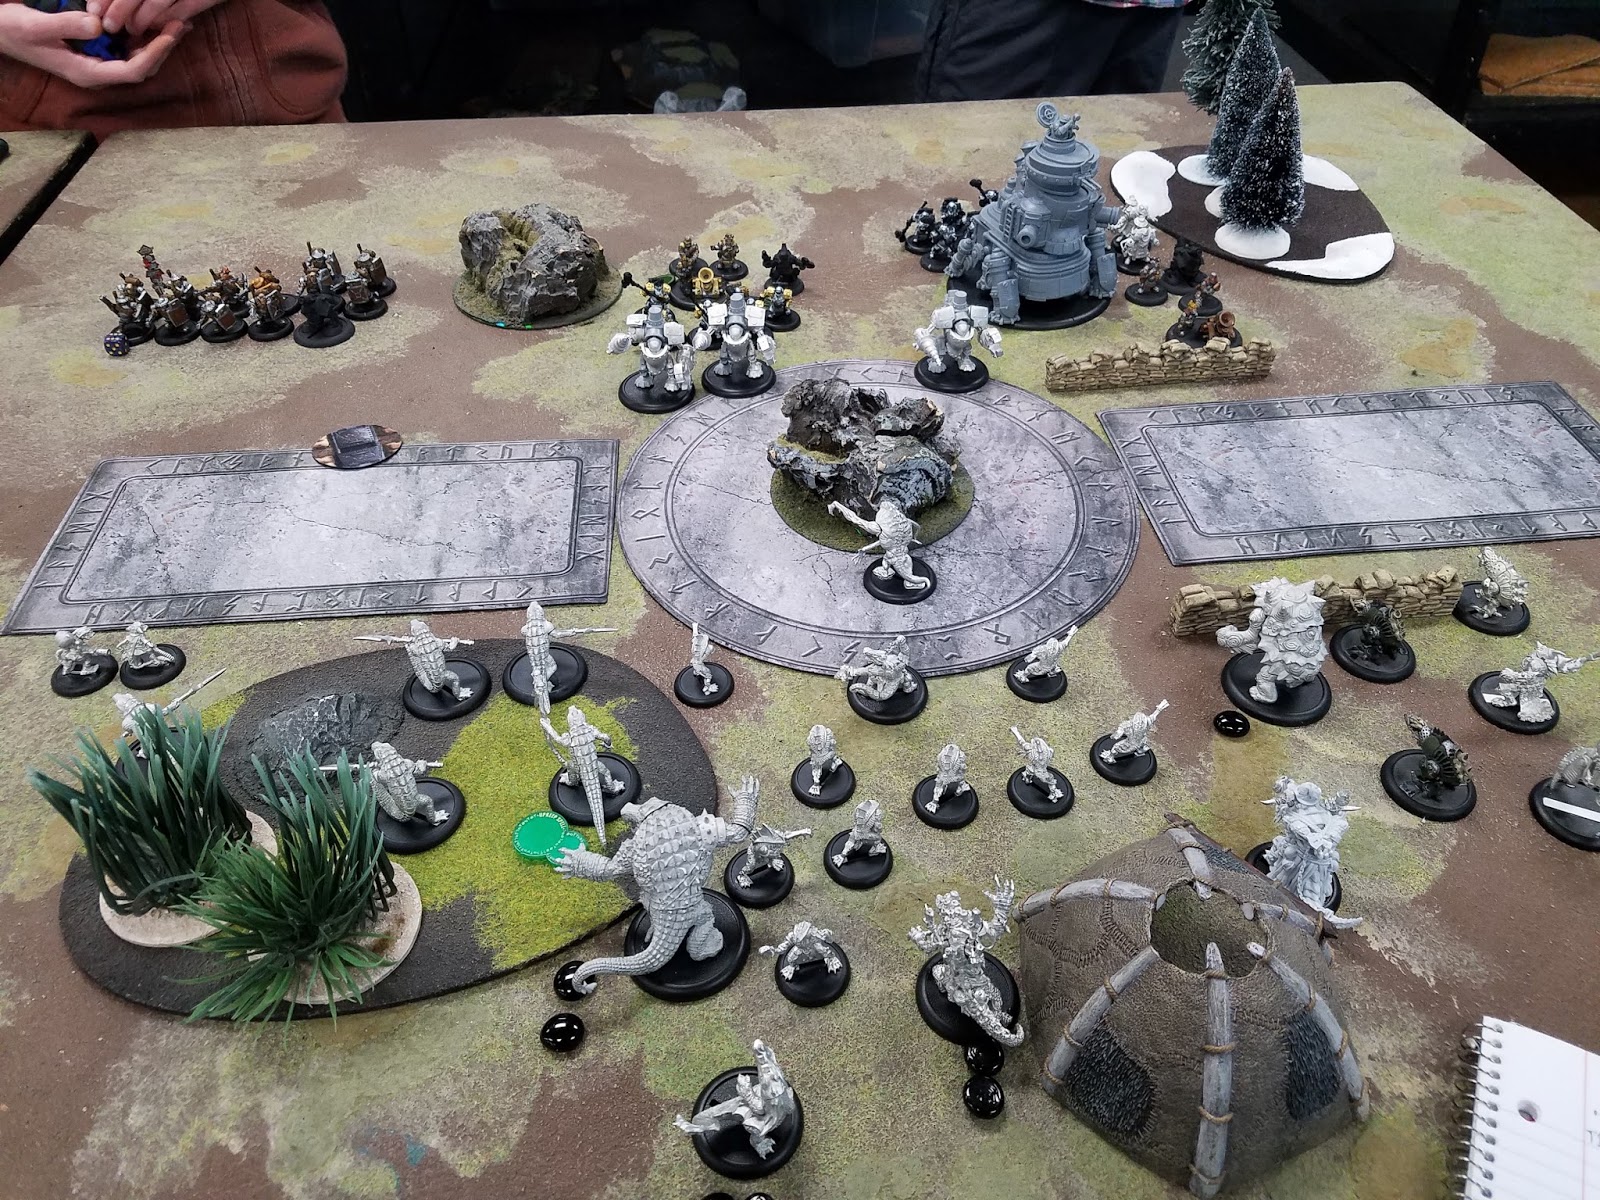 |
| End Turn 1 |
I have the Soul Slave start the turn casting Soul Harvester onto the rightmost unit of Gatormen Posse, who are able to charge and get a few attacks on his rightmost artillery. I'm able to get attacks on two members of the unit, which manages to effectively remove the artillery (the piece isn't close enough to the last model in the unit for Take Up to trigger). This gives two souls to Maelok.
I have the Spitter move up to get into the zone, and shoot at the Battle Engine, dealing three damage. Honestly, I don't know why I bothered shooting at that instead of infantry. Got distracted by the size, I guess?
I have the Swamp Gobbers move up and drop a cloud to give my left-hand unit of gators something to hide behind, move everything else up, and have Maelok cast Death Pact and Soul Harvester back onto that left unit of Posse.
 |
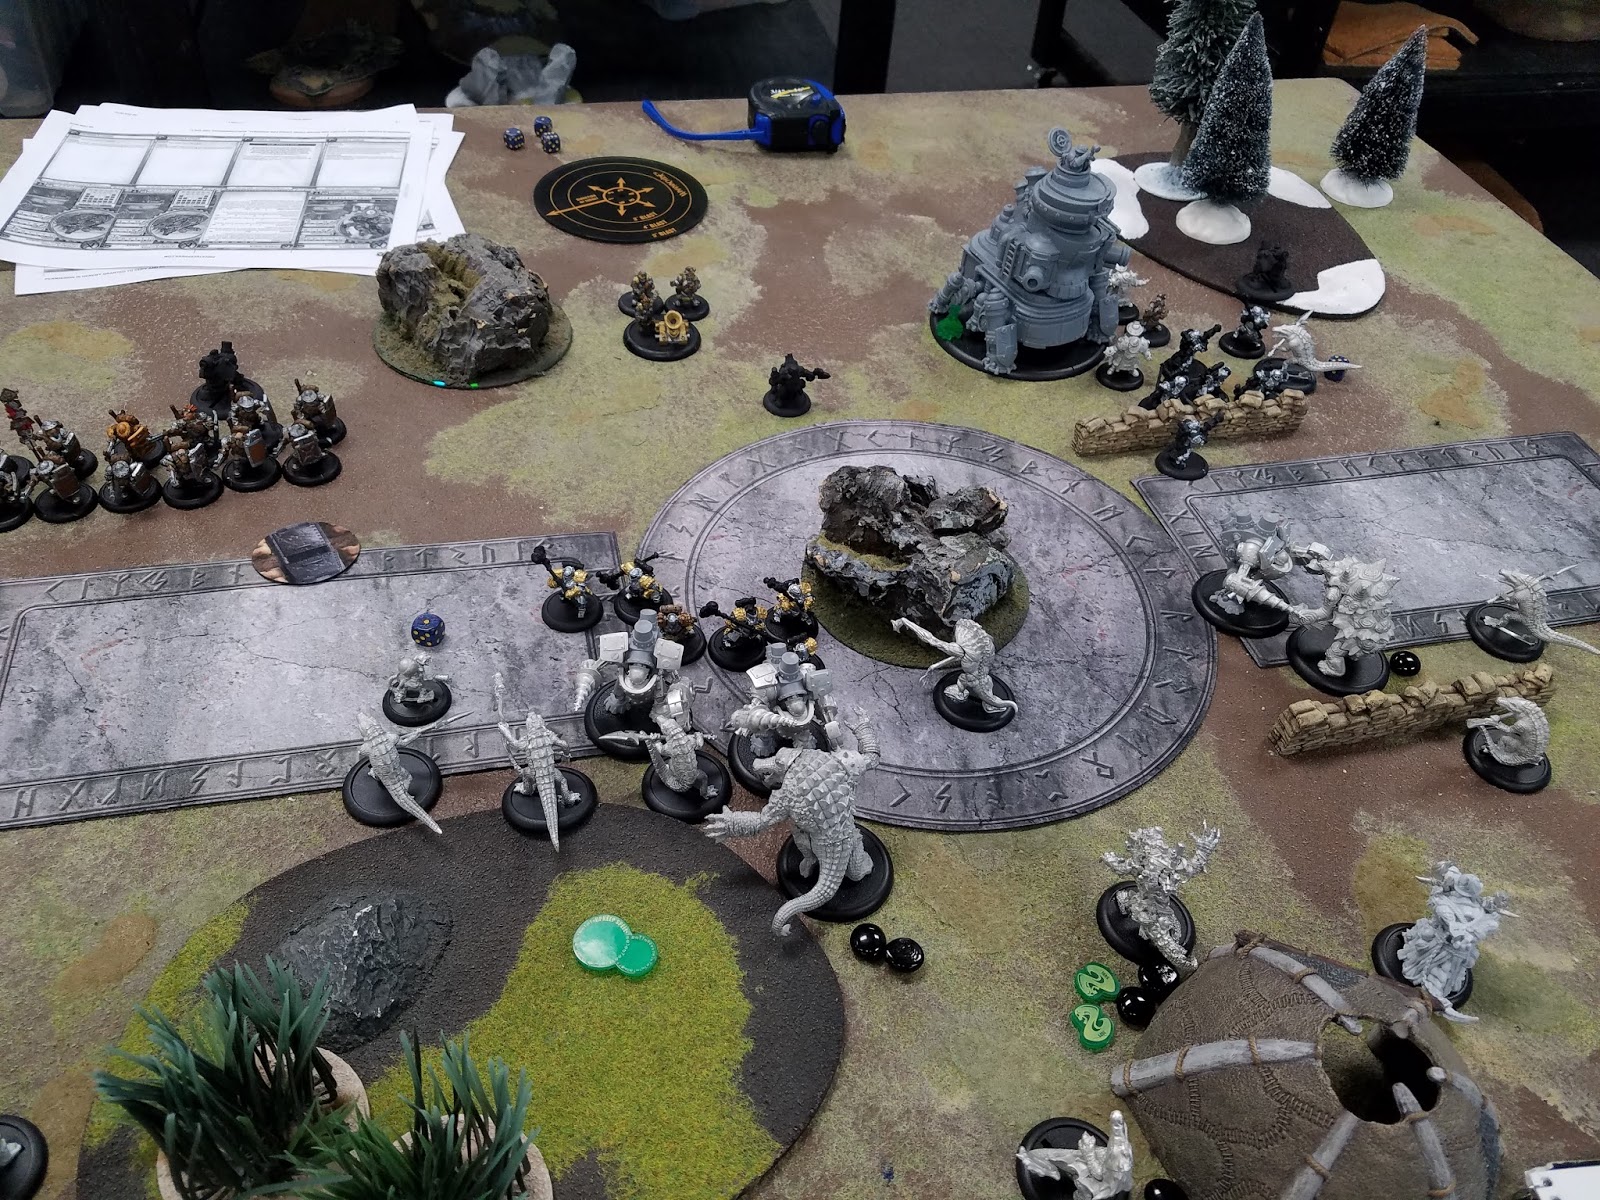
| Middle of Turn 2- blood beginning to flow |
Joey allocates two focus apiece to his left-most and right-most Drillers, and upkeeps Fire for Effect.
He decides to activate the Siege Crawler first, with a lot of targets around. He gets 3 shots on the Quadcannon, and shoots, killing a Gatorman and one of the Shamblers.
The Gunner on my left activates, aims and shoots at the Gatorman in the cloud, and drops five damage onto it. His remaining artillery piece shoots at the Bokor, which ends up removing quite a few Shamblers.
Ossrum follows up by feating, advancing, and killing the last Shambler.
With the feat up, his models get a lot faster, and he rushes things into combat.
The Driller on my right charges the Ironback Spitter, leaving him at 4 health. Driller on my left charges the Blackhide Wrastler, and leaves him at 2.
The Gun Corps move up, shoot at a bunch of Gatormen, killing one, and causing another one to knockdown from Tough. The Forge Guard on the left charge, killing a Gatorman, and killing the Bokor.
The Forge Guard on my right charge the Posse on my right, and kill two of them, and is joined by the Gunner, who shoots and kills a third. With that, he ends the turn.
 |
| End Turn 2 |
Well, that went a little worse than I expected- I was hoping for fewer dead Posse members, and at least some of the Shamblers to be around. Plus, both my heavies are pretty badly damaged, which is bad news.
I decide that there's enough of a chance for me to try to kill Ossrum that I go for it (more on this later). I activate Maelok, who moves up, pops his feat, cast Mortality on Ossrum, and heal my beasts so they have all of their aspects.
Going in for the kill, I have the Spitter move out of combat (Incorporeal), and shoot at Ossrum, dealing five damage.
I look around, and realize that I really can't get much else there- it's either too far, or can't draw a line of sight. Still, throwing some damage on him could be helpful anyway, so I have my left Gatorman Posse unit activate- one is able to see Ossrum and is in range to charge, and does so. I get decent rolls, and Ossrum ends at 2 health (two pips away from a glorious win!). The other Gators in that unit kill maybe three Forge Guard.
I don't have anything else really available to go after him though, and get to work on dealing with the rest of his army. I use the Thrullg to disrupt one of the left Drillers, and have the Blackhide Wrastler destroy the other one (barely, due to Ossrum's feat). My right Gatorman Posse kill a few Forge Guard as well.
Overall, I did a bunch of damage to Ossrum, a bunch of damage to his Forge Guard, but I'm down to only a single Fury on Maelok (although I have a few souls). If I survive the turn, I feel like I'm in pretty good shape.
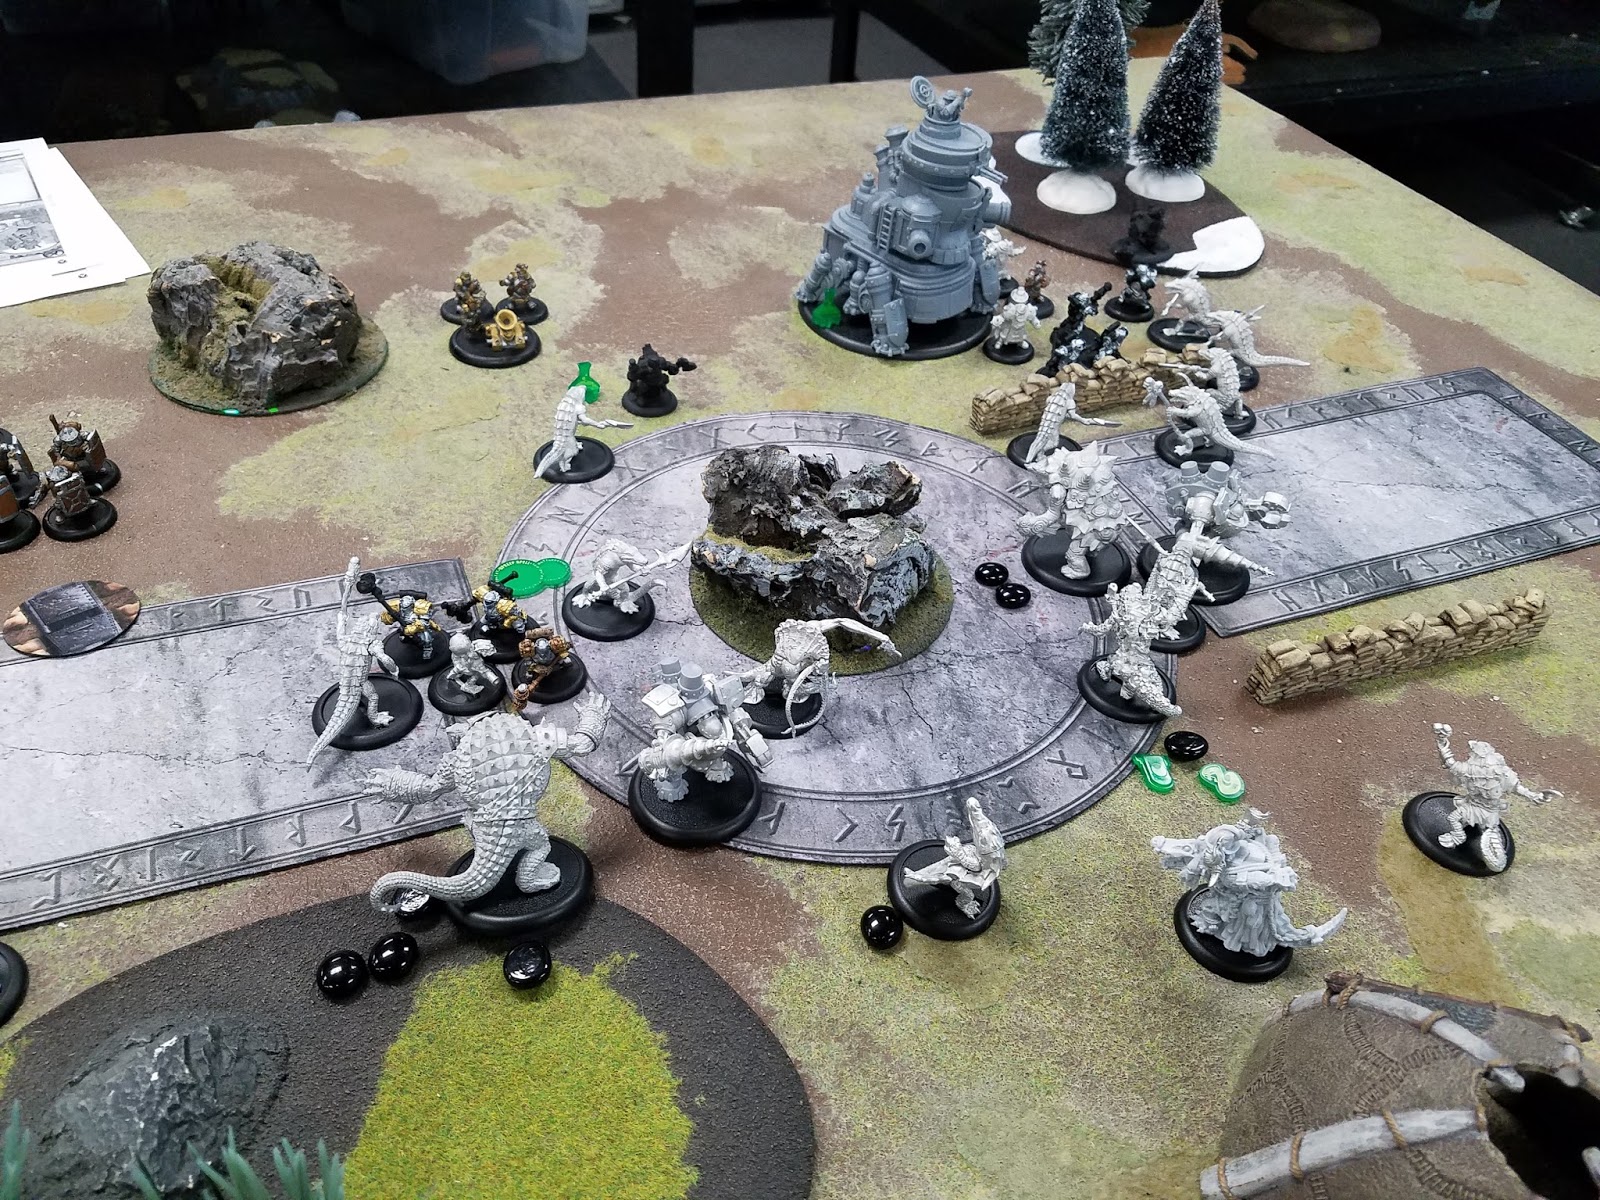 |
| Mid Turn 3 |
The Driller turns around and kills the Ironback Spitter and one of the Posse members. The Disrupted Driller swings at the Blackhide Wrastler, but doesn't do any damage. The Gun Corp move up and kill the Witch Doctor on my left. The Forge Guard on my right activate, and kill a single Gatorman.
The Gunner on my left aims, and shoots at the Gatorman engaging Ossrum, hoping to clear him off. He shoots and hits, and I pass my Tough check, but Ossrum then finishes him off with a melee attack.
The Battle Engine aims and shoots at Maelok, causing me to transfer quite a bit of damage to the Bull Snapper, and taking a bit, but it leaves Maelok alive, and Joey passes the turn. Ossrum was camping two focus, I believe.
Turn 4:
I decide to keep going for the kill! With the souls generated last turn, I have 9 Fury. I decide my best best is to start with a boosted Mortality, and then Venom twice (boosting damage on one). I have another Gatorman Posse that can get to him as well, and that should be enough to do the job.
I start the turn, move Maelok up, boost on the Mortality, needing a seven... and roll a five (on three dice). Crap. I debate what to do, and decide to attempt the Venoms, hitting with one, and boosting it to do five damage (which Ossrum negates with Focus).
I activate the Posse, bringing the one member into contact with Ossrum... and miss both attacks.
I spend the rest of the turn killing models, but Maelok has no Fury, and I'm not on position to protect him.
On Joey's turn, the Corrosion expires, the Battle Engine activates, and finishes Maelok off.
Minions lose!
Thoughts:
Overall, that was a fun game, and felt like it was a lot more dynamic and movement filled that our previous games. Scenario didn't really come up a whole lot, but we certainly were playing with it in mind.
I honestly feel like I was in great position to win- had that Mortality on the last turn hit, I certainly would've won the game, and if my Gatorman had rolled a tiny bit better on some of their attacks, that probably could've done the trick too.
Looking back, I have to wonder if I wouldn't have been better off ignoring the assassination attempt, and instead going for attrition. With the Forge Guard already committed, and with Mortality giving me a really good way to deal with them, I really think I could've waited the turn out, killing Drillers, healing my beasts, and maybe reviving a Posse member each of those last two turns, and eventually Joey would've run out of troops to win the game. Next time I'm in that position, I'll really consider that better.
I really liked Maelok- I love the threat his feat gives, and I love Death Pact's ability to really up the armor on my troops. Normally, that would give them a great chance to survive charges, I think, and then Mortality + the awesomeness of Posse would wear most armies down.
Definitely looking forward to trying him again, but first, I'm going to try Barnabas1. Hopefully before the end of the month!