For the past couple of years I’ve really enjoyed testing myself and pushing myself to try new things. More often than you’d think they actually come out ok. And if you’re learning while experimenting then your next project will continuously be better and better. And that’s what I want from my hobby.
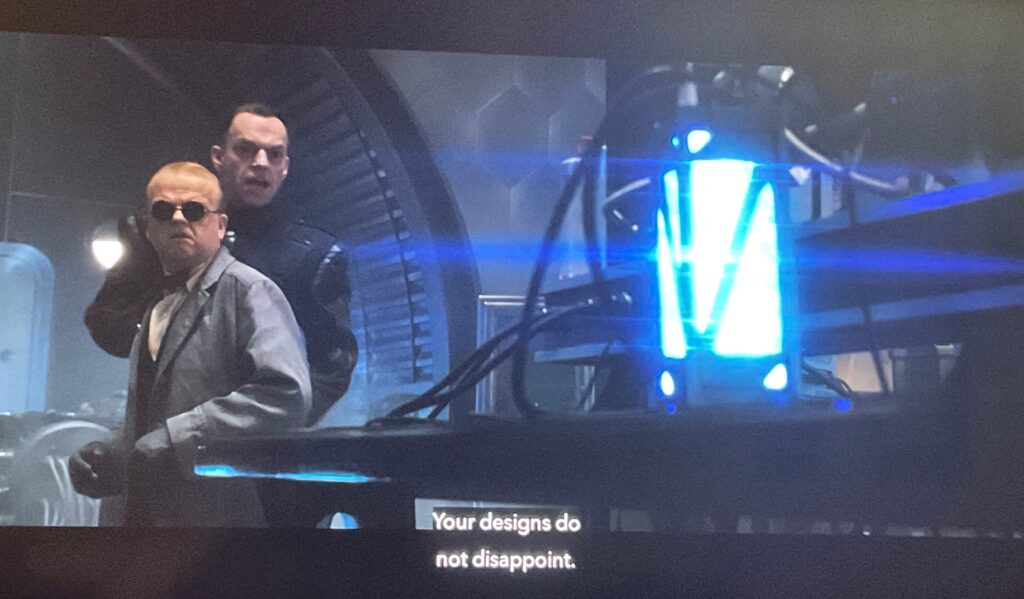
I won best painted at an event earlier this year and used the small prize to buy Nick Fury Sr. and the Howling Commandos. To find their unique special thing I had to rewatch Captain America: The First Avenger. How horrible. 
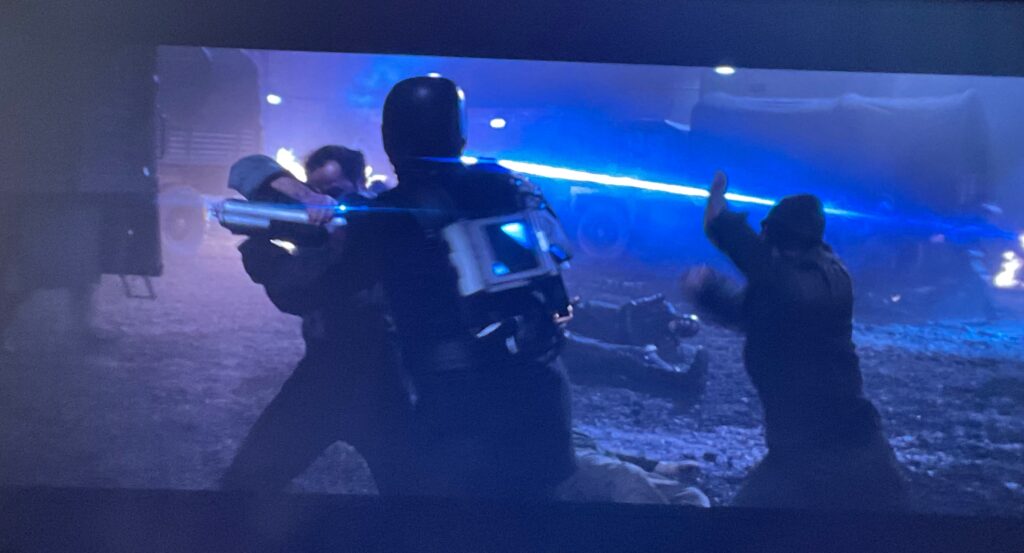
While watching the movie I noticed the Hydra goons had these glowy backbacks, and this matches the rules of the mini with their “Prototype Weapons” attack so I wanted to see if I could try to replicate some sort of glowing power source with the Howling Commandos.
Building the Mini
Alright. So now that I know I want some sort of energy backpack I can start assembling and painting the mini. I want to get this mini table-top ready as soon as possible and I’ll add the energy backpack when I get to it.
Painting the Mini
For painting I wanted to keep the uniform simple. I did ask some friends who are WW2 nerds and here’s what I got back:
- Boots: Flat Brown
- Gaiters: Khaki
- Pants: US Field Drab
- Webbing: Green Grey
- Jacket: Khaki
- Helmet: Olive Drab/Brown Violet
That’s a lot of different shades of green & brown. That can look a busy on miniatures so I simplified it down to two simple colors:
Uniforms (green):
- Base Death Guard Green
- Wash Athonian Camoshade
- Mix 2:1 Death Guard Green & Elysian Green
- Mix in Elysian Green and highlight
- Mix Ogryn Camo and highlight
- Highlight with Ogryn Camo
Straps, pouches, & boots (brown):
- Base Steel Legion Drab
- Wash Agrax Earthshade
- Base 50/50 Steel Legion Drab & Tallarn Sand
- Highlight Tallarn Sand
- Highlight 50/50 Tallarn Sand & Karak Stone
- Highlight Karak Stone
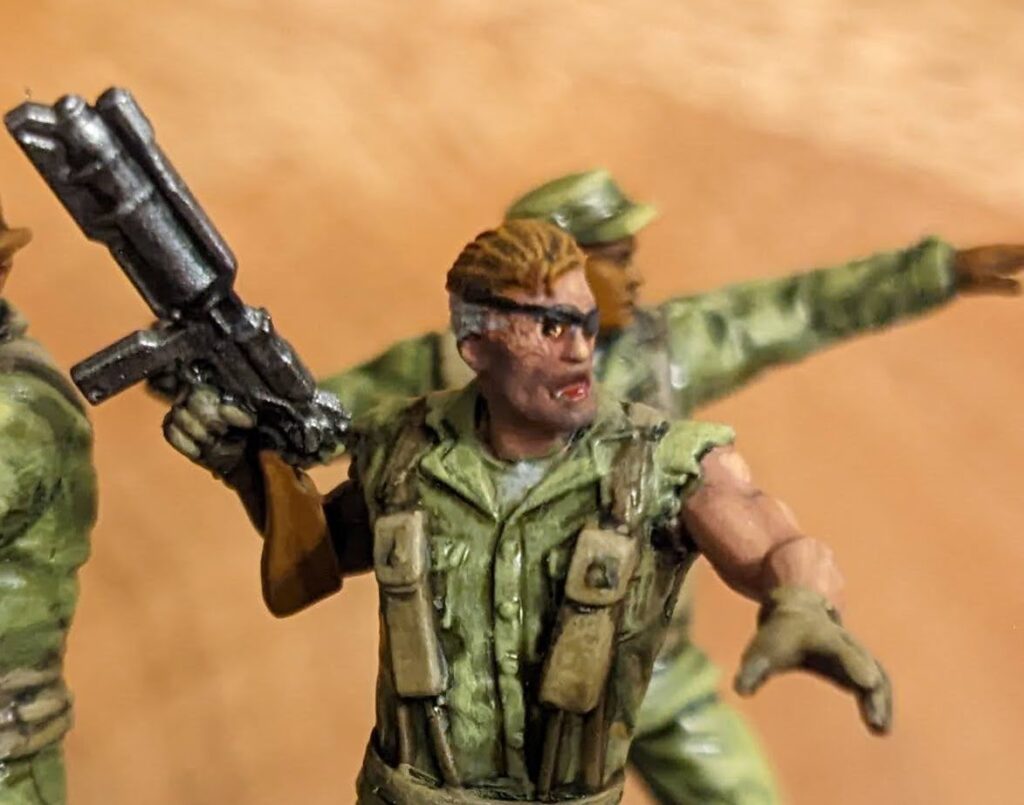
Painting Beard Stubble
Another area I wanted to experiment with was painting stubble, or a 5 o clock shadow. It’s an easy technique but one I hadn’t yet experimented with. This was as simple as adding a little grey to my skin color and glazing the area where the beard would be.
It’s not bad for a first attempt.
Adding Wireless LEDs
Finally let’s talk about experimenting with wireless LEDs. I picked up these wireless LEDS from Adafruit. The cool thing about them is you don’t need wires! With regular wired LEDs you have to run a wire through your miniature or use conductive paint on the outside to connect the LED to a powersource usually hidden under the base.
I don’t want to do that much work. Wireless LEDs you just place and they work if there’s an induction coil nearby. So if I build an induction coil into a display base I can get the cool LED effect for all of my minis without having to do the wiring.
That’s the goal! Let’s see how it goes. 
Building a Case
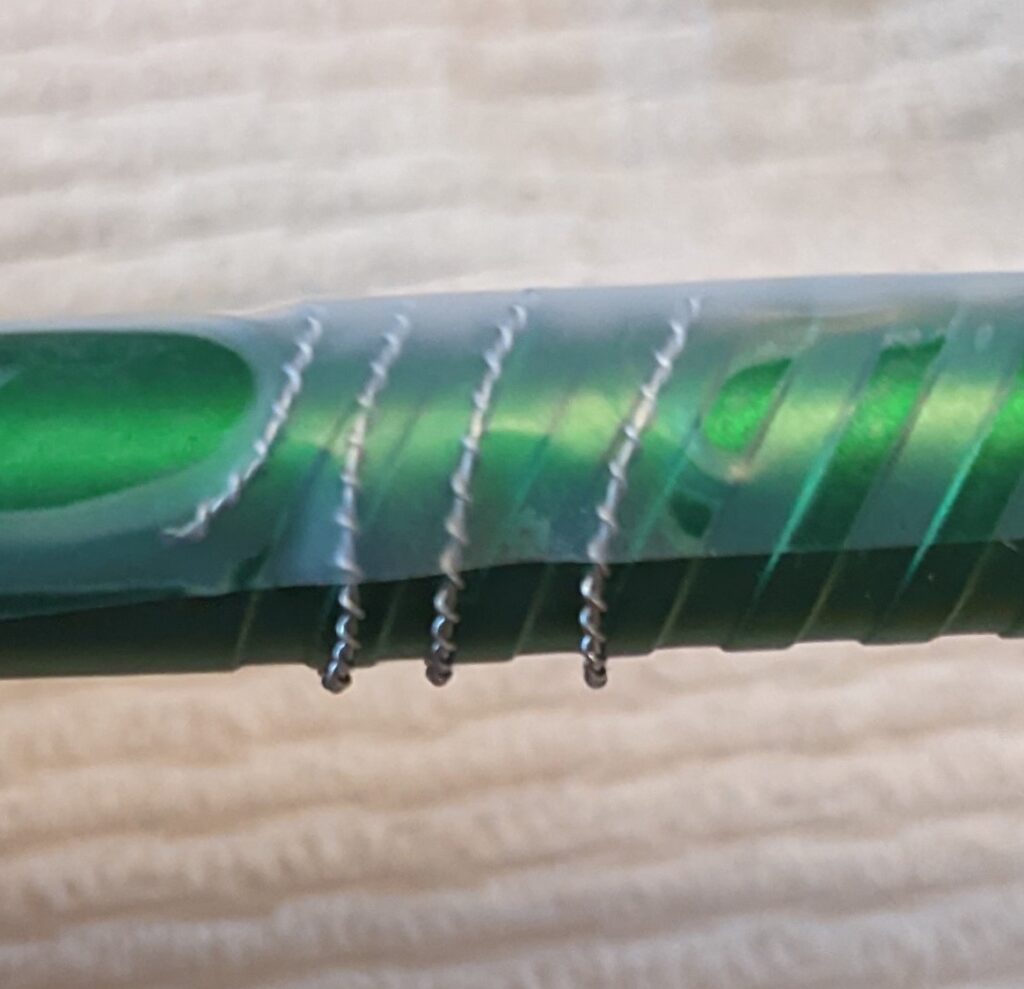
The first thing I want to do is build the backpack or some sort of case for the battery. One downside of wireless LEDs is they’re actually huge compared to regular LEDs.
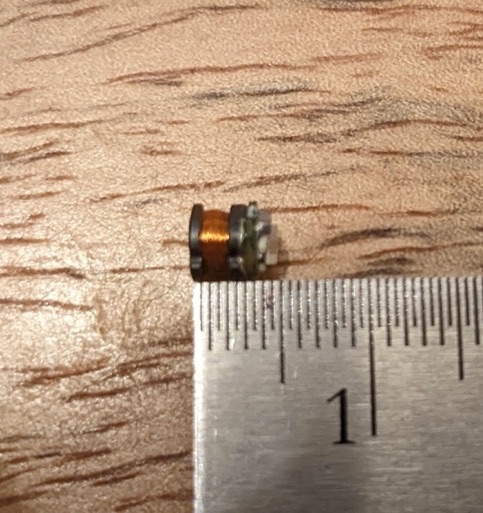
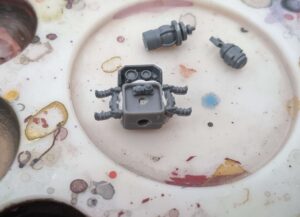
The LED is actually just the tiny translucent part on the right side of the photo. The copper wire which is most of the wireless LED is there to absorb power. So don’t think you can use these for tiny spaces. You will need space to use these LEDs.
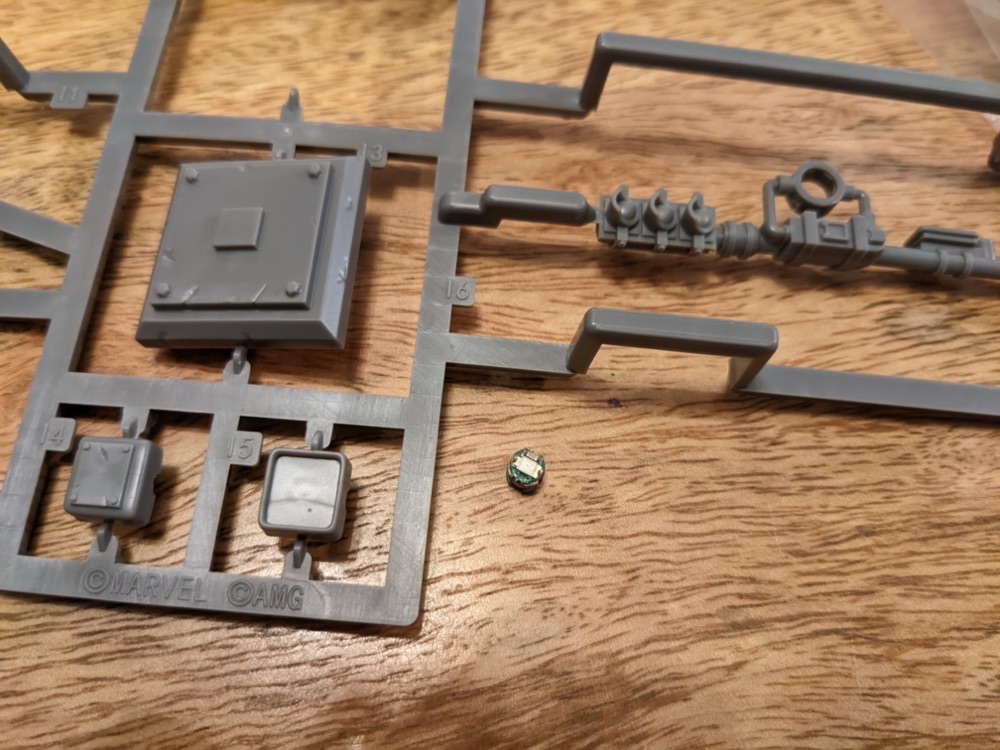
I tried building a backpack out of clear plastic but after just a few minutes I remembered that I suck at exact measurements. I don’t like building something from scratch. So I dug through my bits box to find something to use as a base. And there was actually something from the MCP core box.
The crosswalk box that attacked to the traffic light is big enough (or just about) to fit the LED. And it has a nice rim that I wouldn’t have to build. I just had to drill through the back to fit the LED in. Then I filled that hole with green stuff.
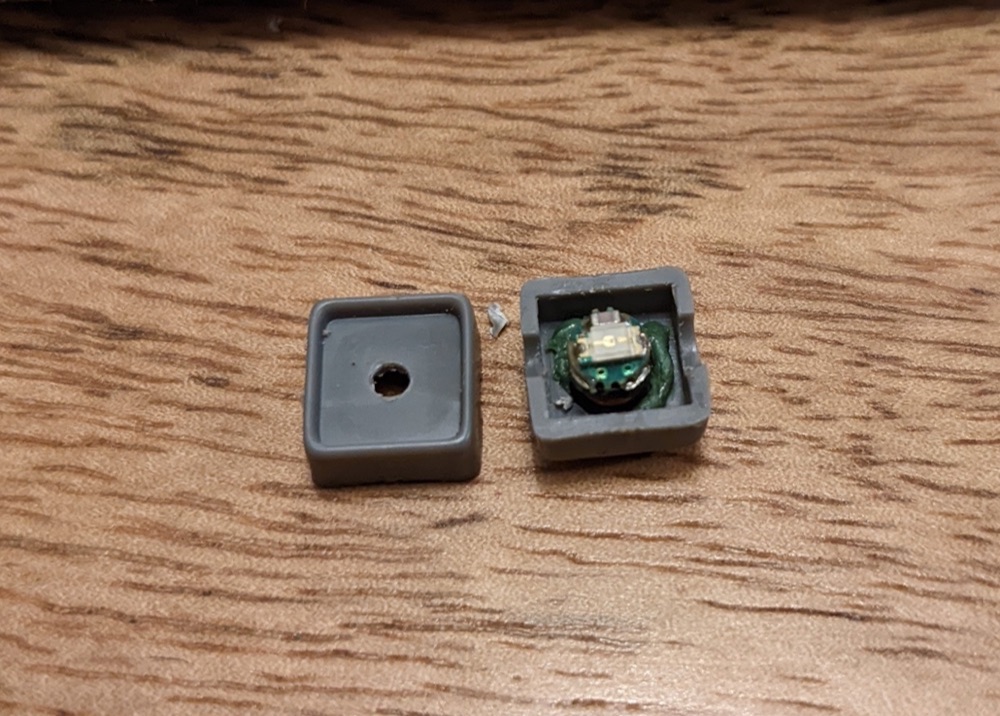
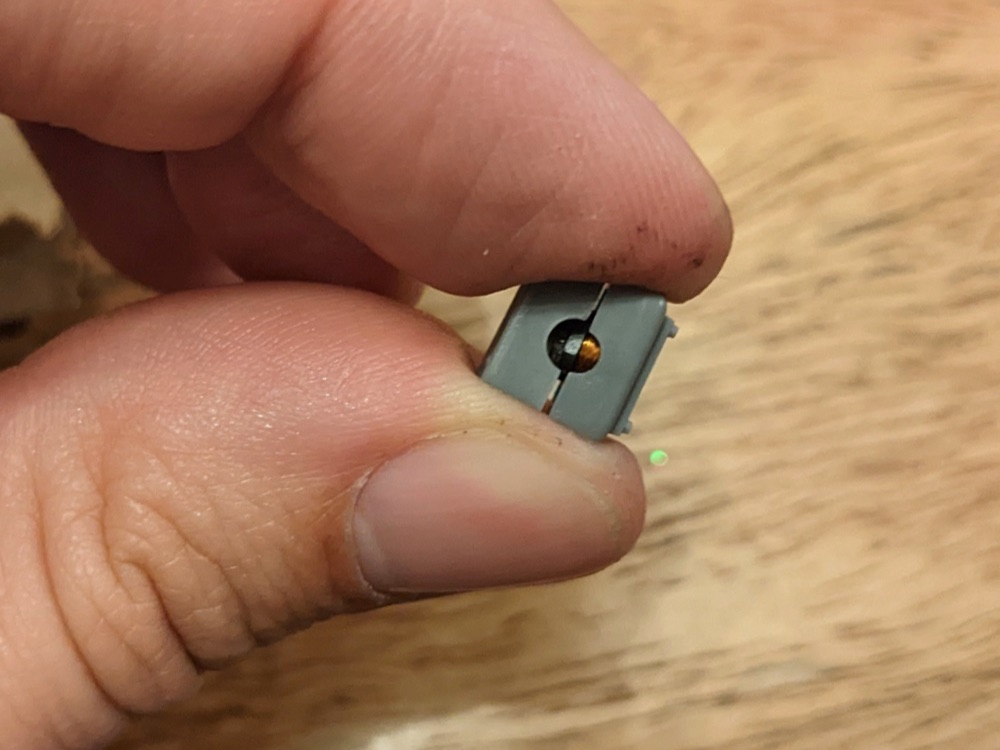
Now I have a wireless LED in a box. Cool. Now where will this fit?
Battery Backpack?
I tried a few different positions for the wireless LED backpack and it was so much larger than I expected. I really wanted the battery on Dumdum Dugan or Nick Fury Sr but no matter where I put it it would block a mini (and make the sculpt less interesting to look at) or the LED would face the back of the mini where no one will see it. 
Boo.
Pivoting to a Carried Battery
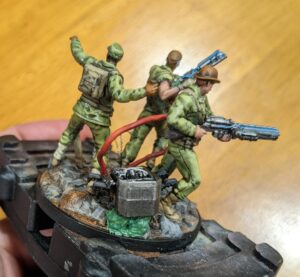
After fiddling with this I thought I should try butting the battery on the base. Like it’s some sort of power source that is really heavy and they have to put it down to fire their weapons.
Oh yes! This could work. Now I need to do three things:
- I need to add some widgets / gizmos so it looks sci-fi-y.
- I need to build up the base so the power source tilts to the front.
- I need to connect the power source to the weapons
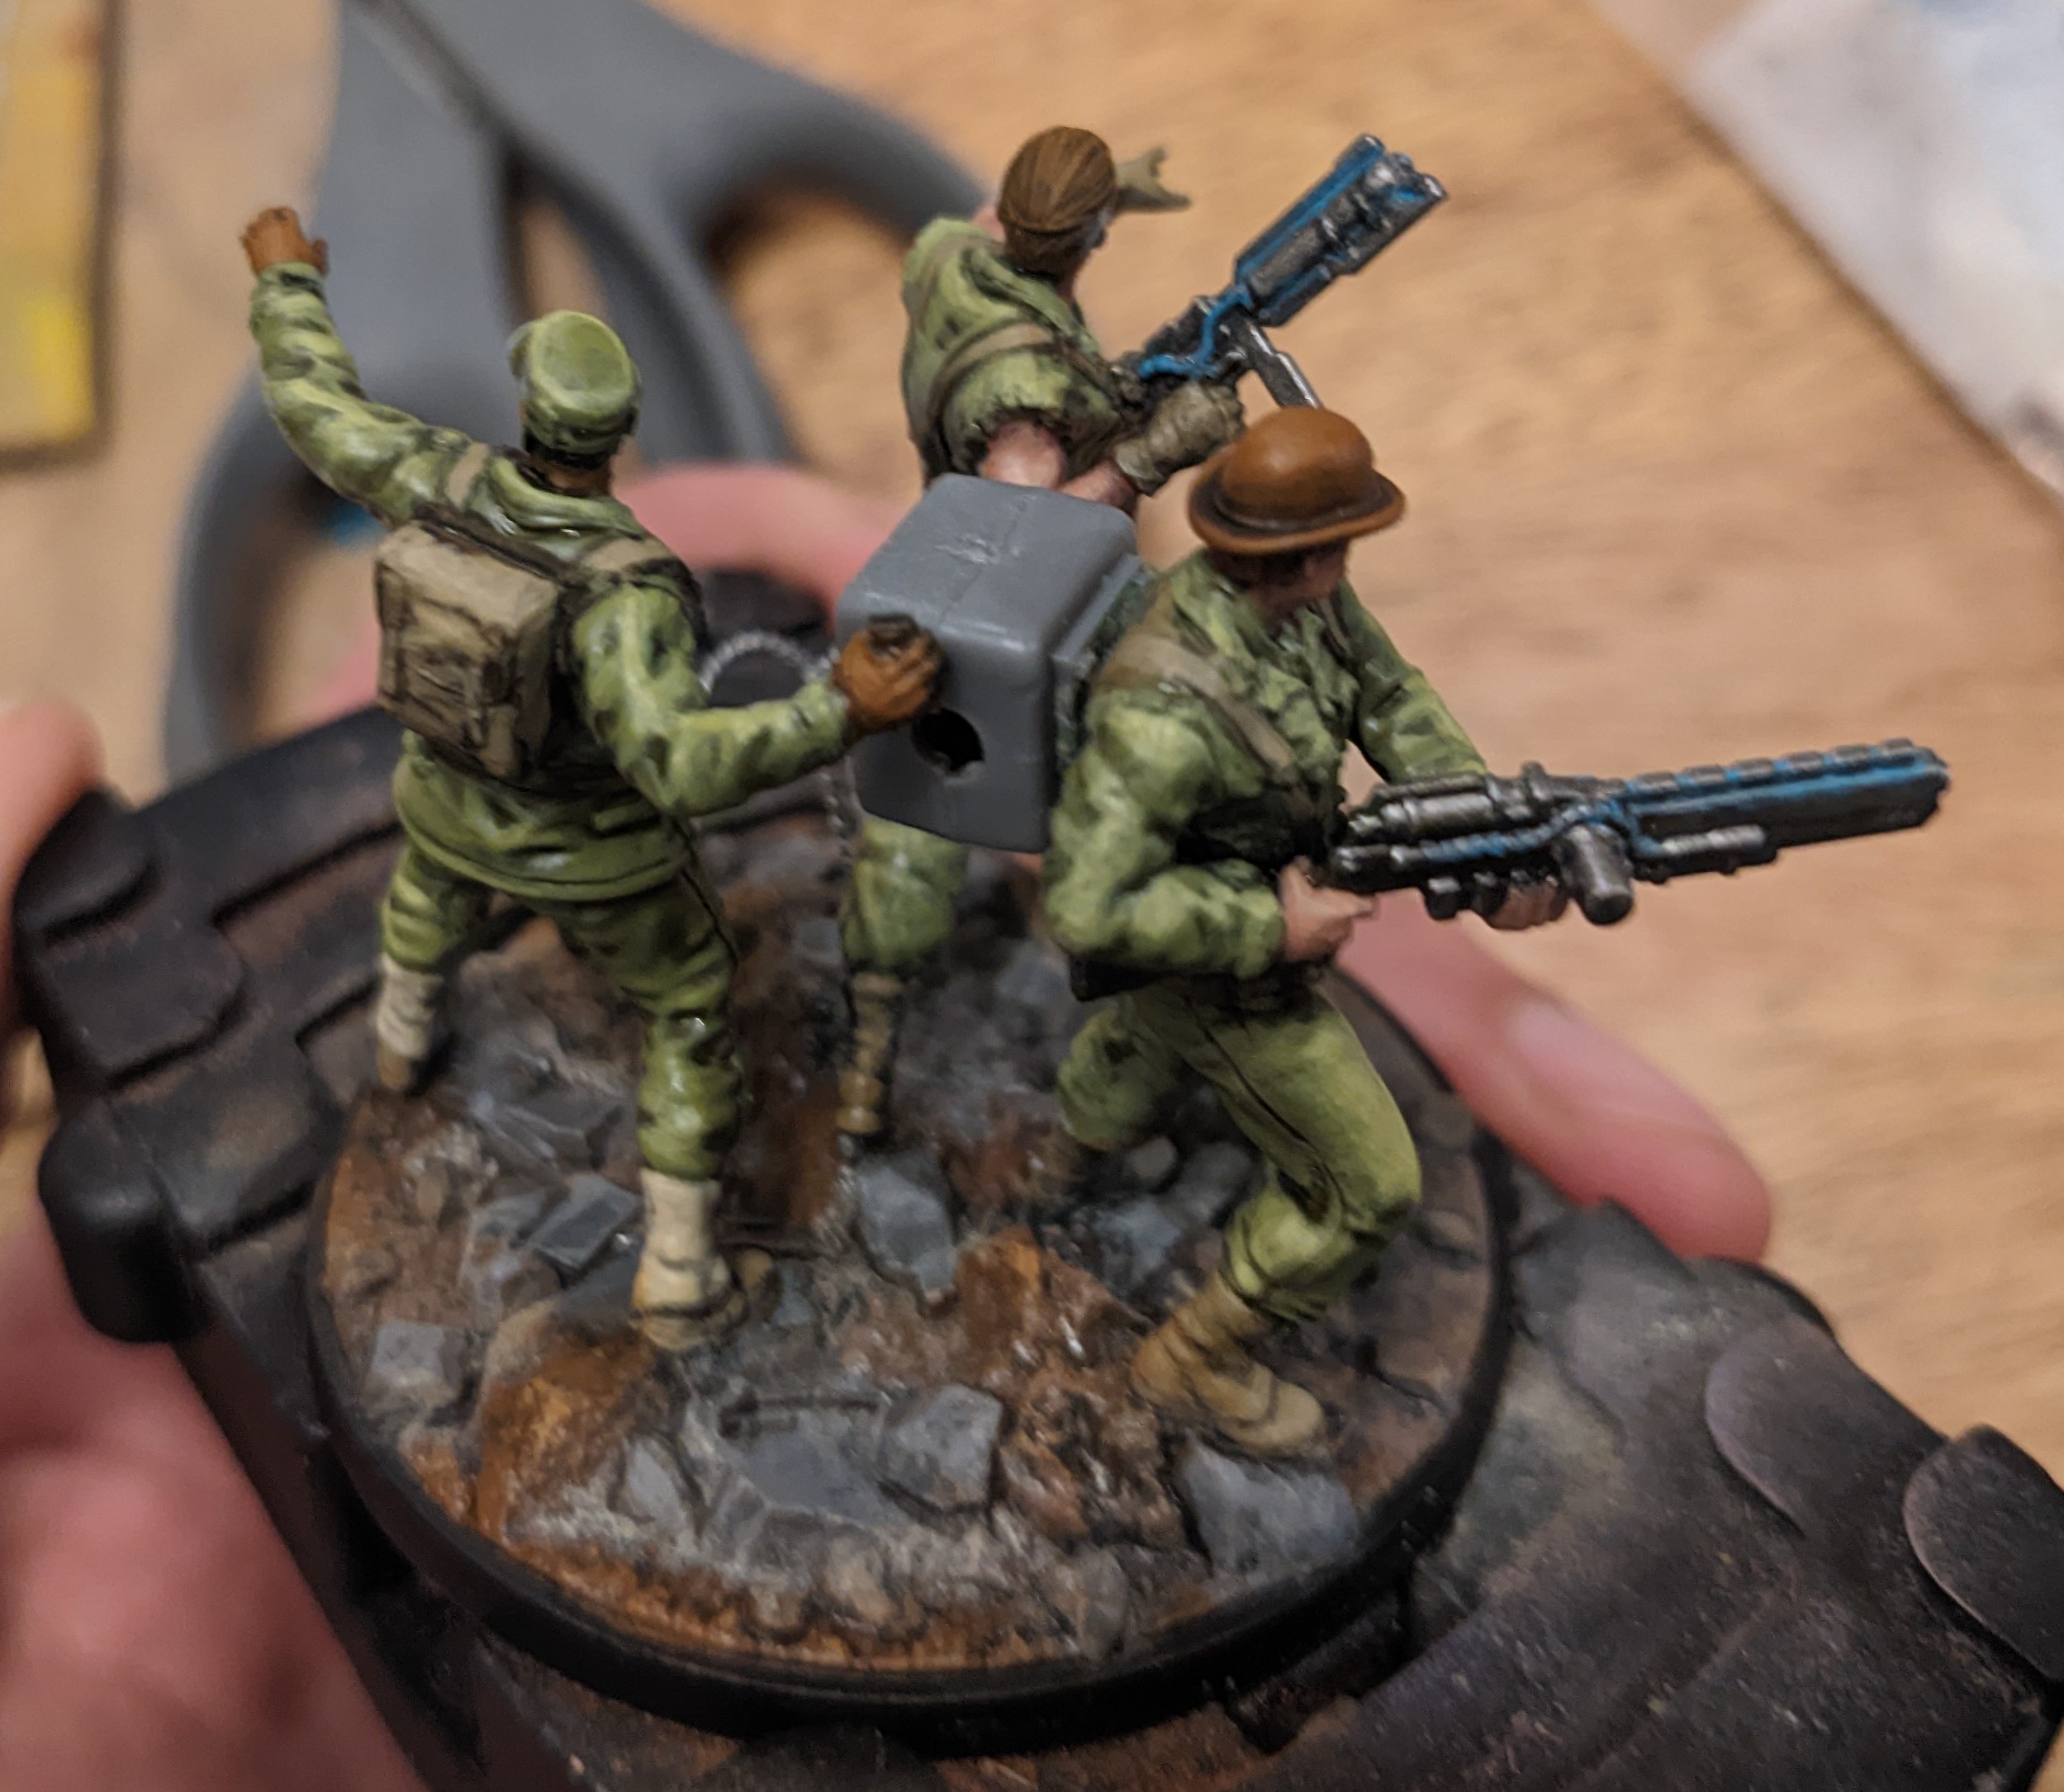
I dug through my bit box again and looked through a ton of Space Marine and Ork bits. This first version has a ton of gizmos which I love but it’s a little busy. And how do they move it?
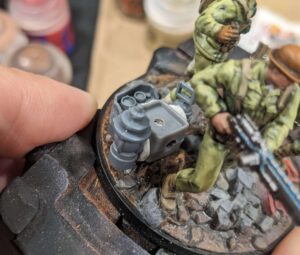
This was my 2nd attempt. I like the carrying handles. I flipped the handles upside down and used this as the power source. I went ahead and painted this version and greenstuffed it to the base.
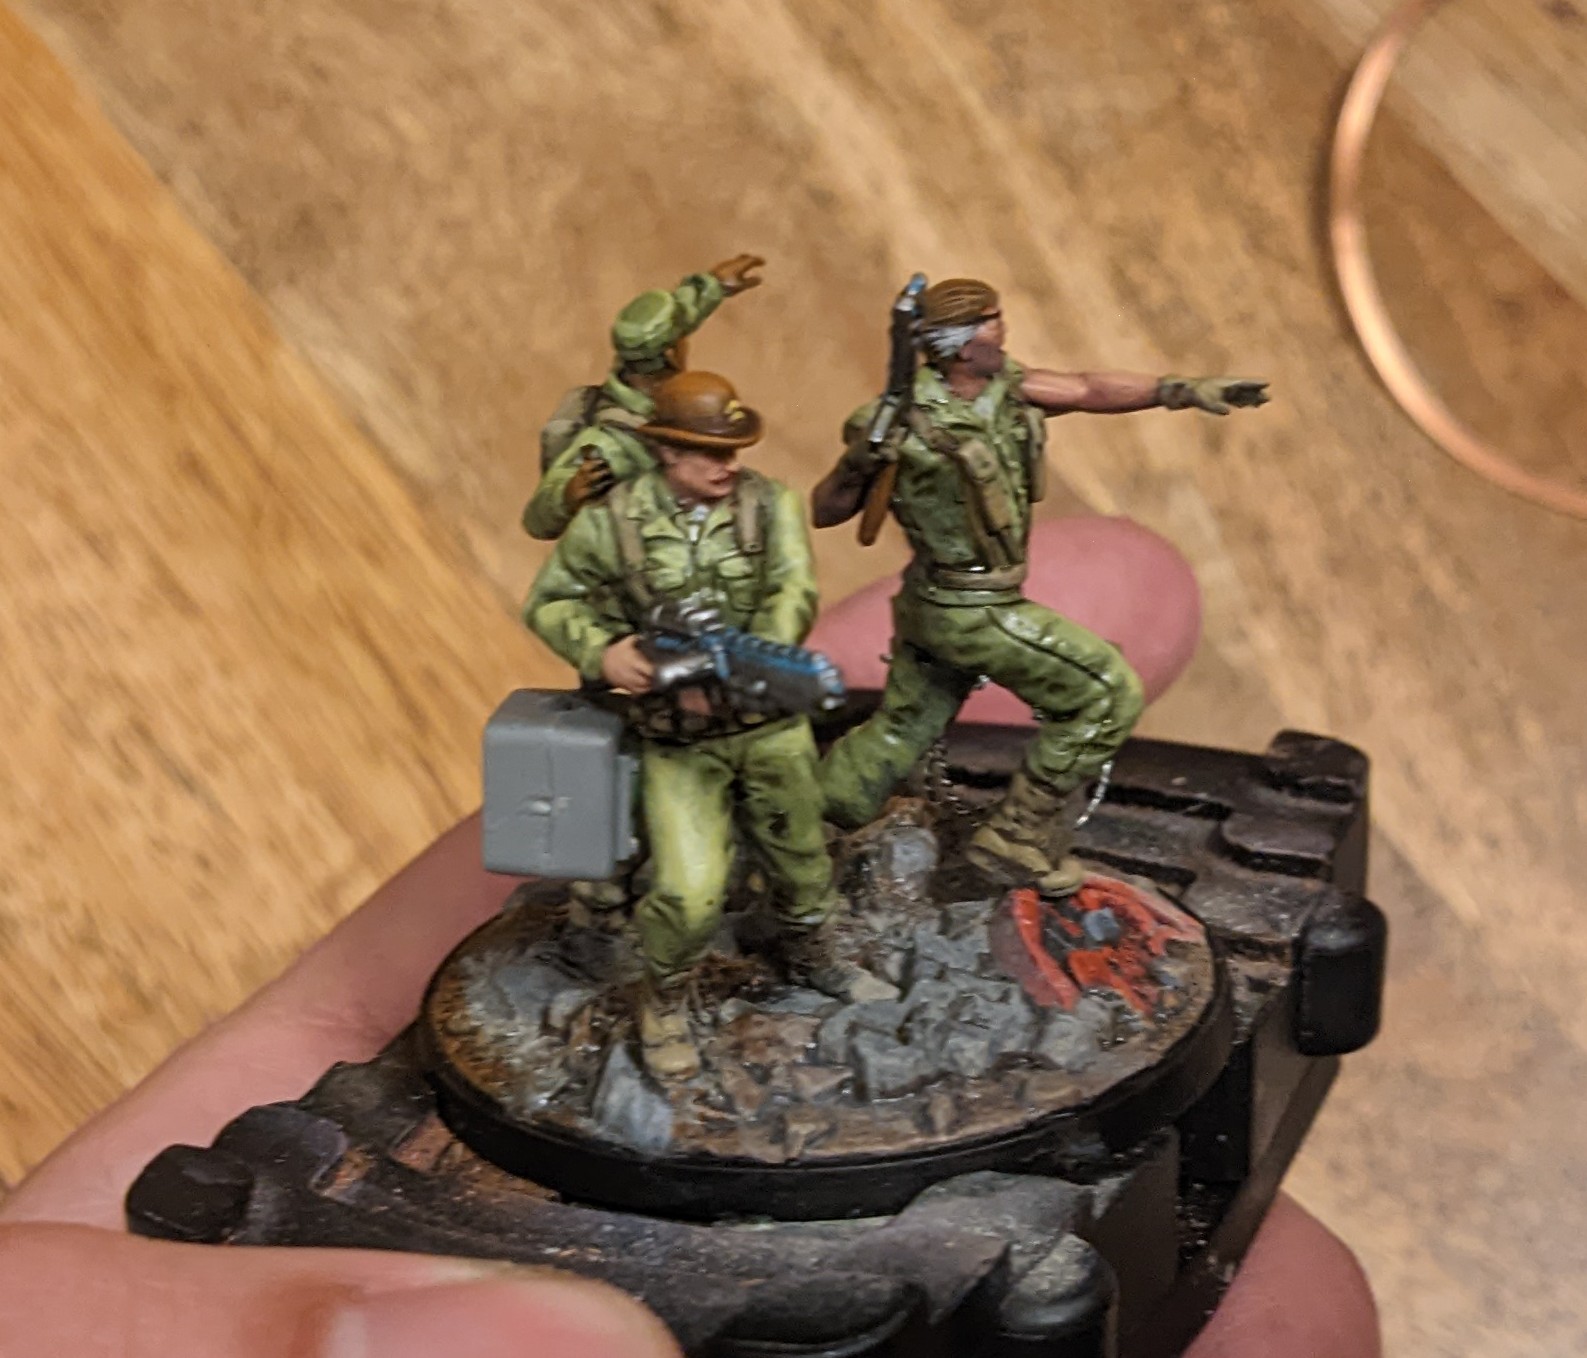
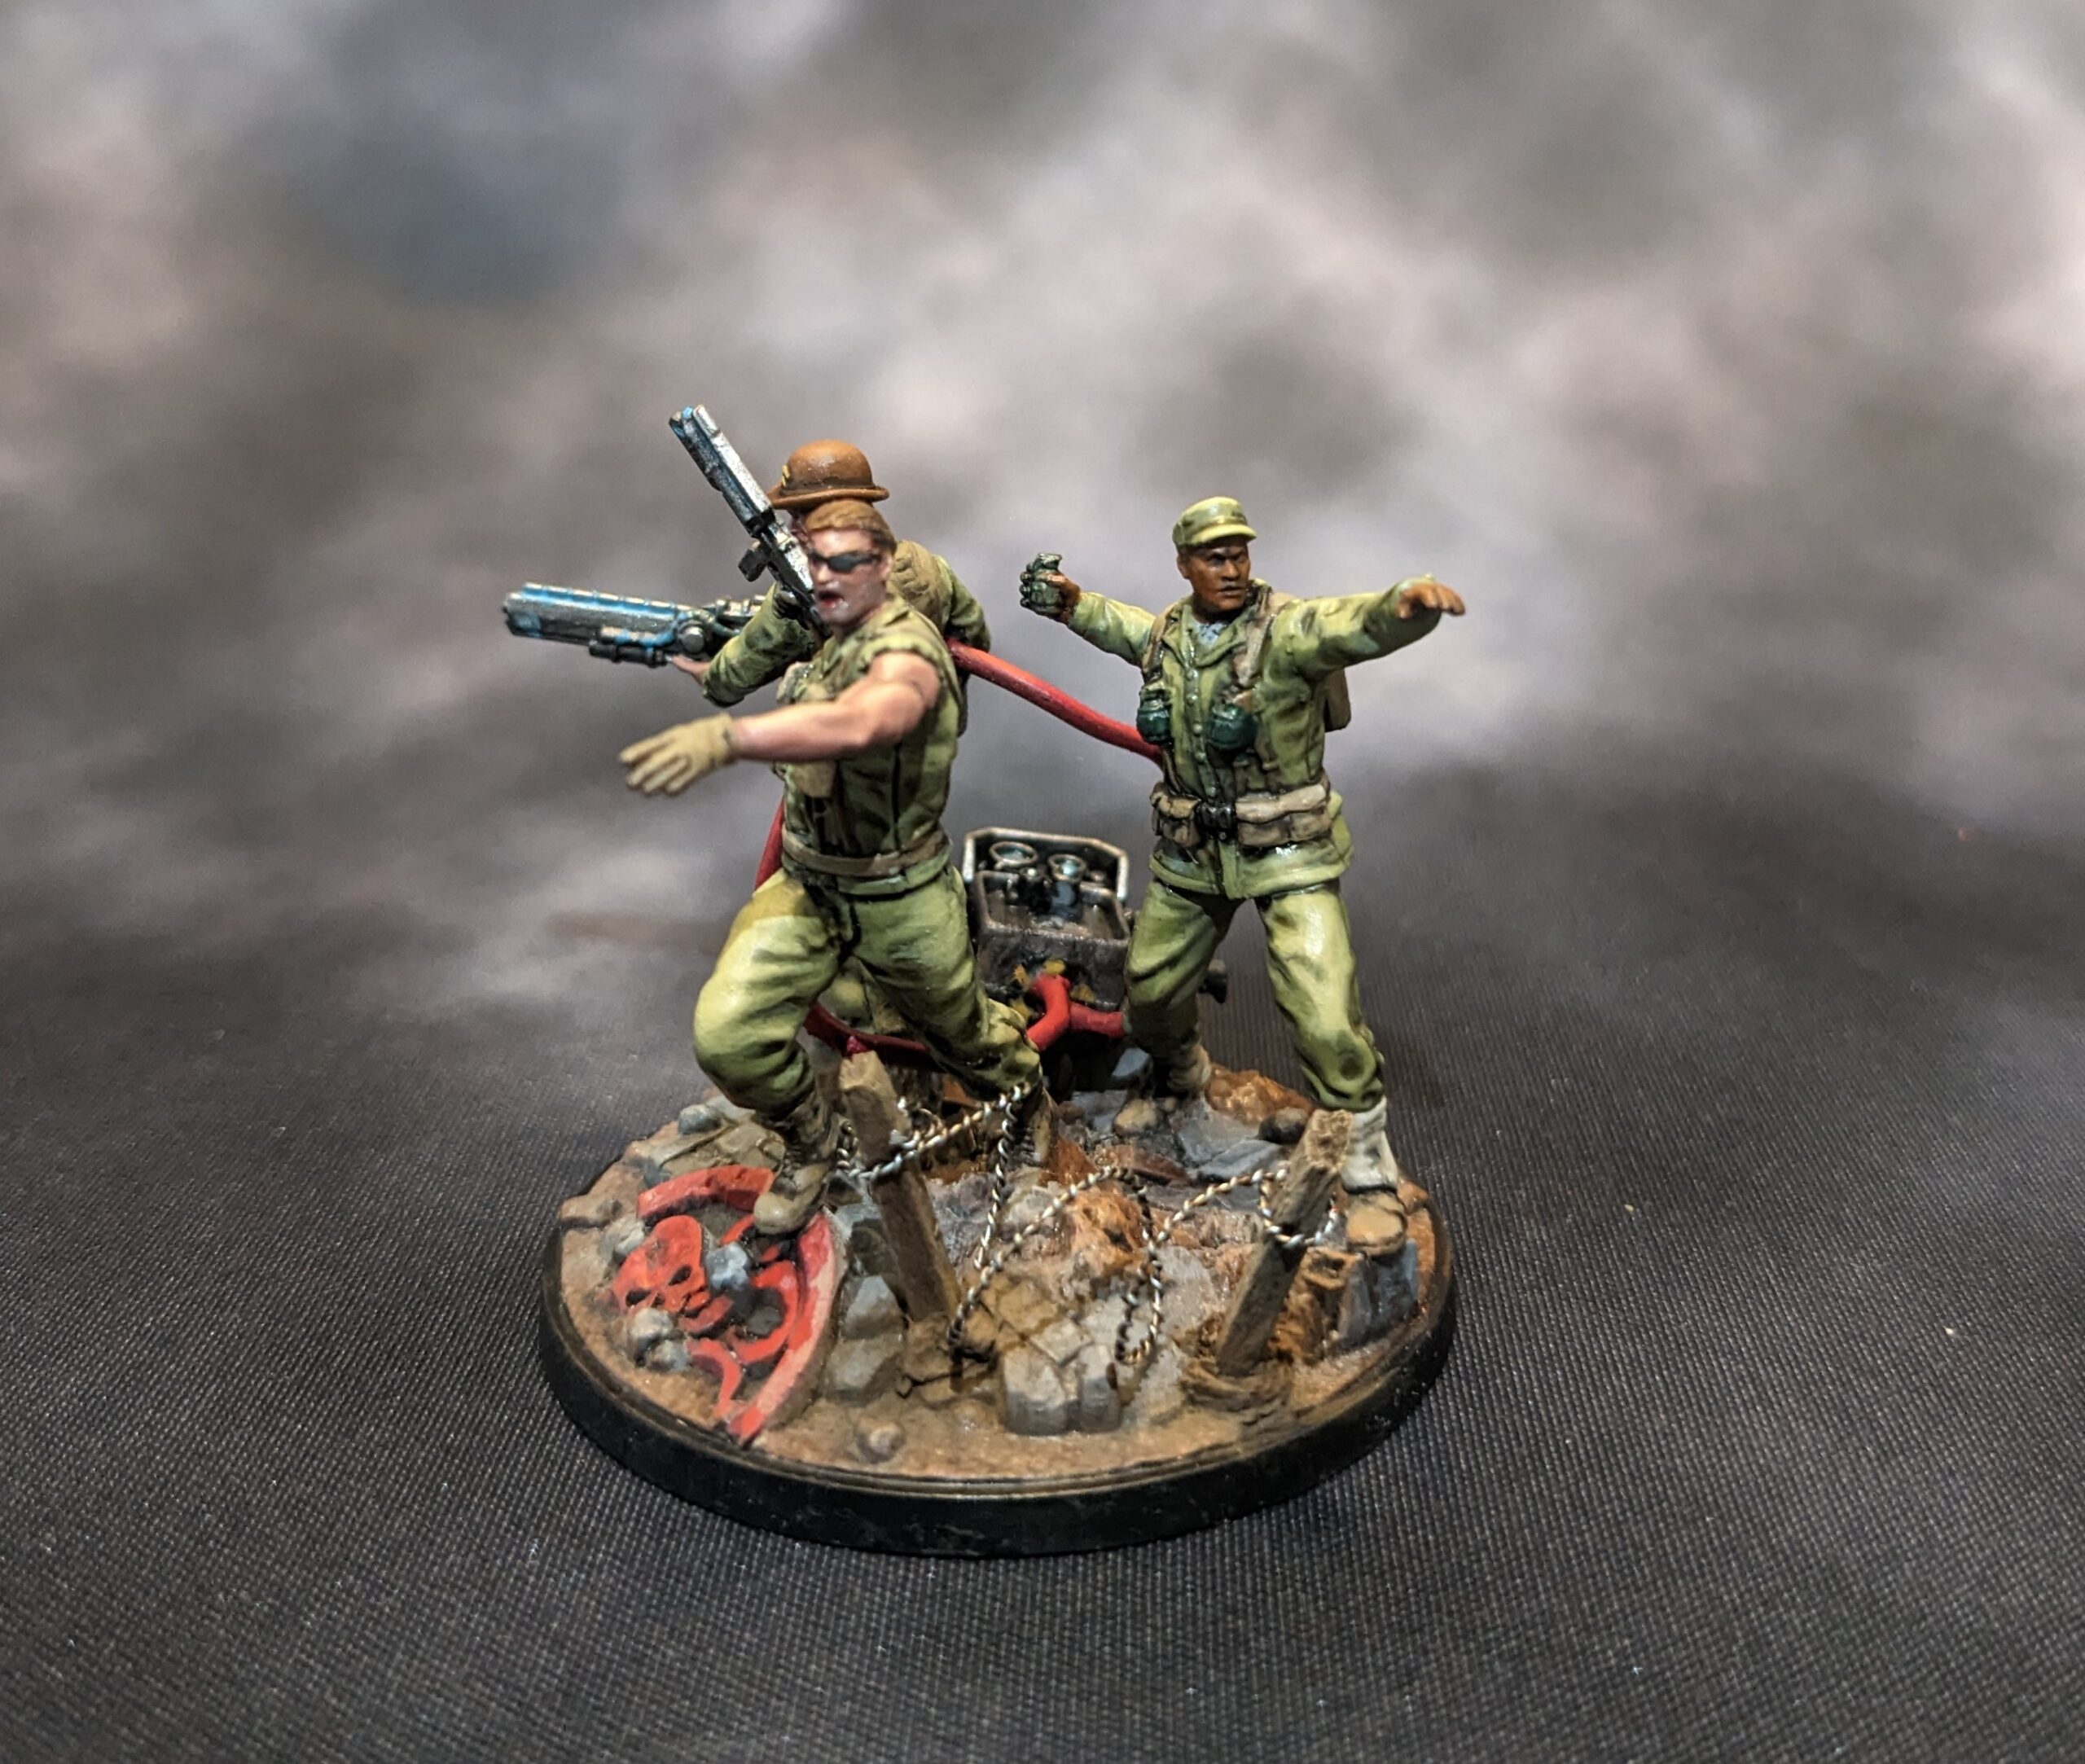
I painted the box and added some wires coming out of the front hole. I attached these to Dumdum Dugan & Nick Fury’s guns.
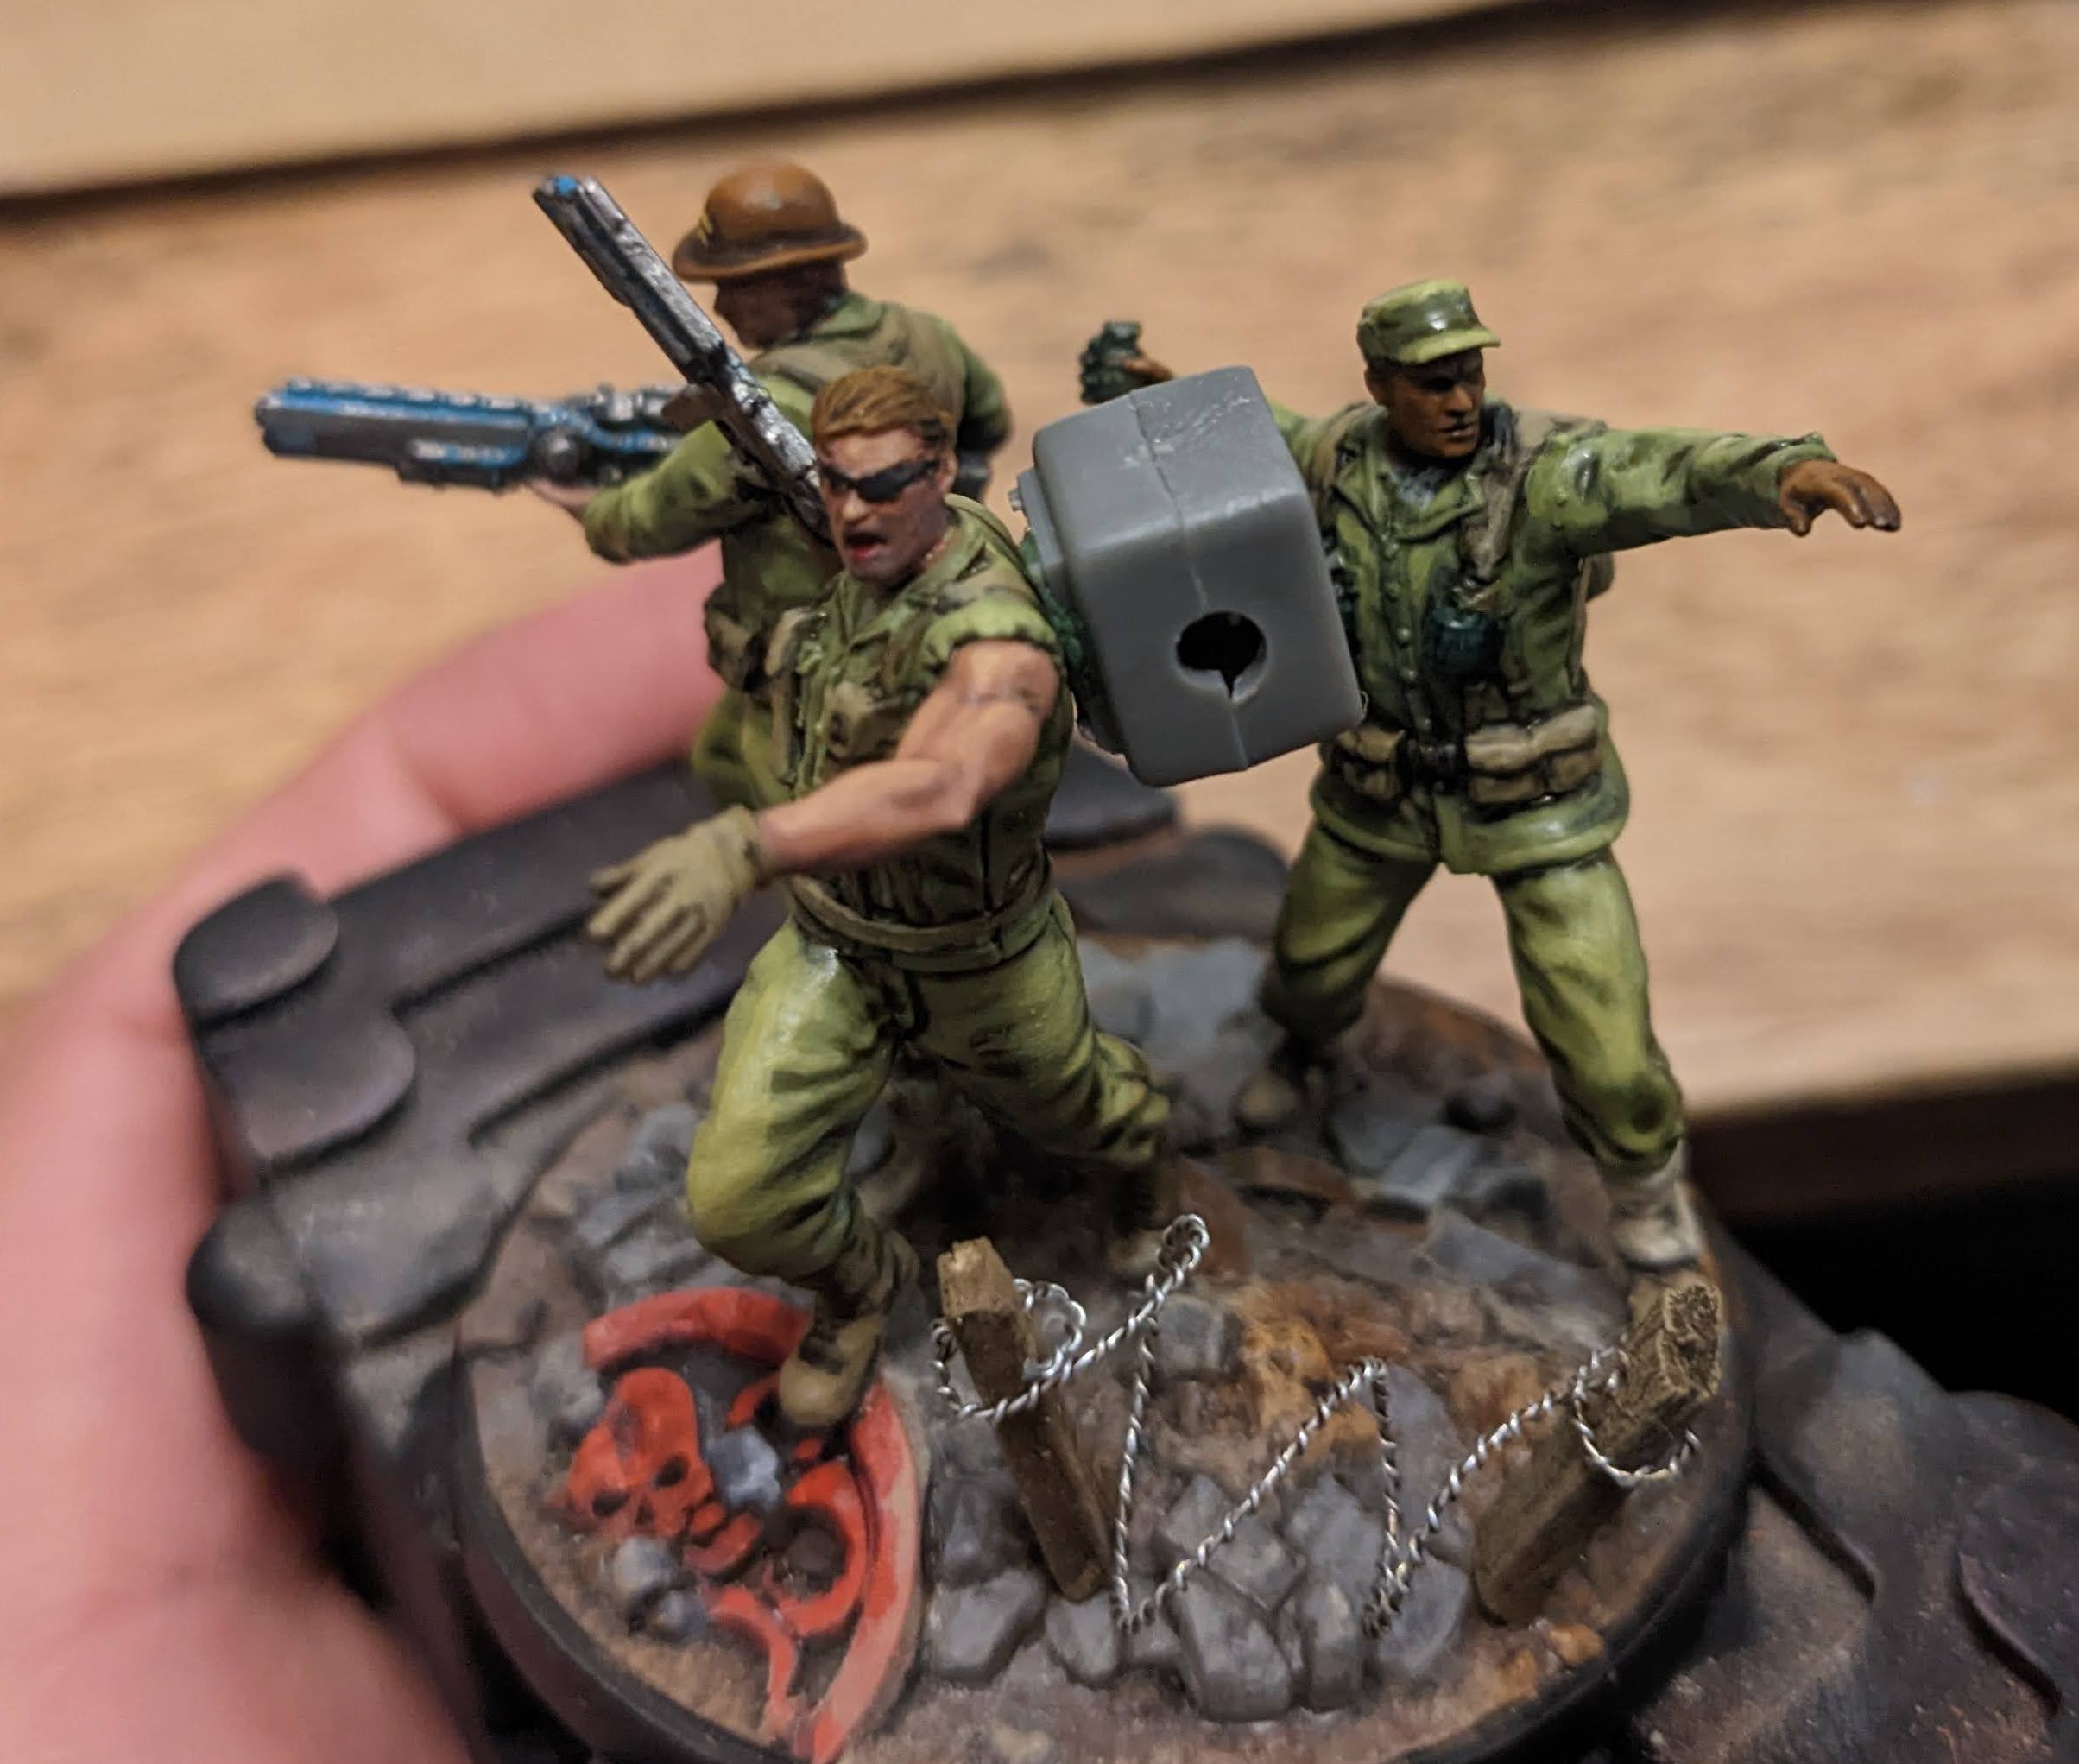
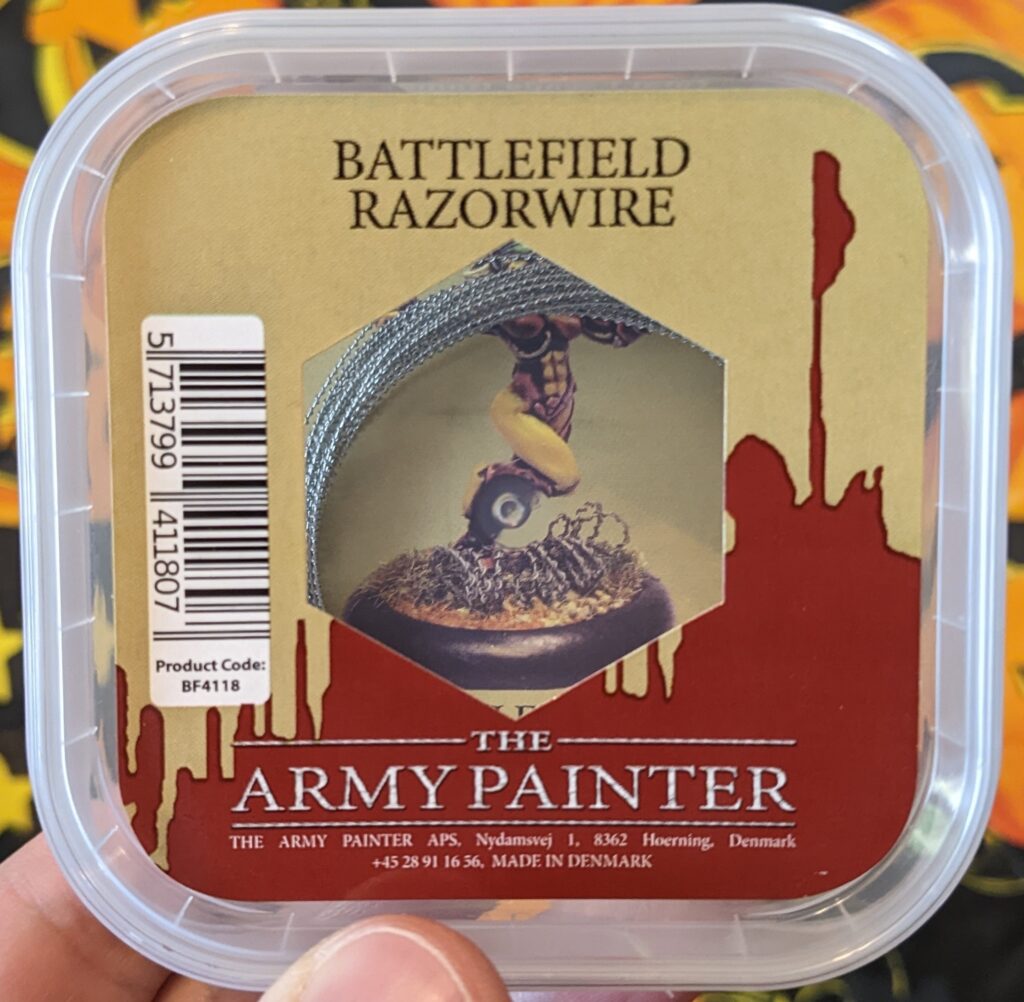
Adding Barbed Wire
I picked up some barbed wire from the game store. I thought you might have to wrap it around a pen or pencil for a while so I actually left it that way when I went on a work trip. But you don’t need to do this. It’s really easy to bend however you like.
I took a popsicle stick and cut it into tiny fragments with an X-acto knife. I then scored the wood to make sure there would be recesses for a wash to flow into.
I drilled two tiny holes in each wood post and pushed the wire through. I think glued the posts to the base. And I used a little bit of green stuff to hide post and to give it a bit more stability.
Next Steps
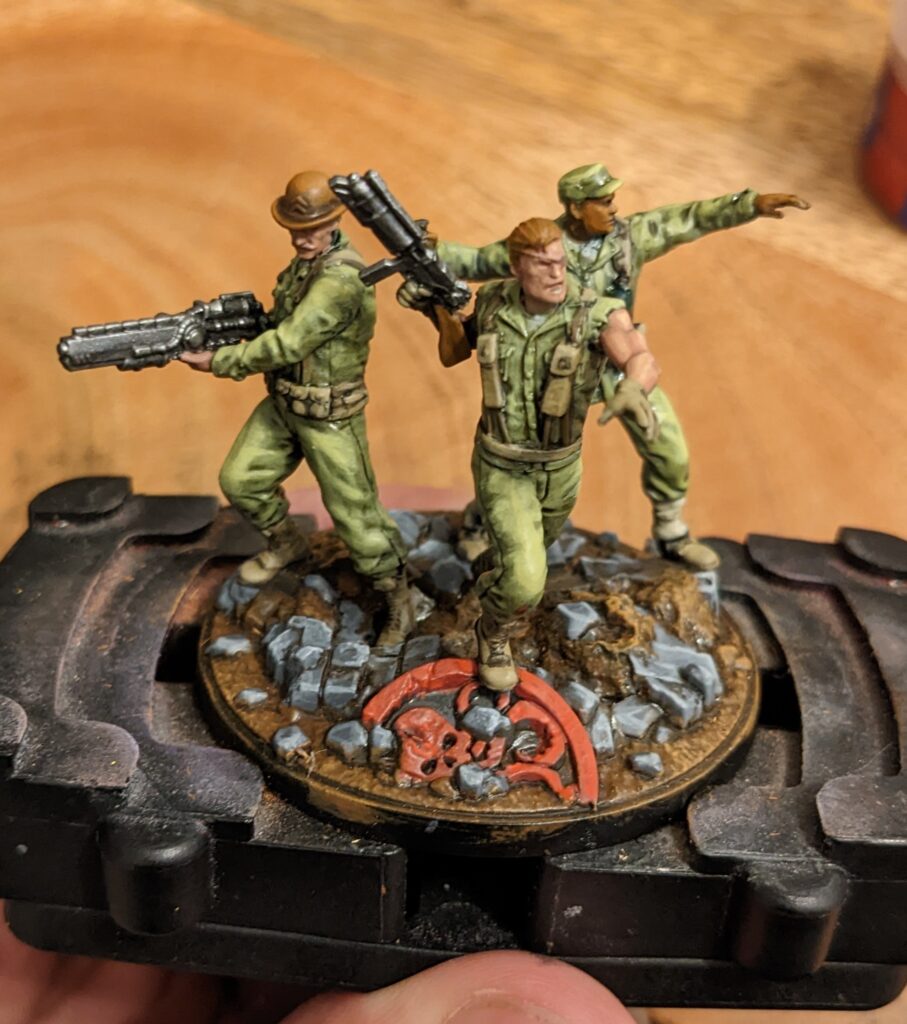
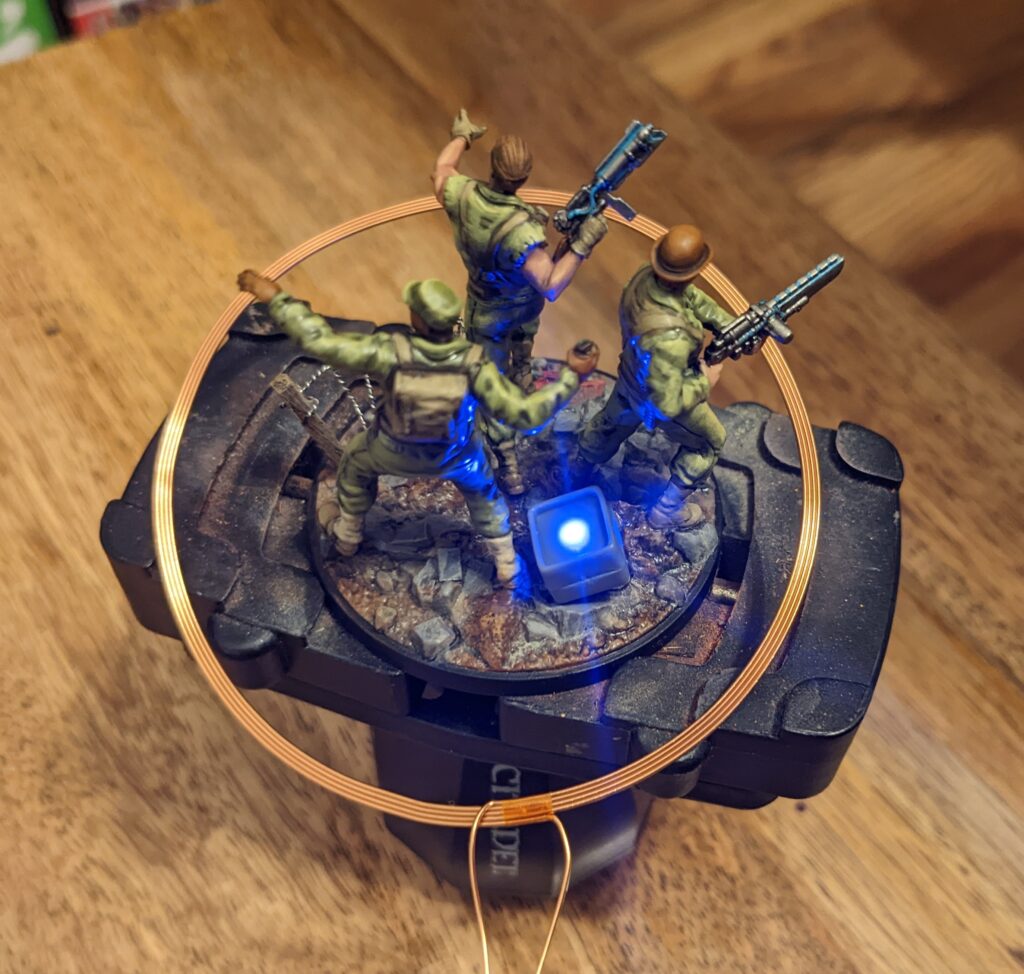
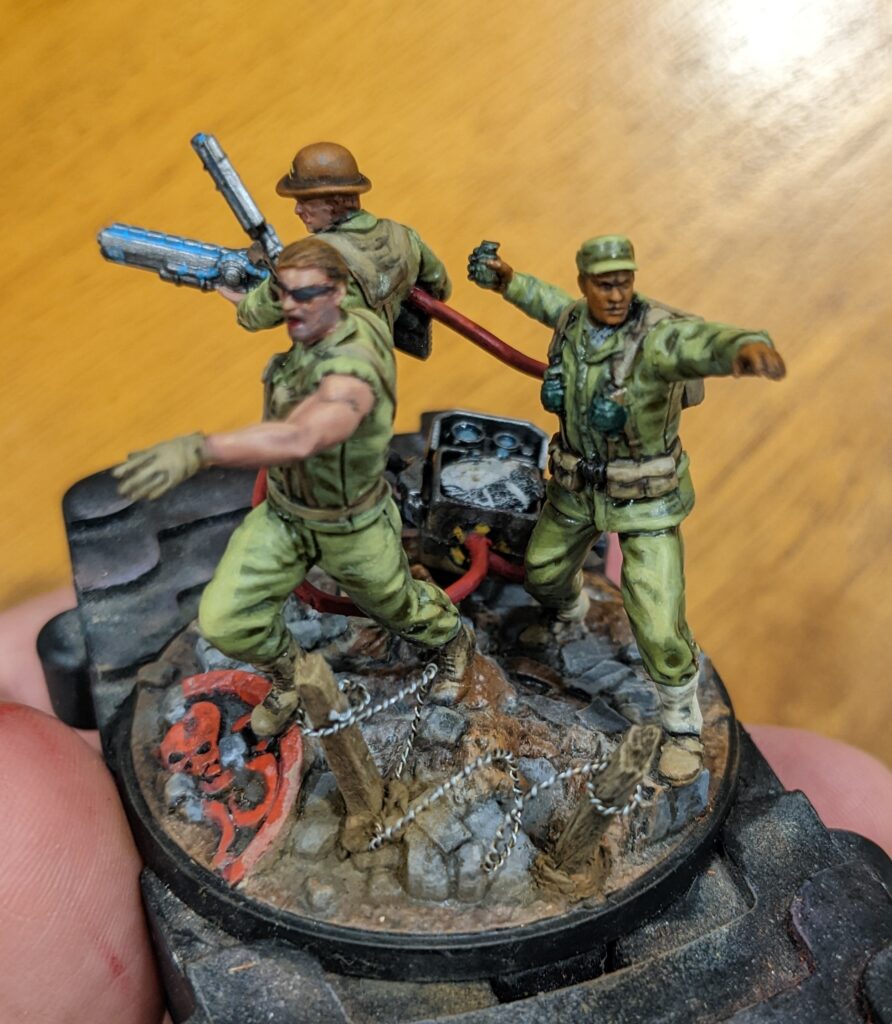
Here are the completed Howling Commandos.
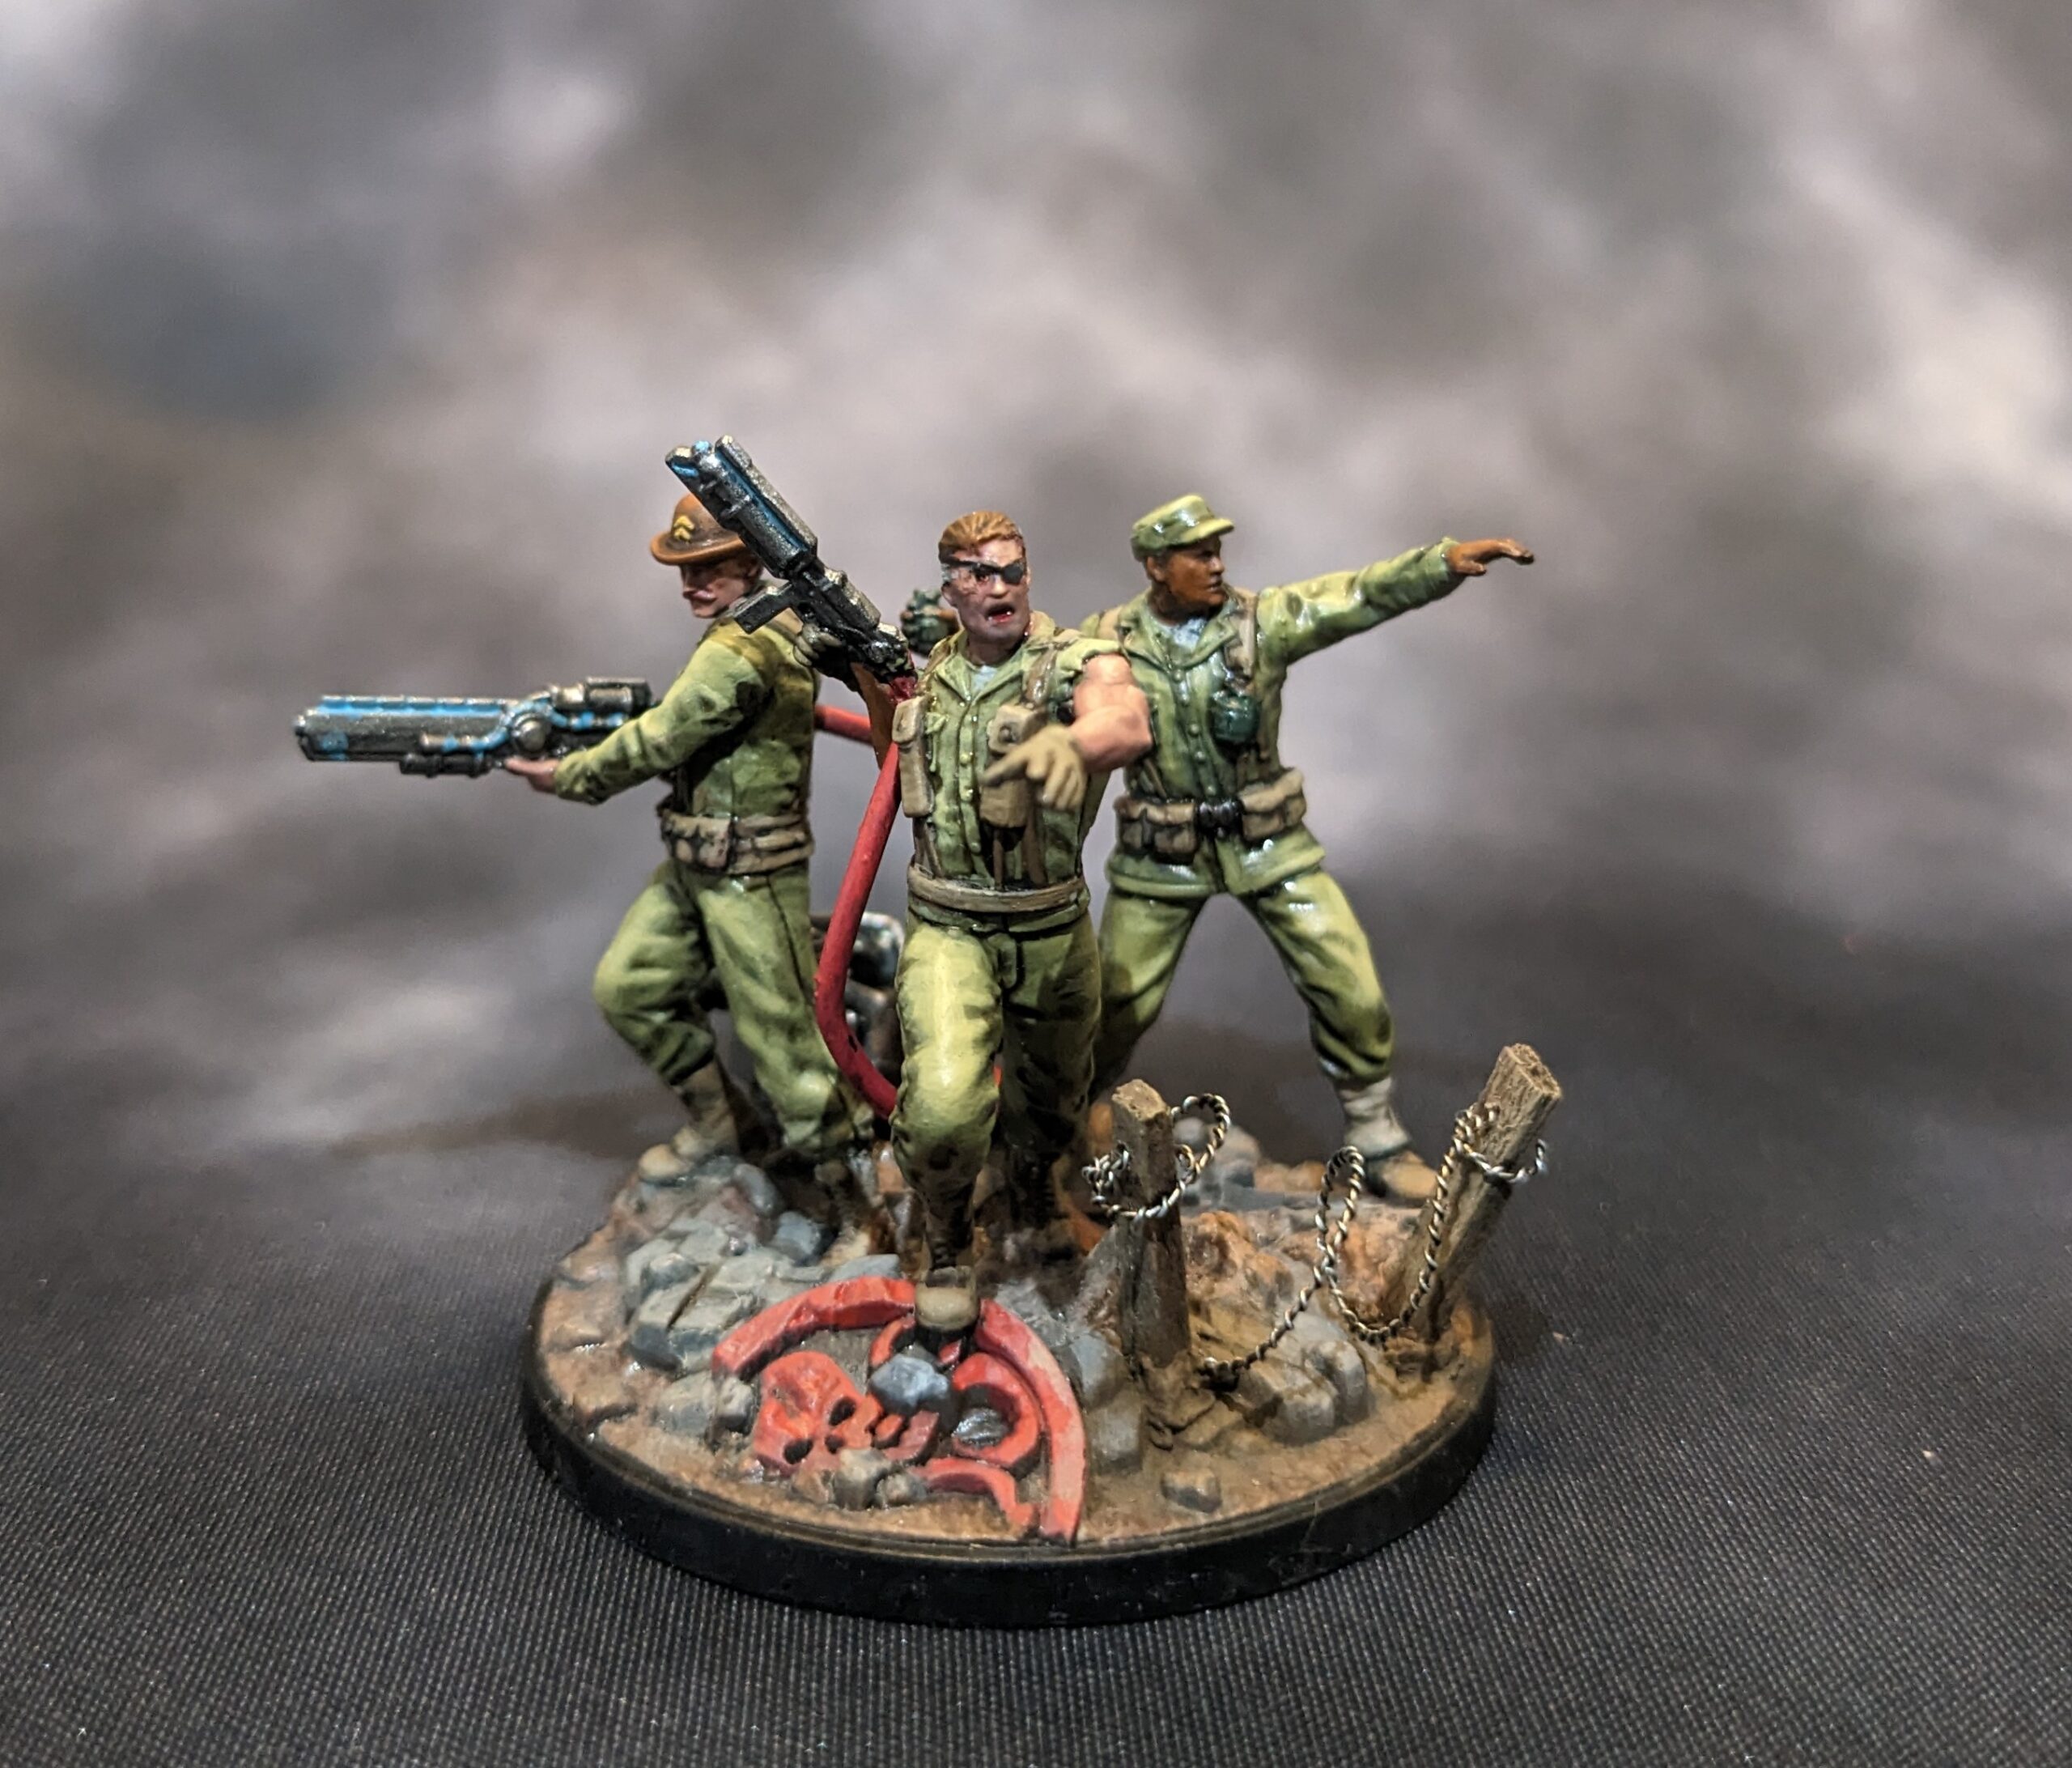
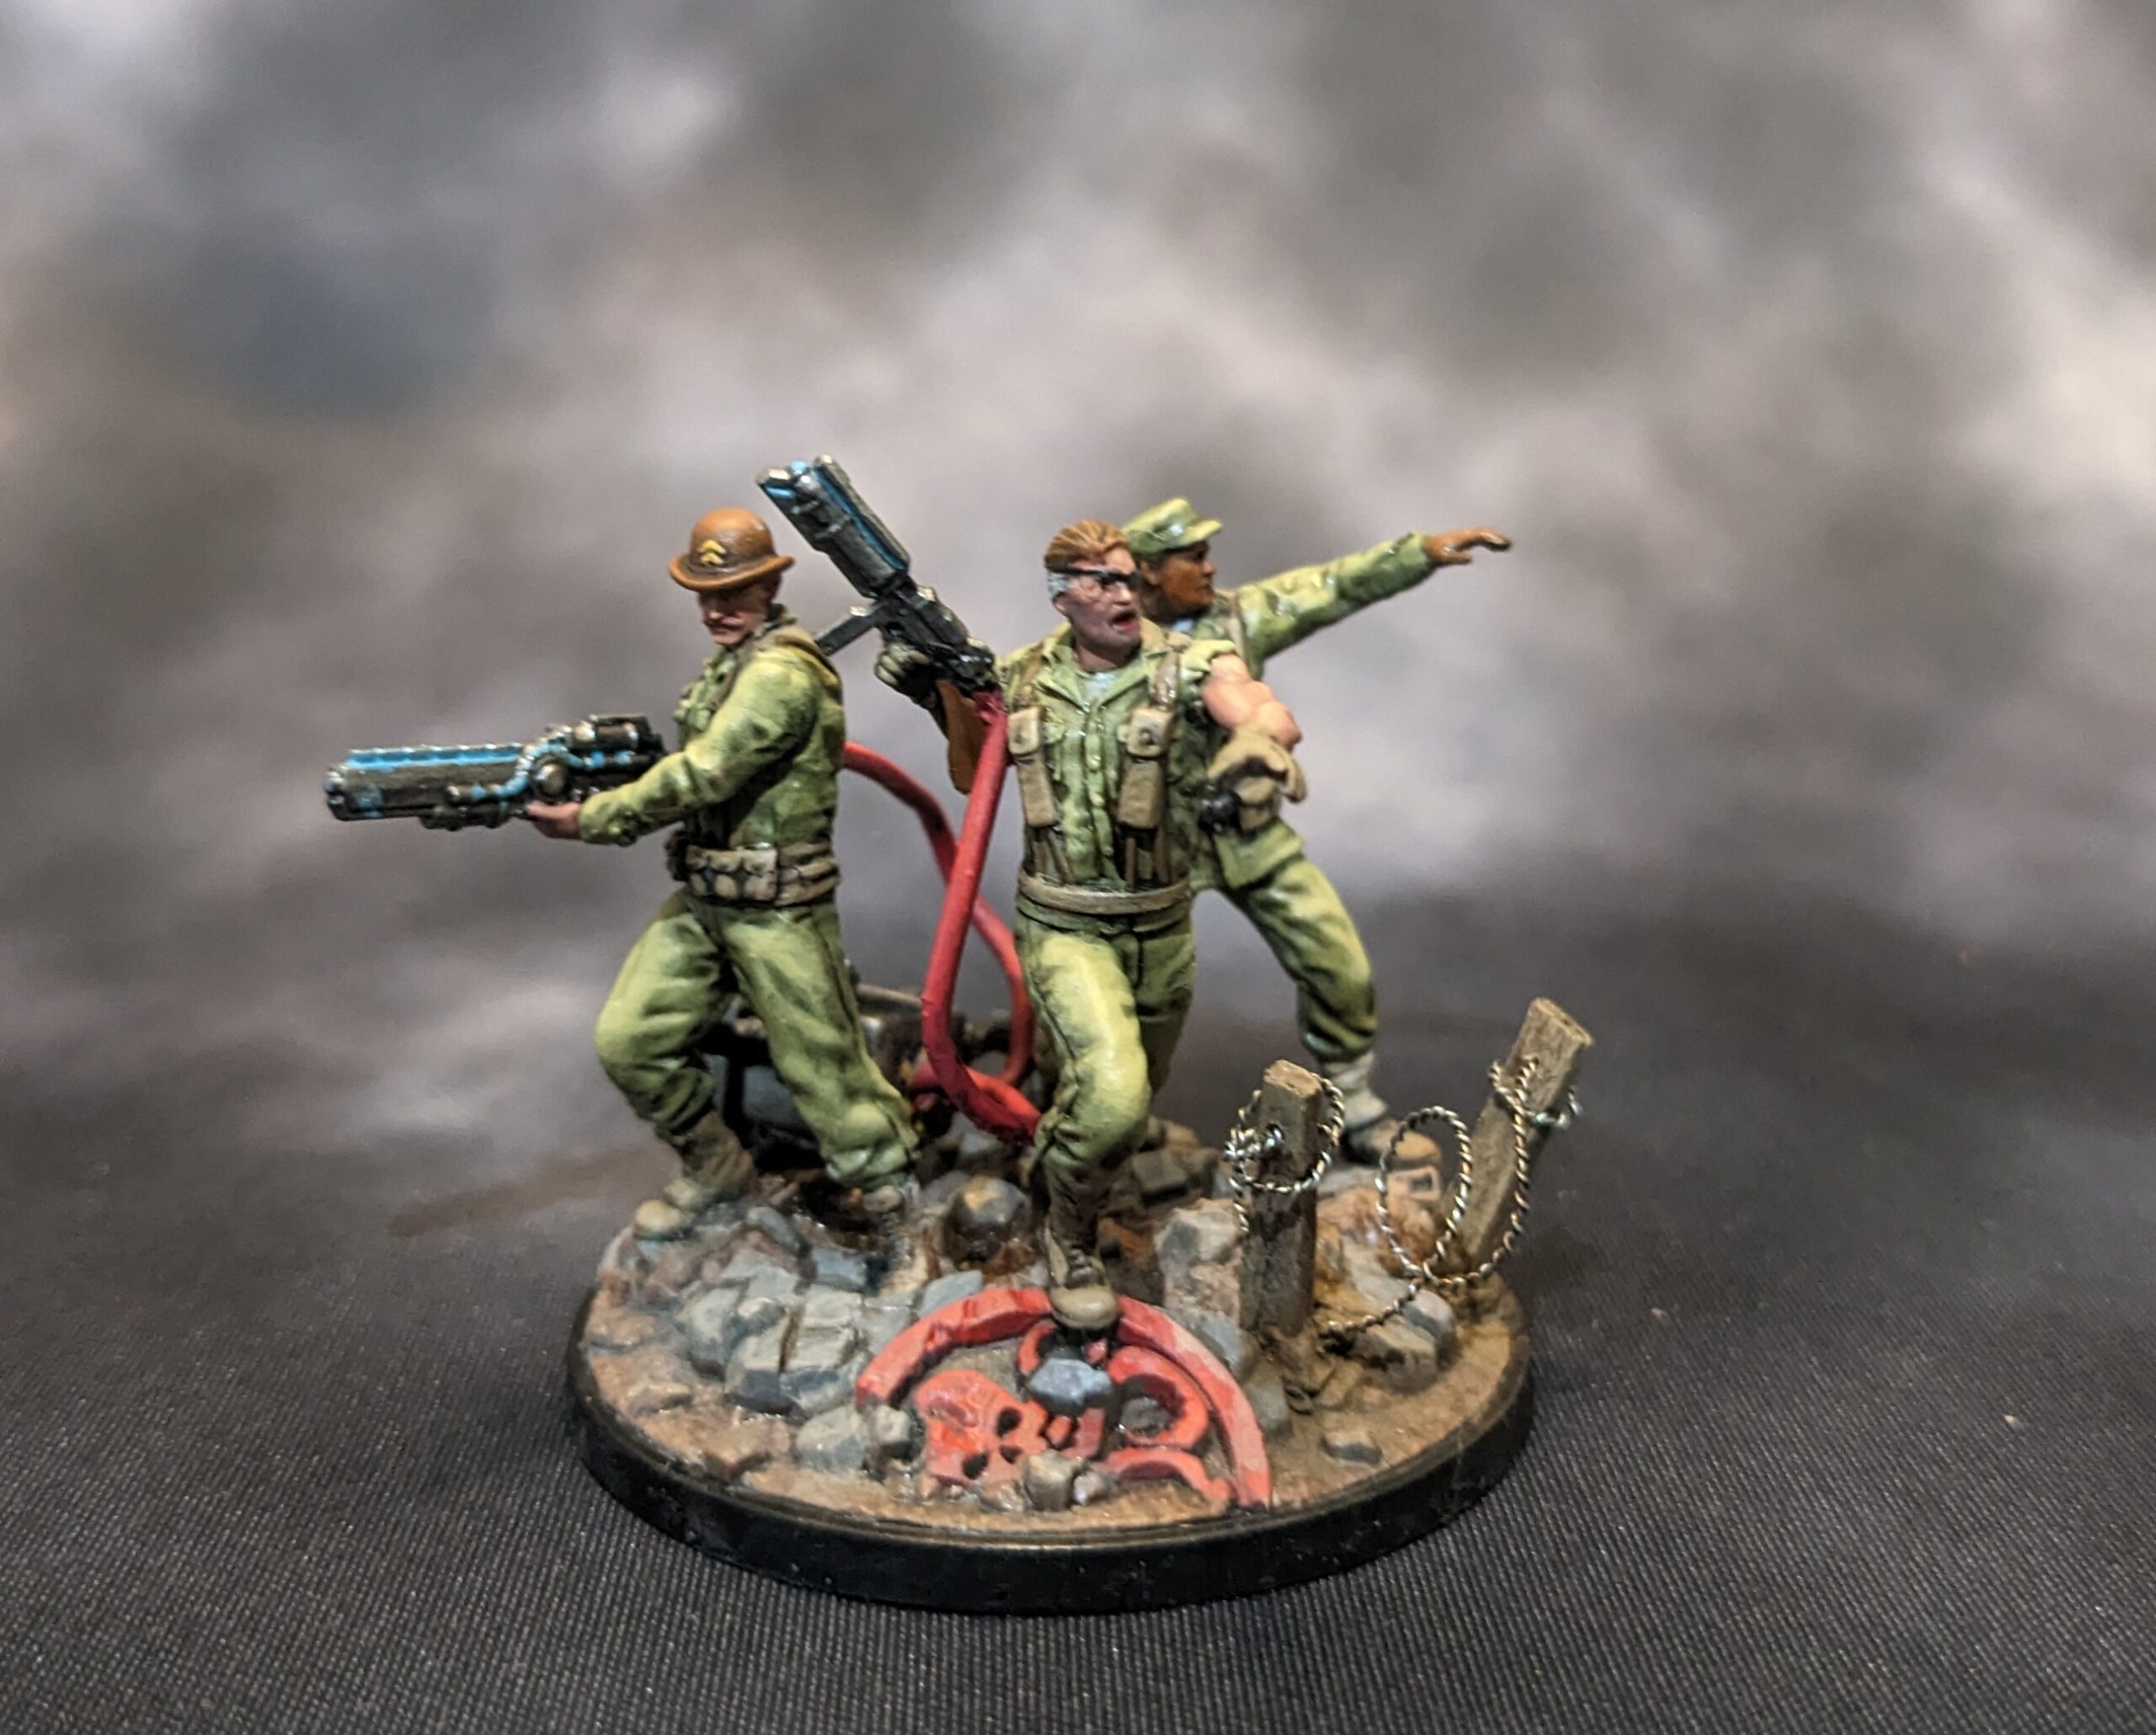
There are a couple of remaining issues. I don’t love the color of the wires connecting to the guns. While they match the Hydra symbol on the base it might make more sense if the wires were blue. Similar to the LED and the color of the weapon glow.
I also might want to make a cube or something to go on top of the power source. A light is good. But it’s small and unfocused. Putting a clear resin cube above the LED might make it look cooler.
And at some point I will now need to build a display base with a built in induction coil to power these wireless LEDs. Overall this experiment was fun. It certainly took a while to finish this mini but I can see how LEDs can be fun. And I really like them when they add to the mini instead of they are the entire focus of the mini.
The post Painting the Howling Commandos and Experimenting With Wireless LEDs appeared first on Patricks 40k Hobby.