Almost a year ago now, FAME (the parent company for Lulzbot) was kind enough to loan me a SideKick 289 3d printer for the better part of a few months to do a long-term use review of their…entry-level-ish FDM 3d printer. One of my comments in that review was that the small form factor of the 289 made the value proposition for it a little iffy compared to it’s bigger brother, the 747.
So now they’ve sent me one of those.
The Machine Returns (Unboxing and Assembly)
Configuration Details
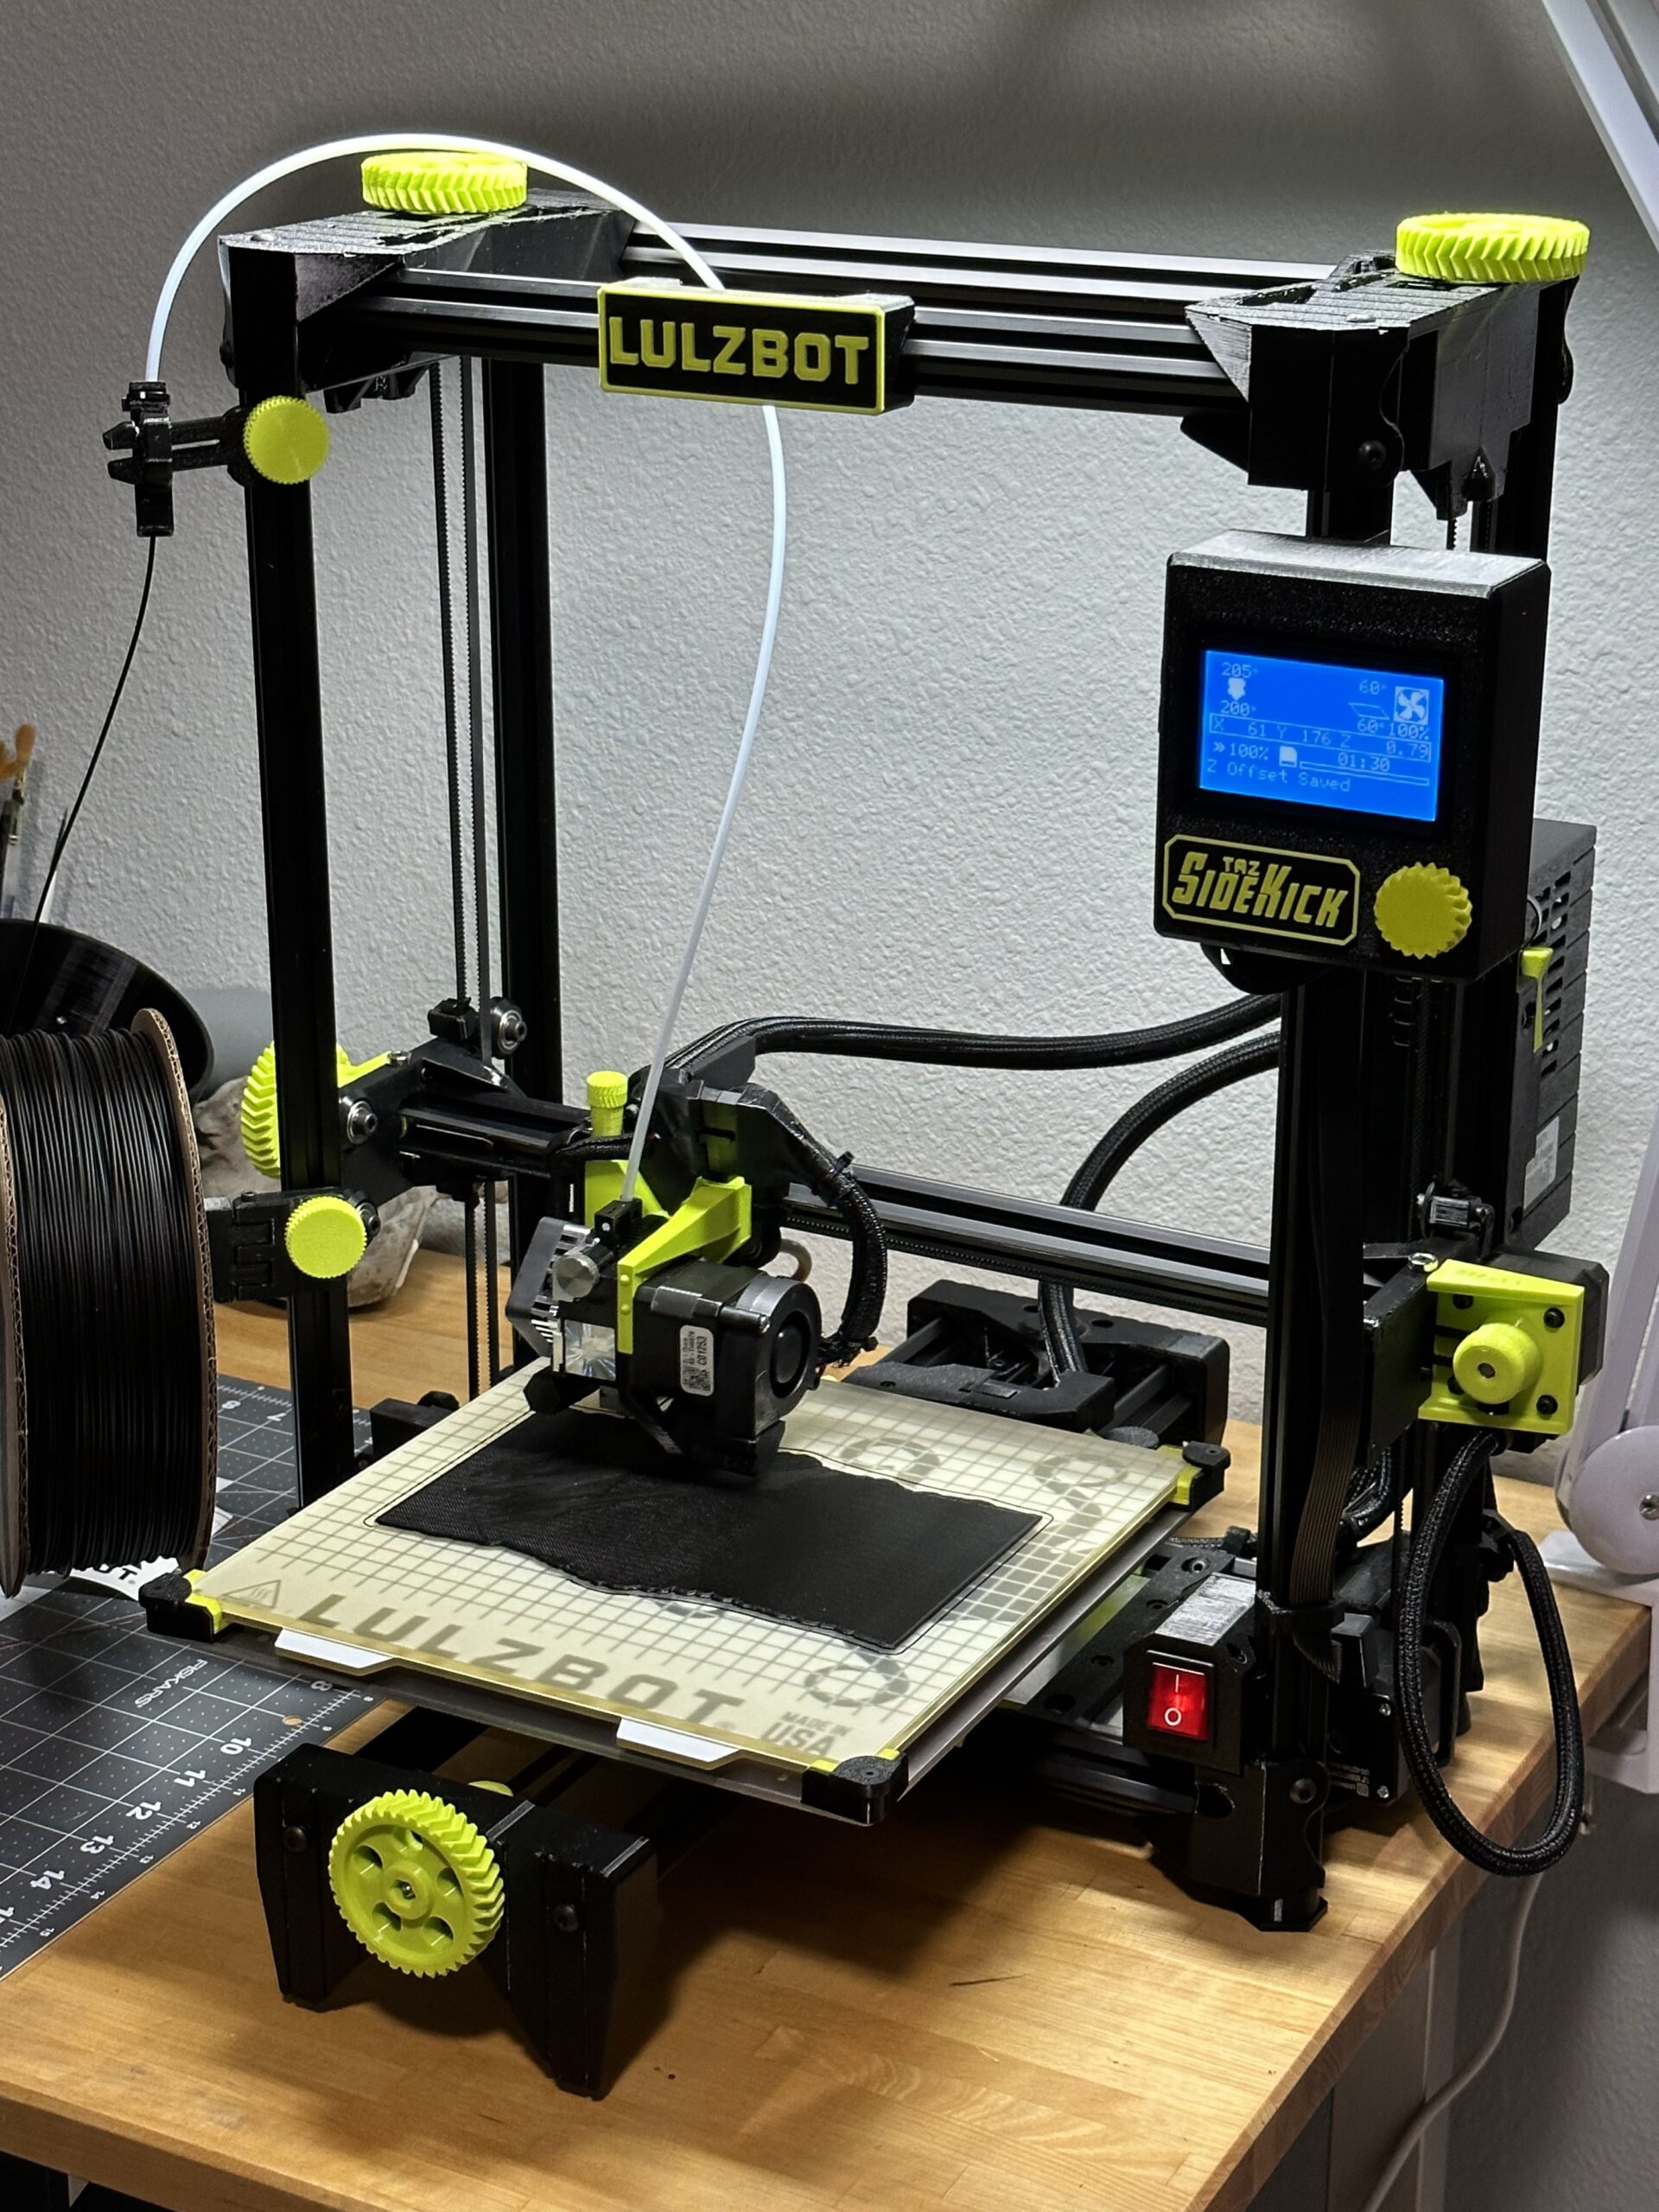
The review machine Lulzbot sent me is their SideKick 747 in what is close to a base configuration. The somewhat more sedate black coloring option, though it still has plenty of charmingly garish Lulzbot Green accents, a PEI-coated glass bed, the SK175 toolhead which is a 1.75mm filament toolhead with a 0.5mm brass nozzle, and a graphical LCD screen controller – this last piece is the one “add on” that makes the printer properly stand-alone. One could go without it if you’re either hooked up directly to a computer or running something like OctoPrint, but even then, I’d consider this effectively mandatory. I’m also not reviewing OctoPrint compatibility, because that would require a Raspberry Pi or similar, and those are rare as hen’s teeth right now.
At time of writing, this configuration is $1285. It’ll bump up to $1345 if you add the removable flex plate and a filament runout sensor – things I had on the previous 289 review model, and which I’ll talk about whether or not I miss them once I’ve lived with the machine for a bit.

For the purposes of testing, I’m using primarily ProtoPasta’s recycled black PLA. It’s less good for photographing finished pieces, but between the recycled PLA and the cardboard spools (and the relatively short distance it has to travel to get to me) I feel less bad about it.
Unboxing Experience
The 747, like it’s little brother, isn’t a kit machine – it comes essentially fully assembled. I actually rather support this – there’s a undercurrent of belief in the 3D printing hobby that you “have” to assemble your own printer, and it’s one I disagree with. I think that stance both makes the hobby less approachable, and it also invites early errors – the number of help posts in the Prusa Facebook groups that can be summed up with “You assembled it badly” are myriad. I think an open design with an eye toward repairability – which the 747 has – gets you about 90% of the benefits of having built your own machine, with 0% of the downsides.
Pulling it out of the box, removing some foam and helpfully orange plastic pieces to keep things from moving, attaching the Y-axis to the rest of the frame, and plugging in a total of two cables took a total of 23 minutes. The instructions were clear, and in one place where I was a little confused, the QR code to take me directly to the user manual – which did tragically push me over my goal, which was to get the printer up and running in under 20 minutes. Parts that need to be positioned in a particular way are nicely keyed, and the tolerances feel a little friendlier than my early-edition 289 was.

If I had a complaint, it’s that some of the pieces are secured in a way that puts me at that “Am I about to break something, or am I just lacking the courage of my convictions?” point that makes me nervous when handling an expensive piece of equipment that doesn’t belong to me. But that’s genuinely it, and when it comes down to it, “Am I supposed to pull this hard or am I about to break something” is my experience of assembling like…80% of all things.
Overall though, it was a breeze.
Software
When I got the 289, I was a little salty about the software experience on Mac OS. The Mac version of Lulzbot’s house brand Cura didn’t include the necessary configuration files, and they were nowhere to be found on the website – I had to email support, have them send me configuration files, install those, etc. None of that was particularly hard (though I am what I’d classify as a fairly advanced user) but it was definitely vexing.
I was told in a followup email to my review that a new version was out, and my experience this time was great. There appears to be rough version parity with the Windows, Mac and Linux versions of Lulzbot Cura, configuration went smoothly, and I was up and slicing files within about five minutes. There’s a beta version of Lulzbot Cura 4, which is a badly needed bit of modernization, but no Mac version of that yet, so I won’t have a chance to test it. But I am glad to see Lulzbot trying to head toward a more modern slicer experience – Cura 3.6 is a perfectly functional slicer, but it’s lacking a little bit when compared to the competition.
First Impressions
Size

The 747 is a substantial machine, taking up probably a third of the desk it’s on, and making my Prusa Mk3S feel small. It’s also an extremely sturdy feeling machine – while the use of 3d printed parts might feel somewhat archaic, the metal extrusion frame feels like it could take some wear and tear and be fine, and I’m definitely less worried about picking it up throwing everything out of alignment. If I was considering a printer for a maker space, wargaming club, or office where I might be expecting people to not necessarily baby the machines, the solid chassis, easy to clean rollers, easily tensioned belts, etc. would definitely have an appeal.
First prints
The first print – one of the utility cups that now litters my office, because they’re almost exactly the amount of material that comes in filament sample spools and perfect for storing little bits, half-completed figures, etc. went very smoothly. Load the filament, and print away. Having learned from the 289, I chose a brightly colored filament so that it would be easy to see the print going down on the somewhat graphically busy build plate, and I was once again delighted by the level of visibility afforded by the SK175. It makes it easy to see and diagnose problems while they’re happening, take pictures if you need to ask for help, etc.
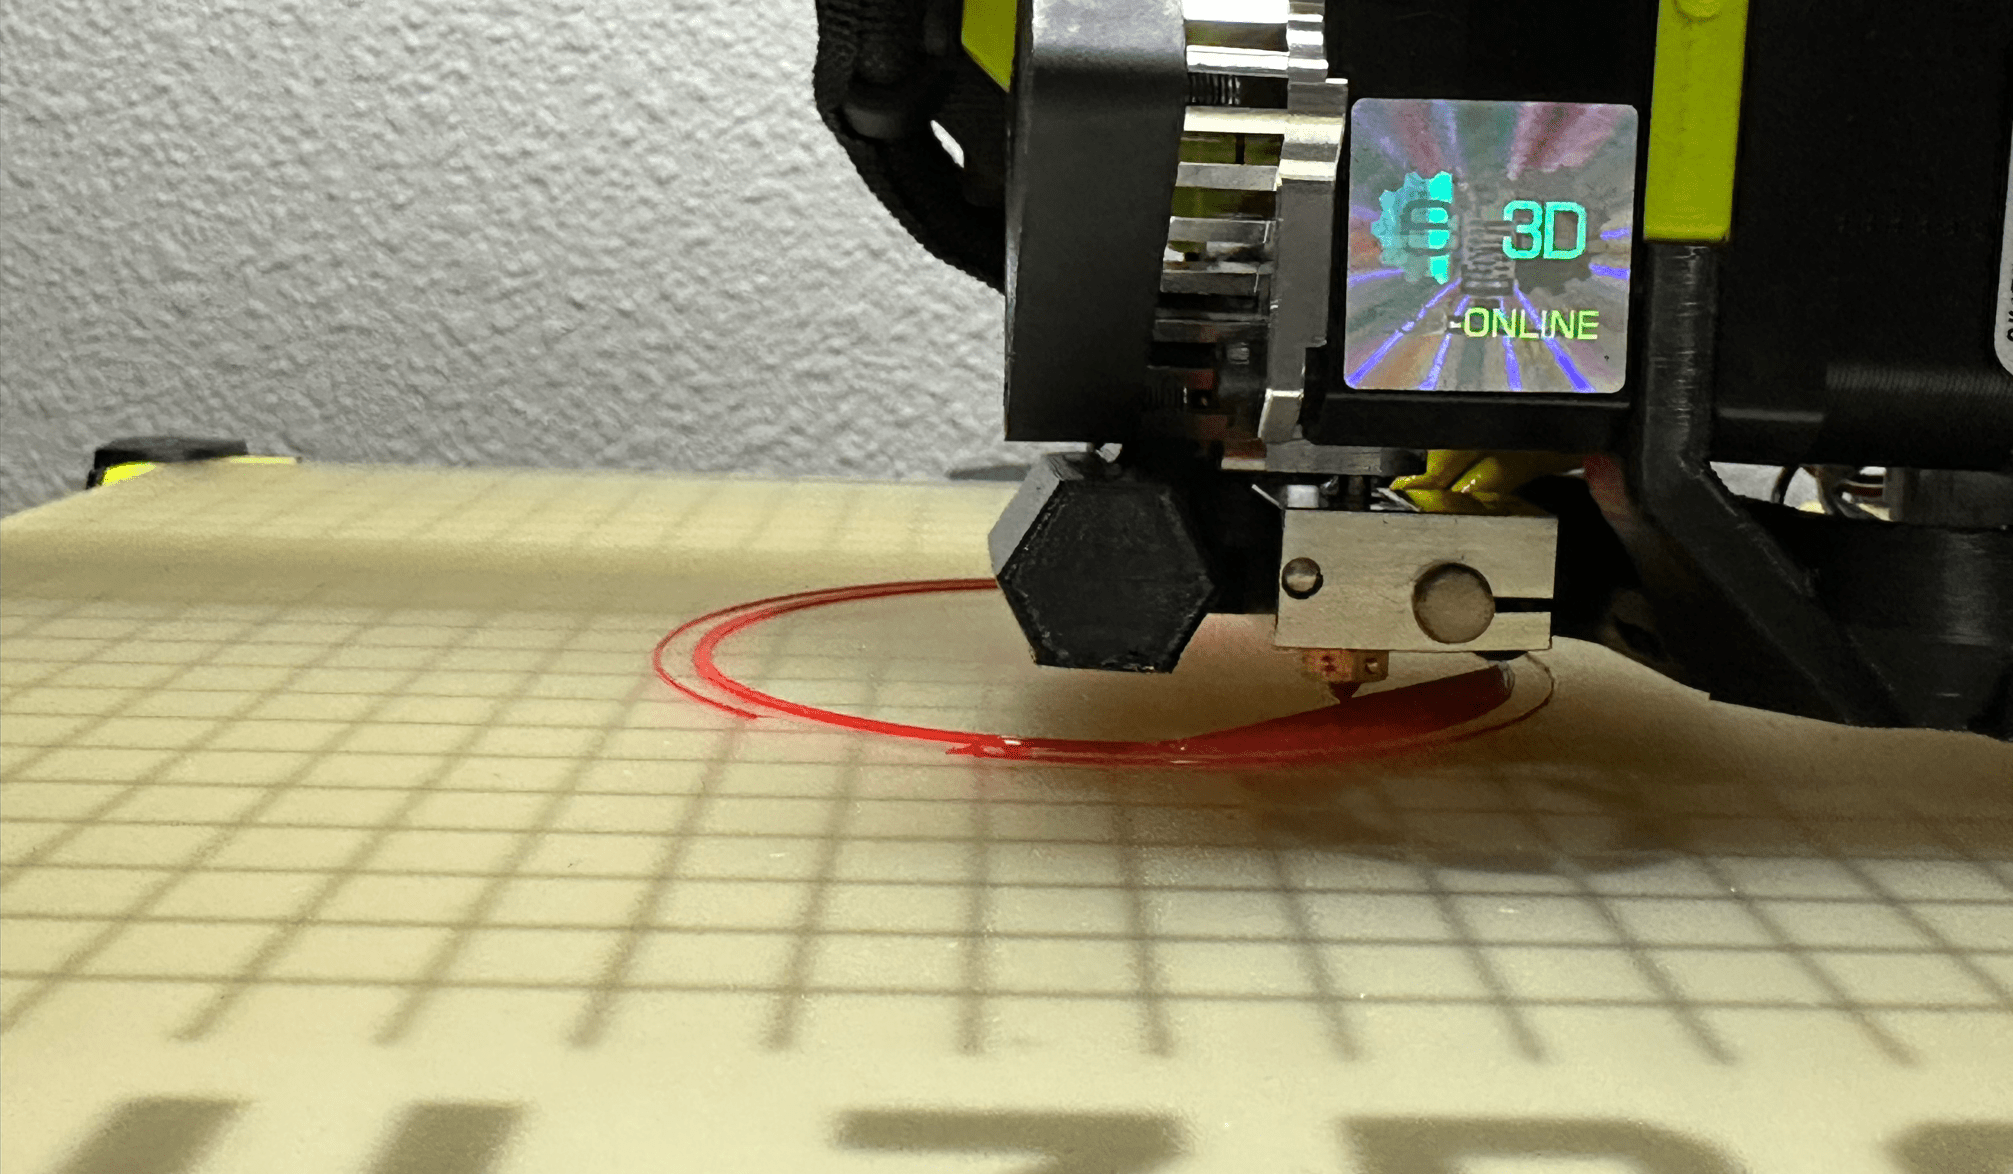
As was my experience both with the 289 and the Lulzbot Workhorse I have at my office, the PEI-coated glass surface is very sticky, which is excellent for 99.99% of your printer’s life, and something of a double-edged sword for dialing the printer in for the first time, because the band of what is tolerable enough to adhere to the bed is fairly wide, whereas some other printers will cheerfully inform you you’re off by having a curled and torn part dragged around the bed for a bit.
That being said, I had to do very little tweaking to get the z-axis offset calibrated correctly and getting good first layers.
Noise
This a comment I had about the 289 as well, but the 747 is a noisy machine. Using a decibel reading app on my iPhone, it was at 66.9 decibels. That’s…not uncomfortably loud, but it’s definitely loud, and in an office or home environment, loud enough that you’re going to want a dedicated workshop, garage, etc. for it. I can imagine having this printer running and being on a Zoom call, for example.

By comparison, my Prusa Mk3S while printing (and also with a bathroom extractor fan running), clocks in at 54.8 decibels. Because of the way that scale works, that means it’s not a little bit quieter, it’s about 10x quieter. The 747 is up their with the Bambu Lab’s X1 in terms of “This printer makes a lot of noise”, and for the X1, that’s because it’s printing at supersonic speeds.
On the 747 (and I can’t believe I’ve waited until now to make a jet engine joke…) it’s…the fans.
Sitting at idle, with only the fans for the electronics running, the printer hit 61.1 decibels. It’s not the older 3d printer stepper motor problem, where the motors themselves sound like Martian ray guns going off and it’s just loud. It’s strictly fan noise. Which is sort of a problem, because they’re always on, which means if you want the printer quiet, the printer needs to be off.
I’m sure there’s a reason for the need for two fans for the electronics, but I think Lulzbot would be well served into looking into some quieter options here.
Long Term Use
So how about long-term use for the printer? I’ve had it now for several months, and have been printing up an absolute storm with it. I’ve printed a metric ton of river sections for a friend whose daughter wanted some rivers to go with her Sylvaneth forests, and most of the roads for my club’s upcoming Ash Wastes campaign.

I felt like these were good test prints (as well as things I needed) for a few reasons:
- They’re large prints, which means bed leveling irregularities, etc. can show up where smaller footprint print might not. Also, they take advantage of the 747’s large print bed.
- If the lack of removable build plate was going to be a problem, it would be a problem for these prints (wide and thin).
- The details are on the upper surface of the prints, rather than the sides, which means quality issues owing to the 747’s larger (and faster) 0.5mm nozzle compared to the industry standard 0.4mm nozzle would show up here.
I also printed a collection of other models – more utility cups, some terrain for Steel Rifts/BattleTech – but for the most part, the 747 spent its days churning out several tables worth of rivers and roads. And overall? I’m over the moon with the prints. They were high quality, the larger nozzle didn’t seem to impact the surface quality of the prints (while as an upside making the traditionally slow first layers for those types of prints faster). The one problem I did have was about 2/3rds of the way through a print, where a spool of filament managed to both wrap itself around the spool holder arm and ran out of filament in a moment of inattention from me, which did something to the z-offset, which needed to be reset. That took maybe an hour or two of sorting to fix, a few roads with mediocre but workable first layers, and then we were back in business.
The Missing Parts
As mentioned earlier in the review, this model came without the filament runout sensor and the flexible build plate. I was expecting to miss the latter and not the former. To my surprise, it was just the opposite. The glass PEI surface has great bed adhesion, and I was prepared for that to be a problem. Wargaming terrain pieces are often fairly large. It’s possible for adhesion to be too good, and for removal to be difficult. At times, with other printers, this has required the use of a metal spatula (or once a set of plastic razors) and some careful work to get them off.
The nice part about this surface is that once it starts to cool, it releases the parts (somewhat audibly), and once the bed is down to ~45C most PLA prints are either trivial to release or have already done so on their own. I didn’t have to resort to my trusty spatula once, and I didn’t find myself missing the removable sheet nearly as much as I was expecting to. The glass bed needs a little more time to cooling, but in exchange, needs less fingerprint cleaning.
In contrast, I do very much miss the filament runout sensor. The large print volume invites filling the print bed and letting things ride for a bit, which in turn invites the occasional filament runout. And if you have the combination of a filament roll that doesn’t want to let go of the filament at the end and running out, minor misadventure ensues. The sensor is $20. Buy it.
My Kingdom for Prusa Profiles
One thing I would very much like to see is Prusa Slicer profiles – there’s a lot of development work being done there, and it would be nice to be able to piggyback on that, rather than rely on FAME’s own efforts on Cura LE, simply because FAME is a much smaller company, with a presumably much smaller dev team. There’s nothing wrong with Cura LE, it was a pleasure to work with, but variety is the spice of life, as is the option to not have to switch slicers along with printers whenever possible. There were a few community made profiles on the SideKick Facebook users group, but that group appears to have vanished into the digital void.
Iterations
A lot of work has gone into some subtle improvements, and the nice part about the manner in which the printer is built is that there’s opportunity for iteration, either on the part of Lulzbot or the community at large. There are two quality of life improvements I’d like to see.
The first is something addressing the noise of the machine. I’m not sure there’s anything to be done about this, but there’s a lot of quiet/silent fans on the market, and from my (admittedly ignorant) perspective, they’re an avenue worth exploring. Because the thing does sound like a jet engine.
The second is the option for an overhead filament feeder – as well as the mechanism for a filament runout sensor – on an overhead mounting. While mounting all that weight up on top of the printer does add some potential for wobbling, the current diagonal-side mount with a filament spool on it adds about 6 inches to the amount of space the spool holder takes up. It also requires a very long PTFE tube to go up, over, and back down the span of the printer. A direct path would be nice – and while there are easily designed or adaptable systems for an overhead spool holder, the current mechanism for the filament runout sensor – as far as I can tell – dependent on the current pathing system.

Conclusions
In my SideKick 289 review, I characterized the 747 as “arguably a much better value, especially when going toe-to-toe with the likes of a Prusa Mk3S+”. Having had a chance to have my hands on one for several months, I stand by that characterization. The 747 is a printer built with the classic open source, “RepRap” ethos that has dominated the 3d printing hobby, is made in the United States for those who care about that kind of thing, and as a fully assembled printer, is largely price and feature competitive with the Prusa Mk3S+ when one orders it assembled, which is the clear comparator in the “It Just Works” upper end hobbyist 3D printer category. Some other features, like the swappable hot end for different types of prints (for example, a larger nozzle for utility prints, or a hardened nozzle for more exotic filaments like wood, carbon fiber, or glow in the dark filled filaments) are very compelling.
The 747 really grew on me – it’s reliable, sturdy, and it did what I asked it to do. That’s all I’m really looking for in a hobby printer. As I said above, if I was looking at a printer for a wargaming club, game store, or other setting where a solidly built, easy to clean machine has its appeal, this is where I’d turn to. And the chassis built off of standard extrusions is a modders delight, if one is interested in designing camera mounts, a holder for a Raspberry Pi for Octoprint, LED lights, or whatever else one might be looking for. It’s a lovely middle ground of “Can be modded, but doesn’t need to be.”
The elephant in the room is the Bambu Lab’s X1 and P1P series printers, which are taking the 3d printing market by storm of late. The P1P looks to be a strong contender for the type of printing for wargaming – which is nearly entirely PLA-based. It’s cheaper than either the Prusa or 747, also comes assembled, and the Core XY kinematics can be best described as “wicked fast”. But there are downsides as well – the printers are proprietary, not user serviceable in many respects, and Bambu Lab has an unproved track record in terms of the longevity of support, how they’ll handle the sudden popularity of their printers, etc. But it’s undeniable that they’re making waves.
When it comes down to it, choosing a printer is making a series of decisions about price, capability and…ethos. The Lulzbot 747 hits a lot of those, especially for those interested in terrain making. It’s reliable, has good performance, can be serviced and tinkered with but doesn’t have to be. I think it’s a great starter printer for folks looking for out-of-the box performance, and if I was in the market for a printer, it would be a very serious contender. As with the 289, I find myself a little sad that I’m boxing my 747 back up and sending it home. It’s genuinely a special little lime green machine.