Hi all,
another clay sculpting post.
This project is called "Dragon Rider" and is inspired by this image by Keith Parkinson, called "Northwatch"

I'm not trying to recreate it 1:1, but I really like the dragon and rider's pose.
So here's my take on it.
The start looks rather like a fat slug than a dragon.


But with the first hint of a leg

one can almost guess the shape.

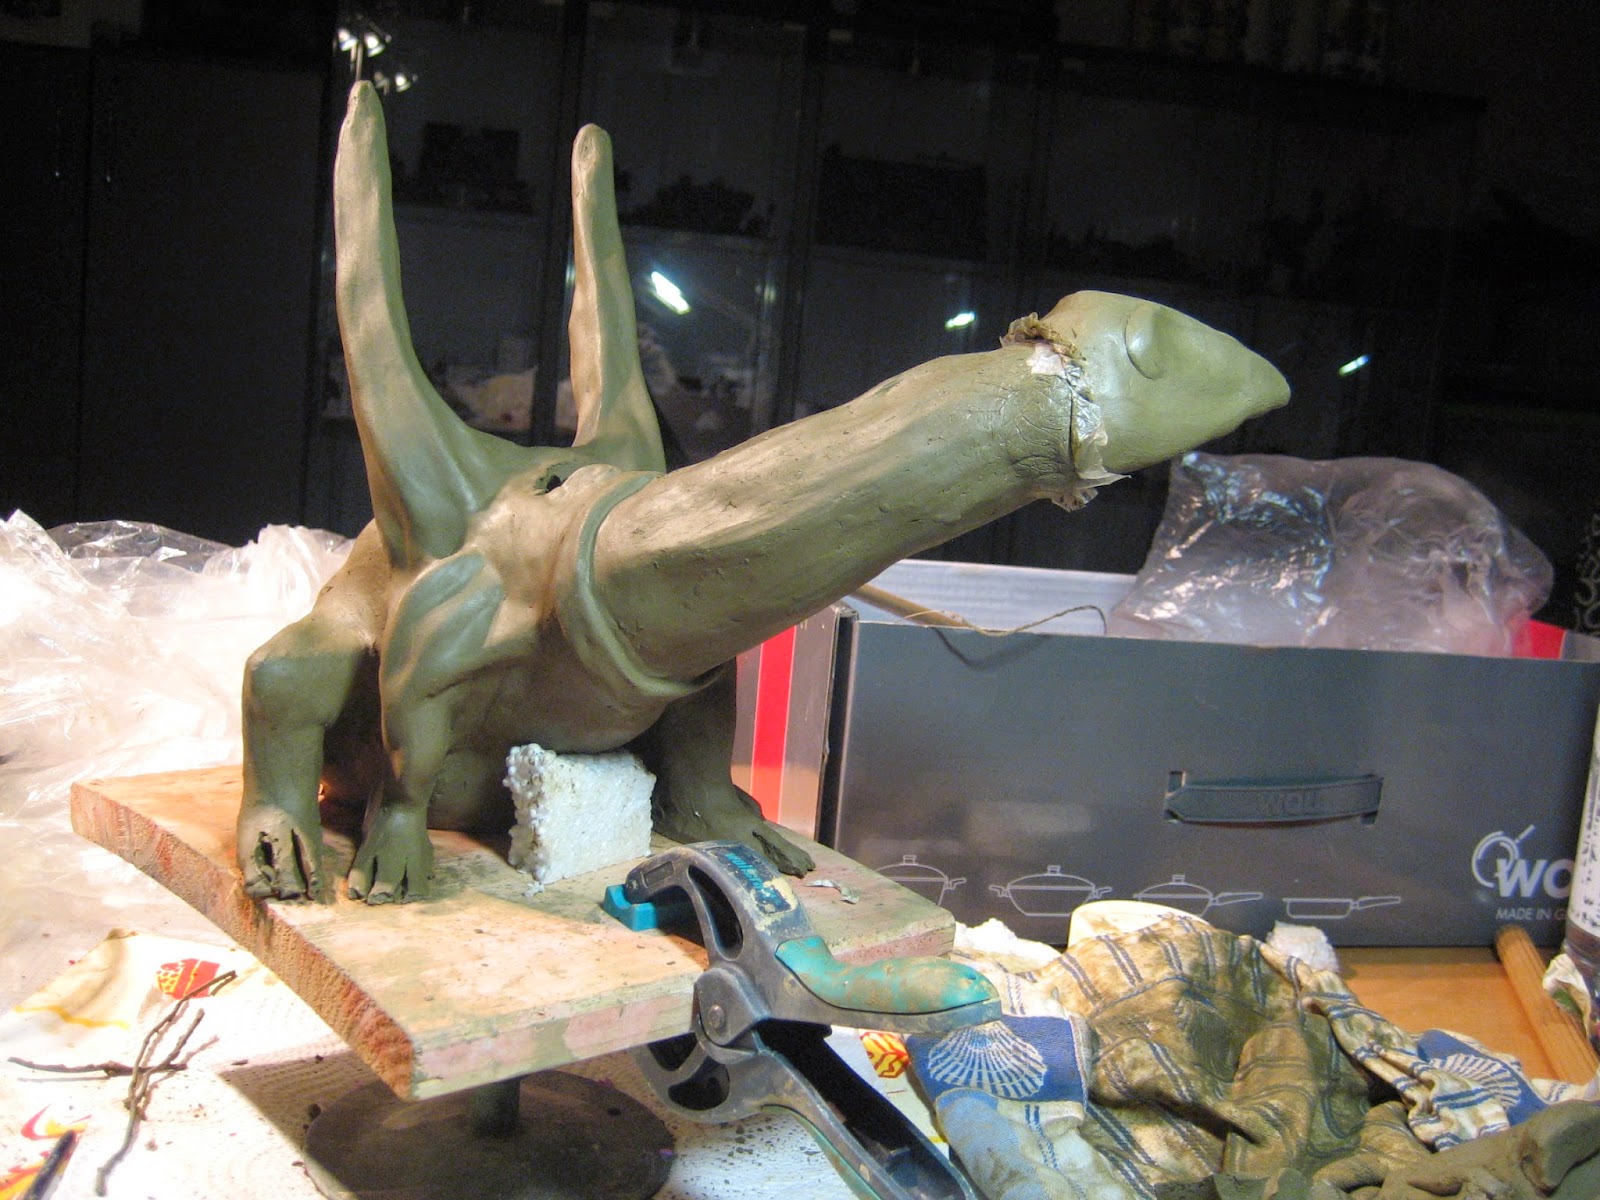
with the wing stumps it almost looks like a turkey :-P

I wanted to try a bit of a dynamic pose, so I raised the right front leg a bit - like a cat or a dog does sometimes.

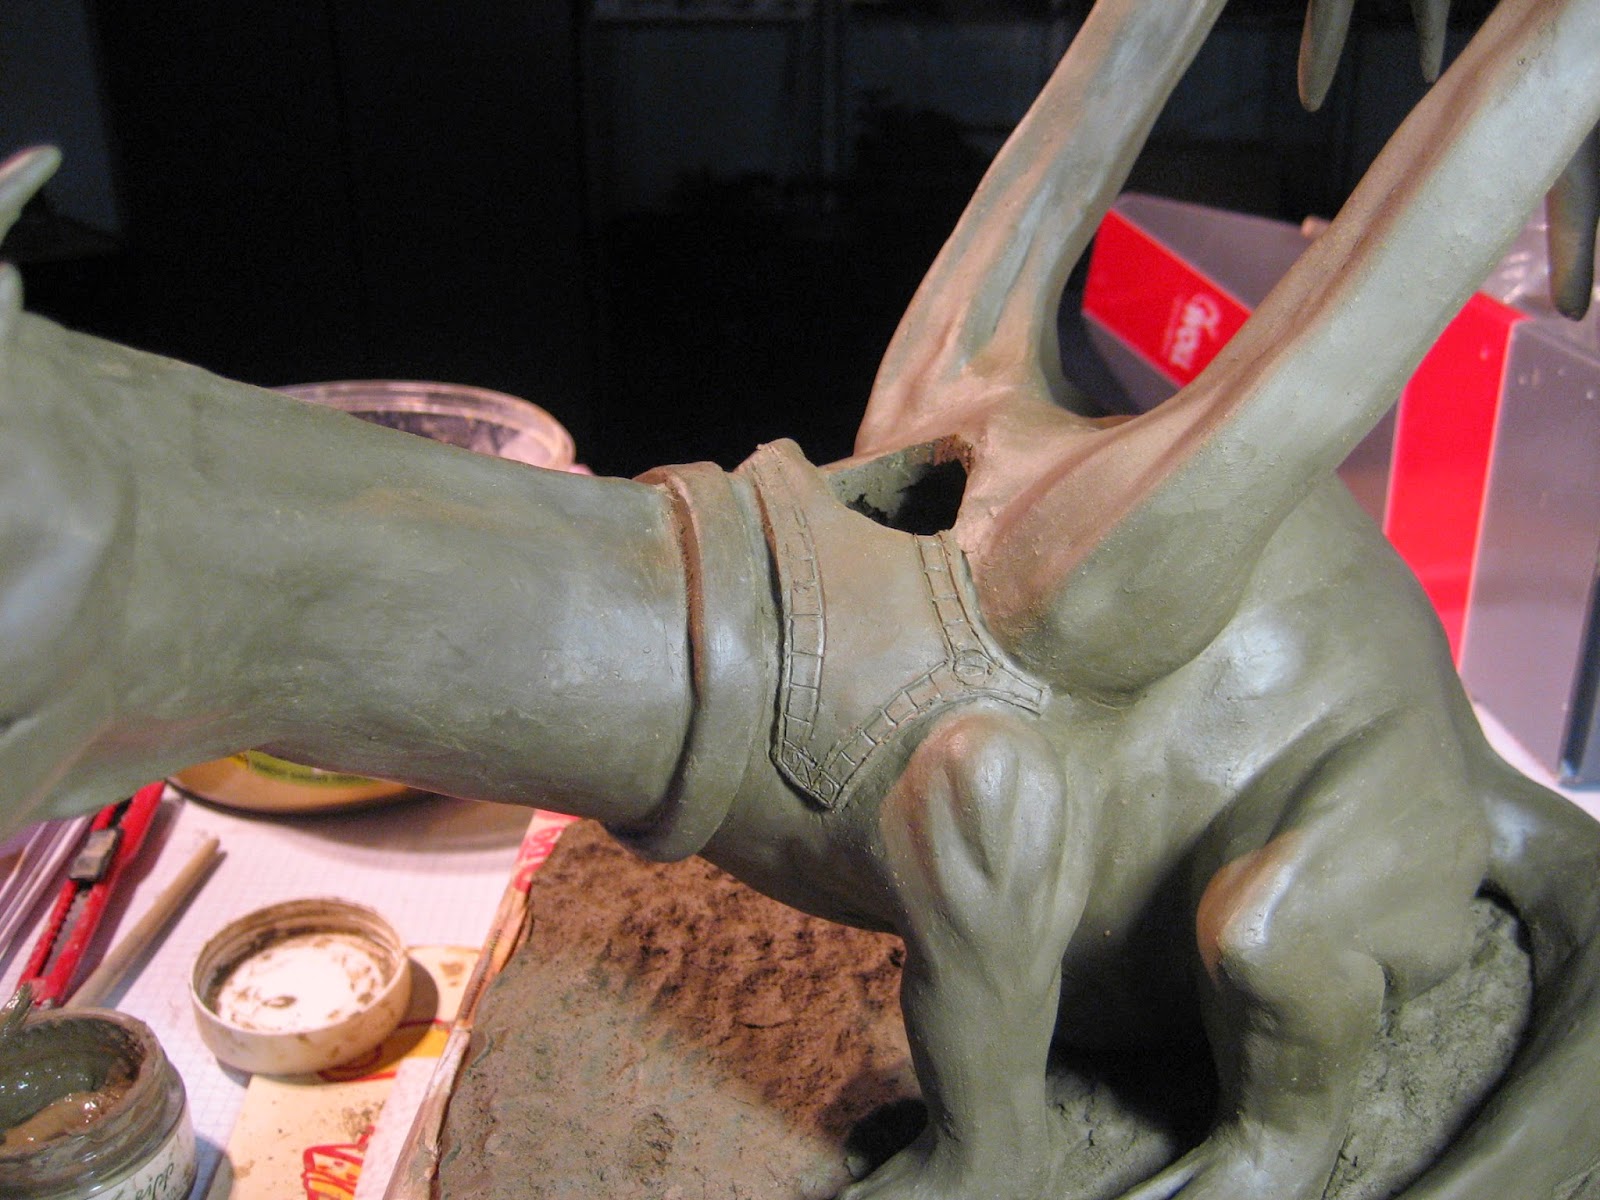
Then I started to smoothen the surface and added a collar.

Some muscles on the back and the tail.

The next day I started to add muscles to the legs and extend the wings.

I however realized that the pose with the raised leg isn't really working, so I removed the leg again

and replaced it with a straight leg.

The "arm" of the wing is slowly extended - but each time I add a bit, it need to cure before I can continue - a bit time consuming.

Muscles on the right side.

and more on the rear.

The next day I started with the head.


But I didn't really like it, so I removed it again...

and started with another head


Since the proportions seemed OK, I continued.
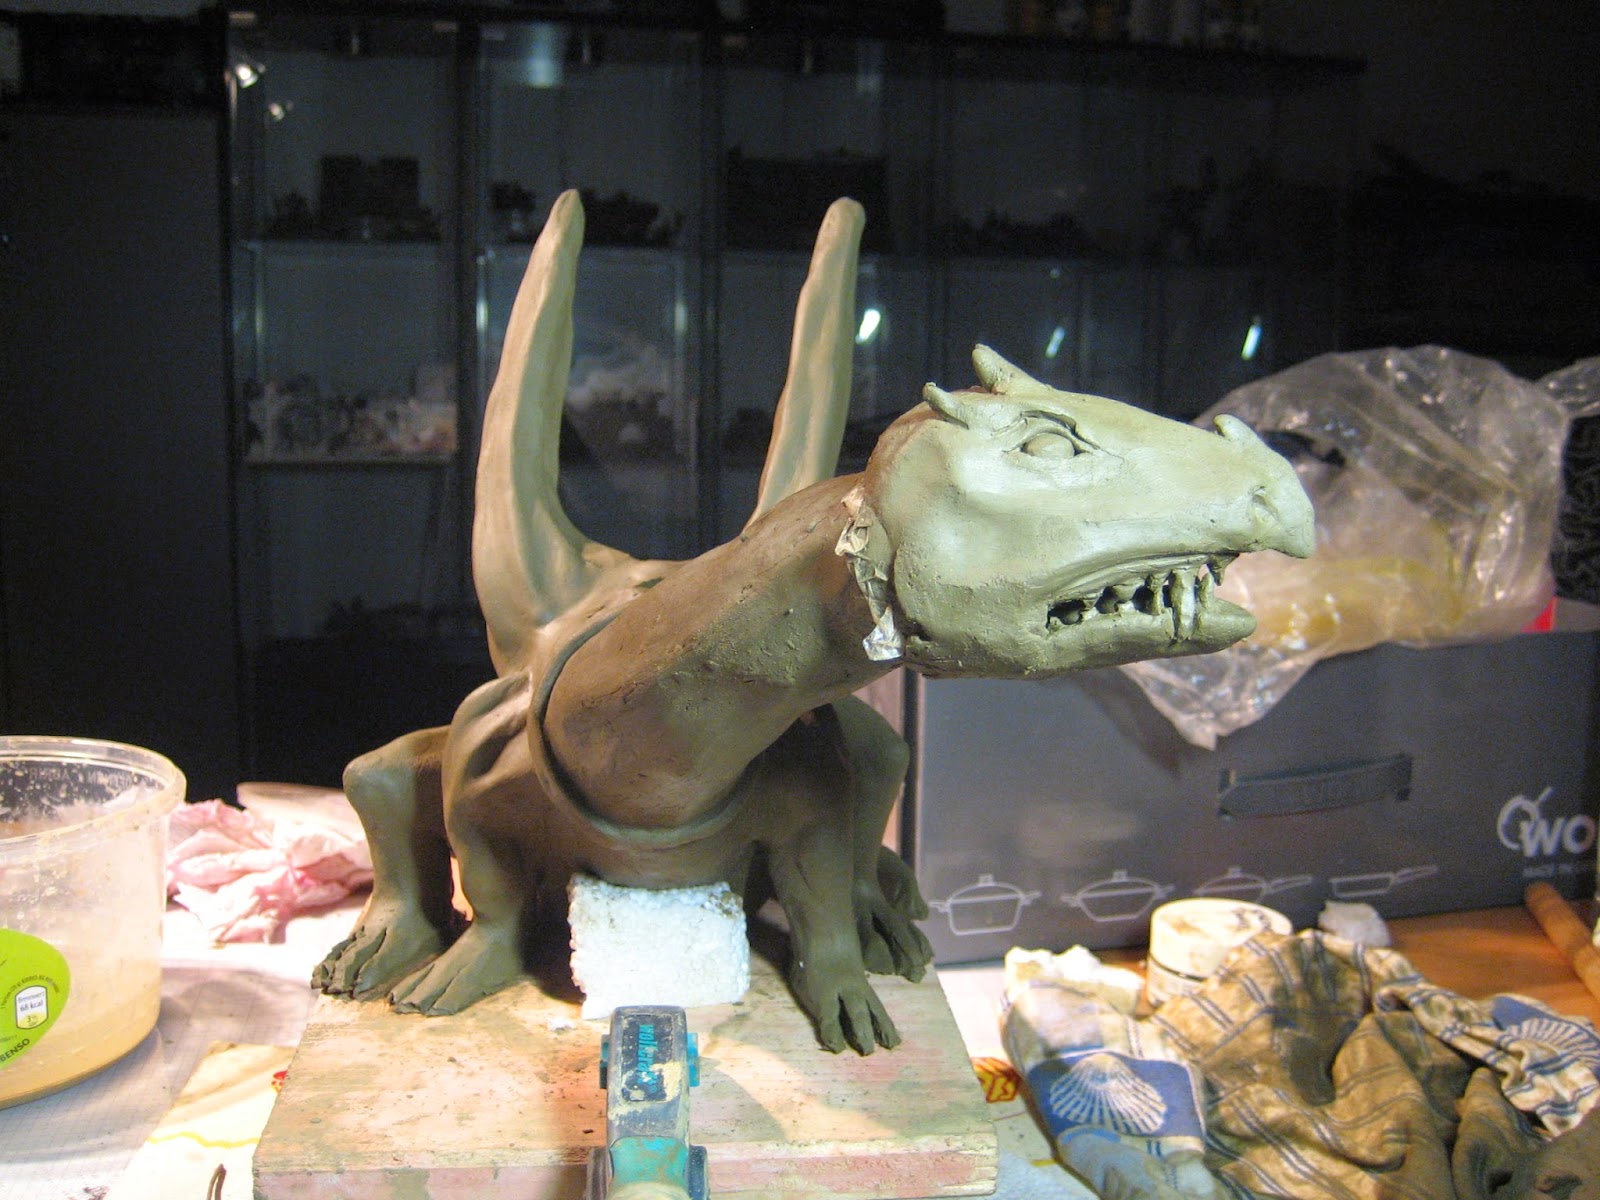
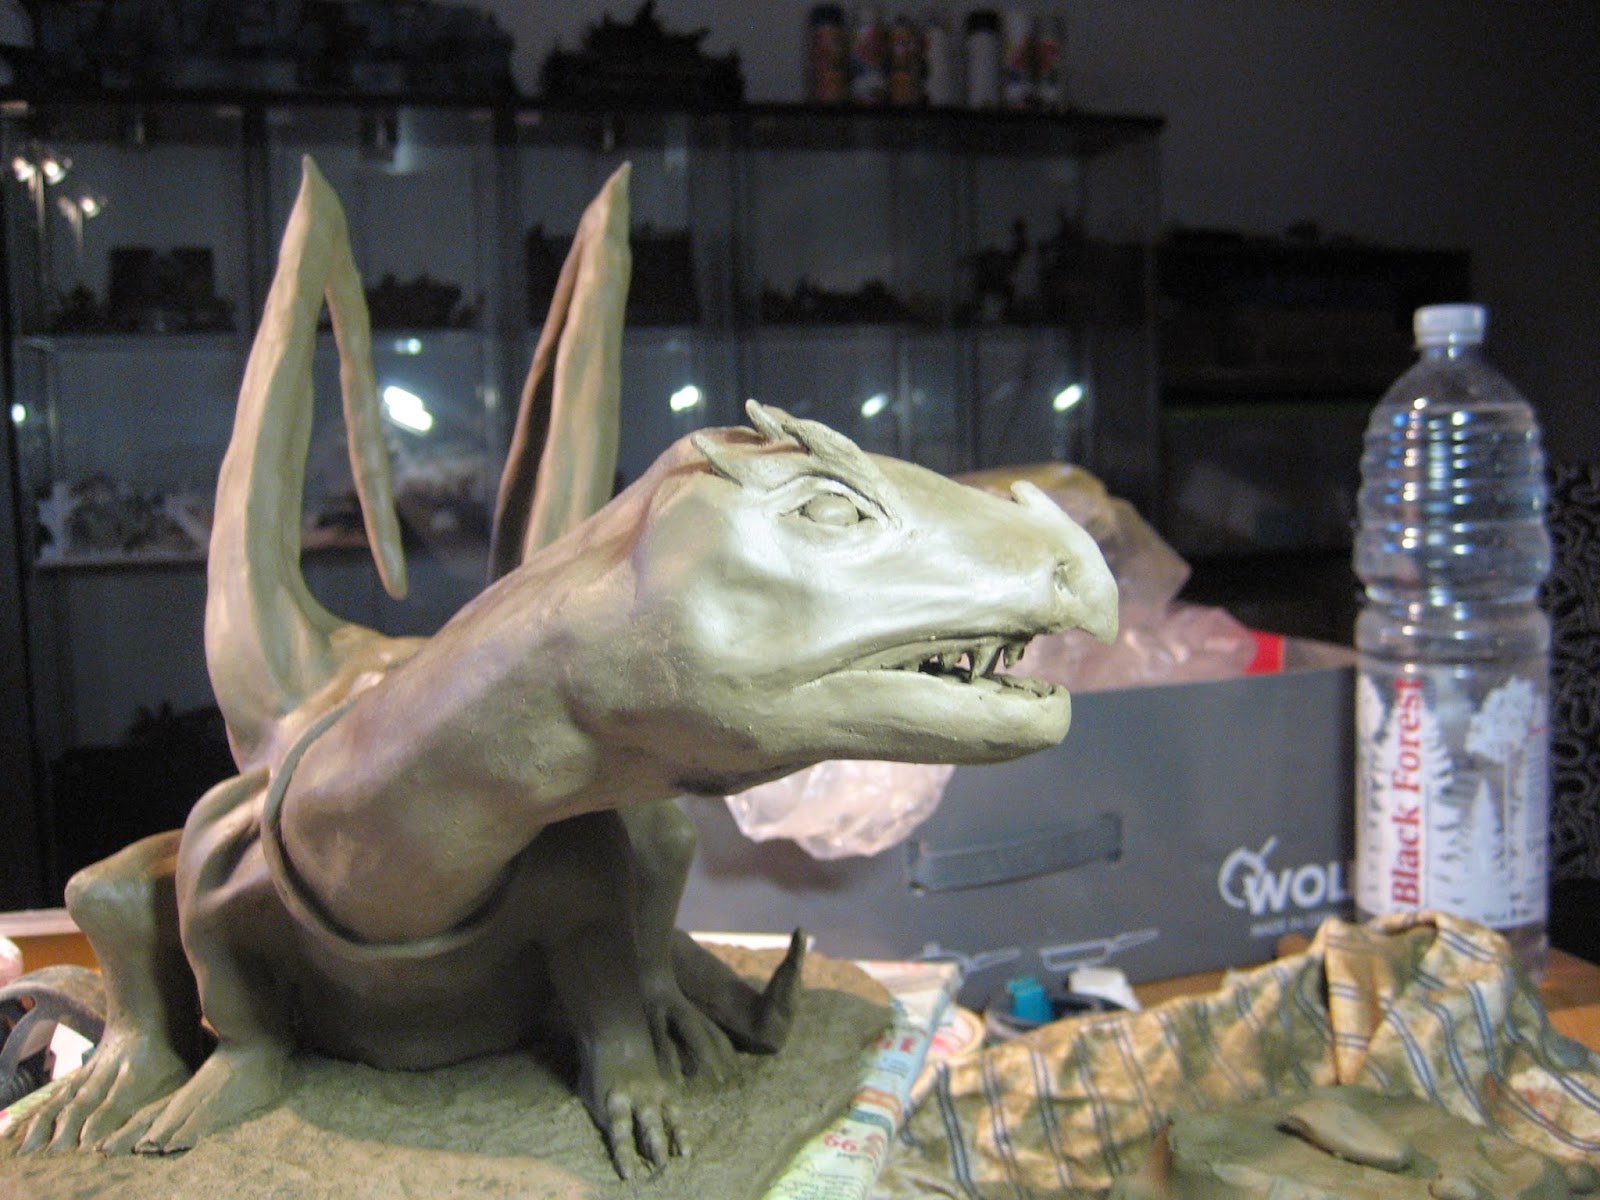
Looks a bit "birdy" :)
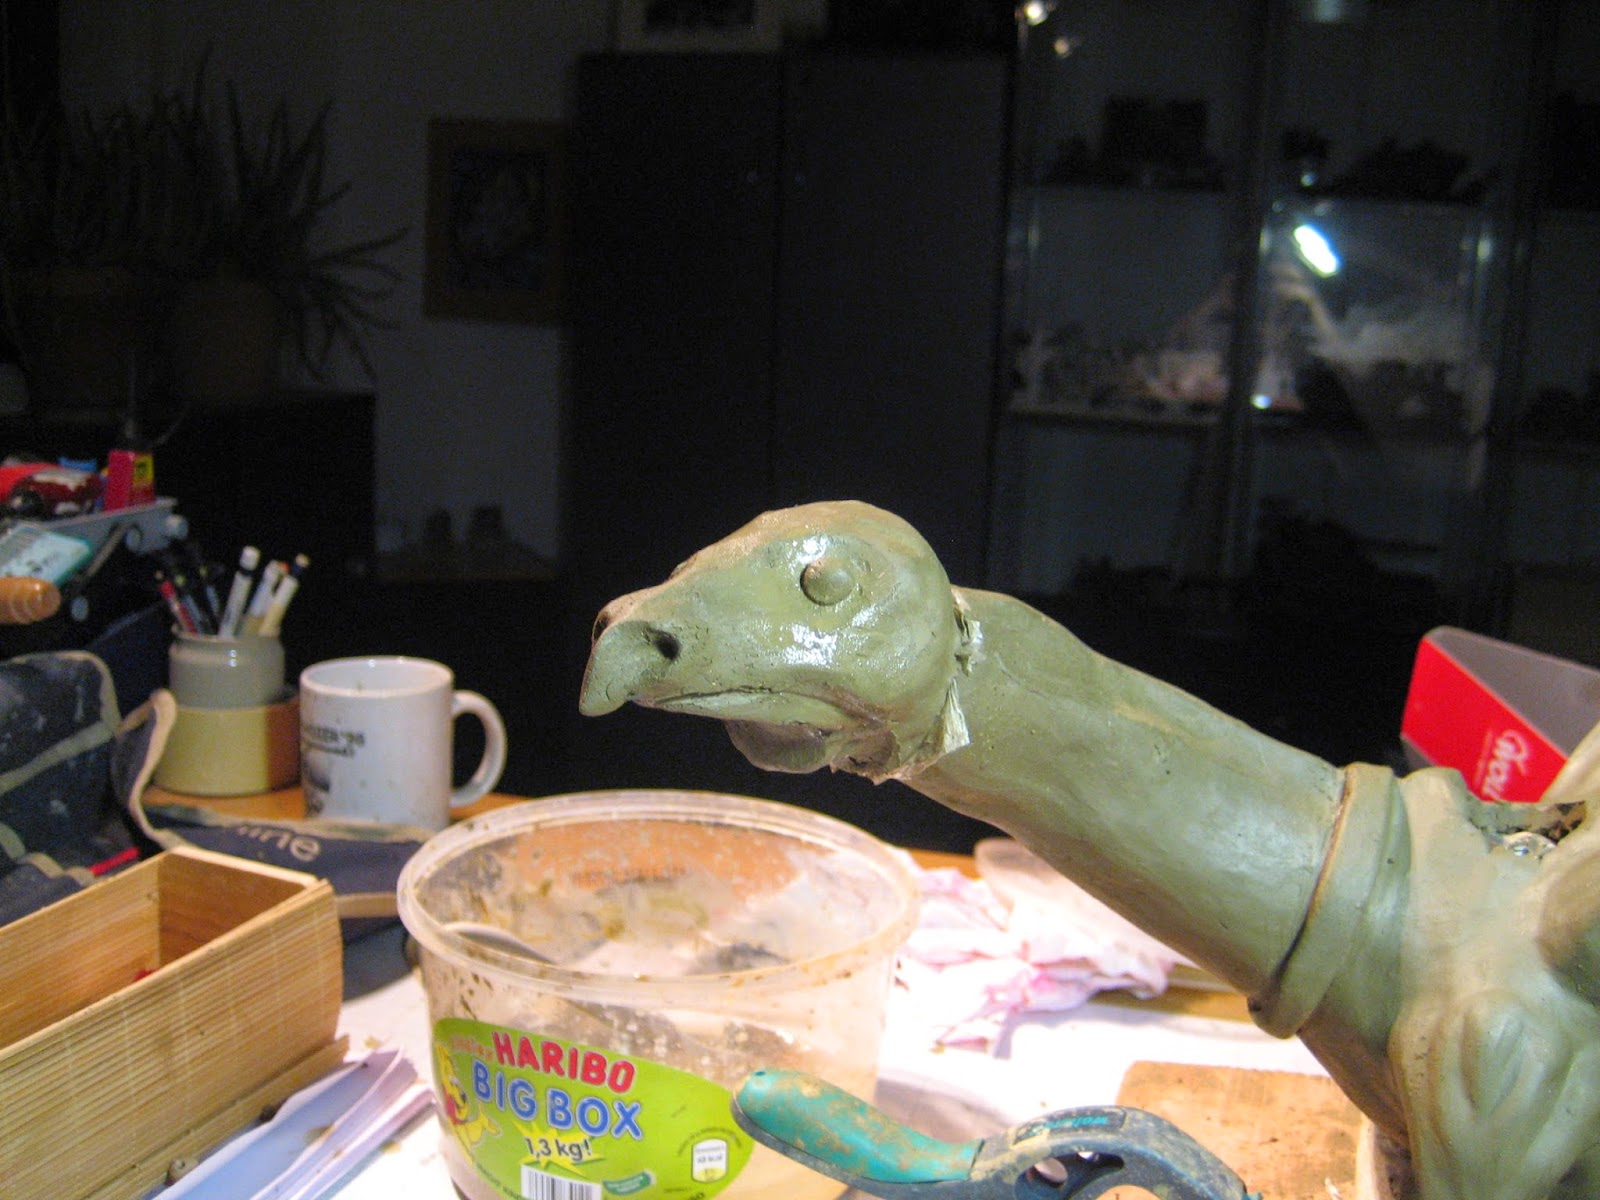

But with eyelids and some flesh it starts to look like a dragon.

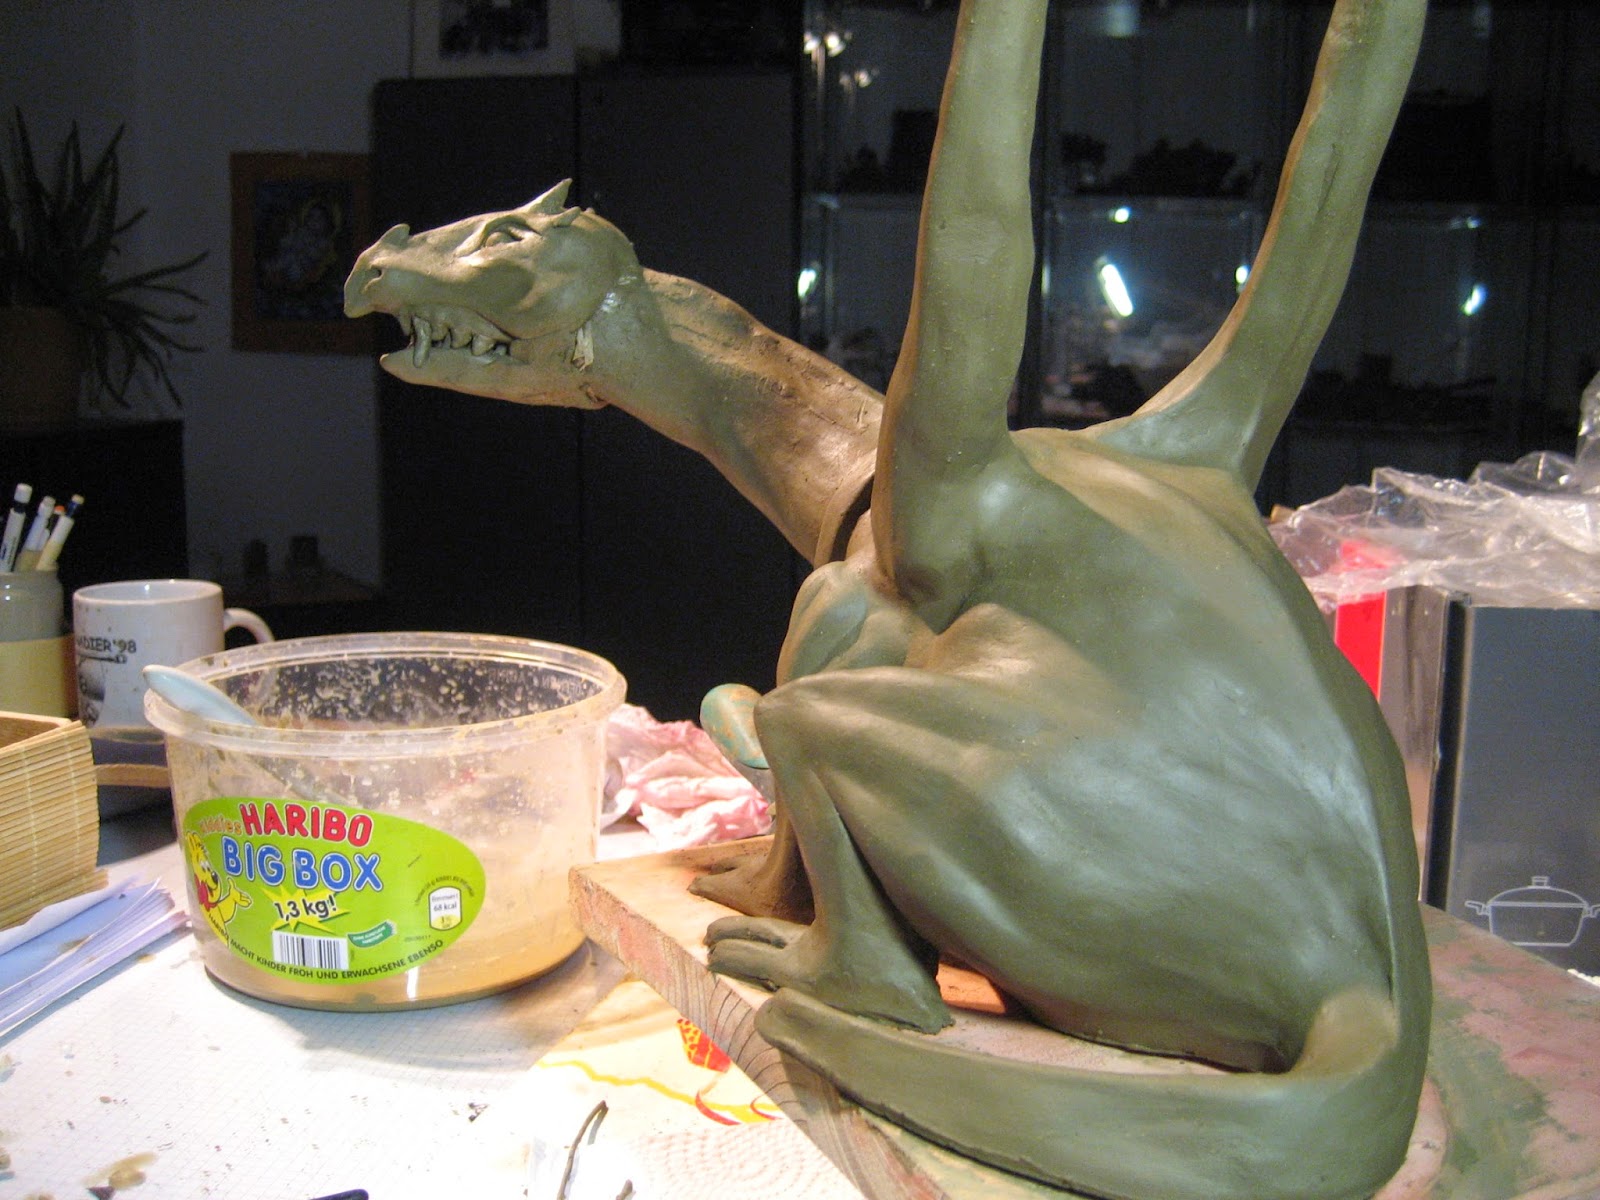
Some spikes and horns

And then it was my turn to play dentist ;-)
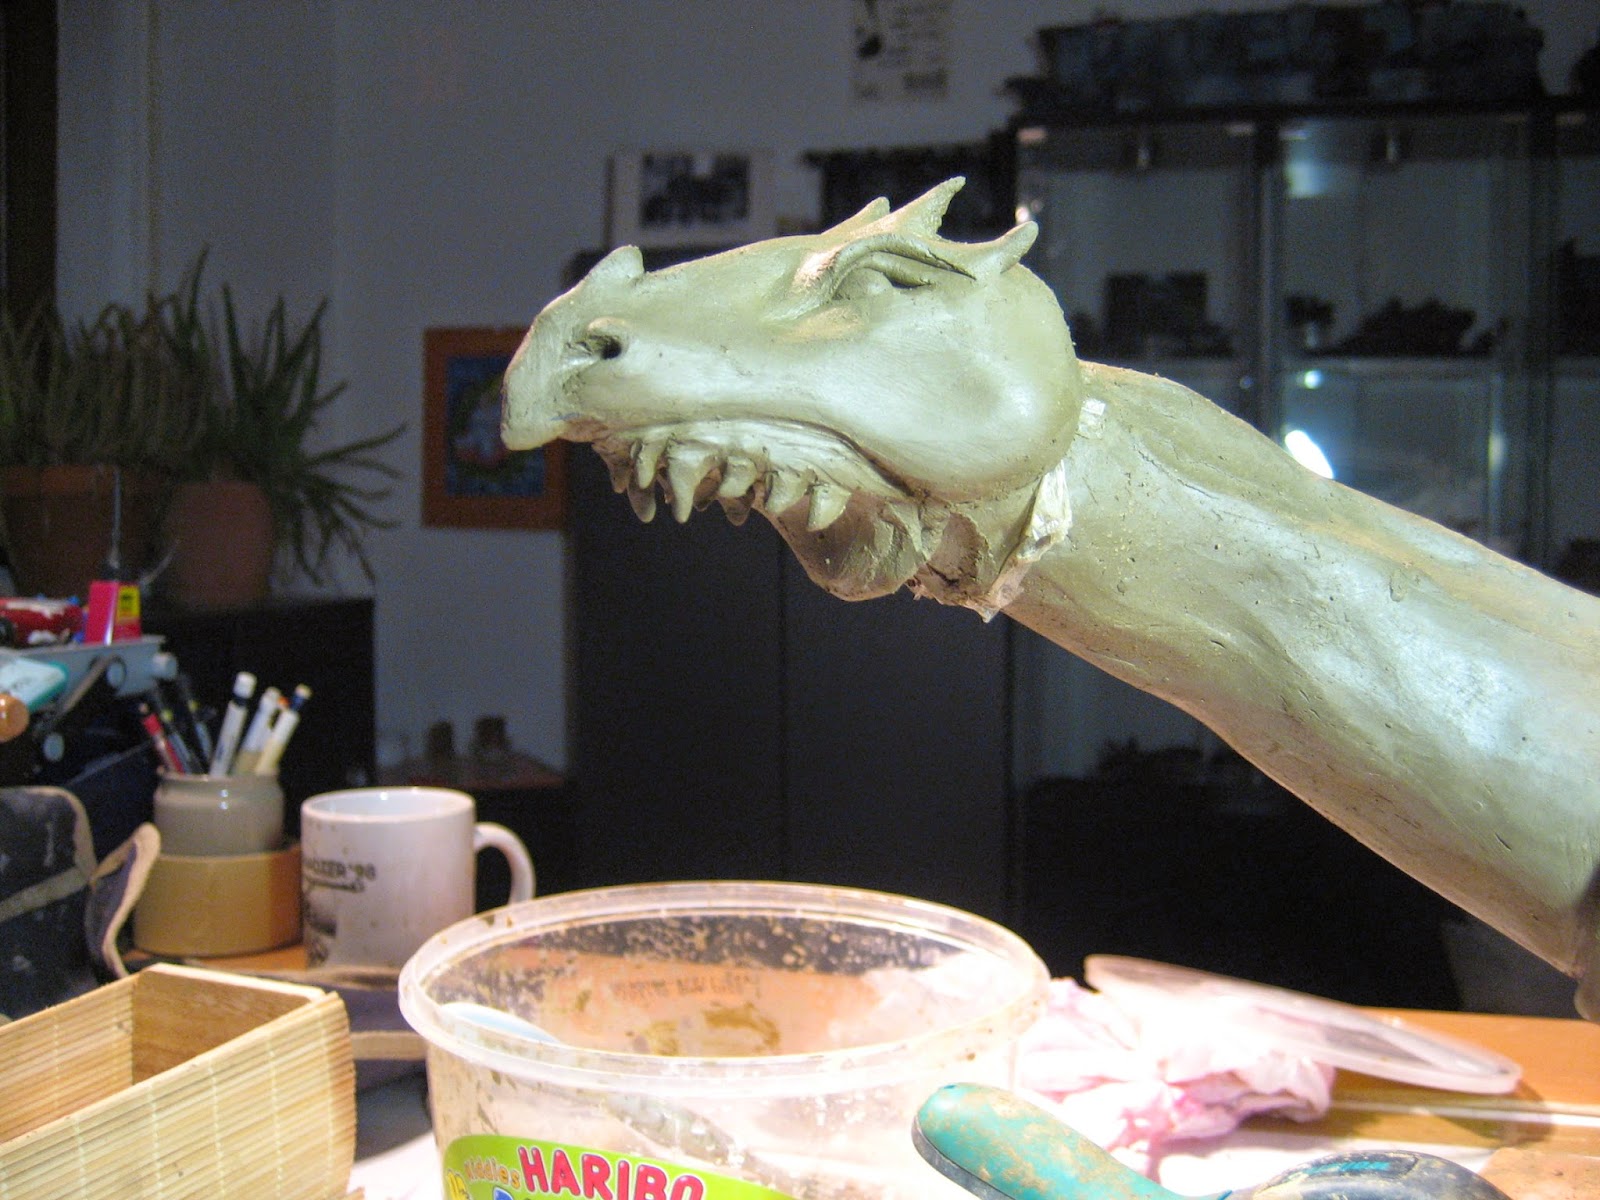
and starting with the lower jaw.
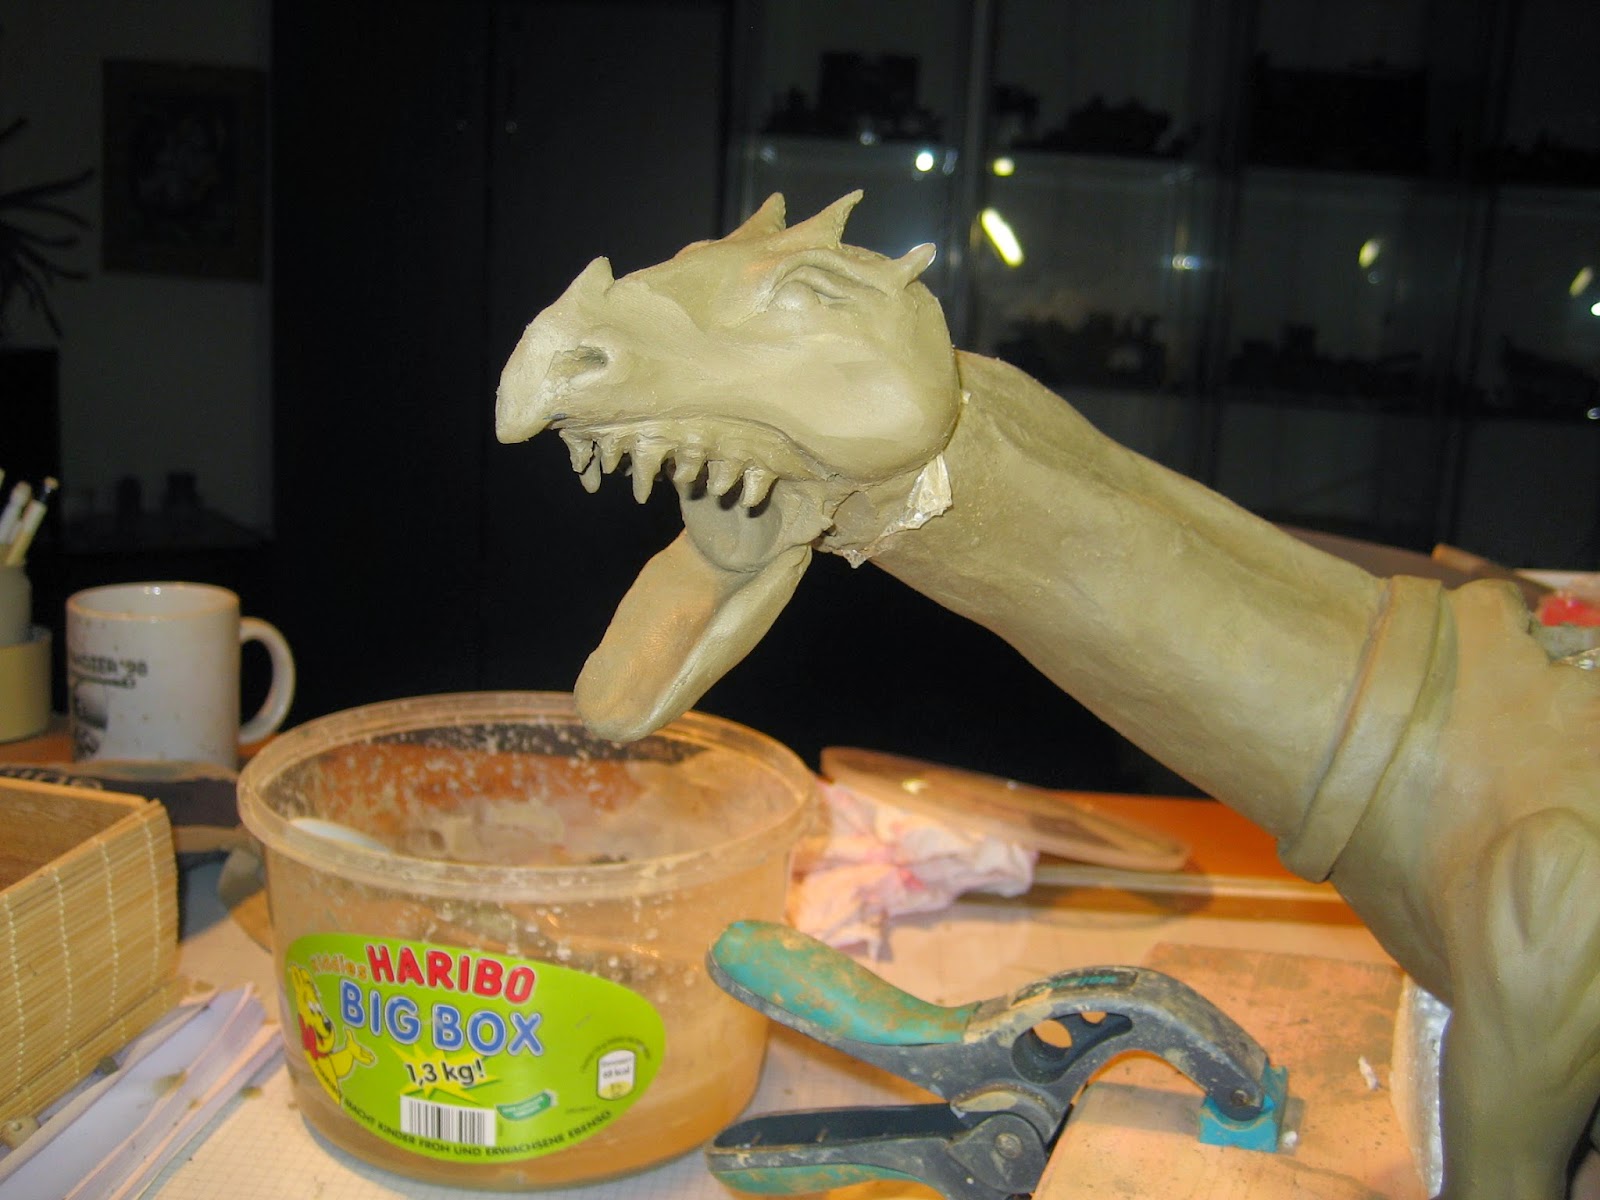
Ah, now we're talking dragon :)

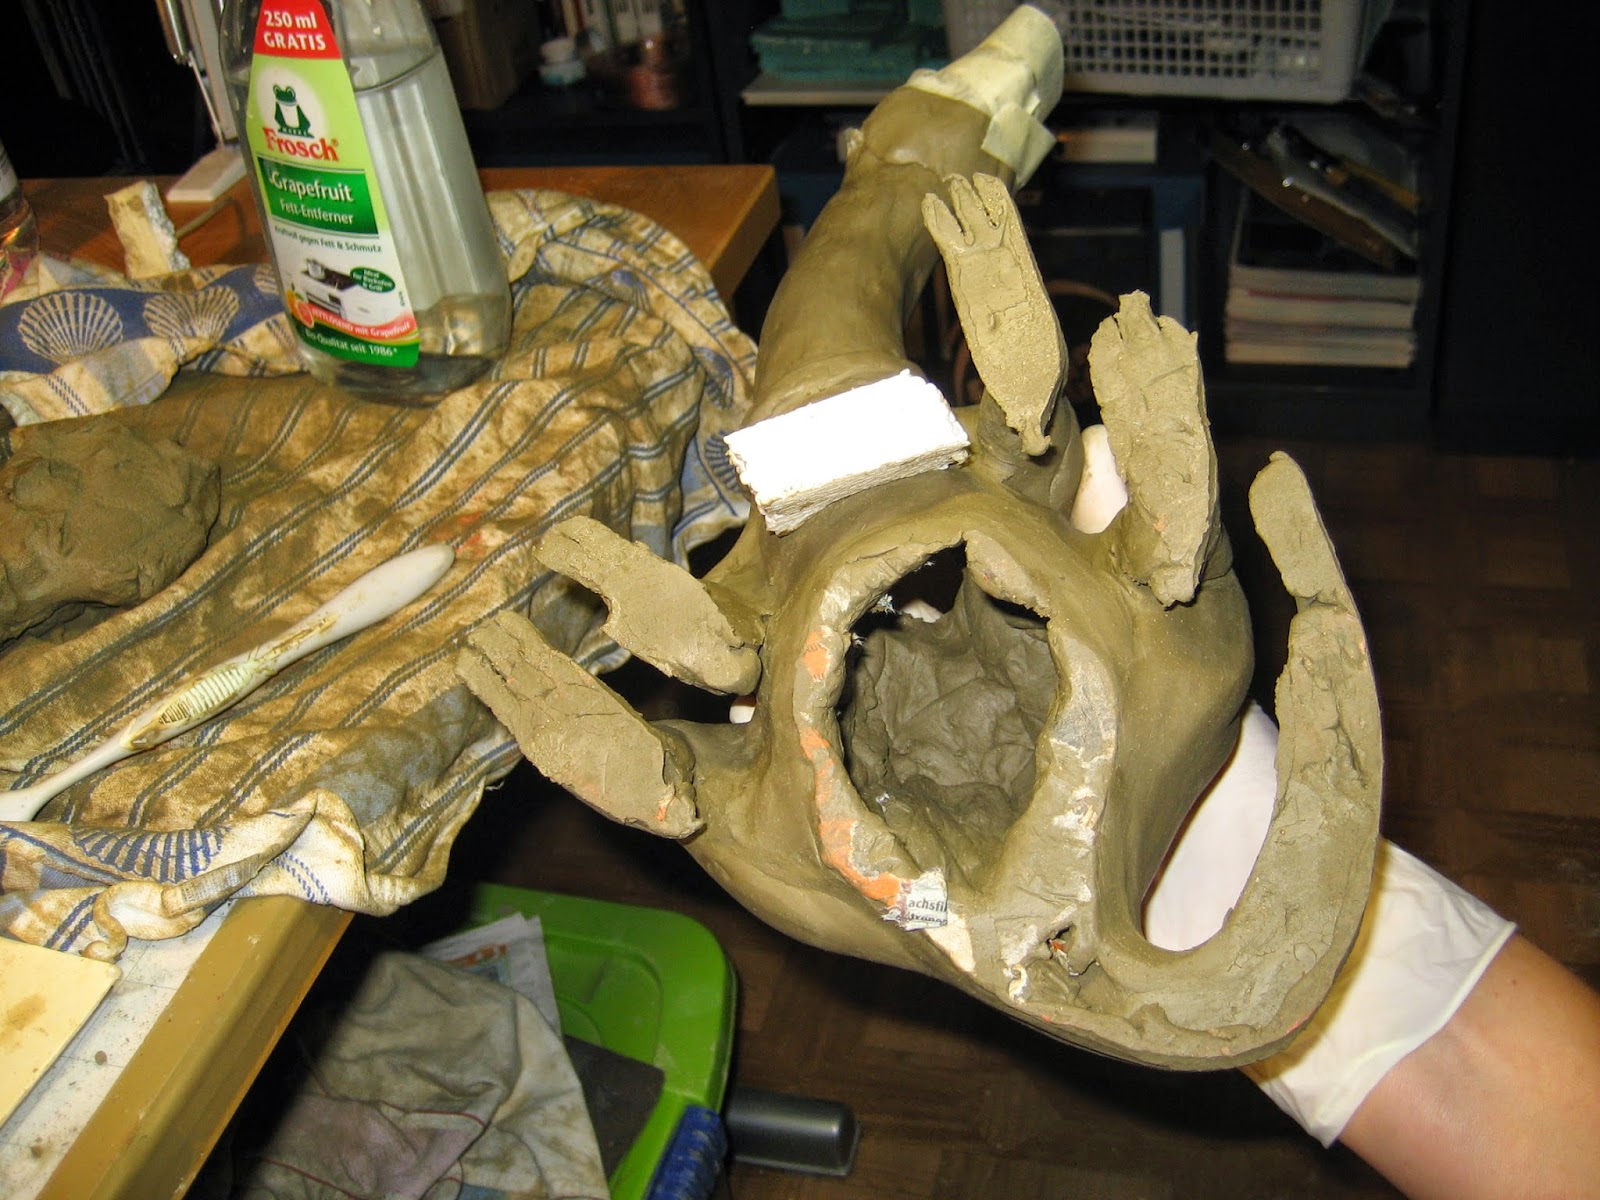
After the clay cured overnight to a leathery consistence I came to the most dreaded and delicate part of a clay sculpt, removing the stuffing and armature to make the model hollow.
Luckily it worked without damage
Last task for that evening was then to create a base plate

and mount Artemis on it.
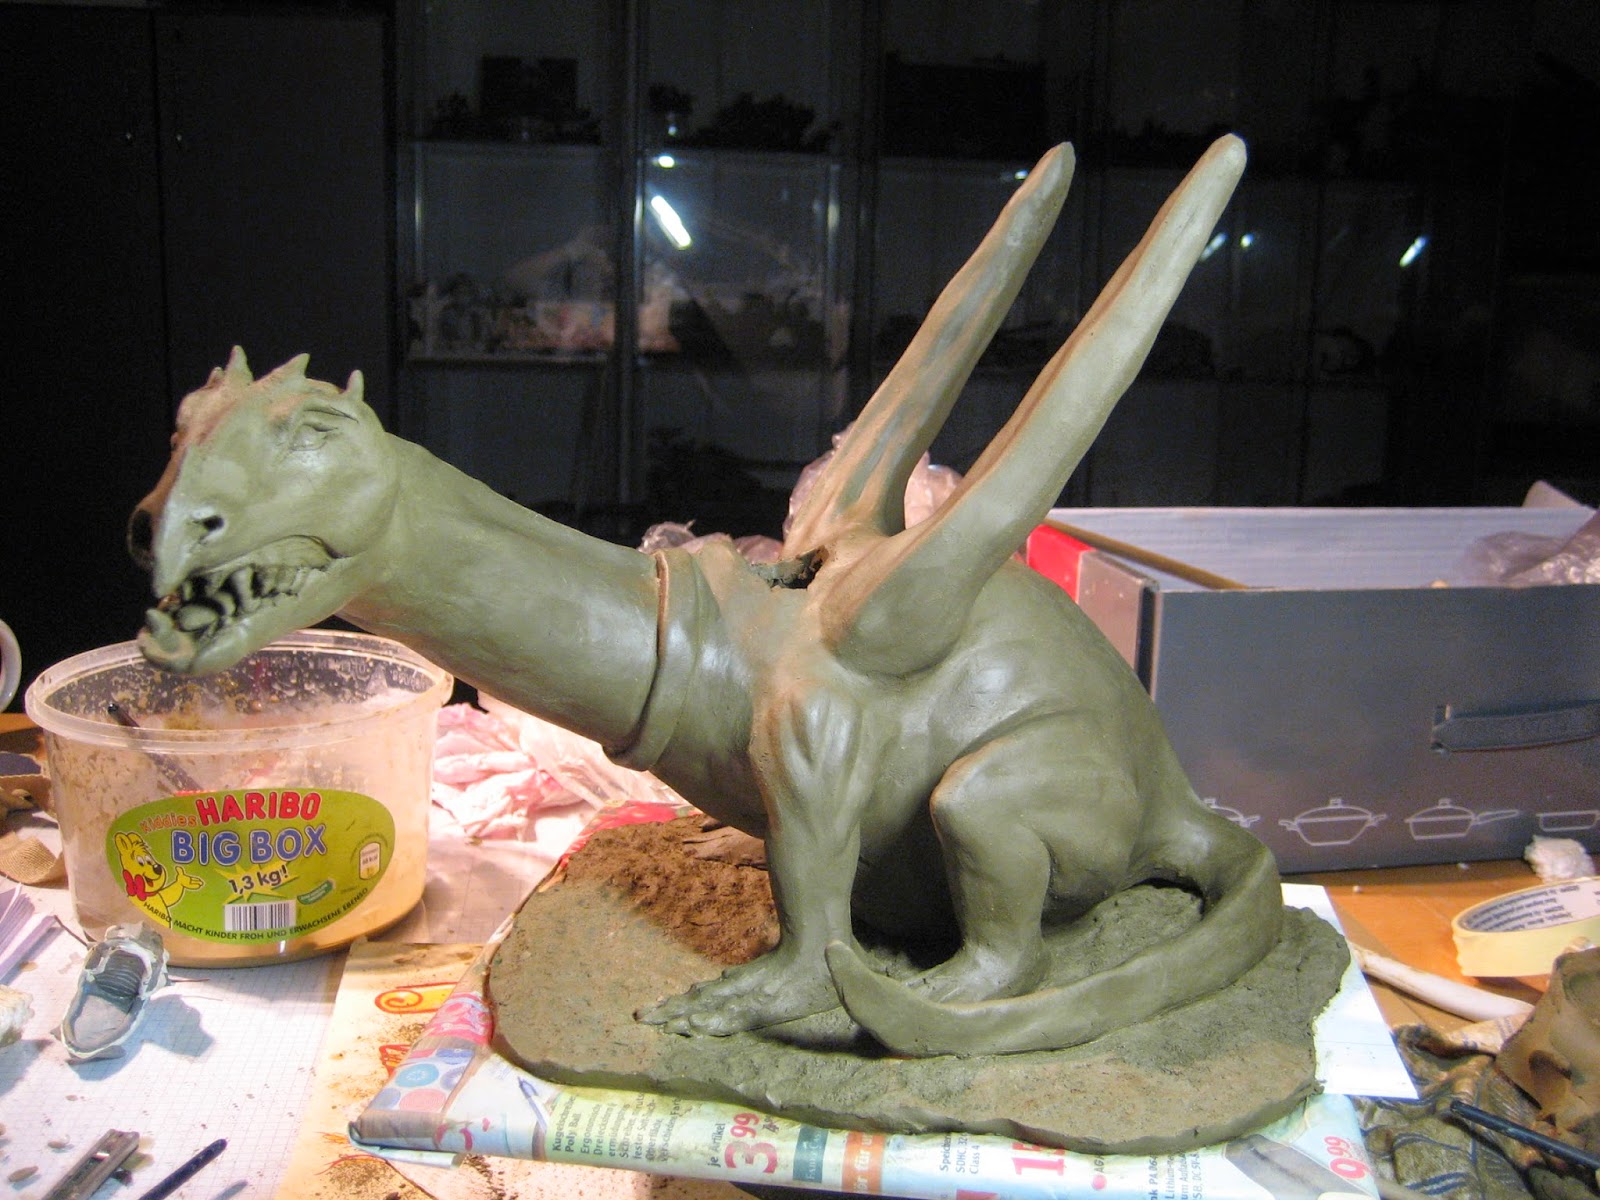
The next day I started to detail the feet.

And work some more on the wings

between those two images are 1 hour of curing.

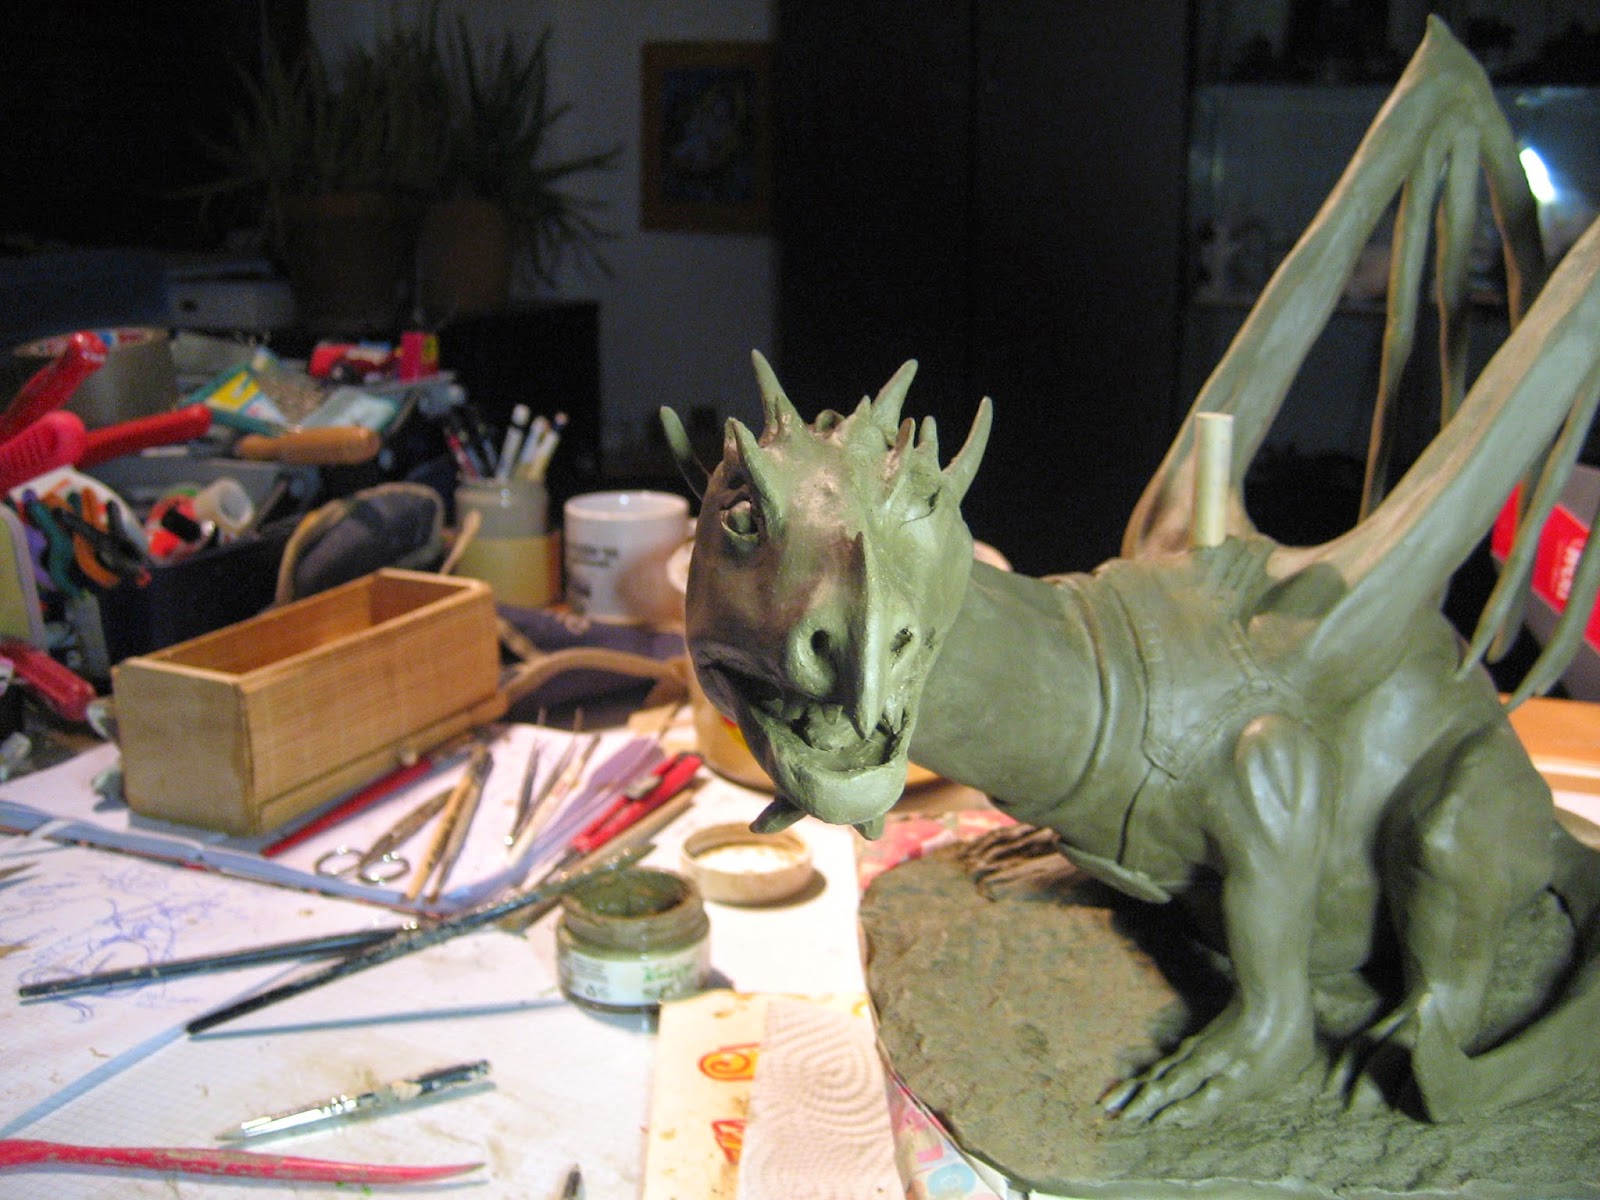
So I worked a bit more on Artemis' face and smoothened it some more and added another spike on her eyebrows.
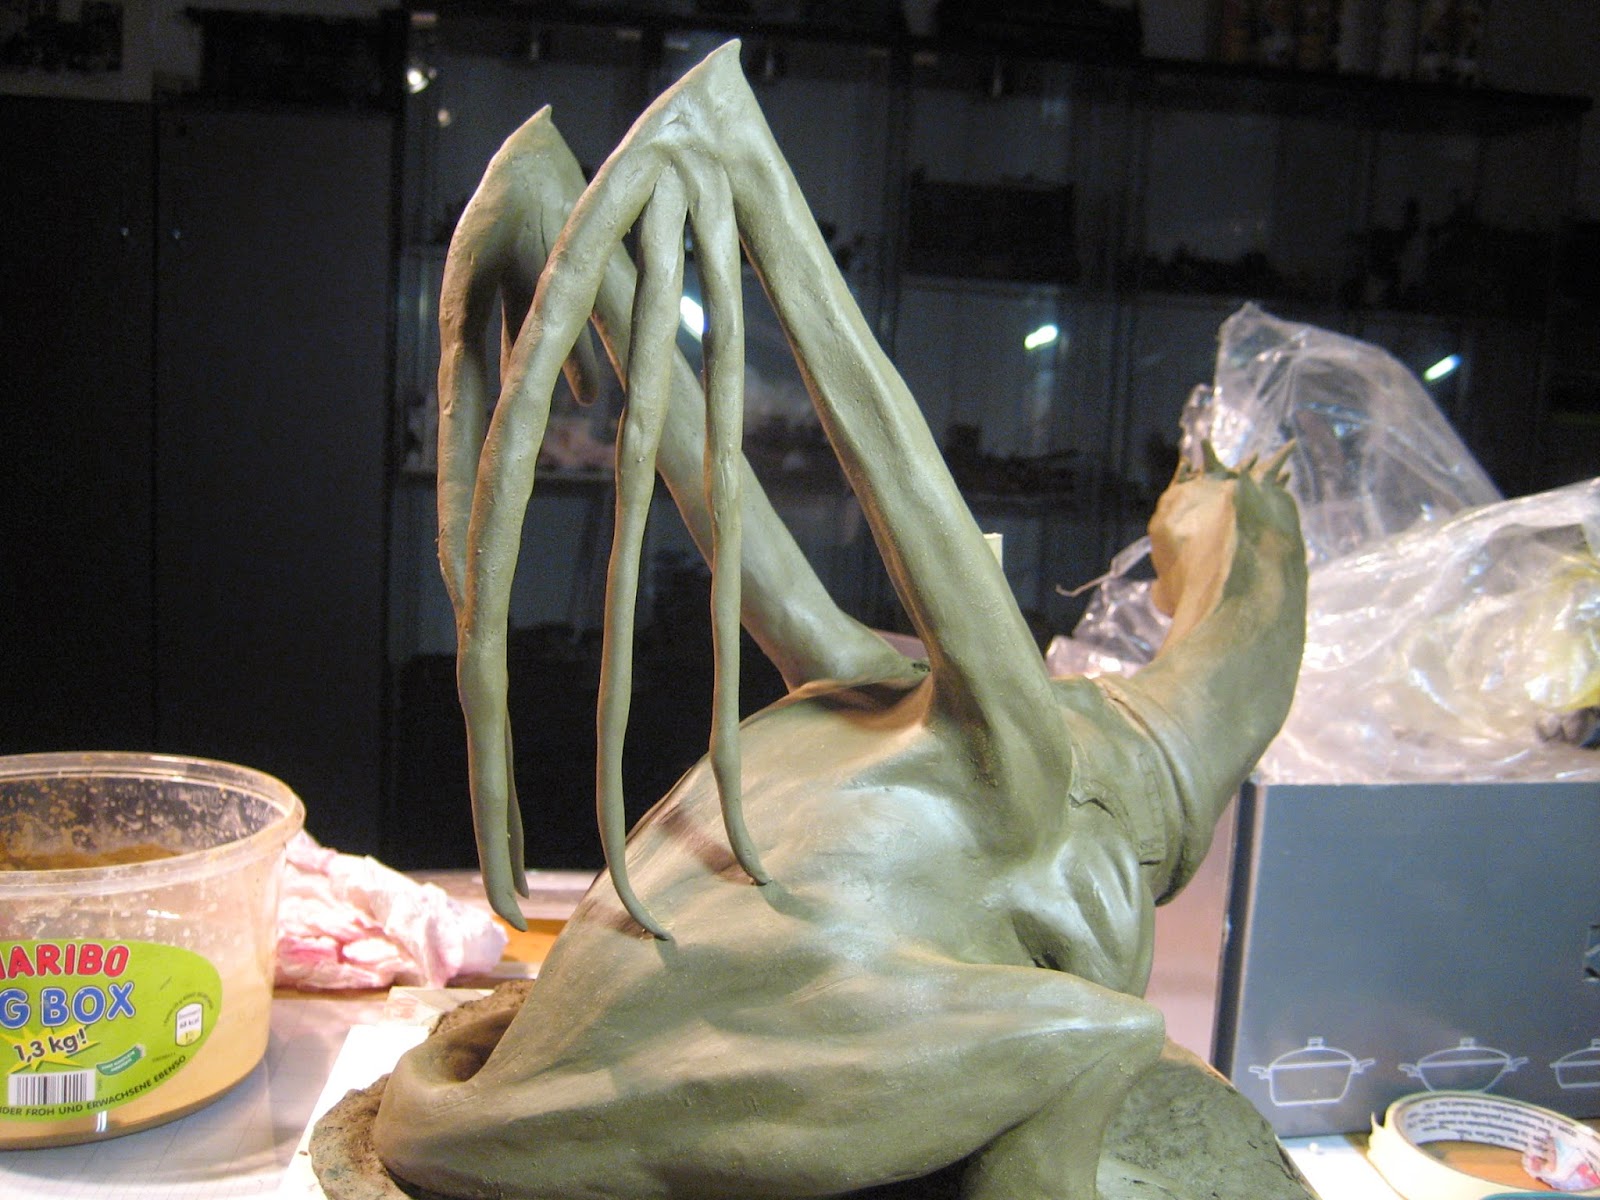
and I started to add the fingers to the wings.

While the wing parts cured I started to add the saddle blanket.

And the next day I completed the wing structure!
That was quite a delicate task.
And finally I added some belts and a crest.

And Artemis received her final look :)

CHEEEEEESE!
Before I started to complete the wings I added another set of belts and another crest on her back.

Last night I finally tackled the skin for the wings.
I theory I had done this before with Tar'Akoona, but that was a polymer clay, while here I'm using a natural clay.
The first section of skin


And after almost 2 hours of delicate work both wings had their skin!

The inside still needs some cleanup

But I really like it :)


Ready for a rider :)

I hope you like this update, despite not being WH40K.
I look forward to your comments and feedback.
Cheers
Klaus

and started with another head


Since the proportions seemed OK, I continued.
Looks a bit "birdy" :)


But with eyelids and some flesh it starts to look like a dragon.

Some spikes and horns

And then it was my turn to play dentist ;-)

and starting with the lower jaw.

Ah, now we're talking dragon :)


After the clay cured overnight to a leathery consistence I came to the most dreaded and delicate part of a clay sculpt, removing the stuffing and armature to make the model hollow.
Luckily it worked without damage

Last task for that evening was then to create a base plate

and mount Artemis on it.

The next day I started to detail the feet.

And work some more on the wings

between those two images are 1 hour of curing.

So I worked a bit more on Artemis' face and smoothened it some more and added another spike on her eyebrows.

and I started to add the fingers to the wings.

While the wing parts cured I started to add the saddle blanket.


And the next day I completed the wing structure!
That was quite a delicate task.

And finally I added some belts and a crest.

And Artemis received her final look :)

CHEEEEEESE!

Before I started to complete the wings I added another set of belts and another crest on her back.

Last night I finally tackled the skin for the wings.
I theory I had done this before with Tar'Akoona, but that was a polymer clay, while here I'm using a natural clay.
The first section of skin


And after almost 2 hours of delicate work both wings had their skin!

The inside still needs some cleanup

But I really like it :)


Ready for a rider :)

I hope you like this update, despite not being WH40K.
I look forward to your comments and feedback.
Cheers
Klaus