How does Star Wars: Armada play? I got to try a 3-turn demo game at Gencon, so I'll tell you what I can about it. But be aware that the game is still in beta, and we didn't do anything but scratch the surface of the rules. Even the turn structure isn't quite final, so don't place too much weight on any one detail. Instead, try and appreciate the direction the game is going in as a whole, which is pretty positive.
What Kind Of Game Is It?
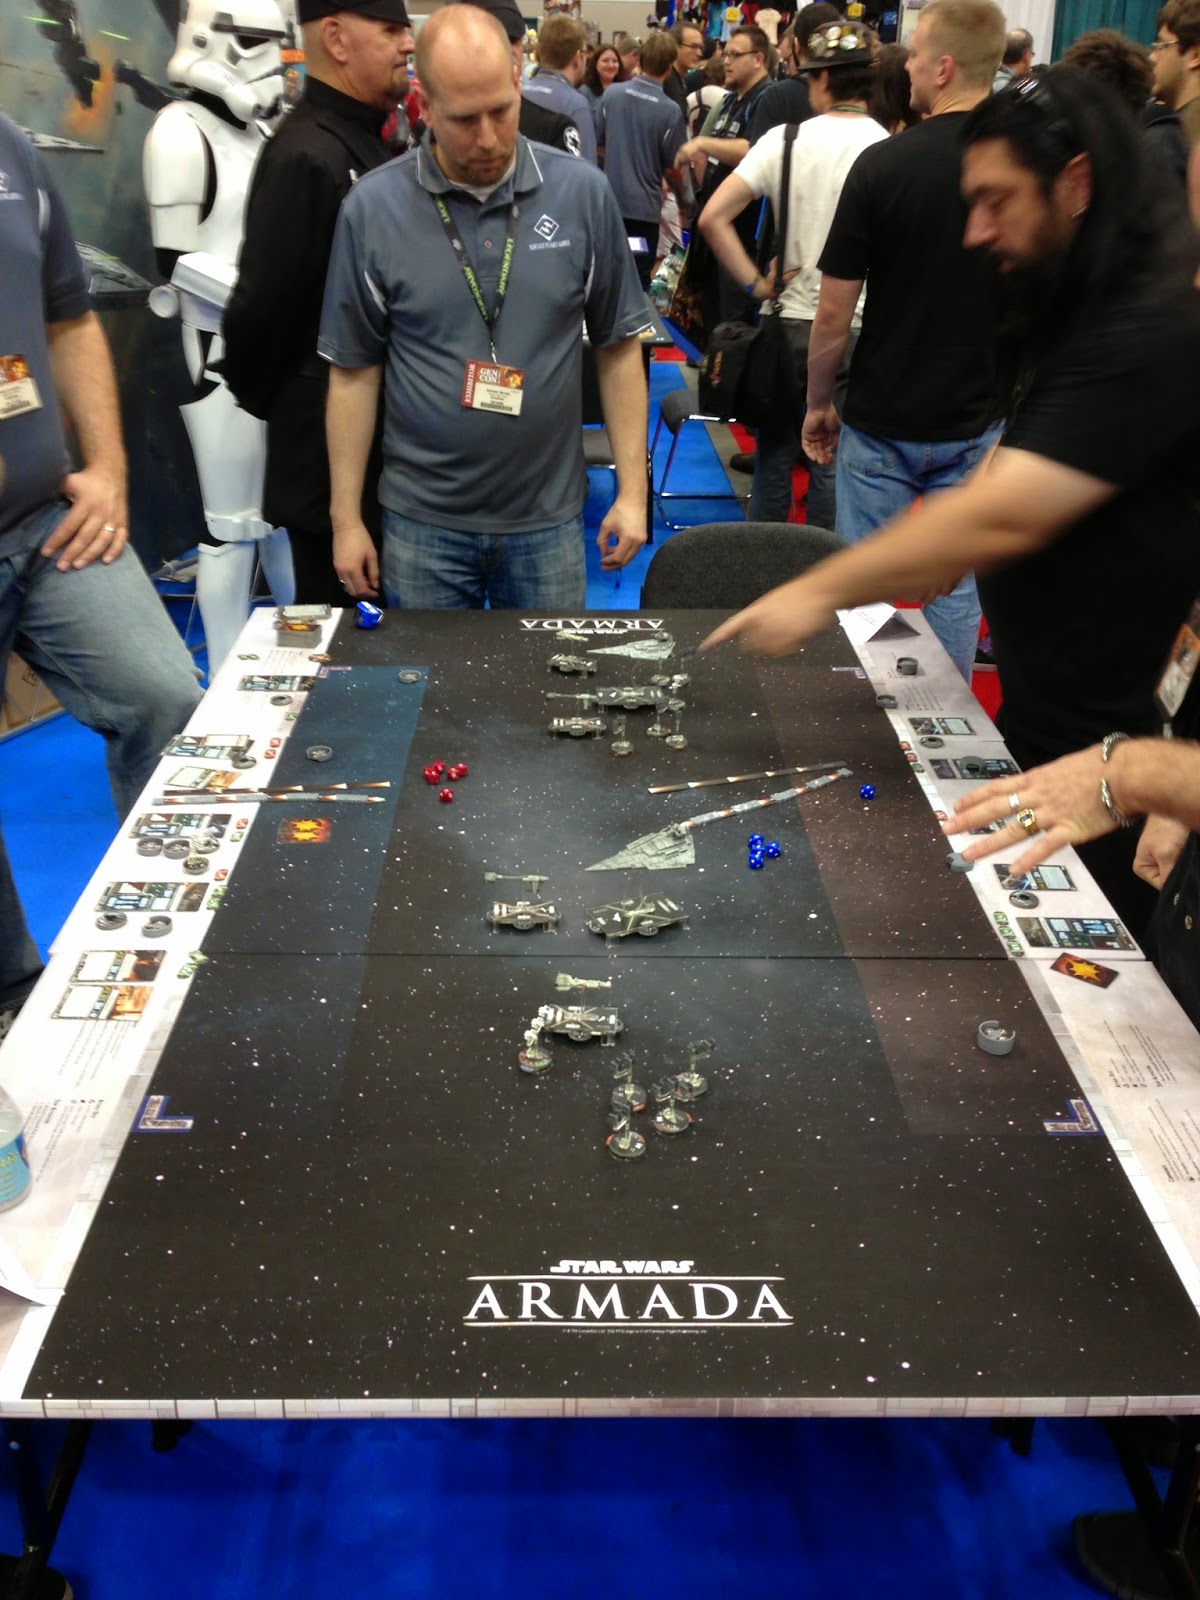 |
| Our demo used the exact contents of two starter sets. |
What Happens In A Turn?
Here's what I understood Armada's turn sequence to be:
- Issue Orders To The Starships (Similar to X-Wing)
- Reveal Orders
- Shoot The Starships
- Move The Starships
- Move OR Shoot The Fighters
Issuing Orders To Warships
The first thing to do is to give orders to your Warships. This is done using Armada's command dials.
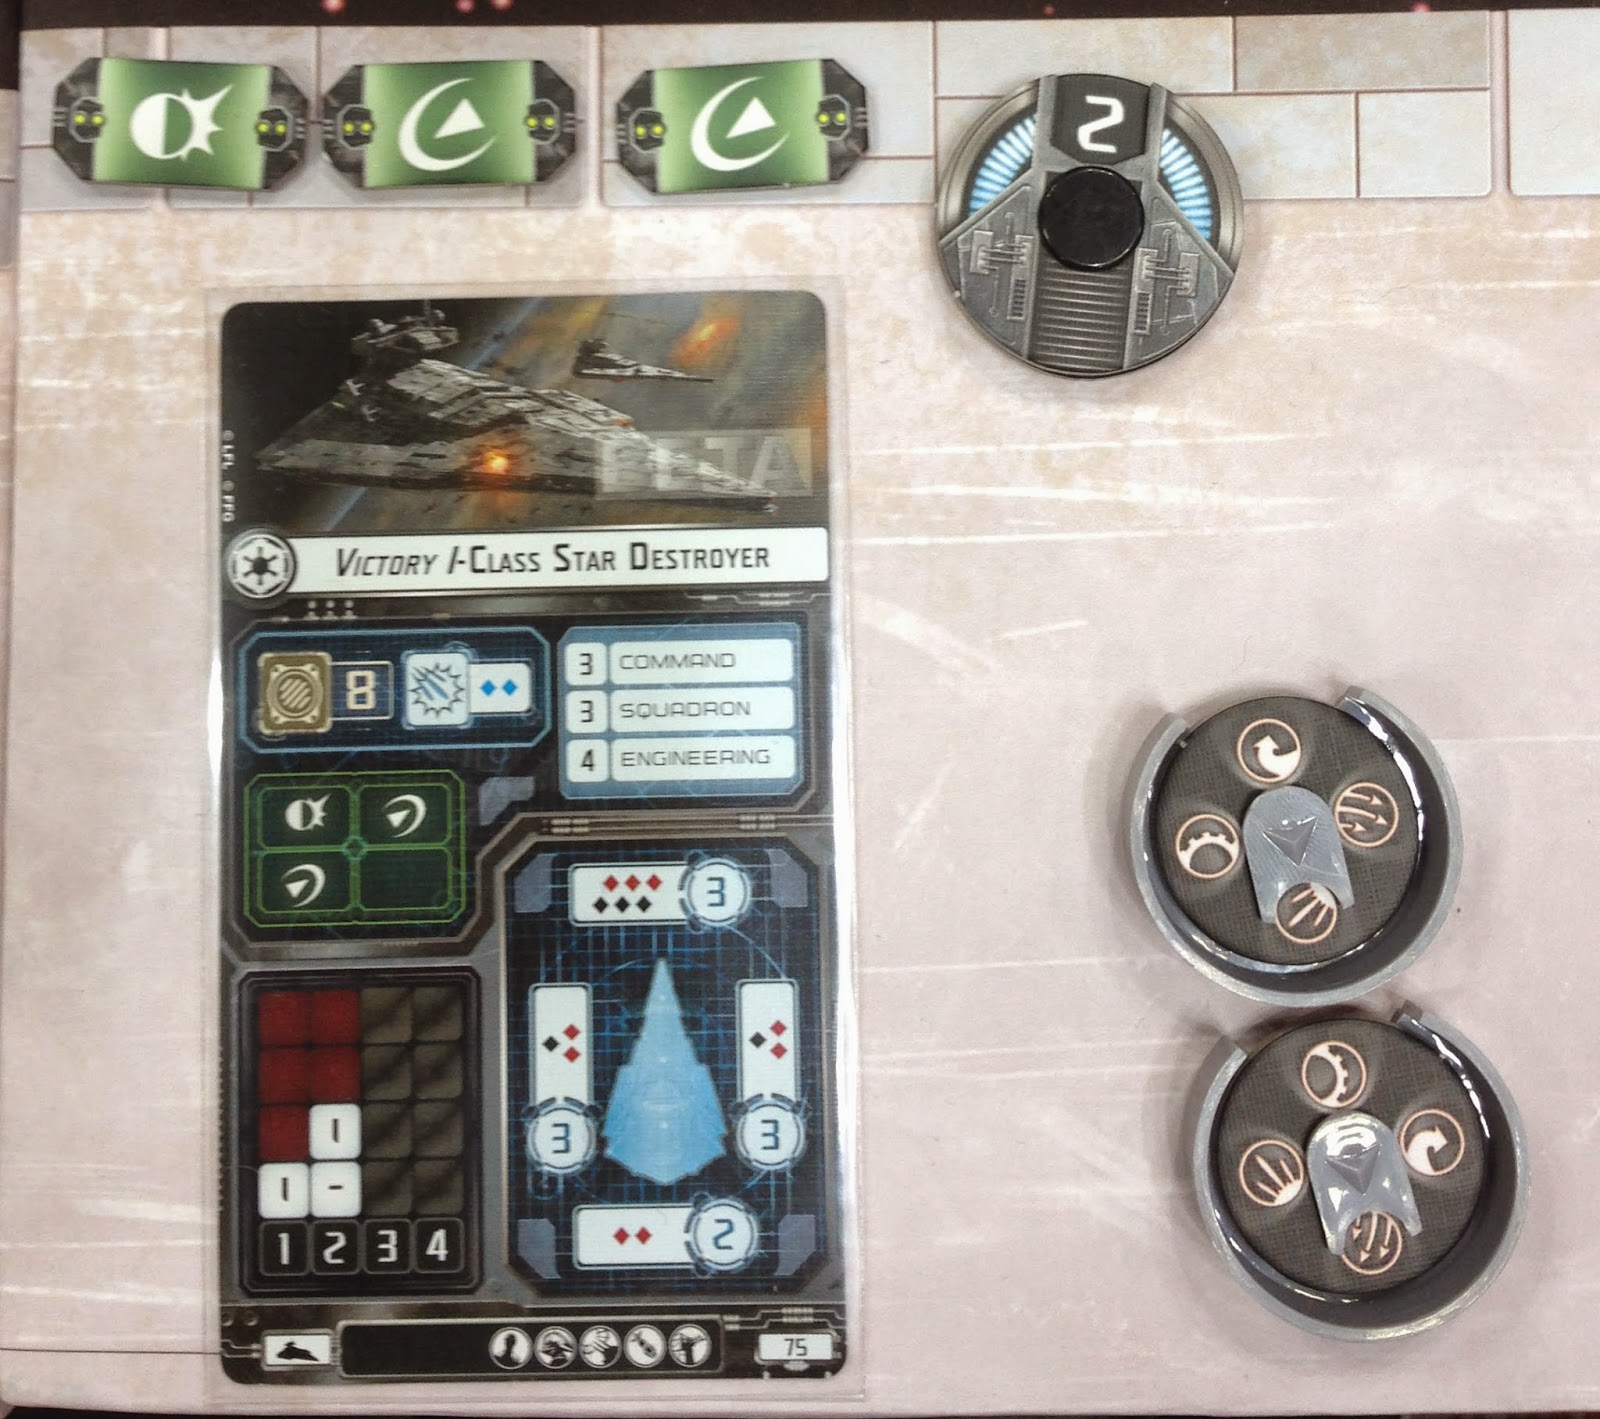
Notice the depth of the shell around the dials? That's because they're made to stack up. Each ship's command rating determines how many turns ahead they have to choose their orders. The rebel blockade runner (Tantive IV) has a command of 1, so it can react to the enemy turn-by-turn. But the Nebulon B frigate has to plan a turn ahead.
While the Victory Class Star Destroyer must plan two turns ahead. Imperial bureaucracy at its finest!
What The Orders Mean
1) Navigate
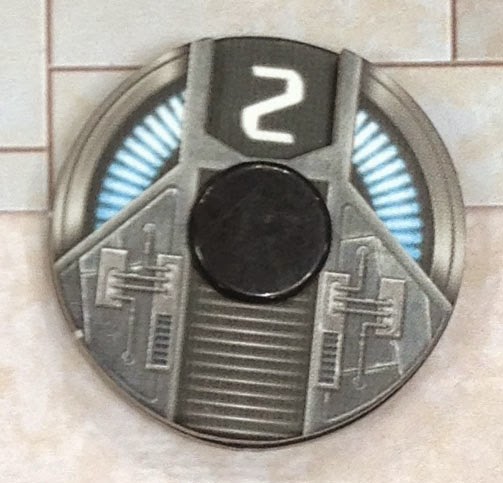 |
| The Speed Dial |
2) Squadron
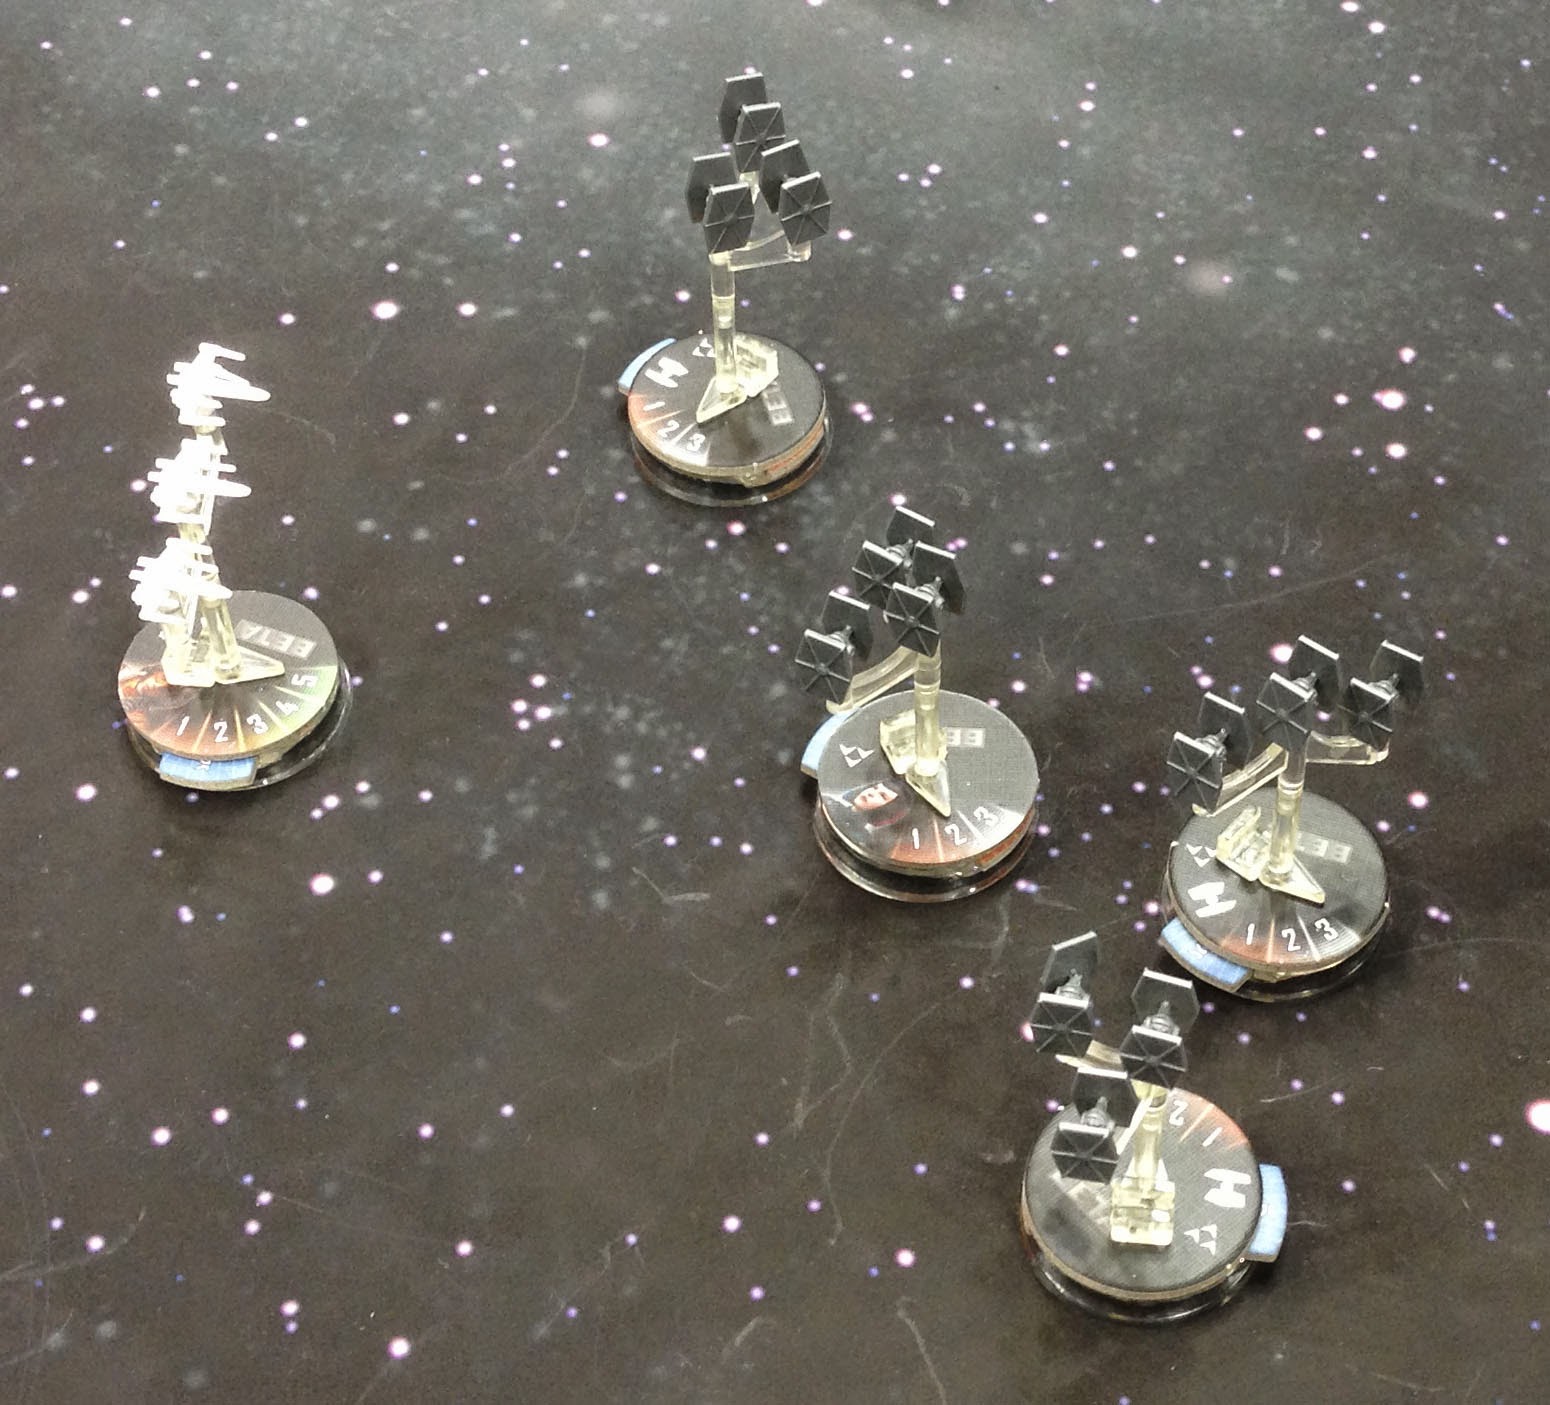 |
| FFG isn't planning to pre-paint the fighters. Though I do hope they don't stick with white plastic for the X-Wings. |
(Note the bases of the fighters in the pic above. The little blue tab is pushed in, and an orange tab pops out the other side to indicate that a fighter has already been activated. The dial lets you keep track of that squadron's damage. Neat!)3) Concentrate Firepower
Gives you an extra attack die of one color in each firing arc.
4) Repair
The FFG guy steered us away from this (too complicated for a demo), but he indicated that this is how you'd repair damage and use special abilities.
Revealing Your Orders
This is where you take the top order dial on each ship's stack and reveal it.
Now, in our demo game, the Empire always shot and moved first. But the FFG guy did indicate that this was a simplification of the actual game rules. He wouldn't tell us what the rules actually were, but there's definitely more to it.
Looking at the ship cards, I don't see anything that equates to a 'Pilot Skill', like you'd see in X-Wing. That '4' at the top is the ship's hull points. So maybe the initiative order is determined by each ship's speed? I'm going to guess that higher speed ships would go first, just because doing that would promote more movement in the game. But that's only speculation on my part.
Shooting The Big Ships
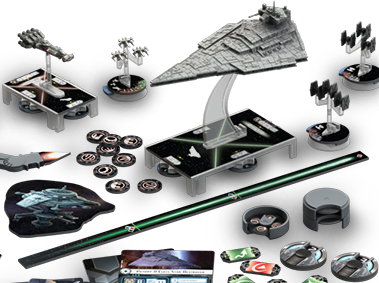 This is where STA might have a bit too much complexity going on. Not that I found shooting to be horrible or anything, but I do think there's some room for refinement here.
If you look at the range ruler in the pic on the right, you'll see that is has little colored dots at the end of each range band. This corresponds to the attack dice that each ship has available. On the back of the range ruler is a different set of range bands just for fighters.
Essentially, the color of each ship's attack dice determine how far it'll shoot.
On each ship's base (and card) you can see little colored dots in each arc. Each dot lets you attack with a die of that color. Blue dice have about twice as many hit pips on them as the red dice do, and can only be fired out to range one. Red dice can be fired out to range 2, and black dice (didn't count the pips on these) can be fired as far as range 3.
In this set, only the Star Destroyer gets black dice, and these are included alongside red dice in each arc. This means that it gets to roll 6 dice in its forward arc (3 red, 3 black) at range 1-2. If it intensifies firepower, it can add one red or black die to this, for a total of 7 attacks.
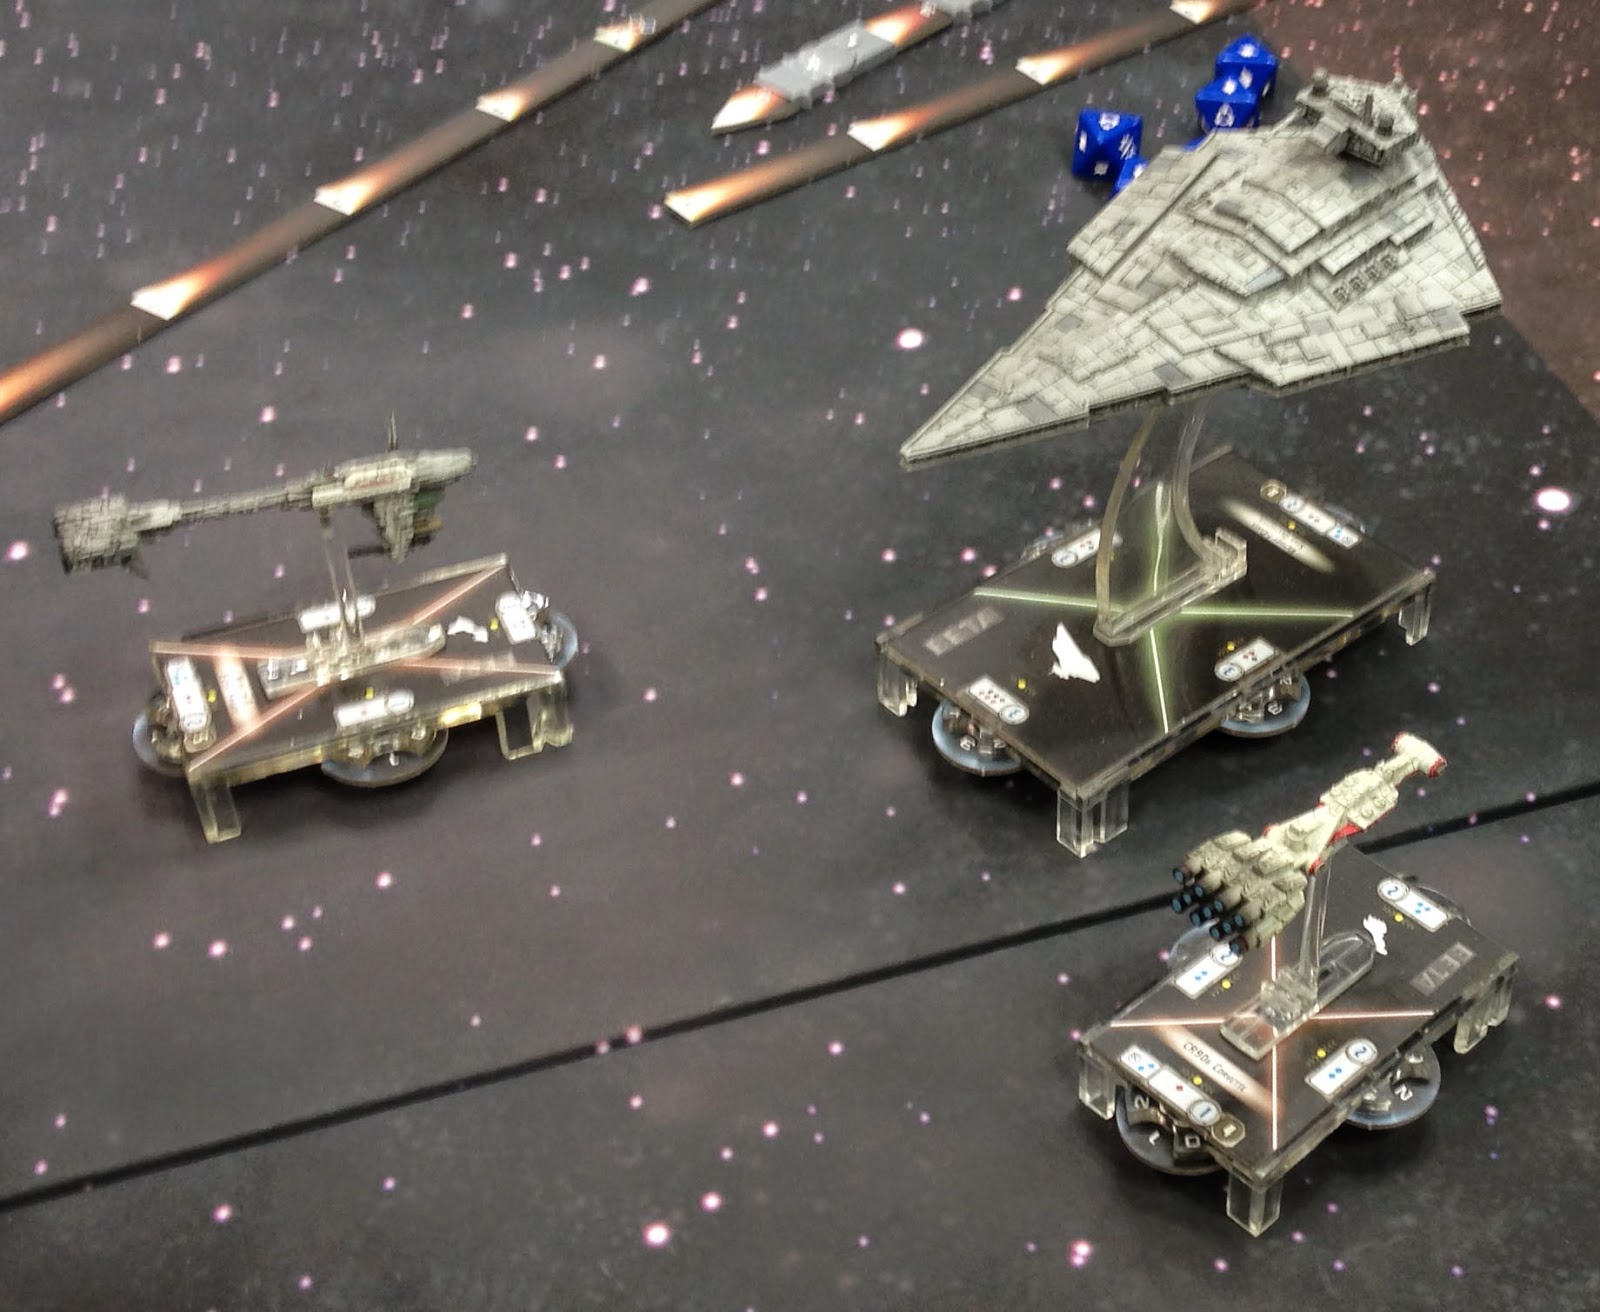
So the Star Destroyer is big, meandering, and long-ranged. While the Rebel ships are agile, but have to get in close to do any damage. Sounds legit to me. The starter set strategy for the rebels is probably going to be "Hold them with the NebB, and finish them with the CR90". Since the latter gets a good number of quality shots if it can get a target on one of its front corners.
As you can see from my pics, the firing arcs on each ship are shaped differently. One odd thing is that LOS for each arc is always determined from that little yellow dot. As long as your line to the target doesn't cross the arc line on the base itself (not the line projecting out from the base), then you're good. This has the effect of letting the firing arcs overlap a bit.
You are, by the way, only allowed to shoot from 2 arcs during a turn. Which is a notable difference from Firestorm Armada.
Reactions
 So after picking which arc to shoot at, the attacker rolls their dice (some of which have multiple hit pips on one face), now what?
Here's where Armada completely breaks from X-Wing. In that the defender doesn't roll anything to defend. Instead, you have reactions you perform that affect those hits in certain ways. These are tracked by using those little green counters that are next to the ship cards.
The wavy arrow lets you cancel one hit. So if the CR90 just took 3 hits, it can cancel 2 of them.
The half-moon reaction lets you reduce the incoming hits by half. So if the Nebulon B or the VC Star Destroyer take 5 hits, they can reduce them to 3 (half rounded up).
The triangle behind the swoosh is the redirect reaction. This lets you shift a hit to an arc adjacent to the one that was hit.
Obviously, combining these is pretty powerful. The Nebulon B can cut the number of incoming hits in half, and cancel one of whatever hits are left. While Luke's fighter squadron has an action that just ignores all the hits in one salvo.
So what's the downside? You can only use a reaction twice in one turn. On the first use, you flip the counter over. Use it again in the same turn and you lose that reaction counter for the rest of the game. So you have to decide how much damage to take, and how much to reaction-away from a given salvo. Especially when something else hasn't shot at you yet.

Whatever hits your reactions can't stop go to your shields, for which there is a dial built into each arc of a ship. Once the shields in a particular arc go down, the hits there start going to the ship's hull points. We didn't use the critical hits cards in the demo, but I had a look at a few of these, and the effects were both varied and nasty. Presumably you can counter some of their effects if your choose engineering as your order.
Moving The Ships
Then, the chart will show you how many turns you get, and how sharp each one can be. The little roman numerals tell you how many 'clicks' you have make at each joint in the tool.
So if you're a CR90 Corvette moving 3 this turn, you can't click at all on the first joint. But you can then click once at the second joint (either direction), and twice at the third. You would then adjust the tool and move your ship.
See the teeth on either side of the tool? Those fit into slots on the side of each ship's base. The tool is always placed on the outside of the first turn, and you start and stop your movement according to those notches.
I do have a concern about how easy it will be to 'click a little extra' with this tool in a competitive game, and how fast the tension in the plastic wears out. But we'll see.
This tool is only for the big ships, by the way. The fighters move like 40K infantry. Pick them up and put them anywhere within the movement range of where they started.
Collisions
If your ship's movement places it on top of a fighter stand, then your opponent will get to place that stand anywhere that touches your ship's base.
If you overlap another starship though, you move back as many movement tool sections as it takes to clear its base. Then both ships take 1 damage to their closest arcs.
The Fighter Phase
The FFG demo guy warned us that the fighter phase could change quite a bit. I got the impression that there's some controversy on the design team about when the phase should actually take place compared to the actions of the big ships. But for right now, fighters move/shoot last. Unless a big ship uses an order to activate them.
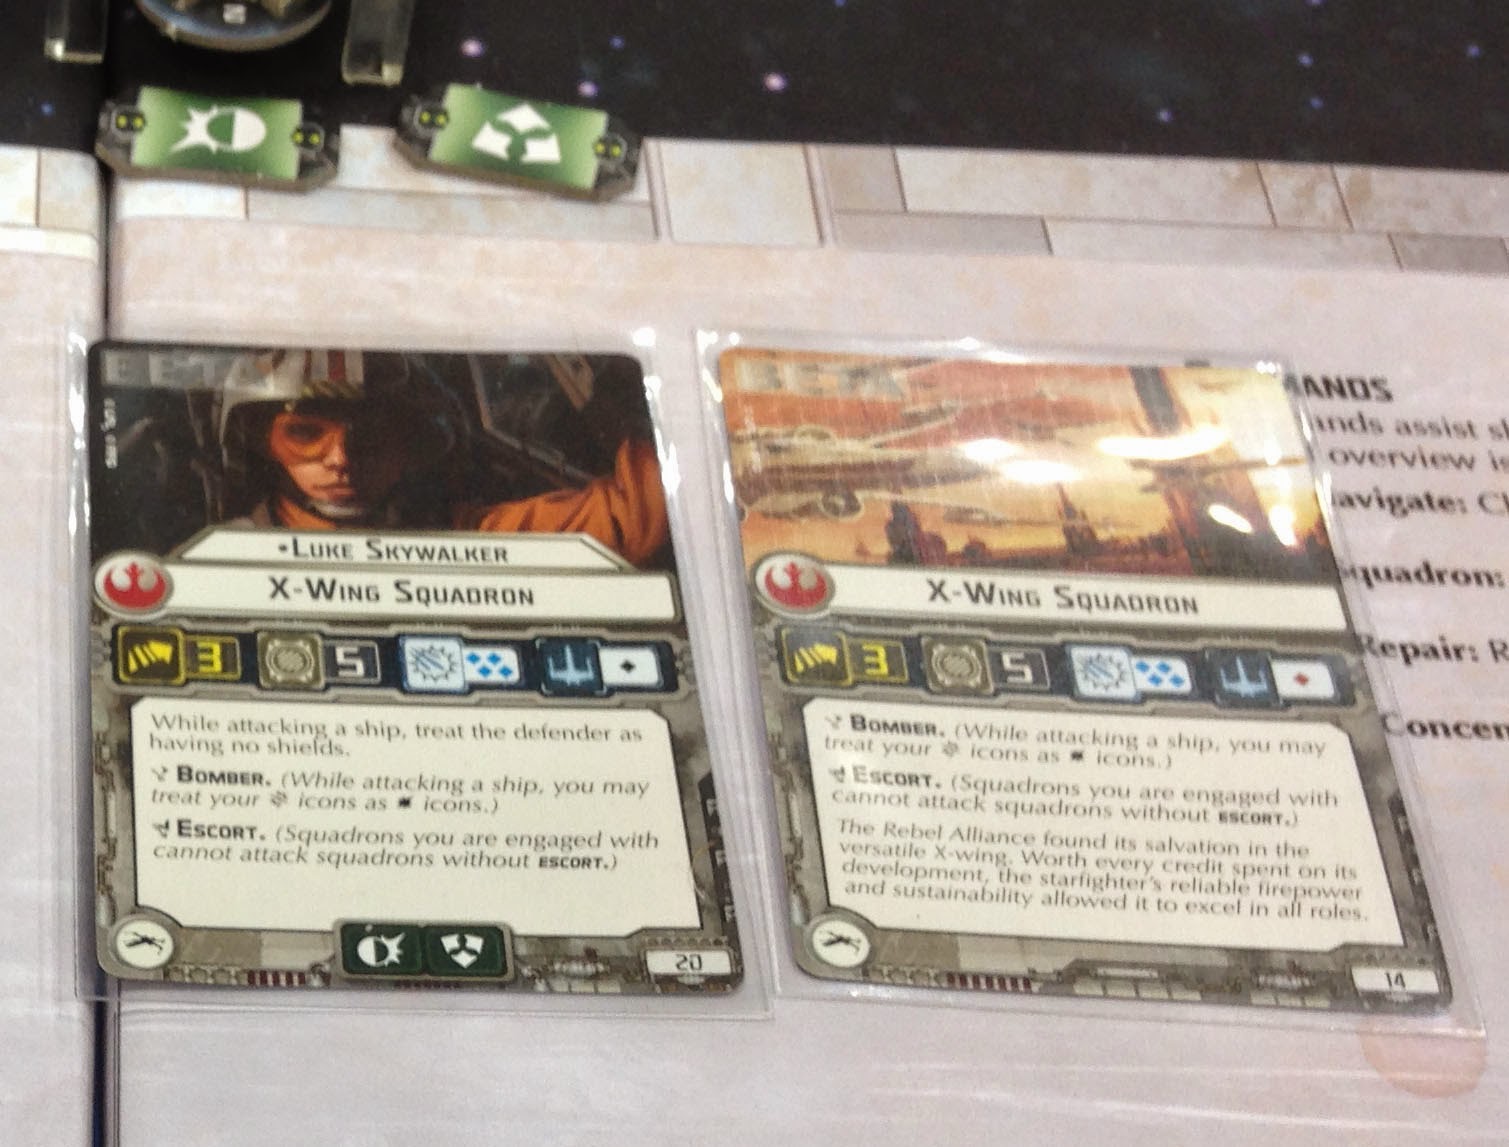 |
| Luke's reactions are half-damage, and "talk to the hand" (or whatever the ignore-all-hits one is called). |
Note also that the X-Wing stands get 4 blue dice against other fighters, but only one red die against capital ships. Except for the 'Bomber' ability which might (its kind of fuzzy in the photo) let them attack with 4 blue dice instead. Which would make the X-Wing pretty nasty all around.
Well, that's it, now you know about as much as I do about Star Wars: Armada. The game was fun, and everybody at the table was pretty positive after playing it. Even before we knew about the other ships that would be available. We even managed to talk the demo guy into letting us have one more turn than he was supposed to give us. :)
Comparing it to the 2 games of Firestorm Armada (version 1) that I've played with CaulynDarr, I very much prefer STA. There's just more interesting stuff going on, and unlike FSA, the required pre-planning of big ship movement doesn't let you perfectly game your firing arcs all day long. Which was my biggest gripe with FSA. My biggest gripe with STA is that they don't give you enough dice in the starter set.
Release is supposed to be sometime around the new year. Just before Christmas would be wonderful.
SandWyrm's on Twitter, follow him here.
