Speed Painting Raven Guard
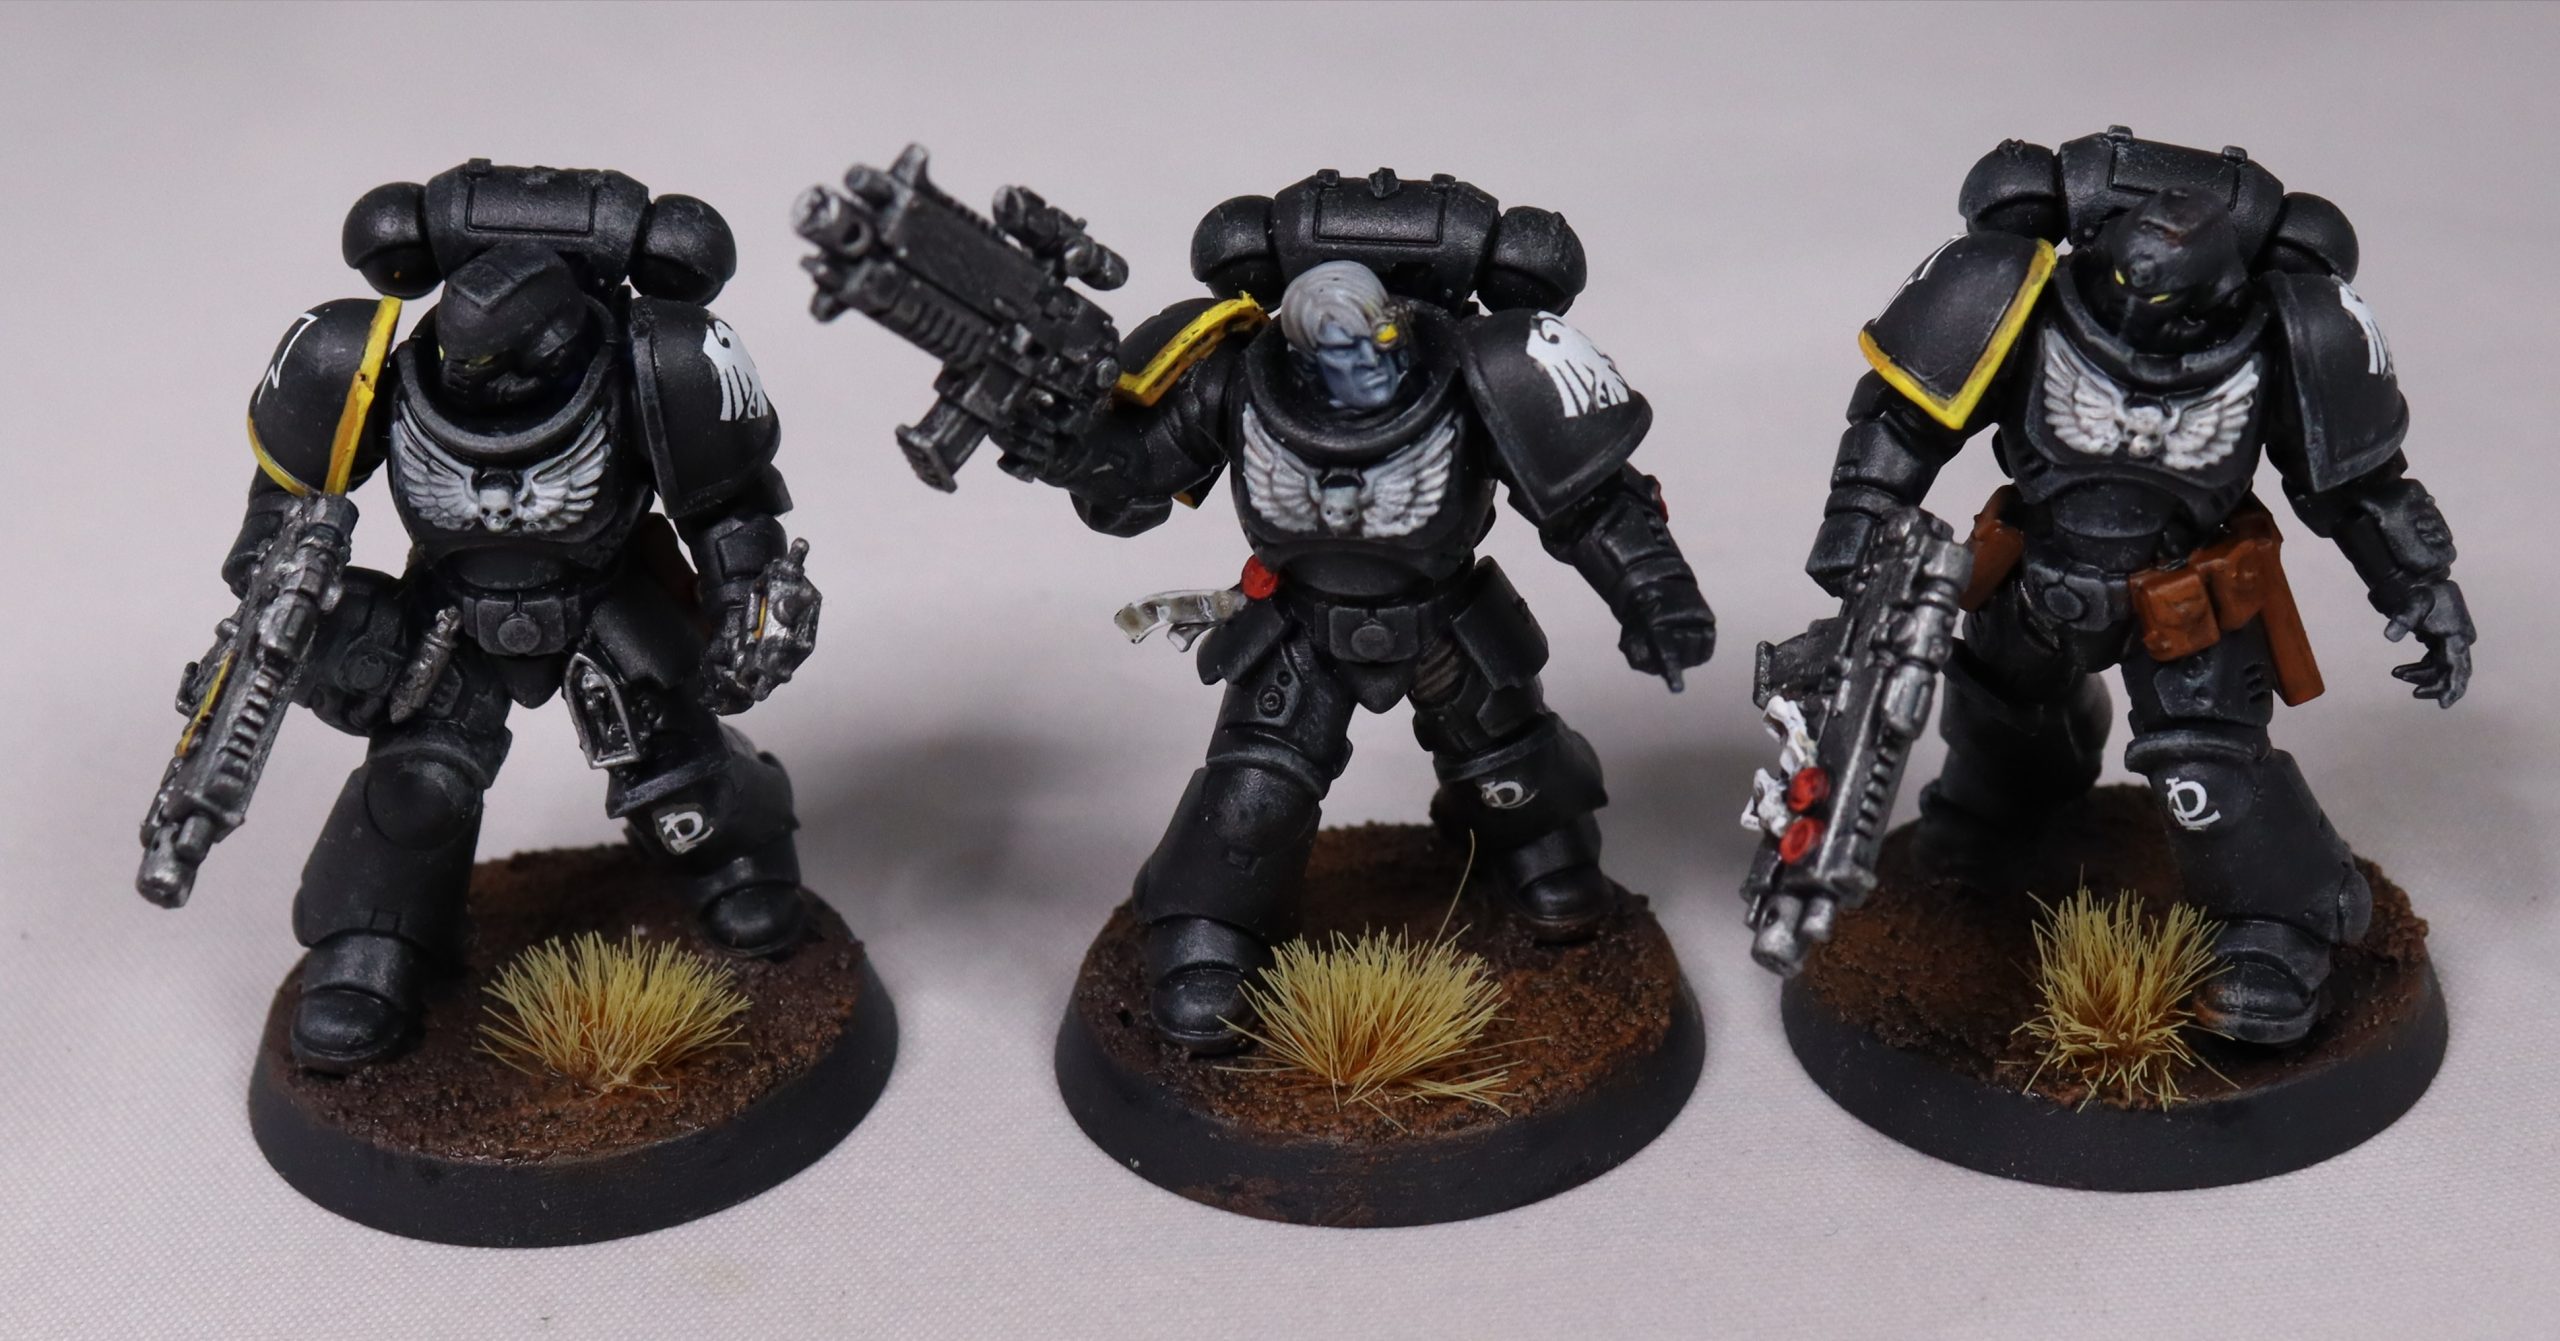
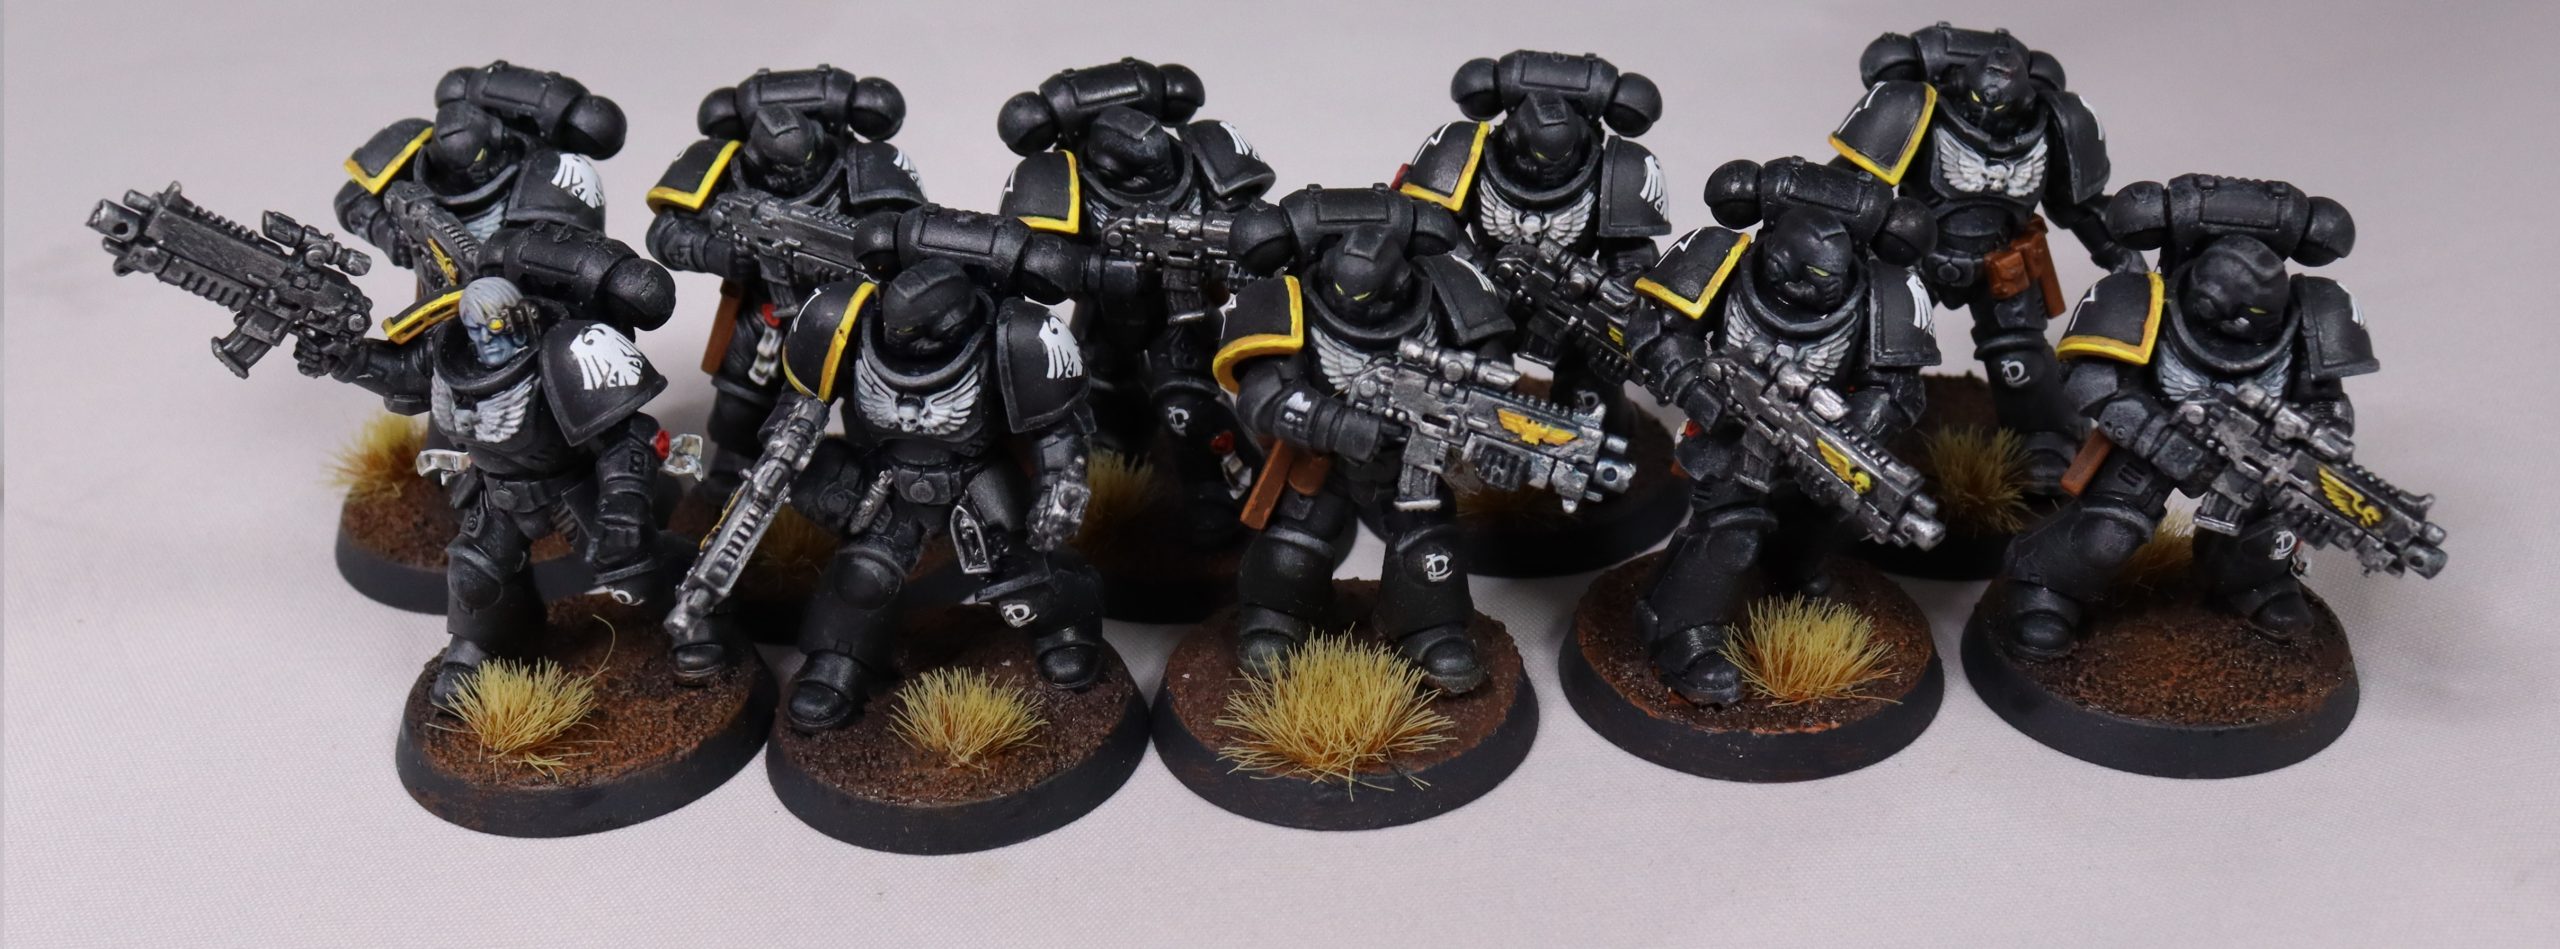
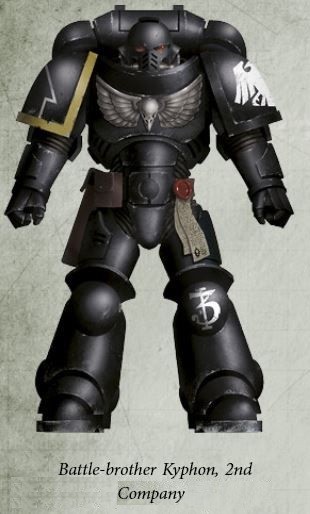
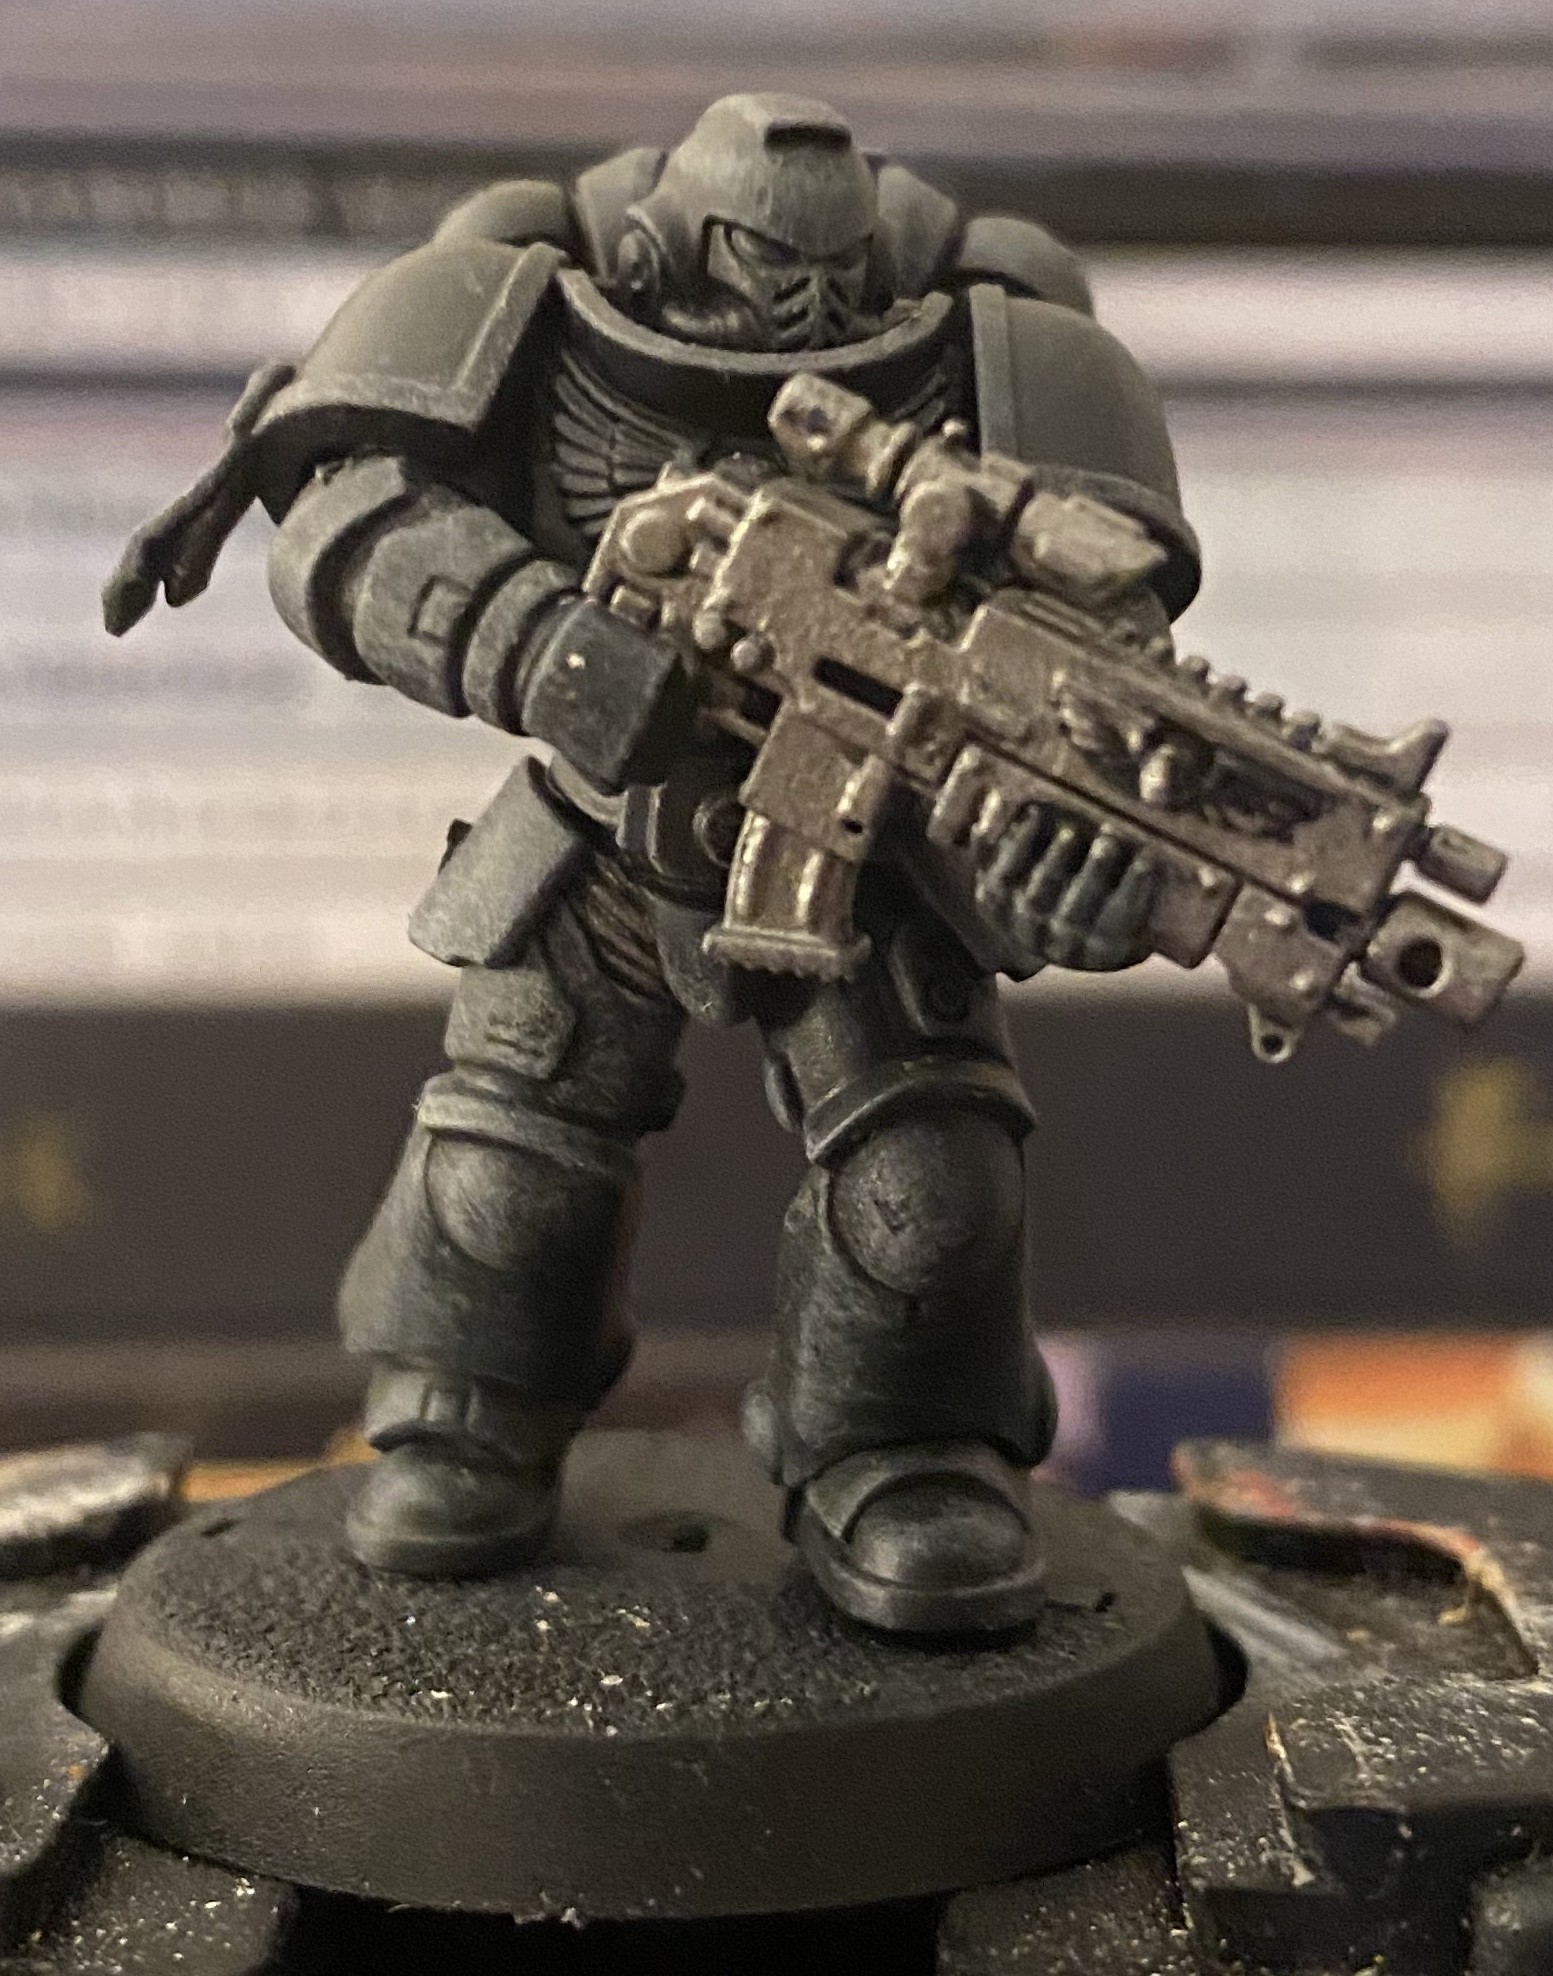
Raven Guard Intercessor
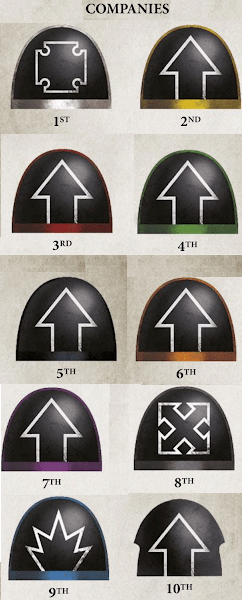
In 2nd Company Color Scheme
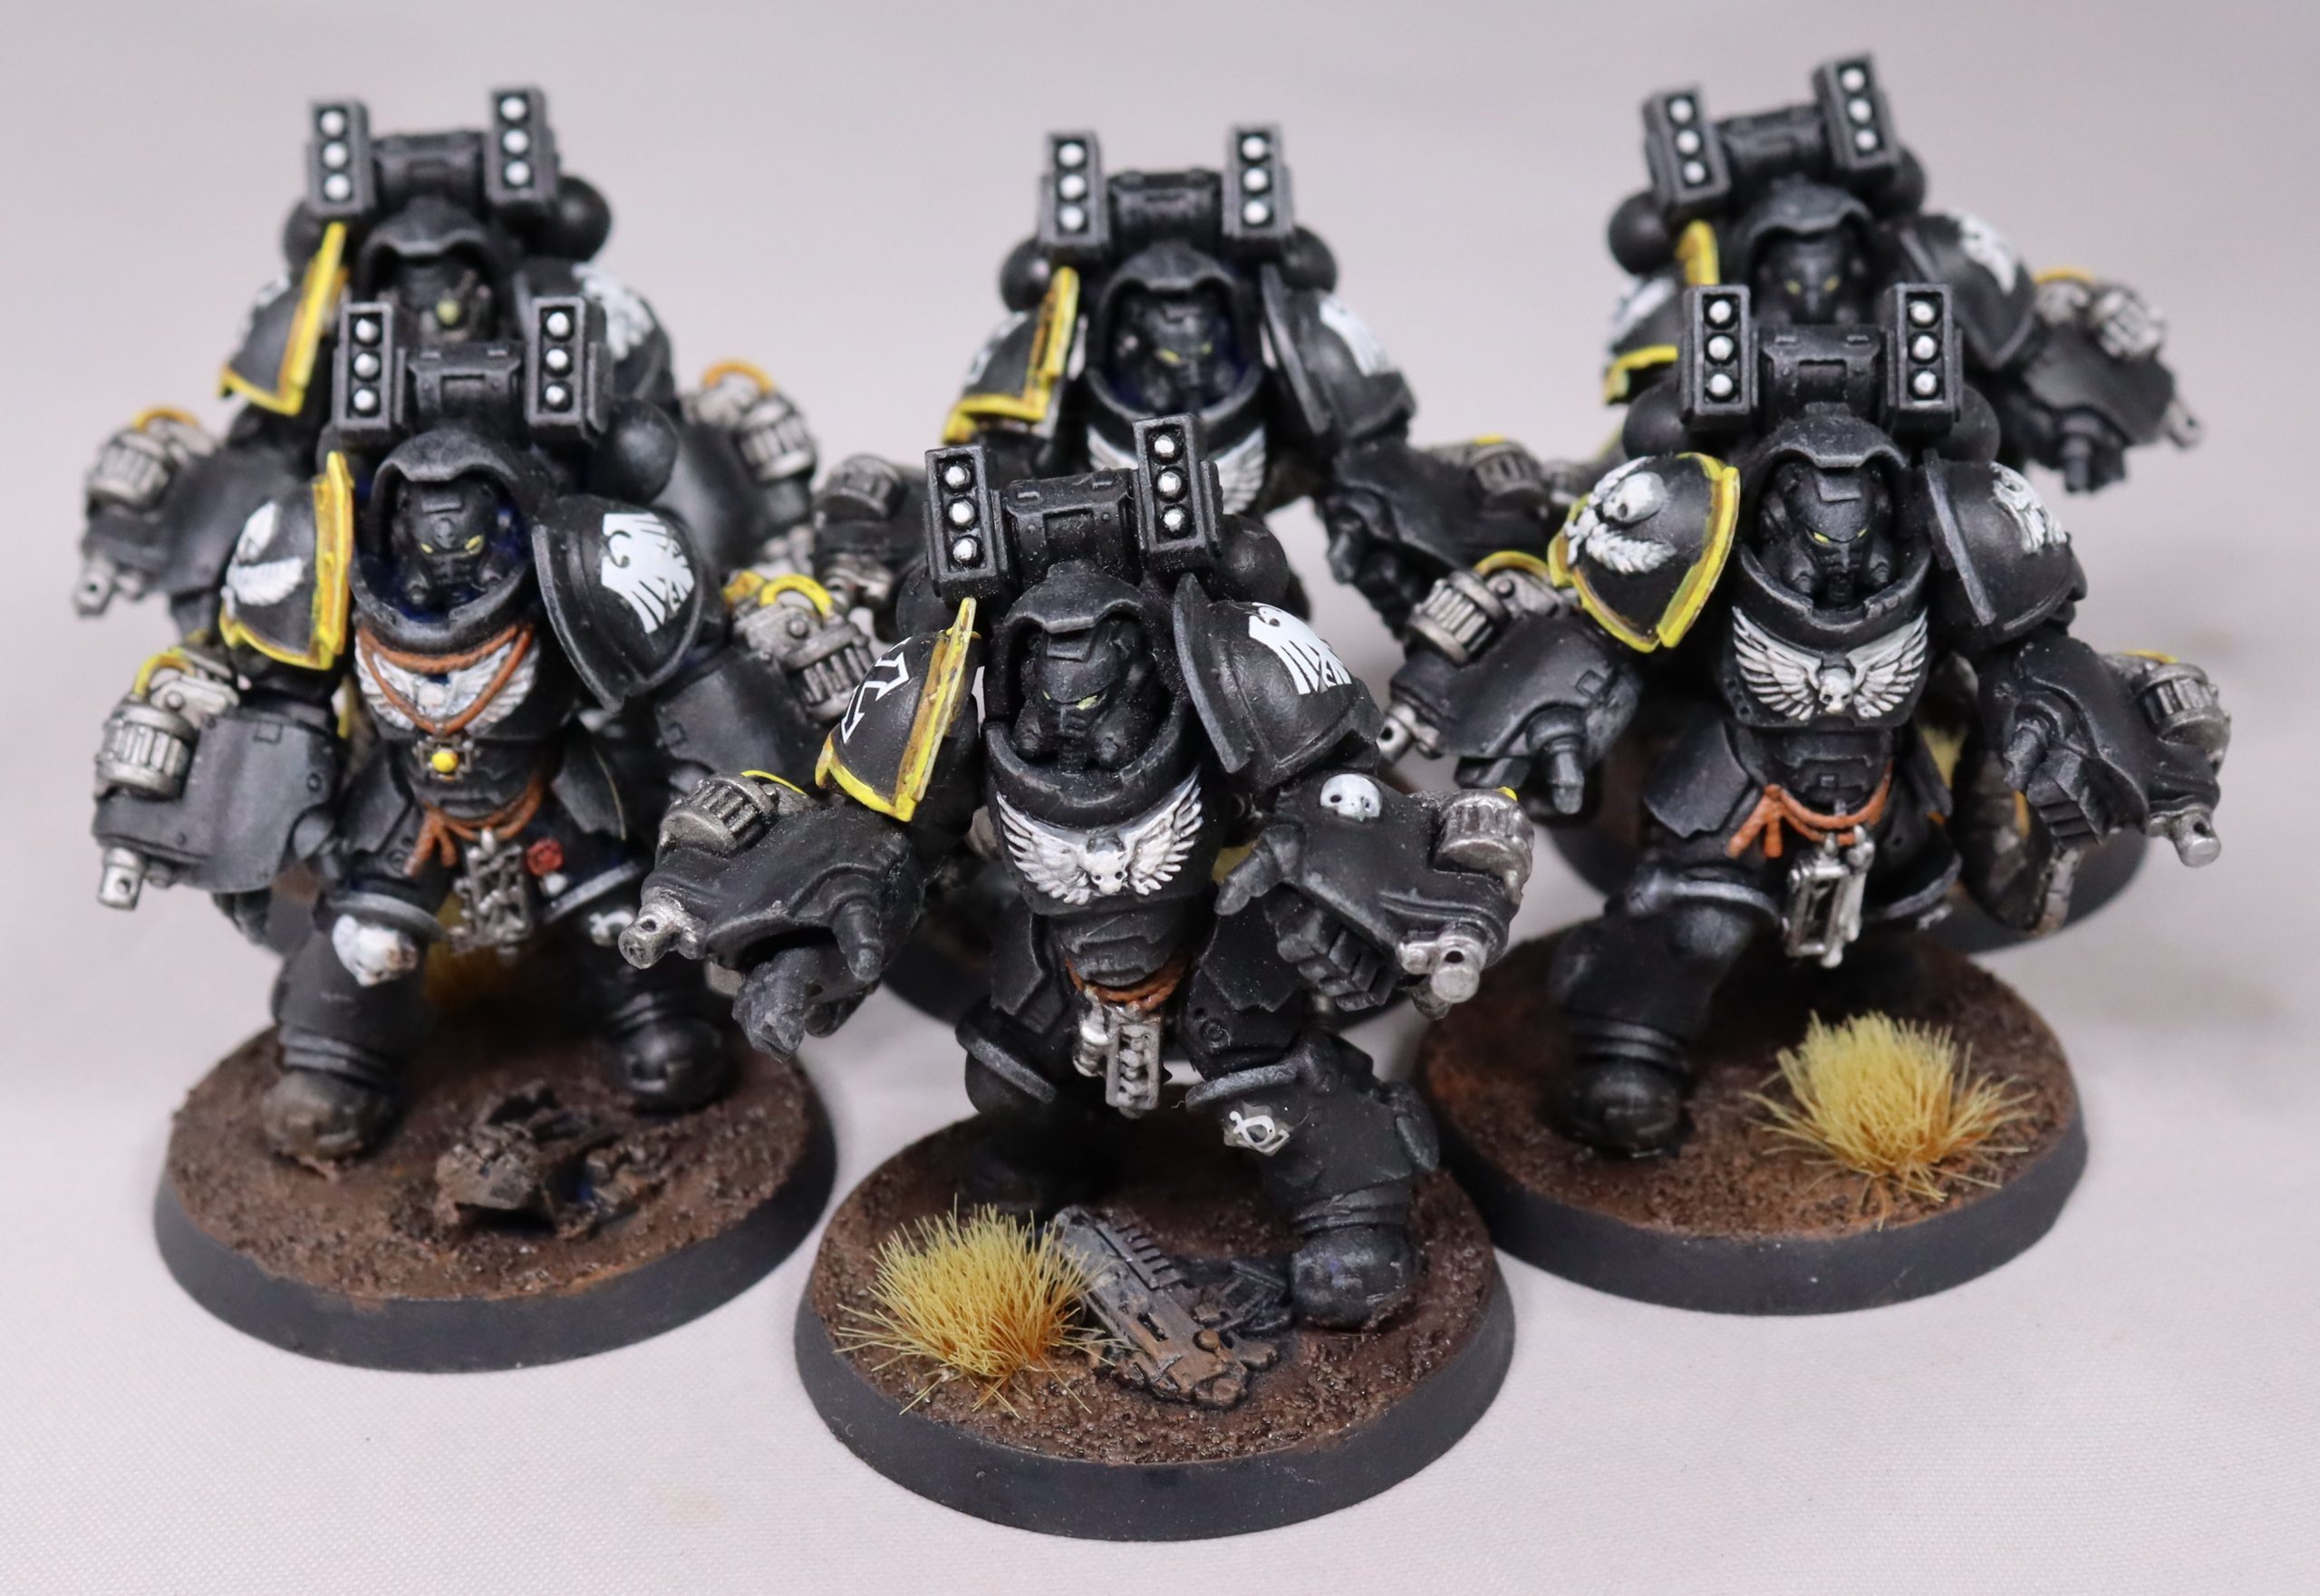
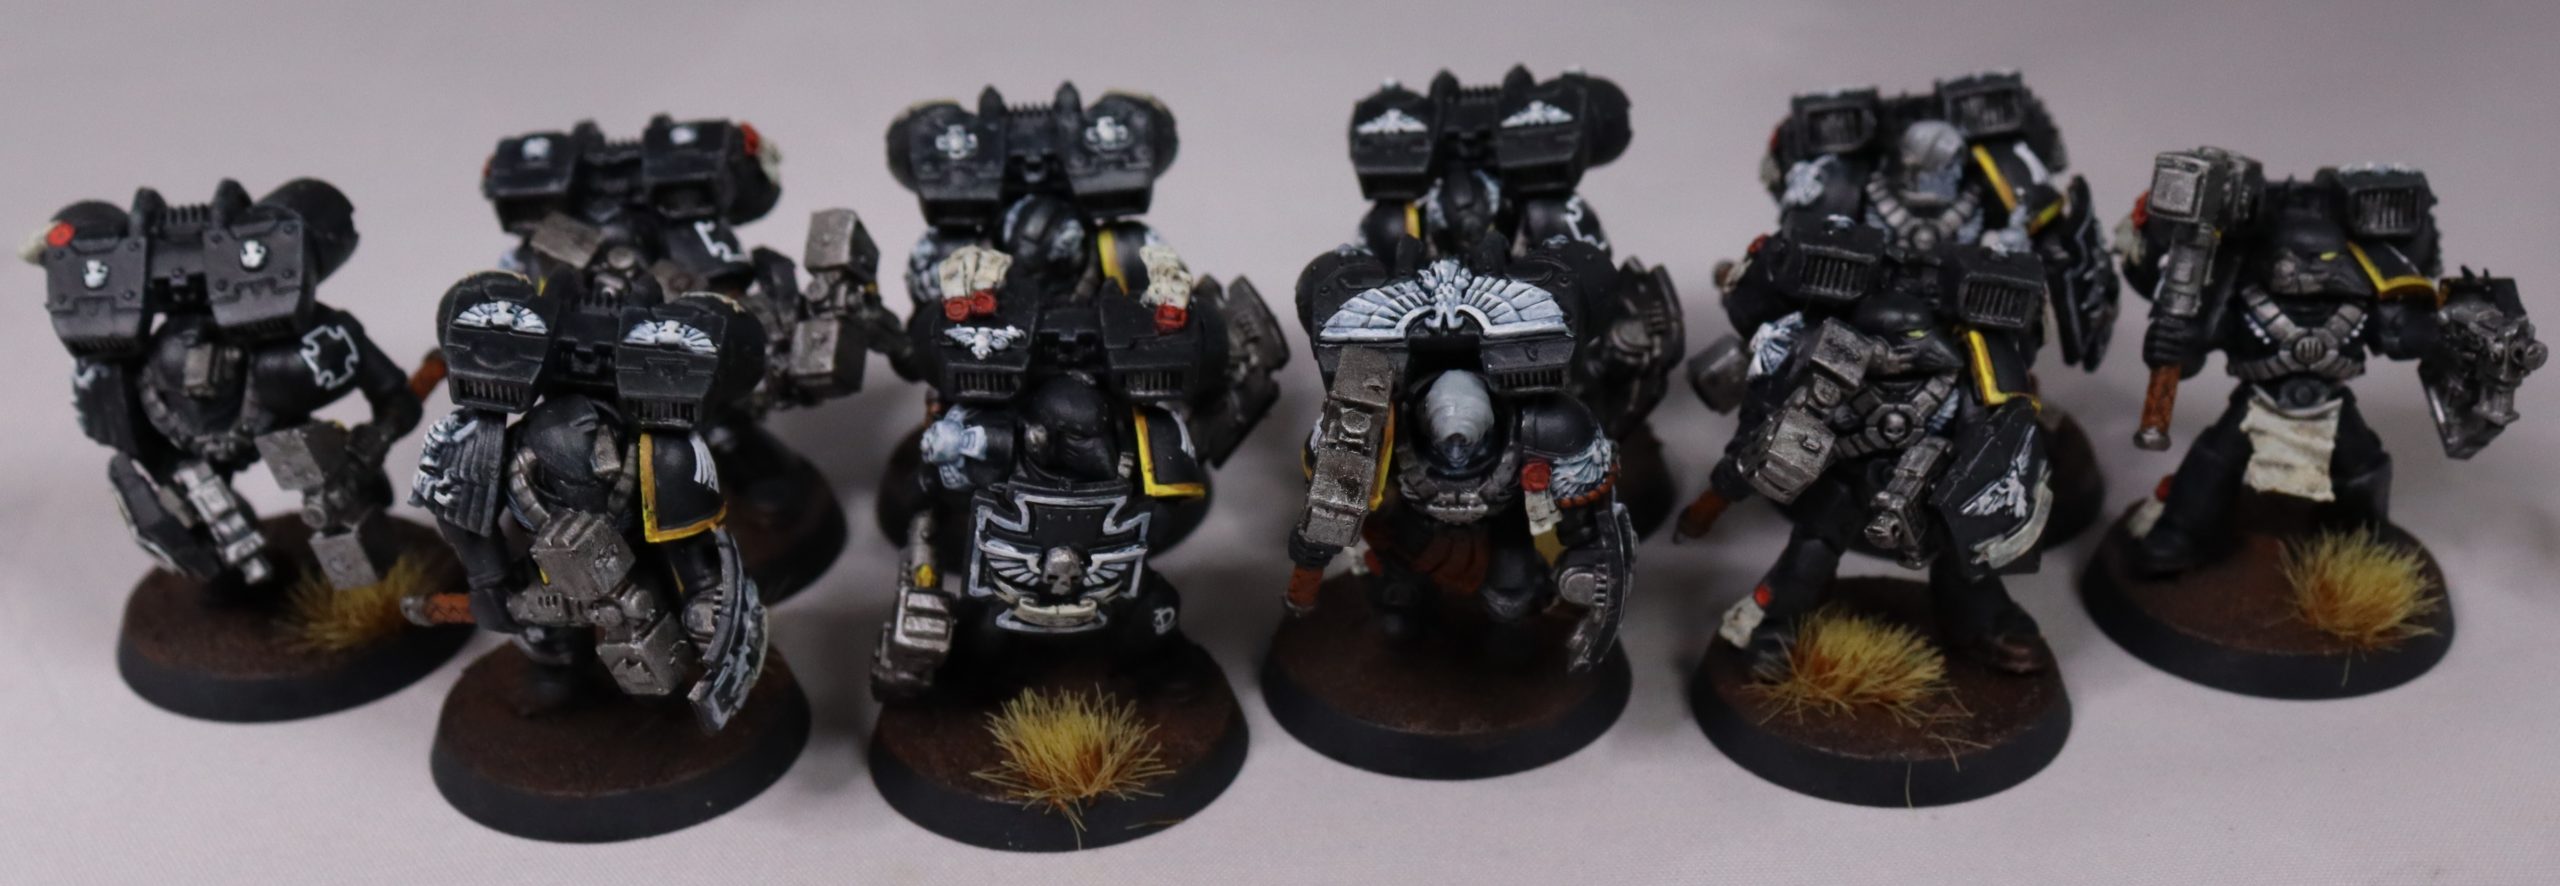
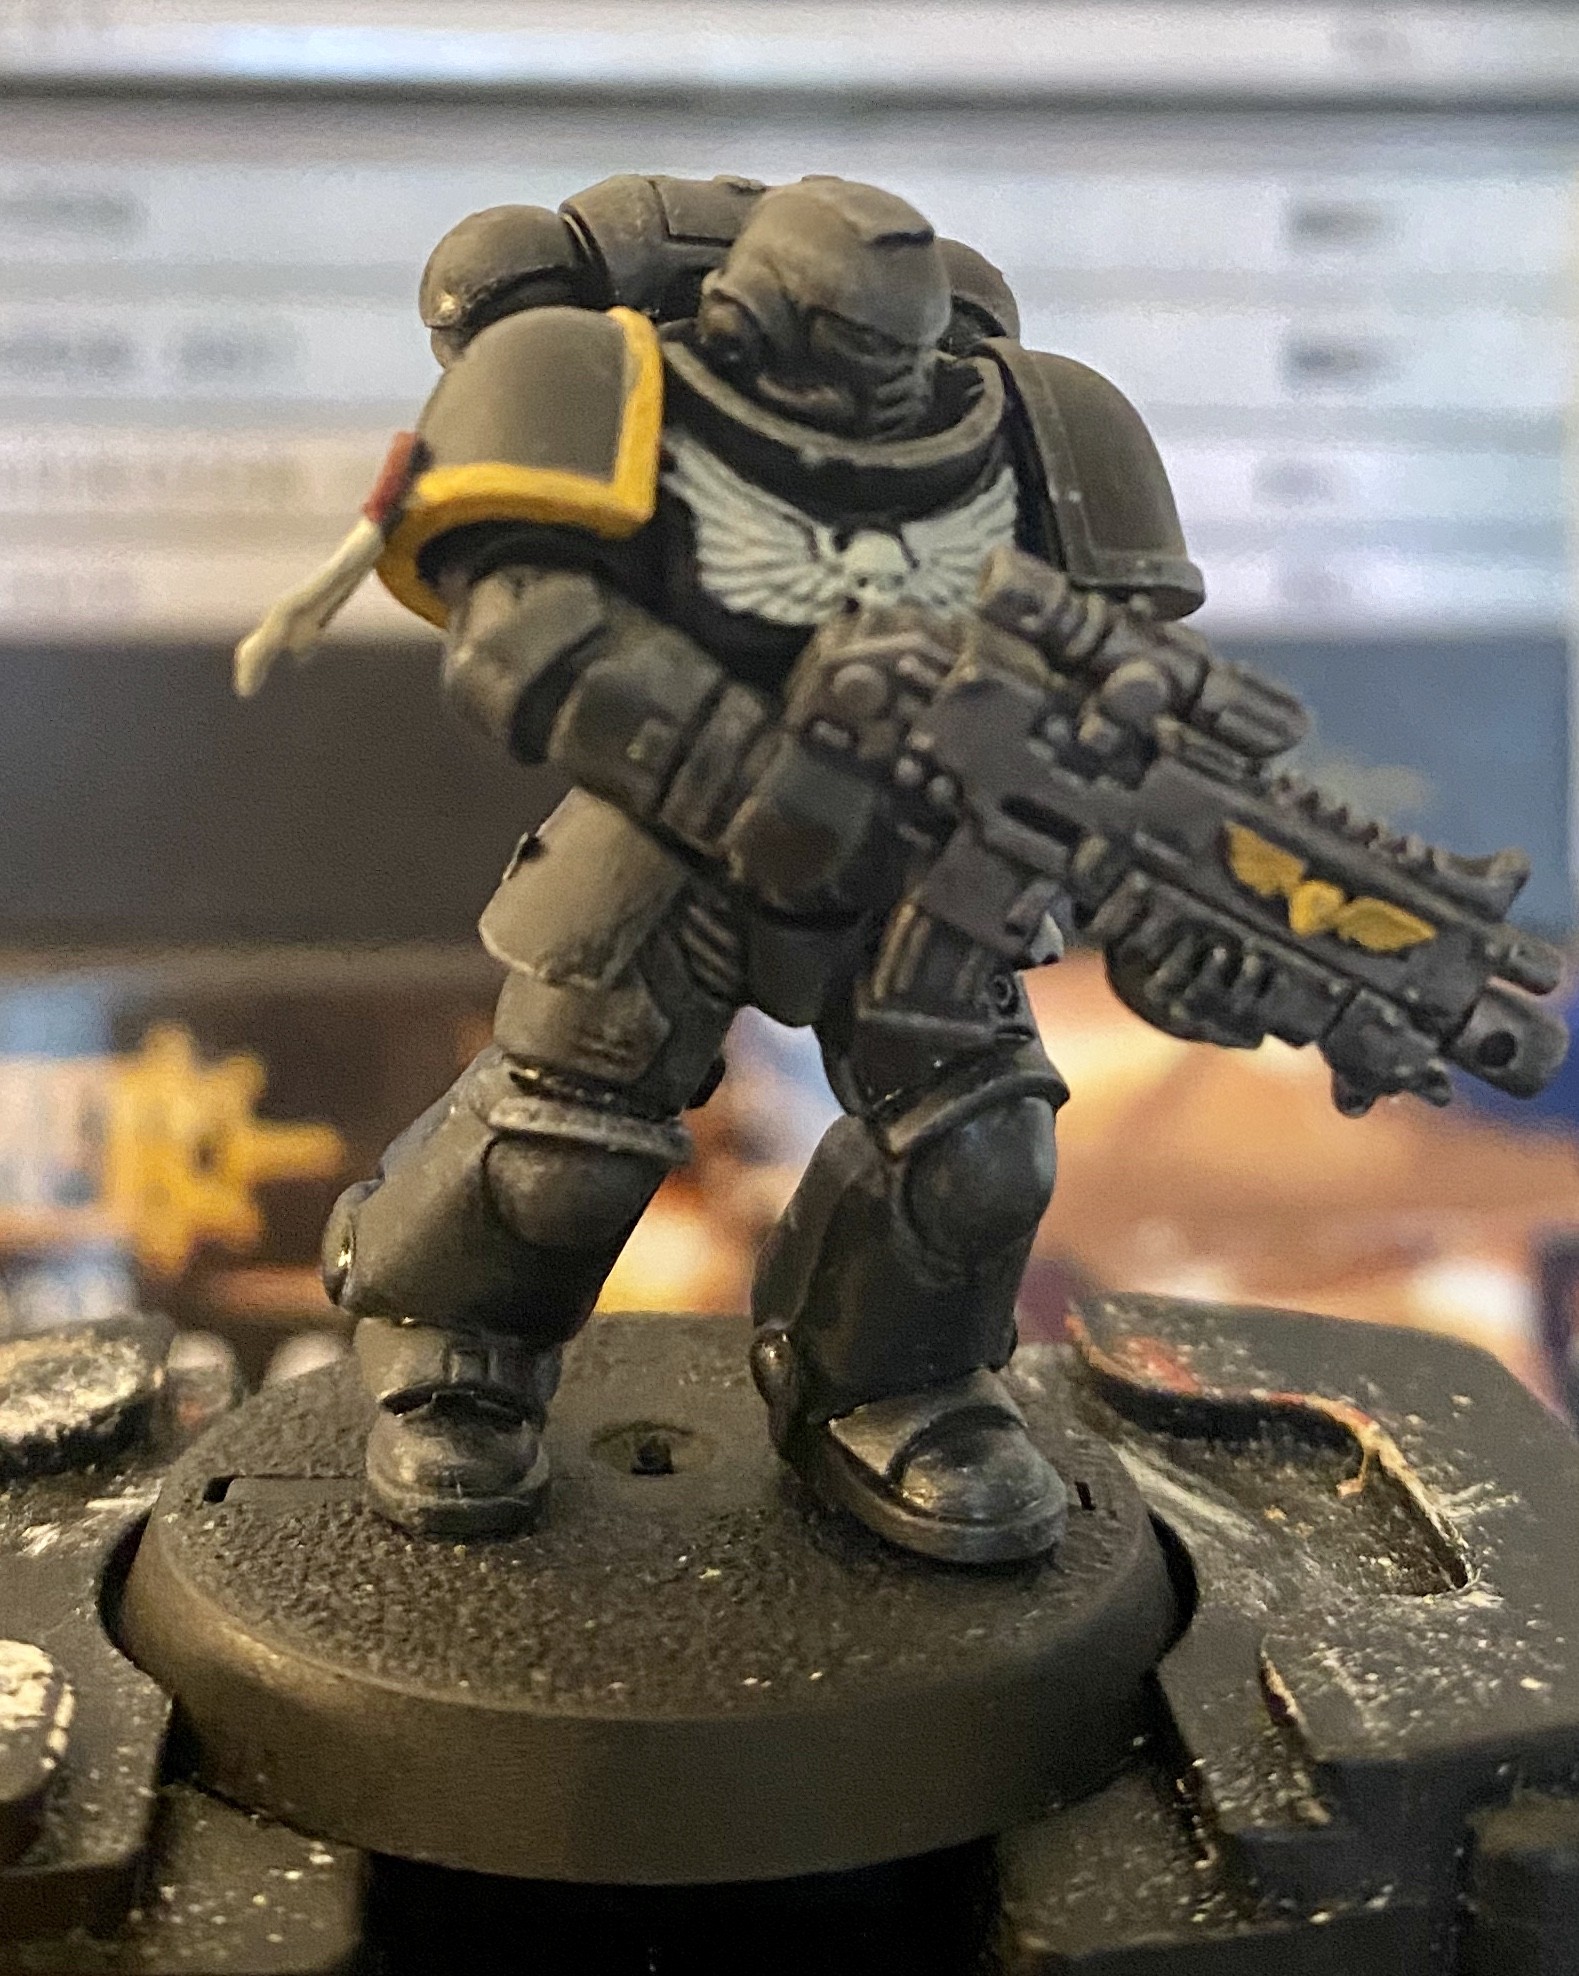
After speed painting my way through the White Scars, in the last project it was time to get off White and do the opposite. The Raven Guard were the best choice in that respect. I still wanted to cut down the time, using brush techniques without an airbrush. I also didn’t want a sea of black, so I needed a way to make the Raven Guard still stand out. I settled on the 2nd company with their yellow/gold shoulder pad rims. This meant on the battlefield the army would still pop, along with splashing the appropriate amount of White. Now it was just a matter of executing, by doing multiple black layers and heavy grey dry brushes.
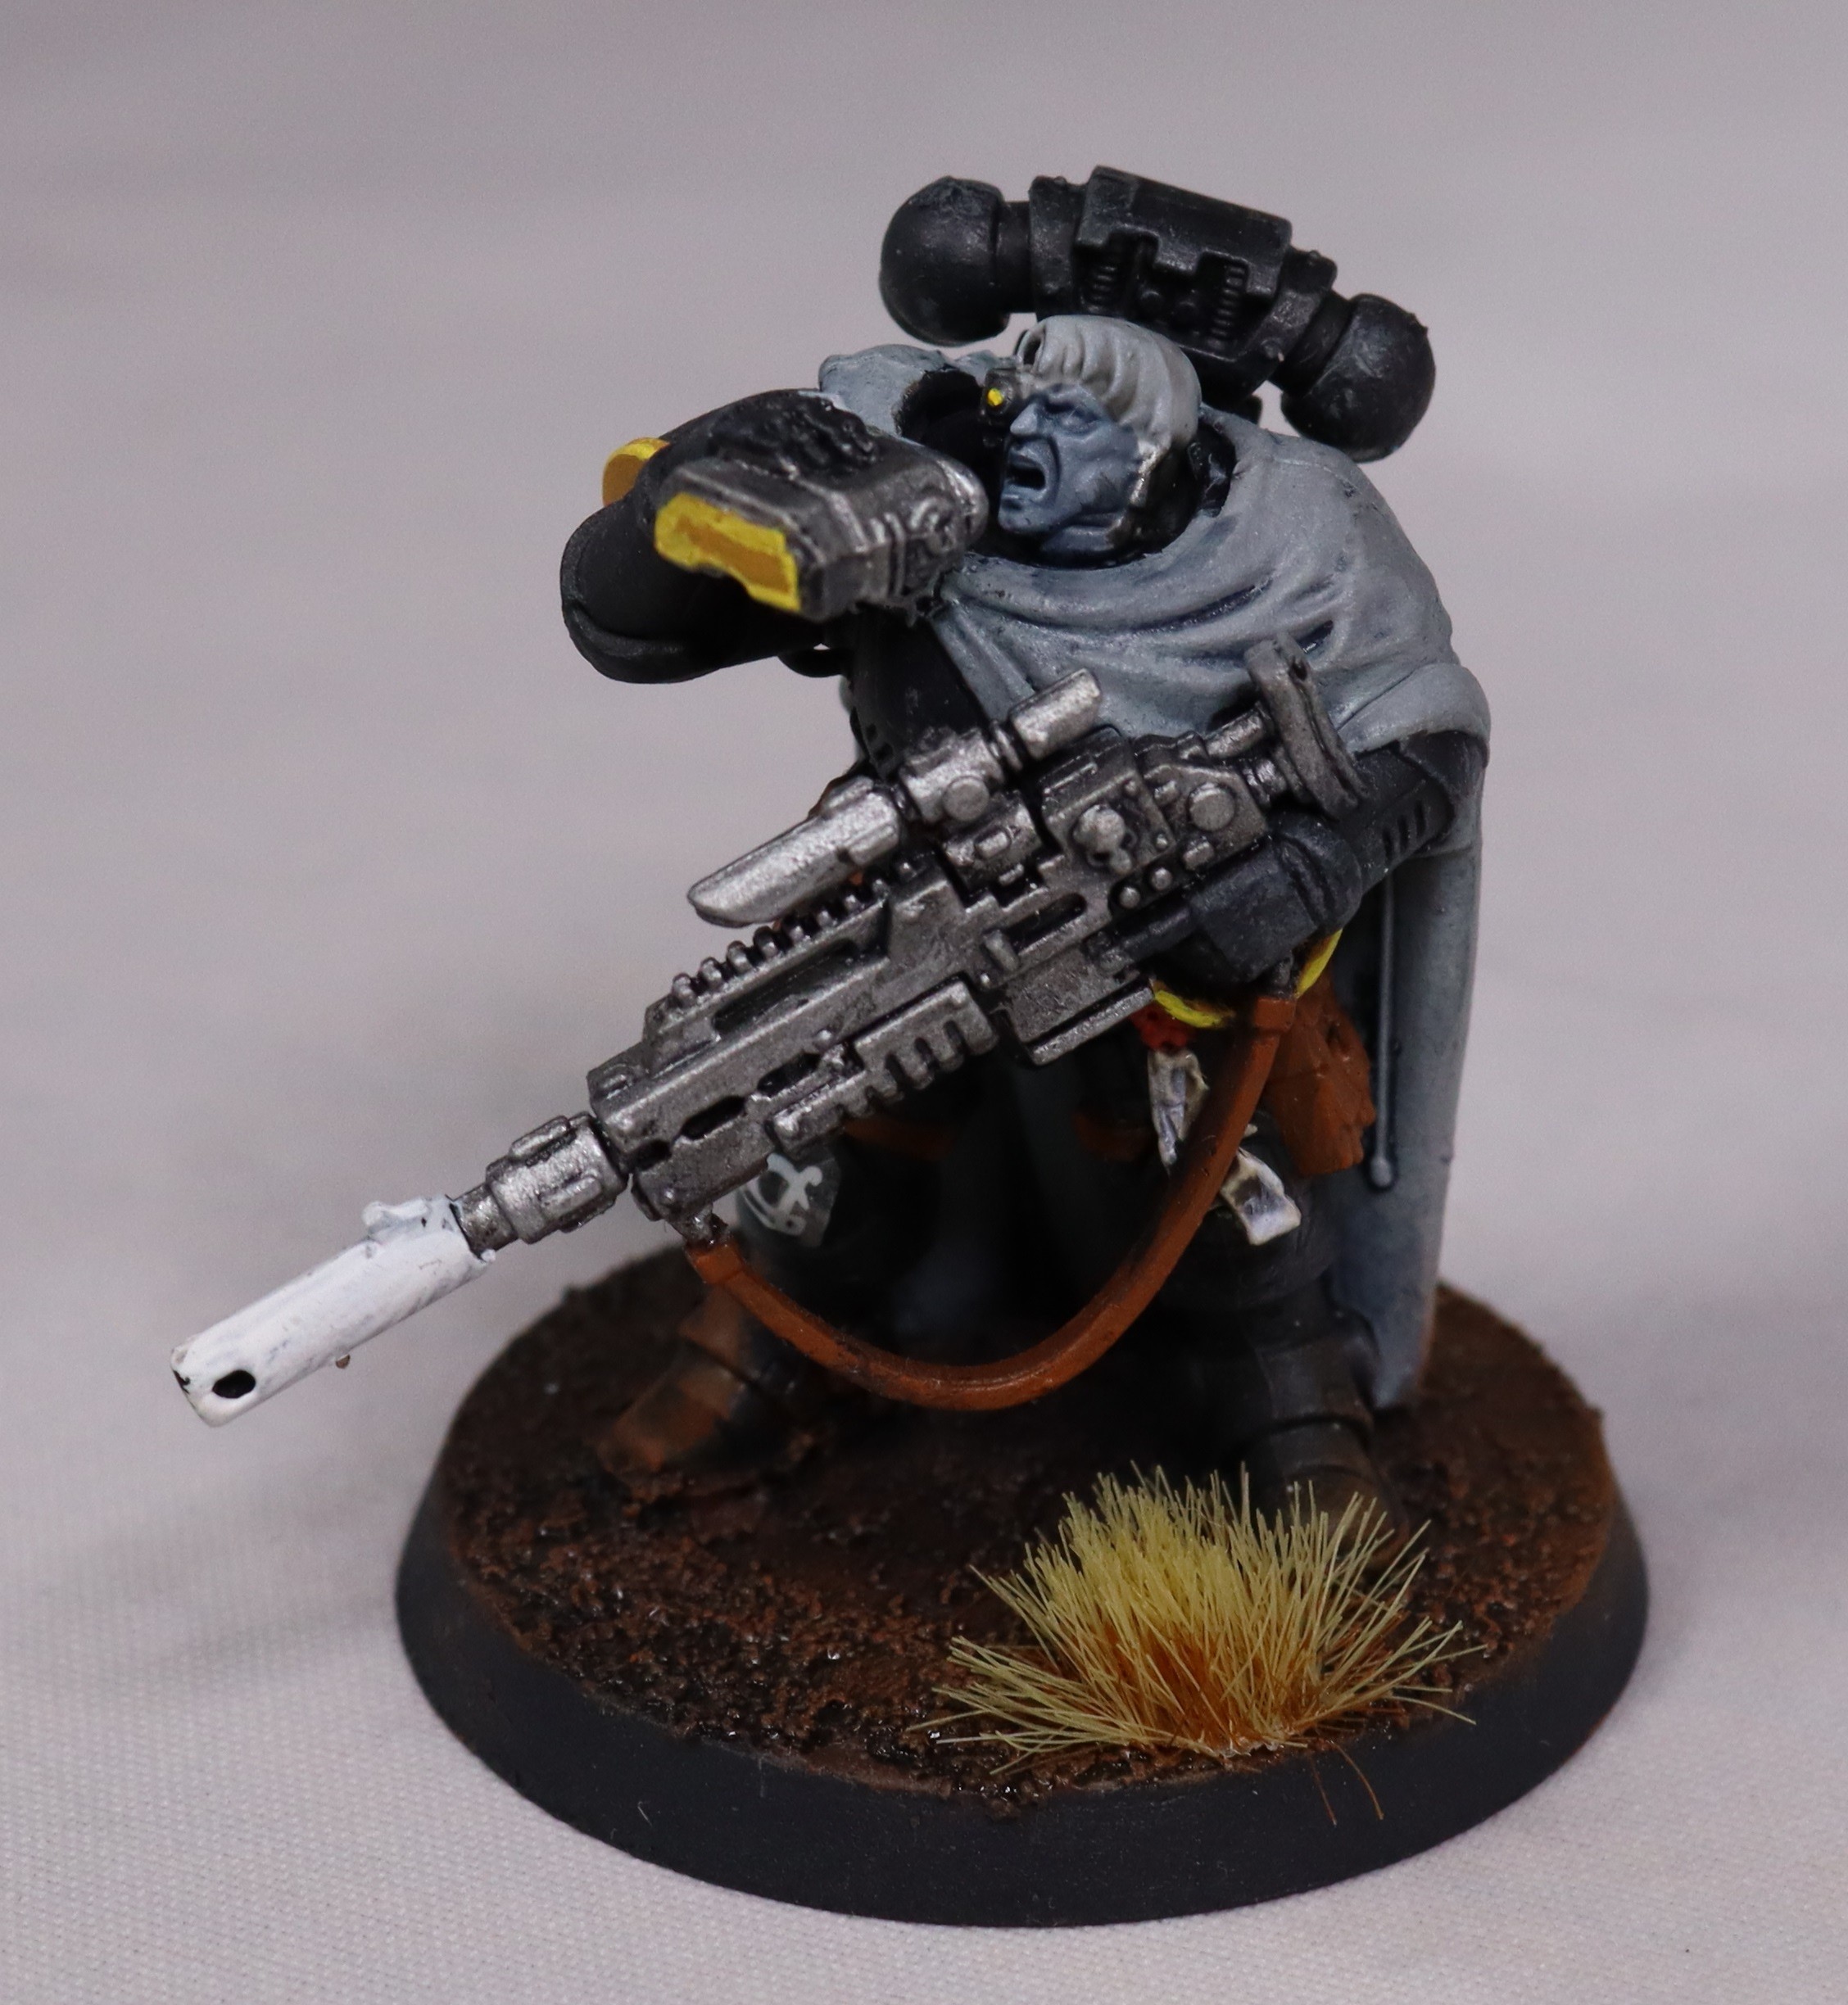
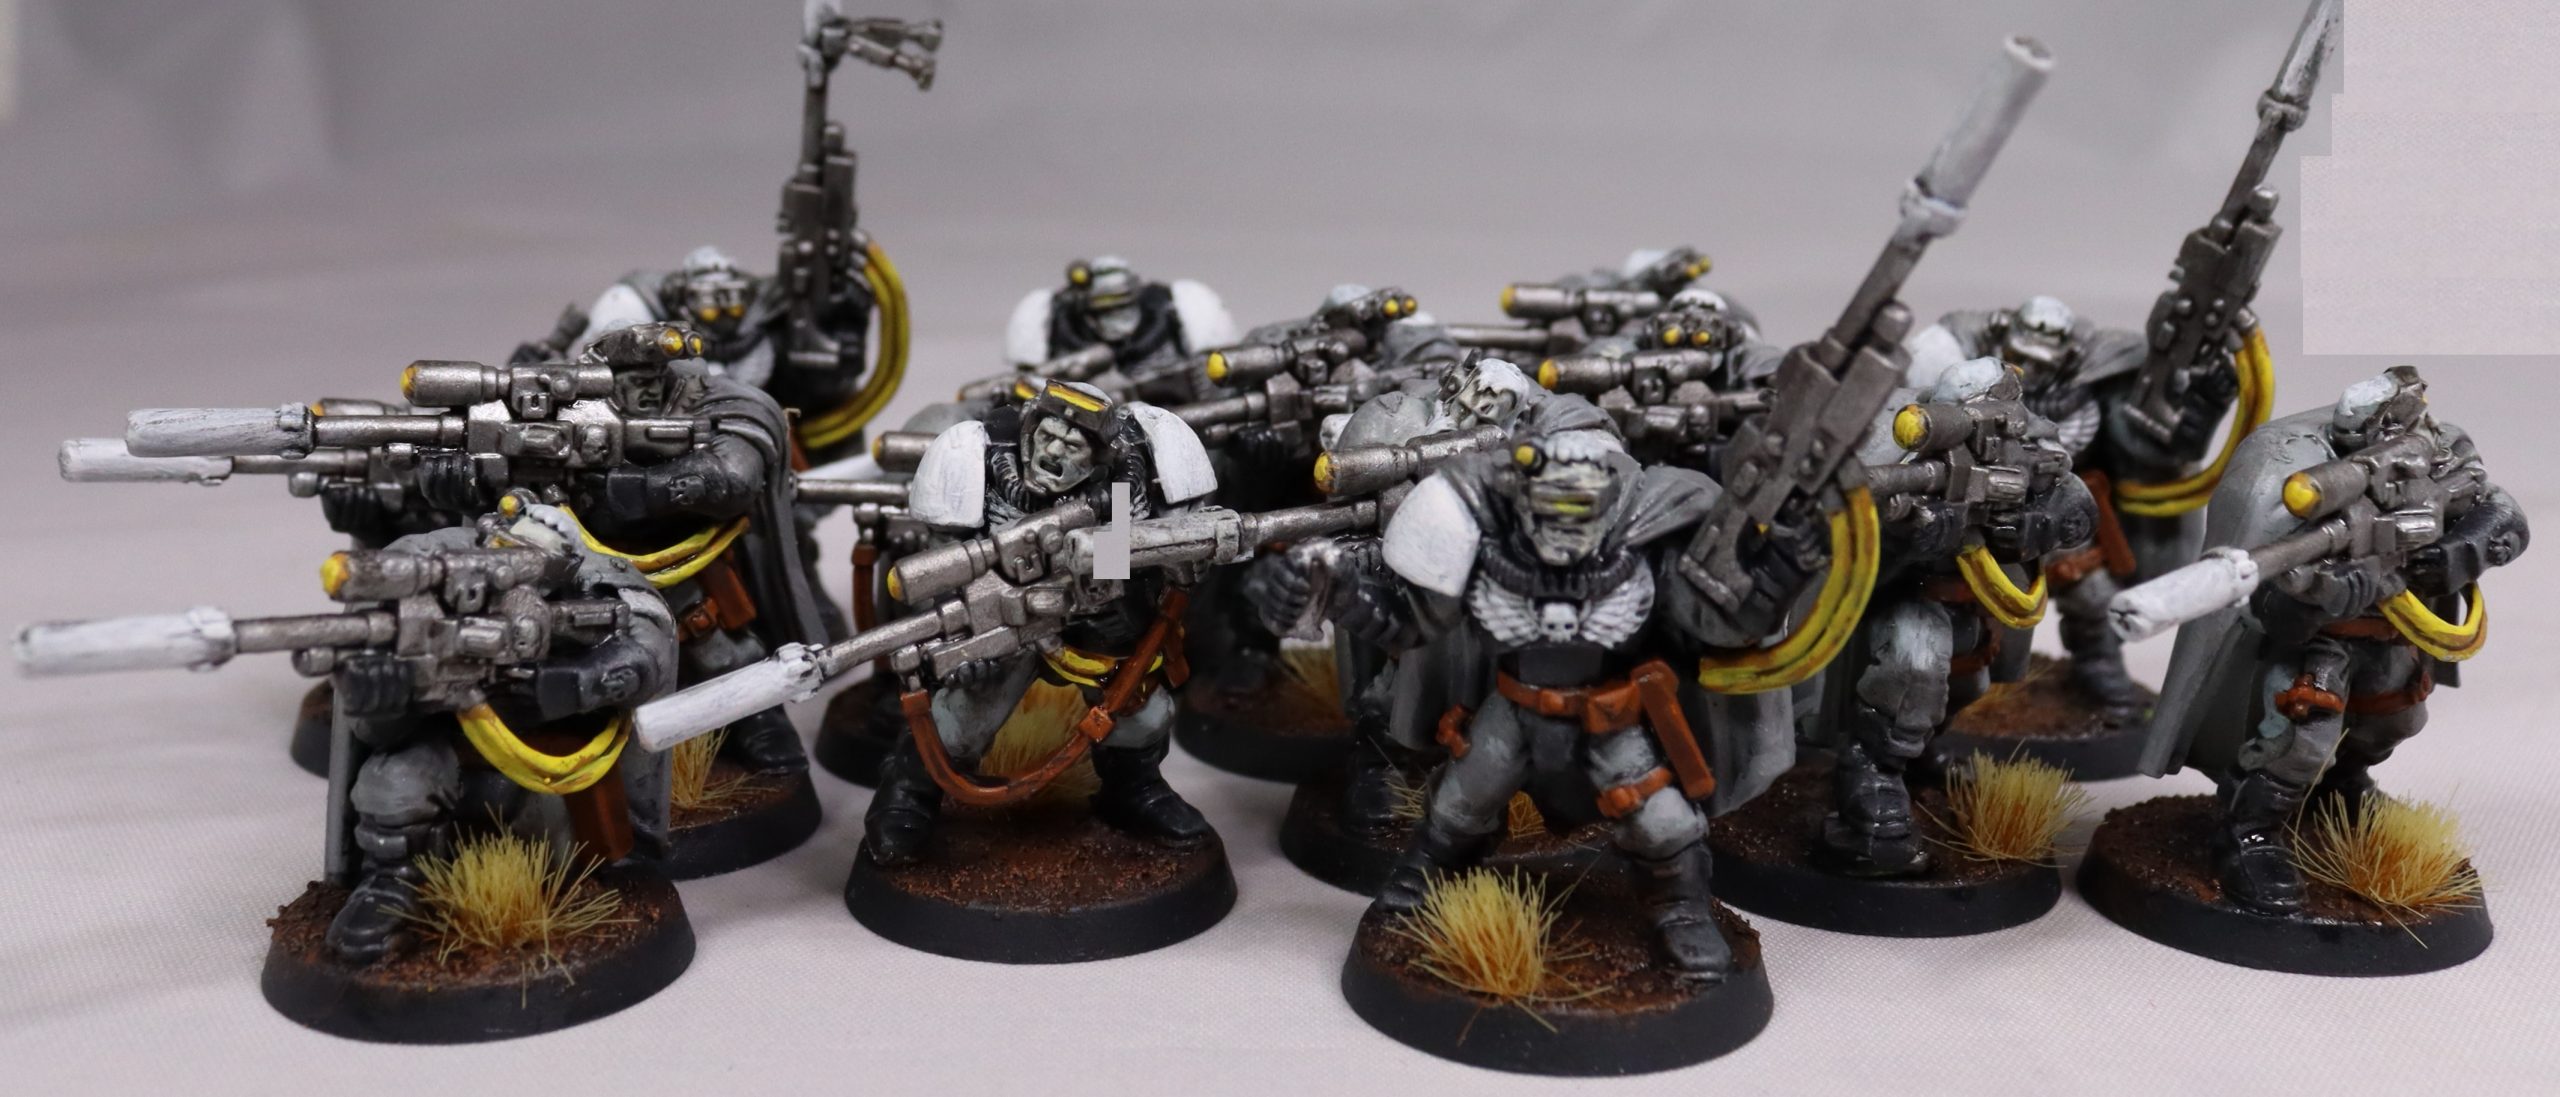
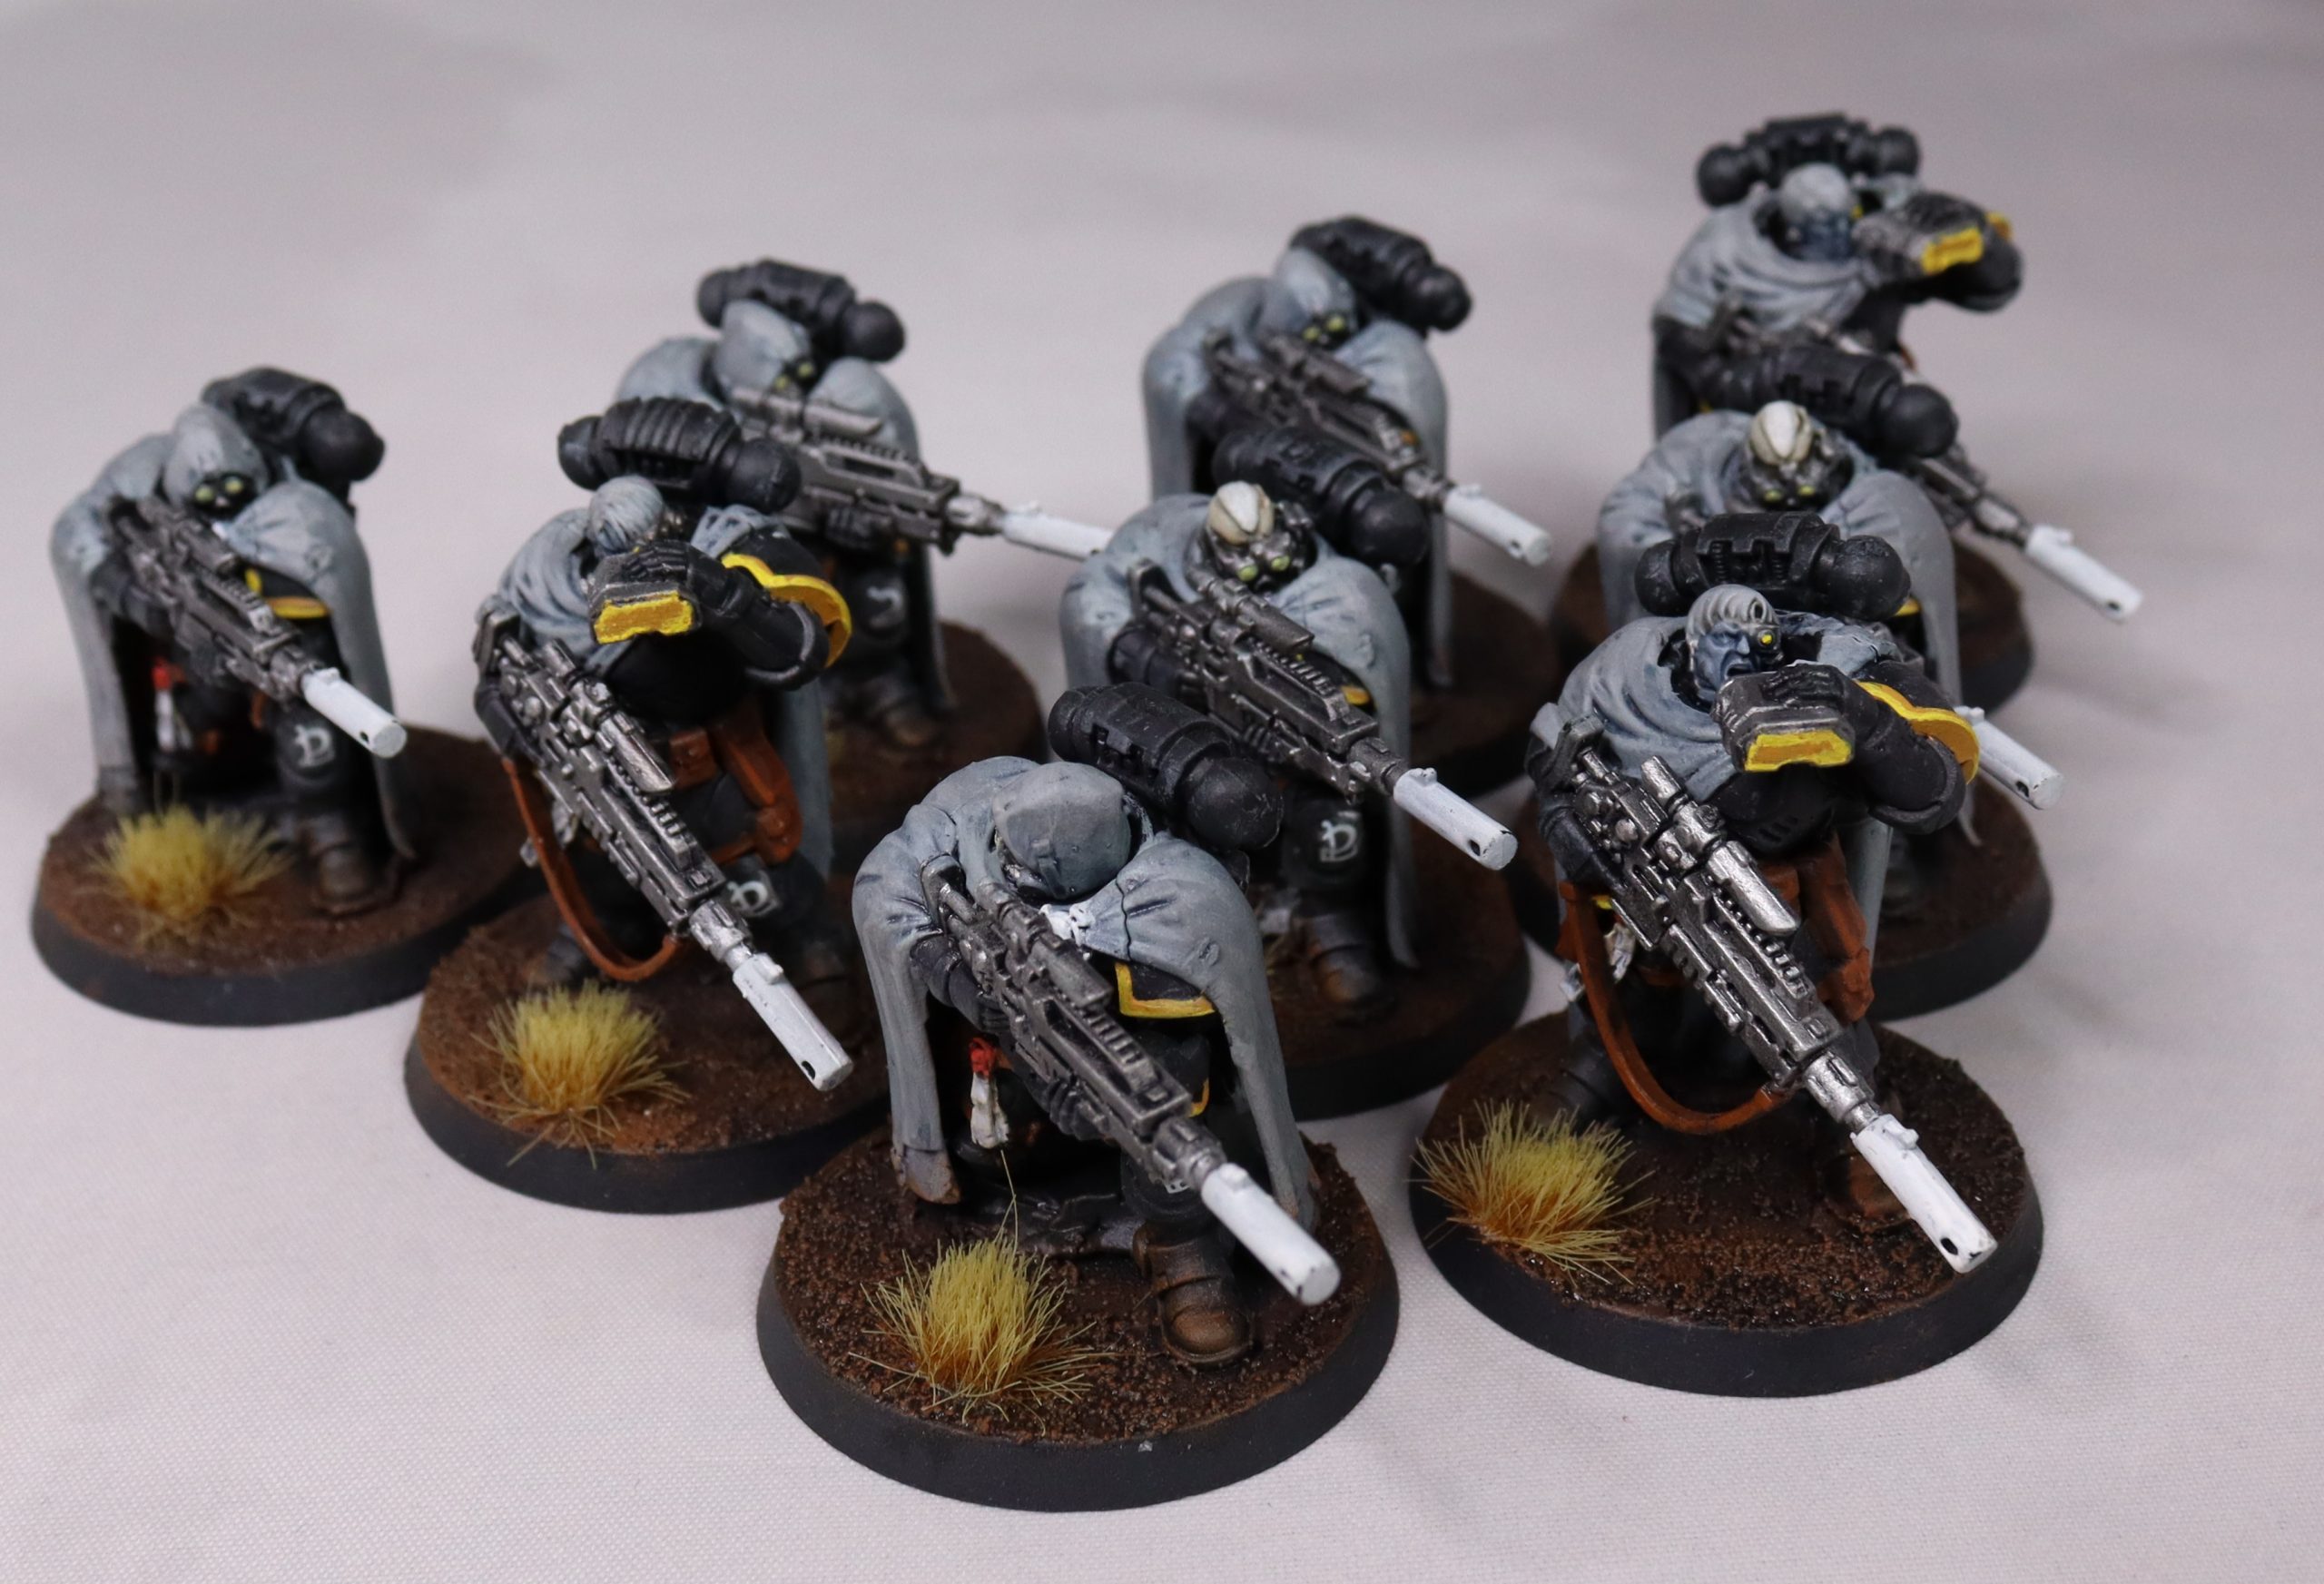
Once the base was complete it was the easy matter of adding those yellows and whites to finish the models and completing the Raven Guard in epic time, but then we still had the matter of the sniper cloaks…
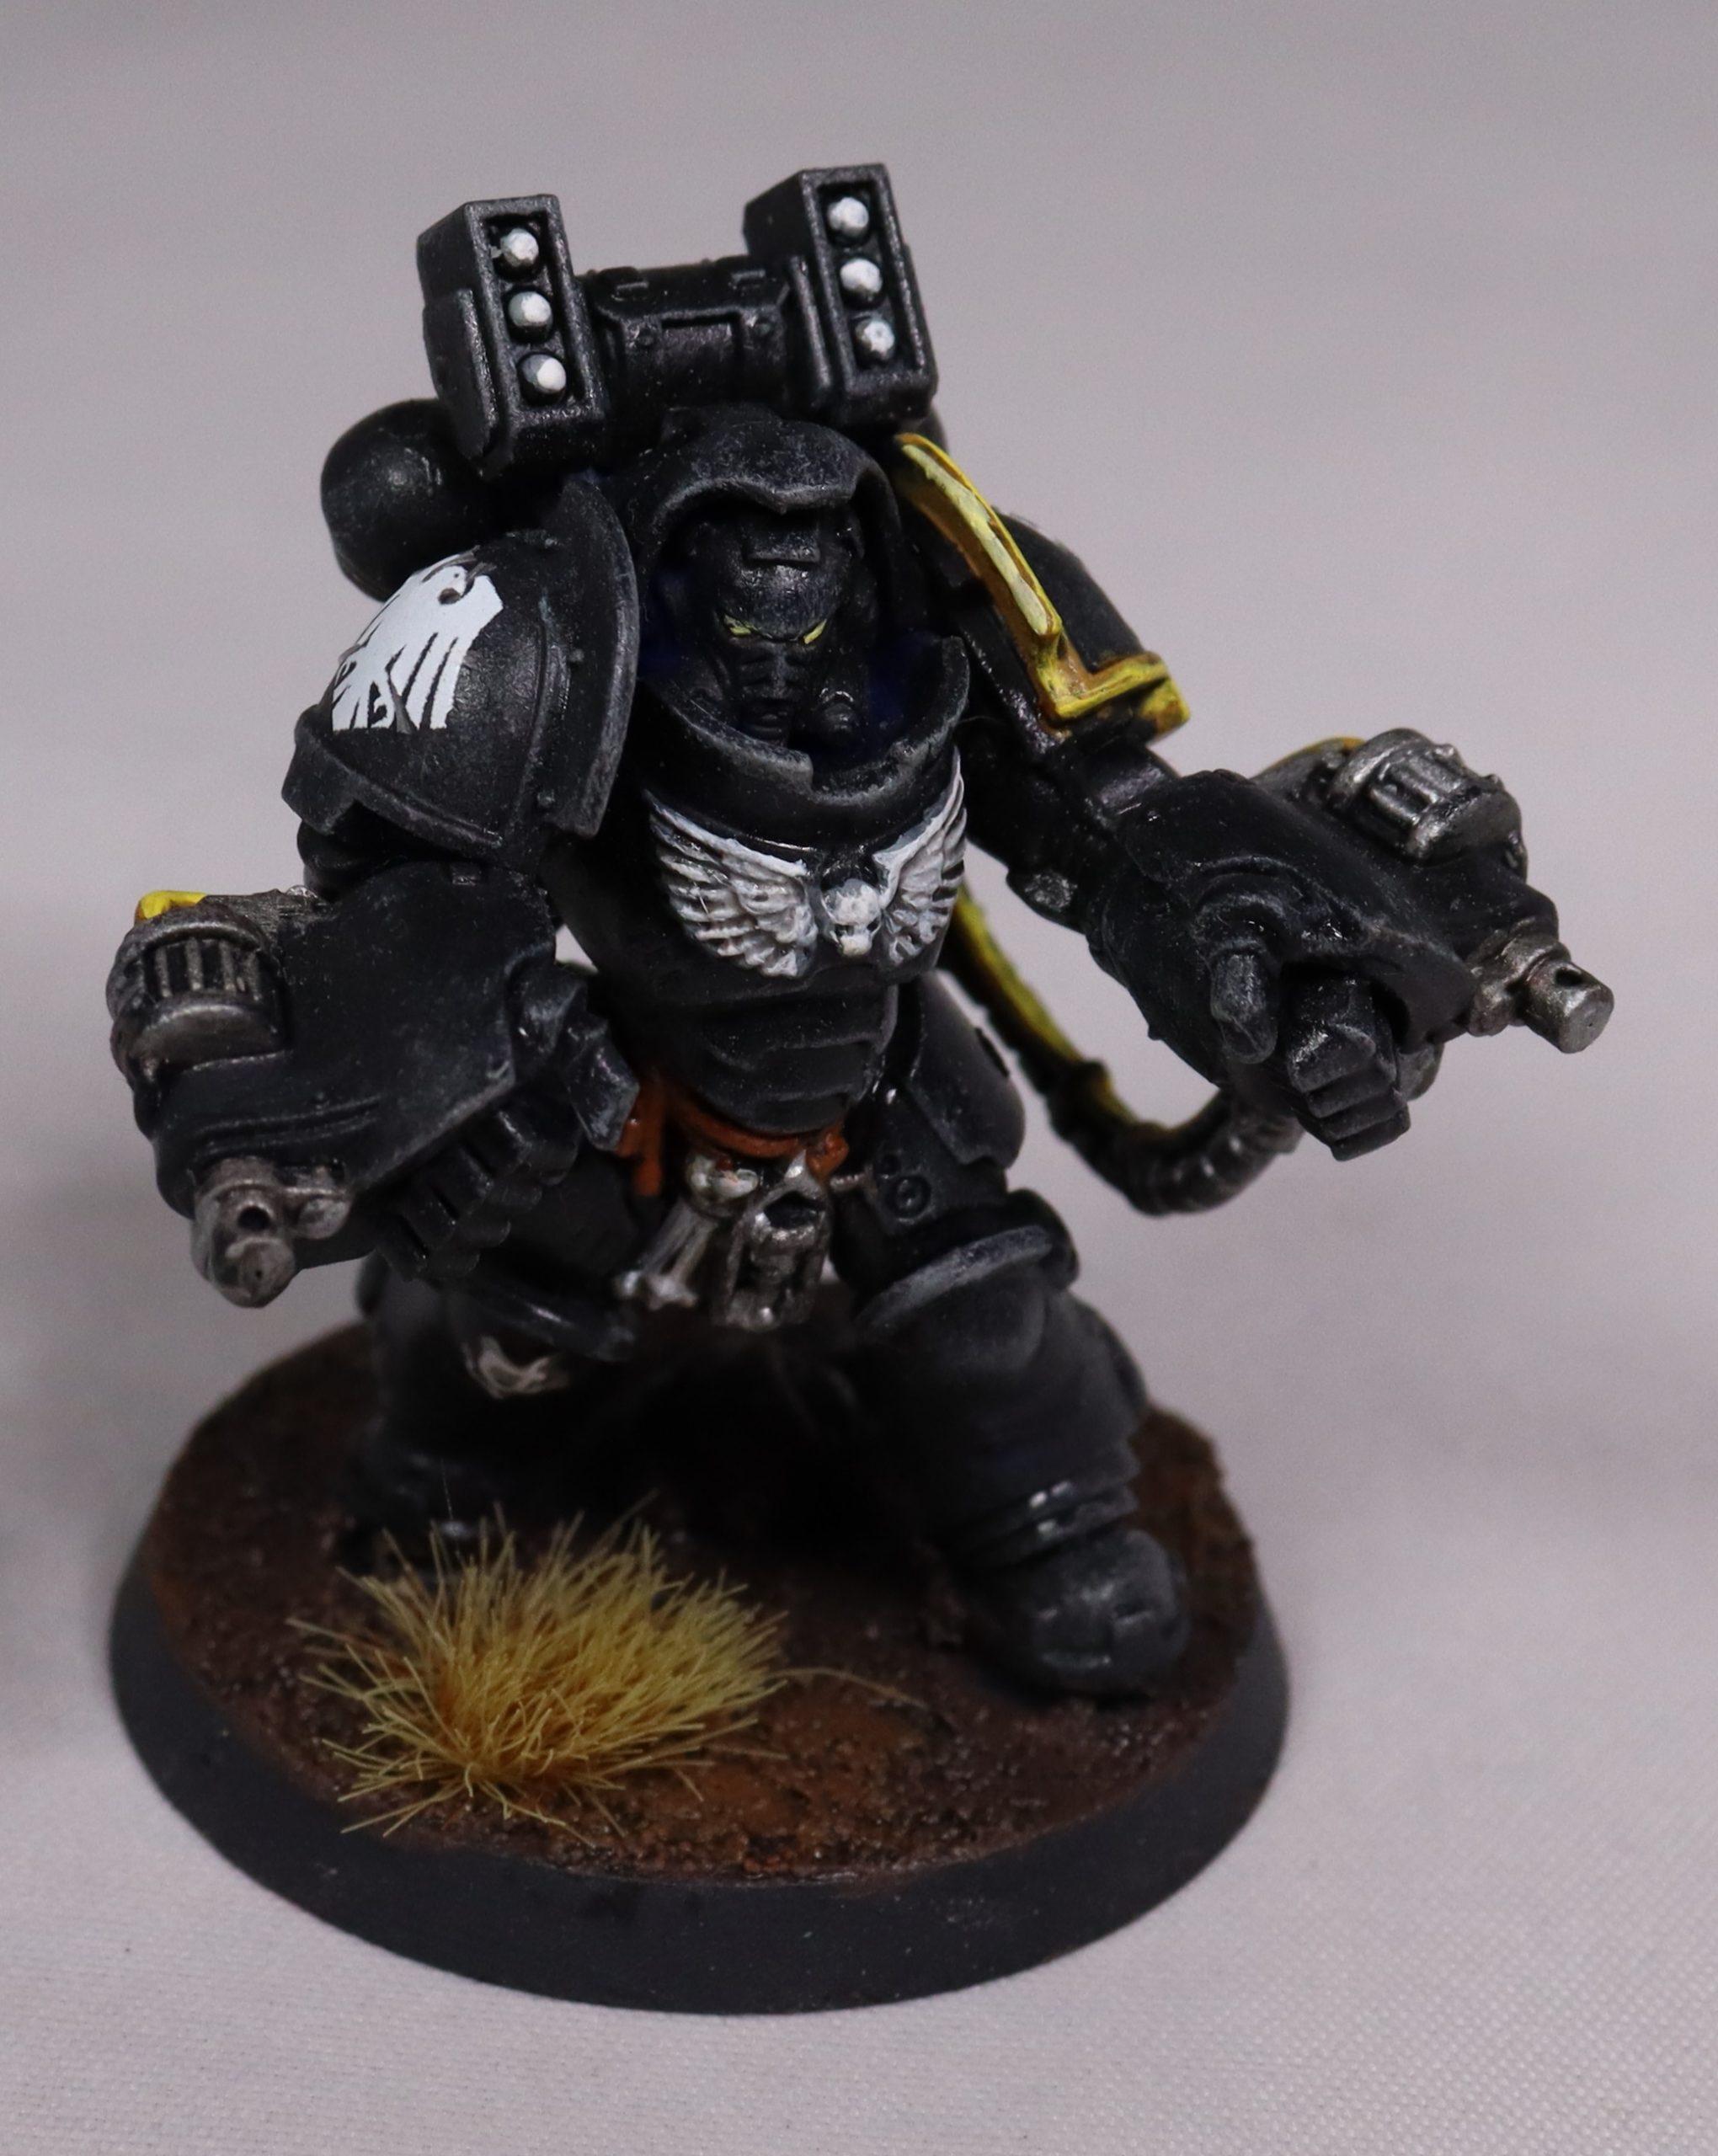
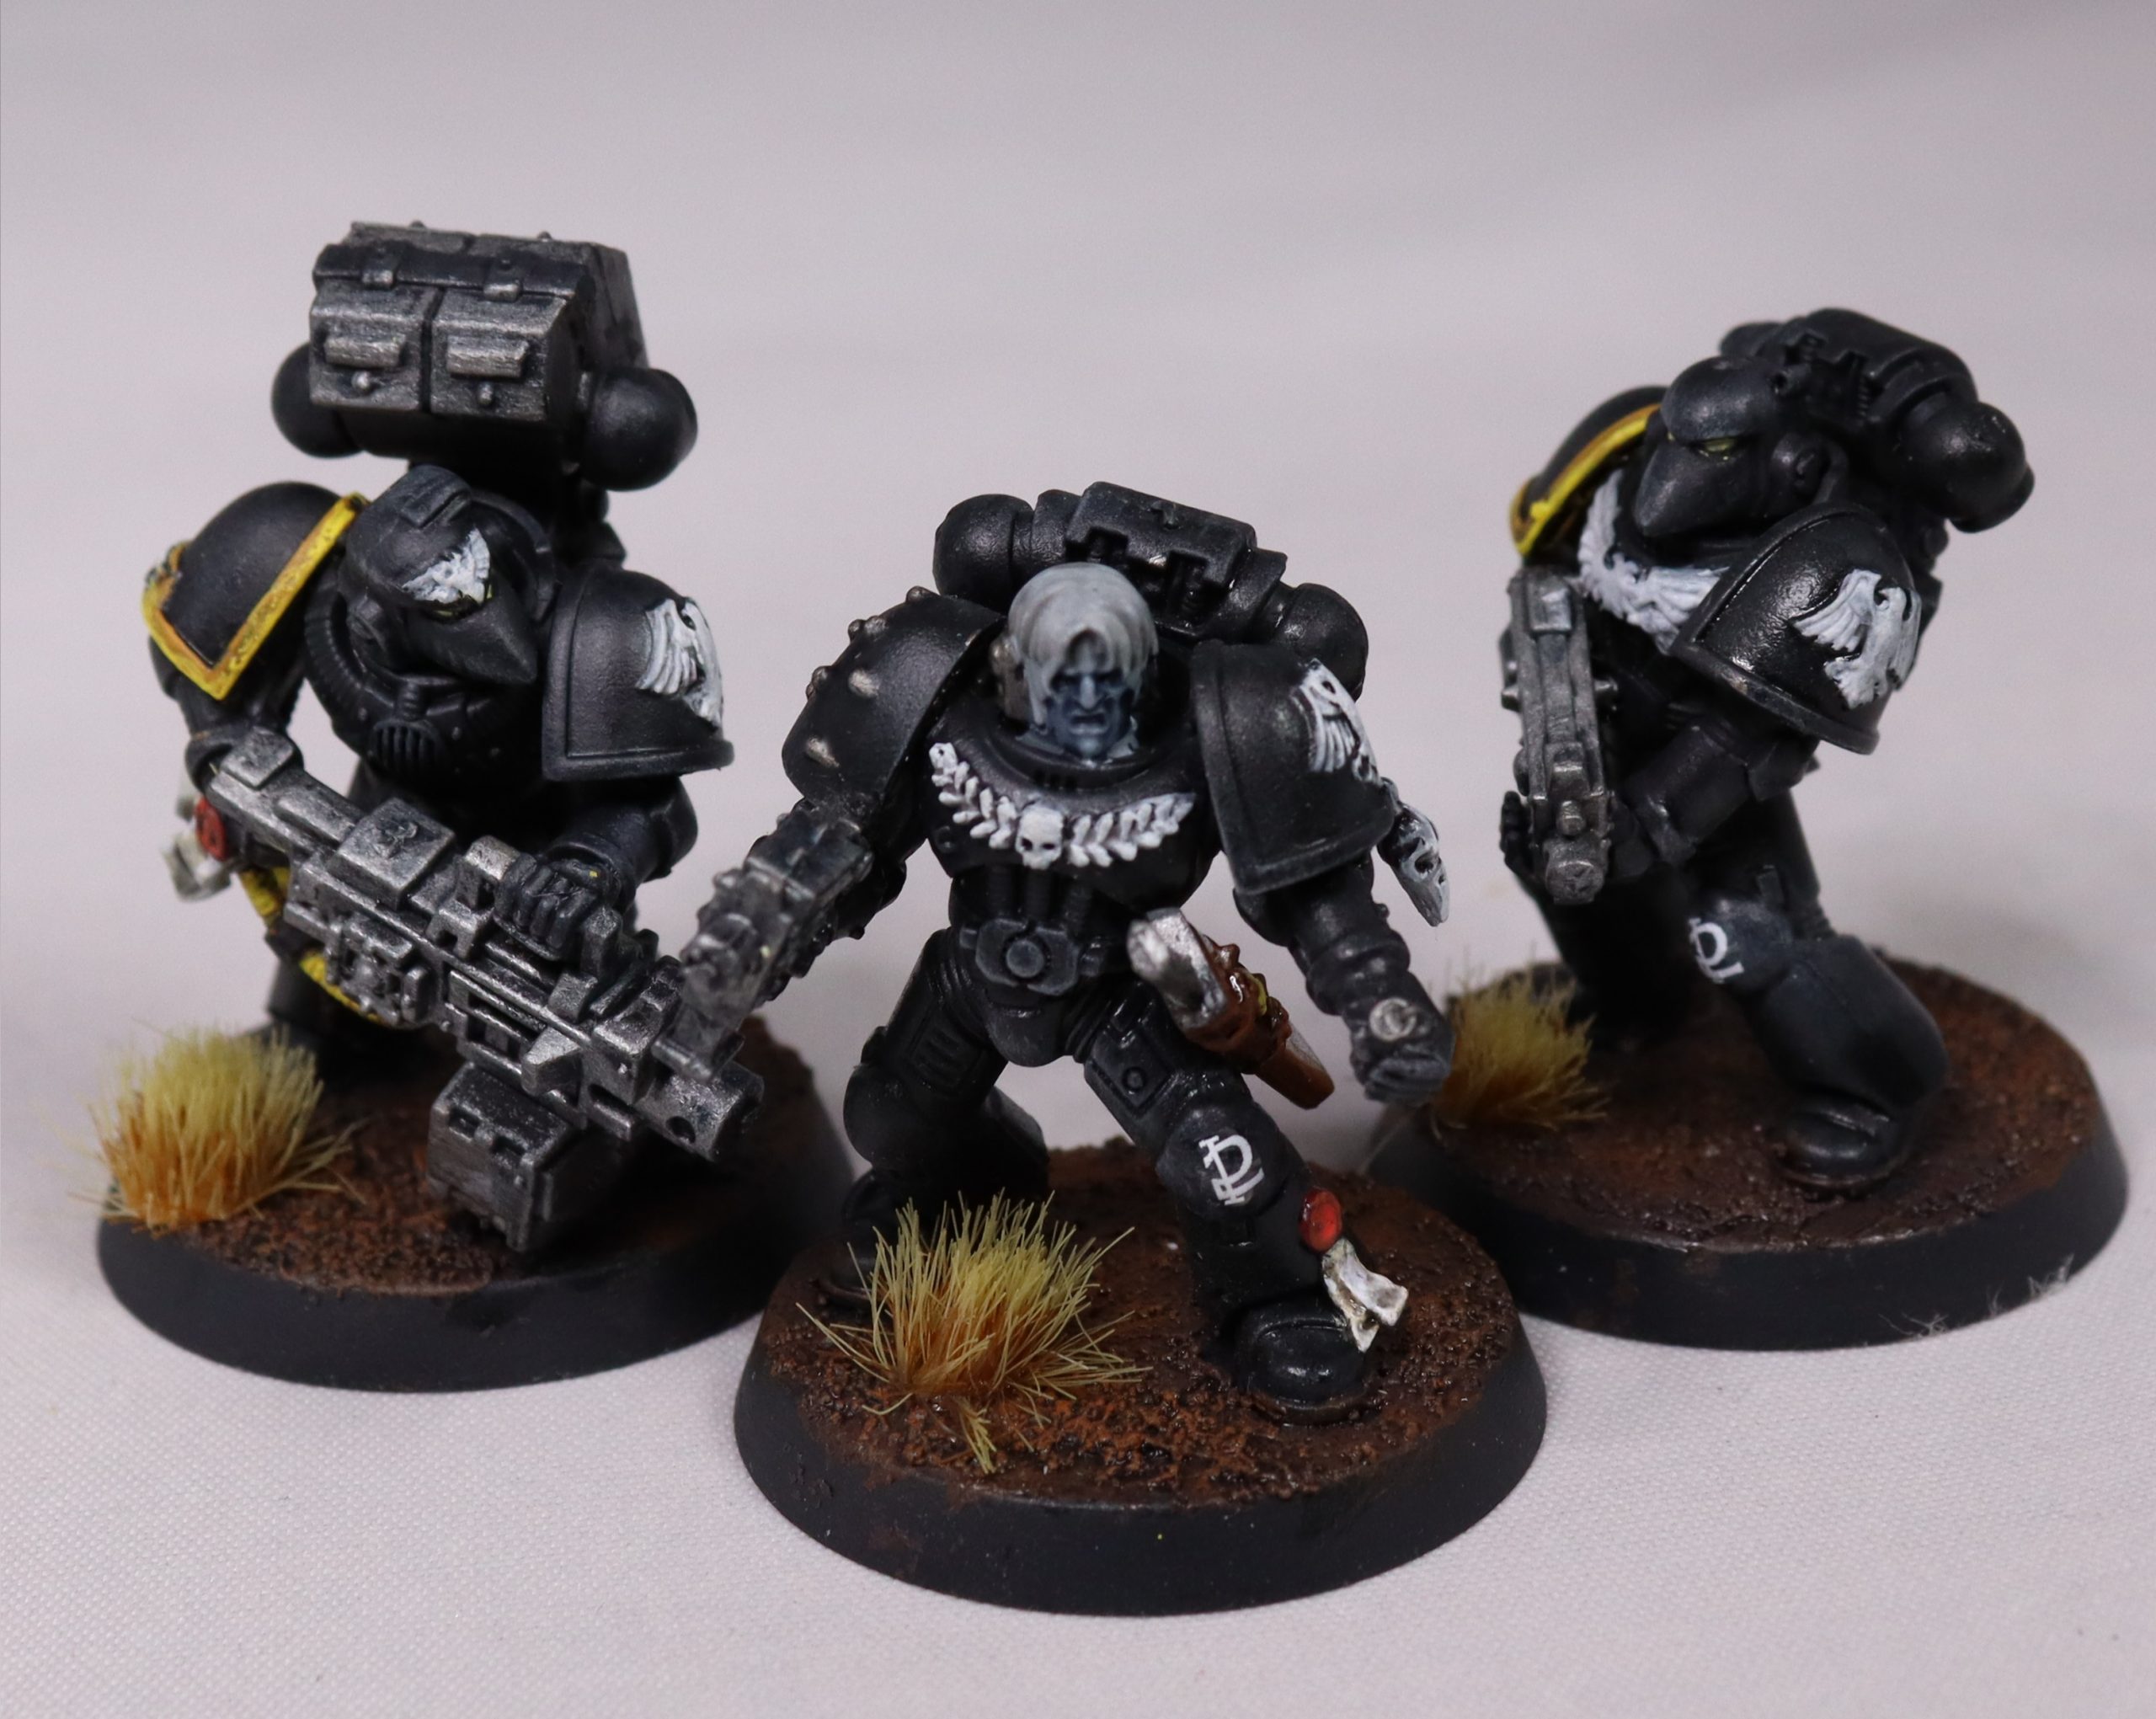
THE LITTLE BITS— so how would I deal with things like cloaks and the little extra doodads you find on almost all Space Marines? Well the solution for the cloaks was sticking with within the pallet; leaving grey as the go to color, while sticking to rest of the color pattern.
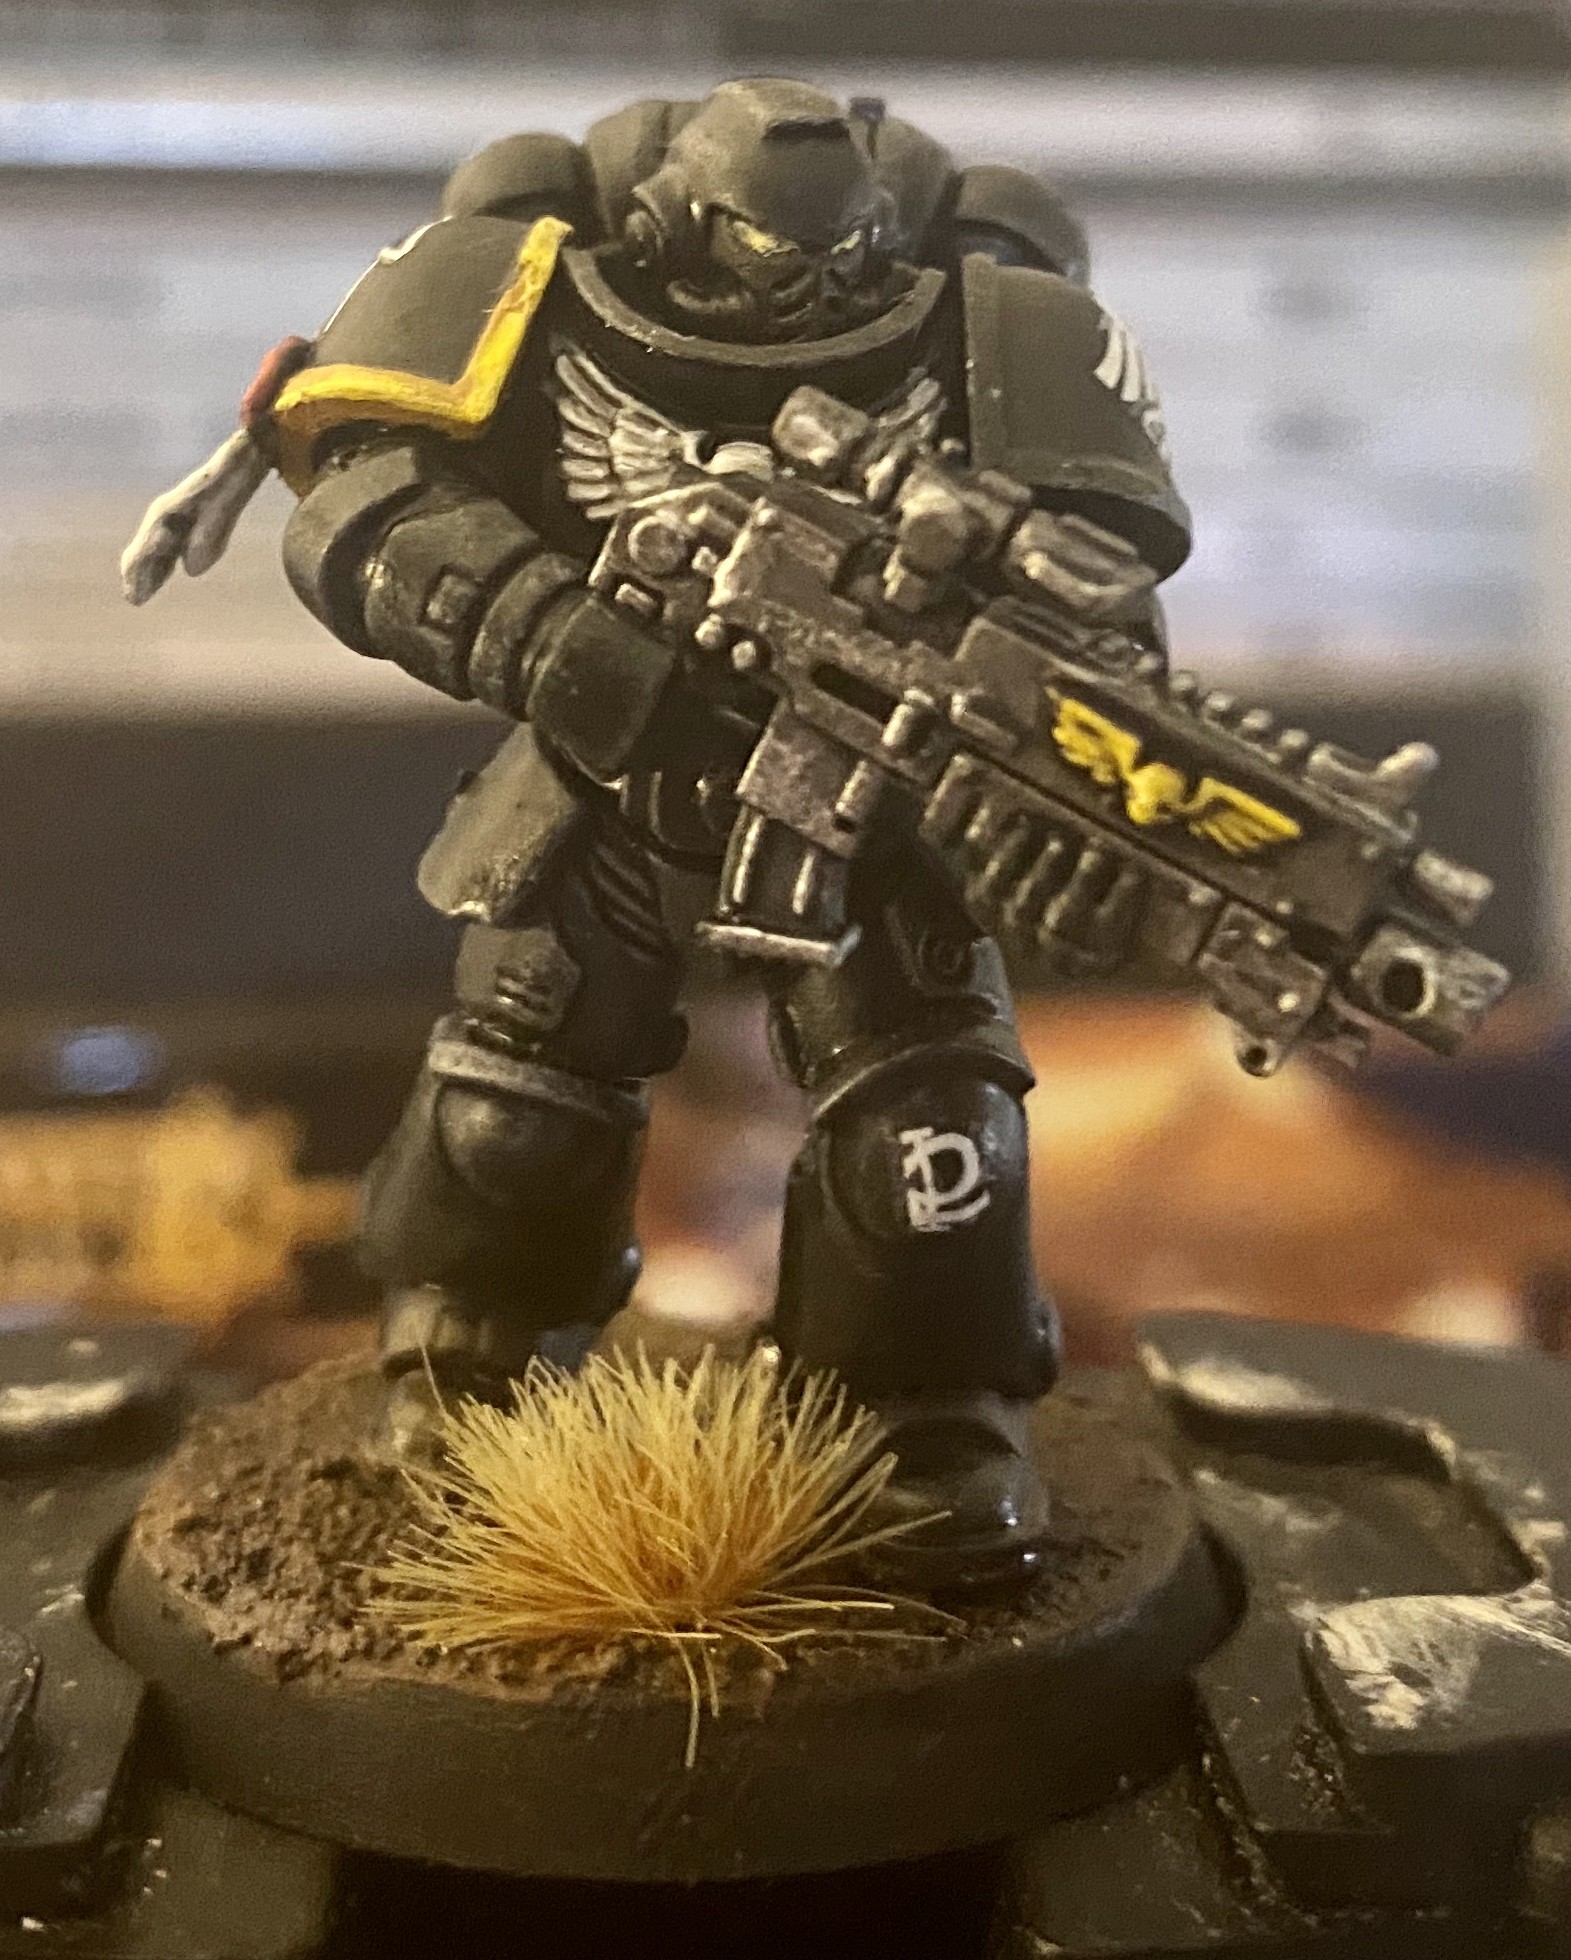
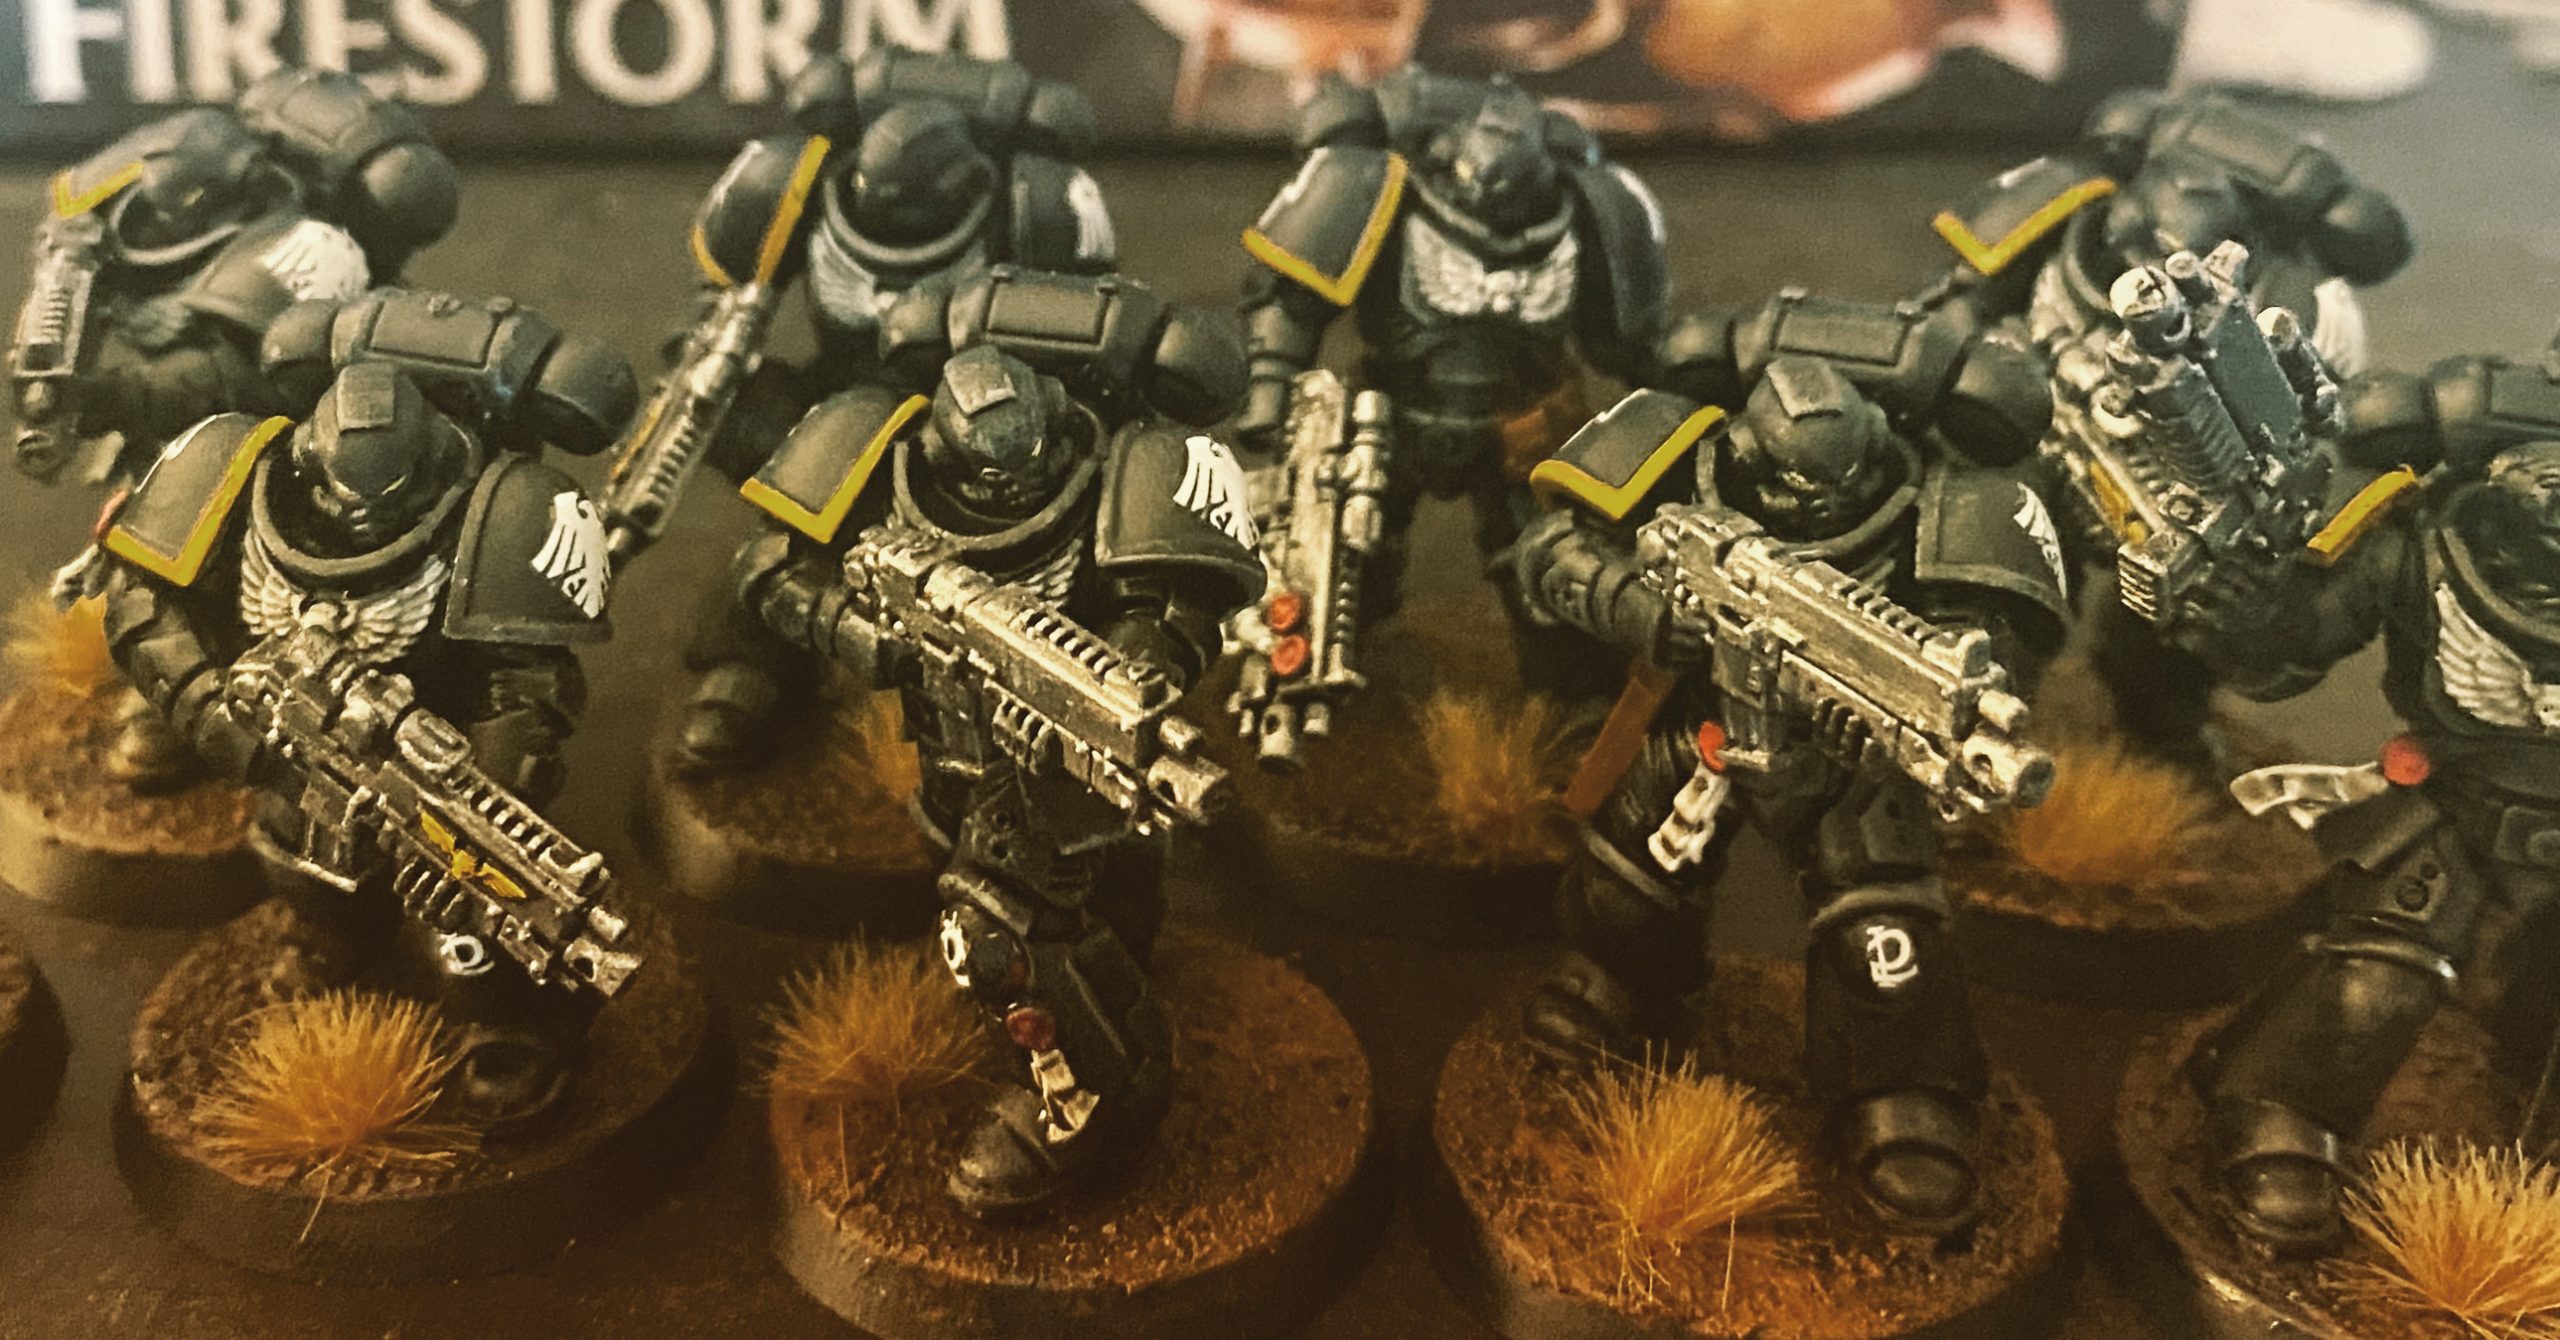
A pattern of White and Silver to mirror gun parts and Raven Guard symbols. I even had a few browns here and there which I incorporated into the bases to tie everything together. The final touch was an easy one with transfers, making sure no free hand would be involved, adding some character to the Raven Guard. So how did they turn out? Look at the step by step recipe below and gallery below.

WHAT WERE THE STEPS— to get those models looking the way they do? It was pretty easy, as long as you don’t worry about fuss over errors and mess ups; you want have to understand the goal here is speed and getting the army looking great a foot away, if you look closely you will find problems, but if you have to fix them wait until everything is done first then go back for touch ups. The other bonus about keeping it simple is that if you feel the need later, you can always go back and add more details like edge highlights or color blending.
So with that in mind, let’s start with the Games Workshop paints used, follow by the guide.
PAINTS
- Primer – Chaos Black
- Medium – Lahmian
- Base – Corvus Black
- Base – Leadbelcher
- Base – Mournfang Brown
- Base – Aveland Sunset
- Base – Corax White
- Contrast – Black Templar
- Dry – Dawnstone
- Wash – Nuln Oil
- Wash – Drakenhoe Nightshade
- Layer – Administratum Grey
- Layer – Stormhost Silver
- Layer – Skrag Brown
- Layer – Phalanx Yellow
- Air – White Scar
- Technical – Stirland Mud
METHOD
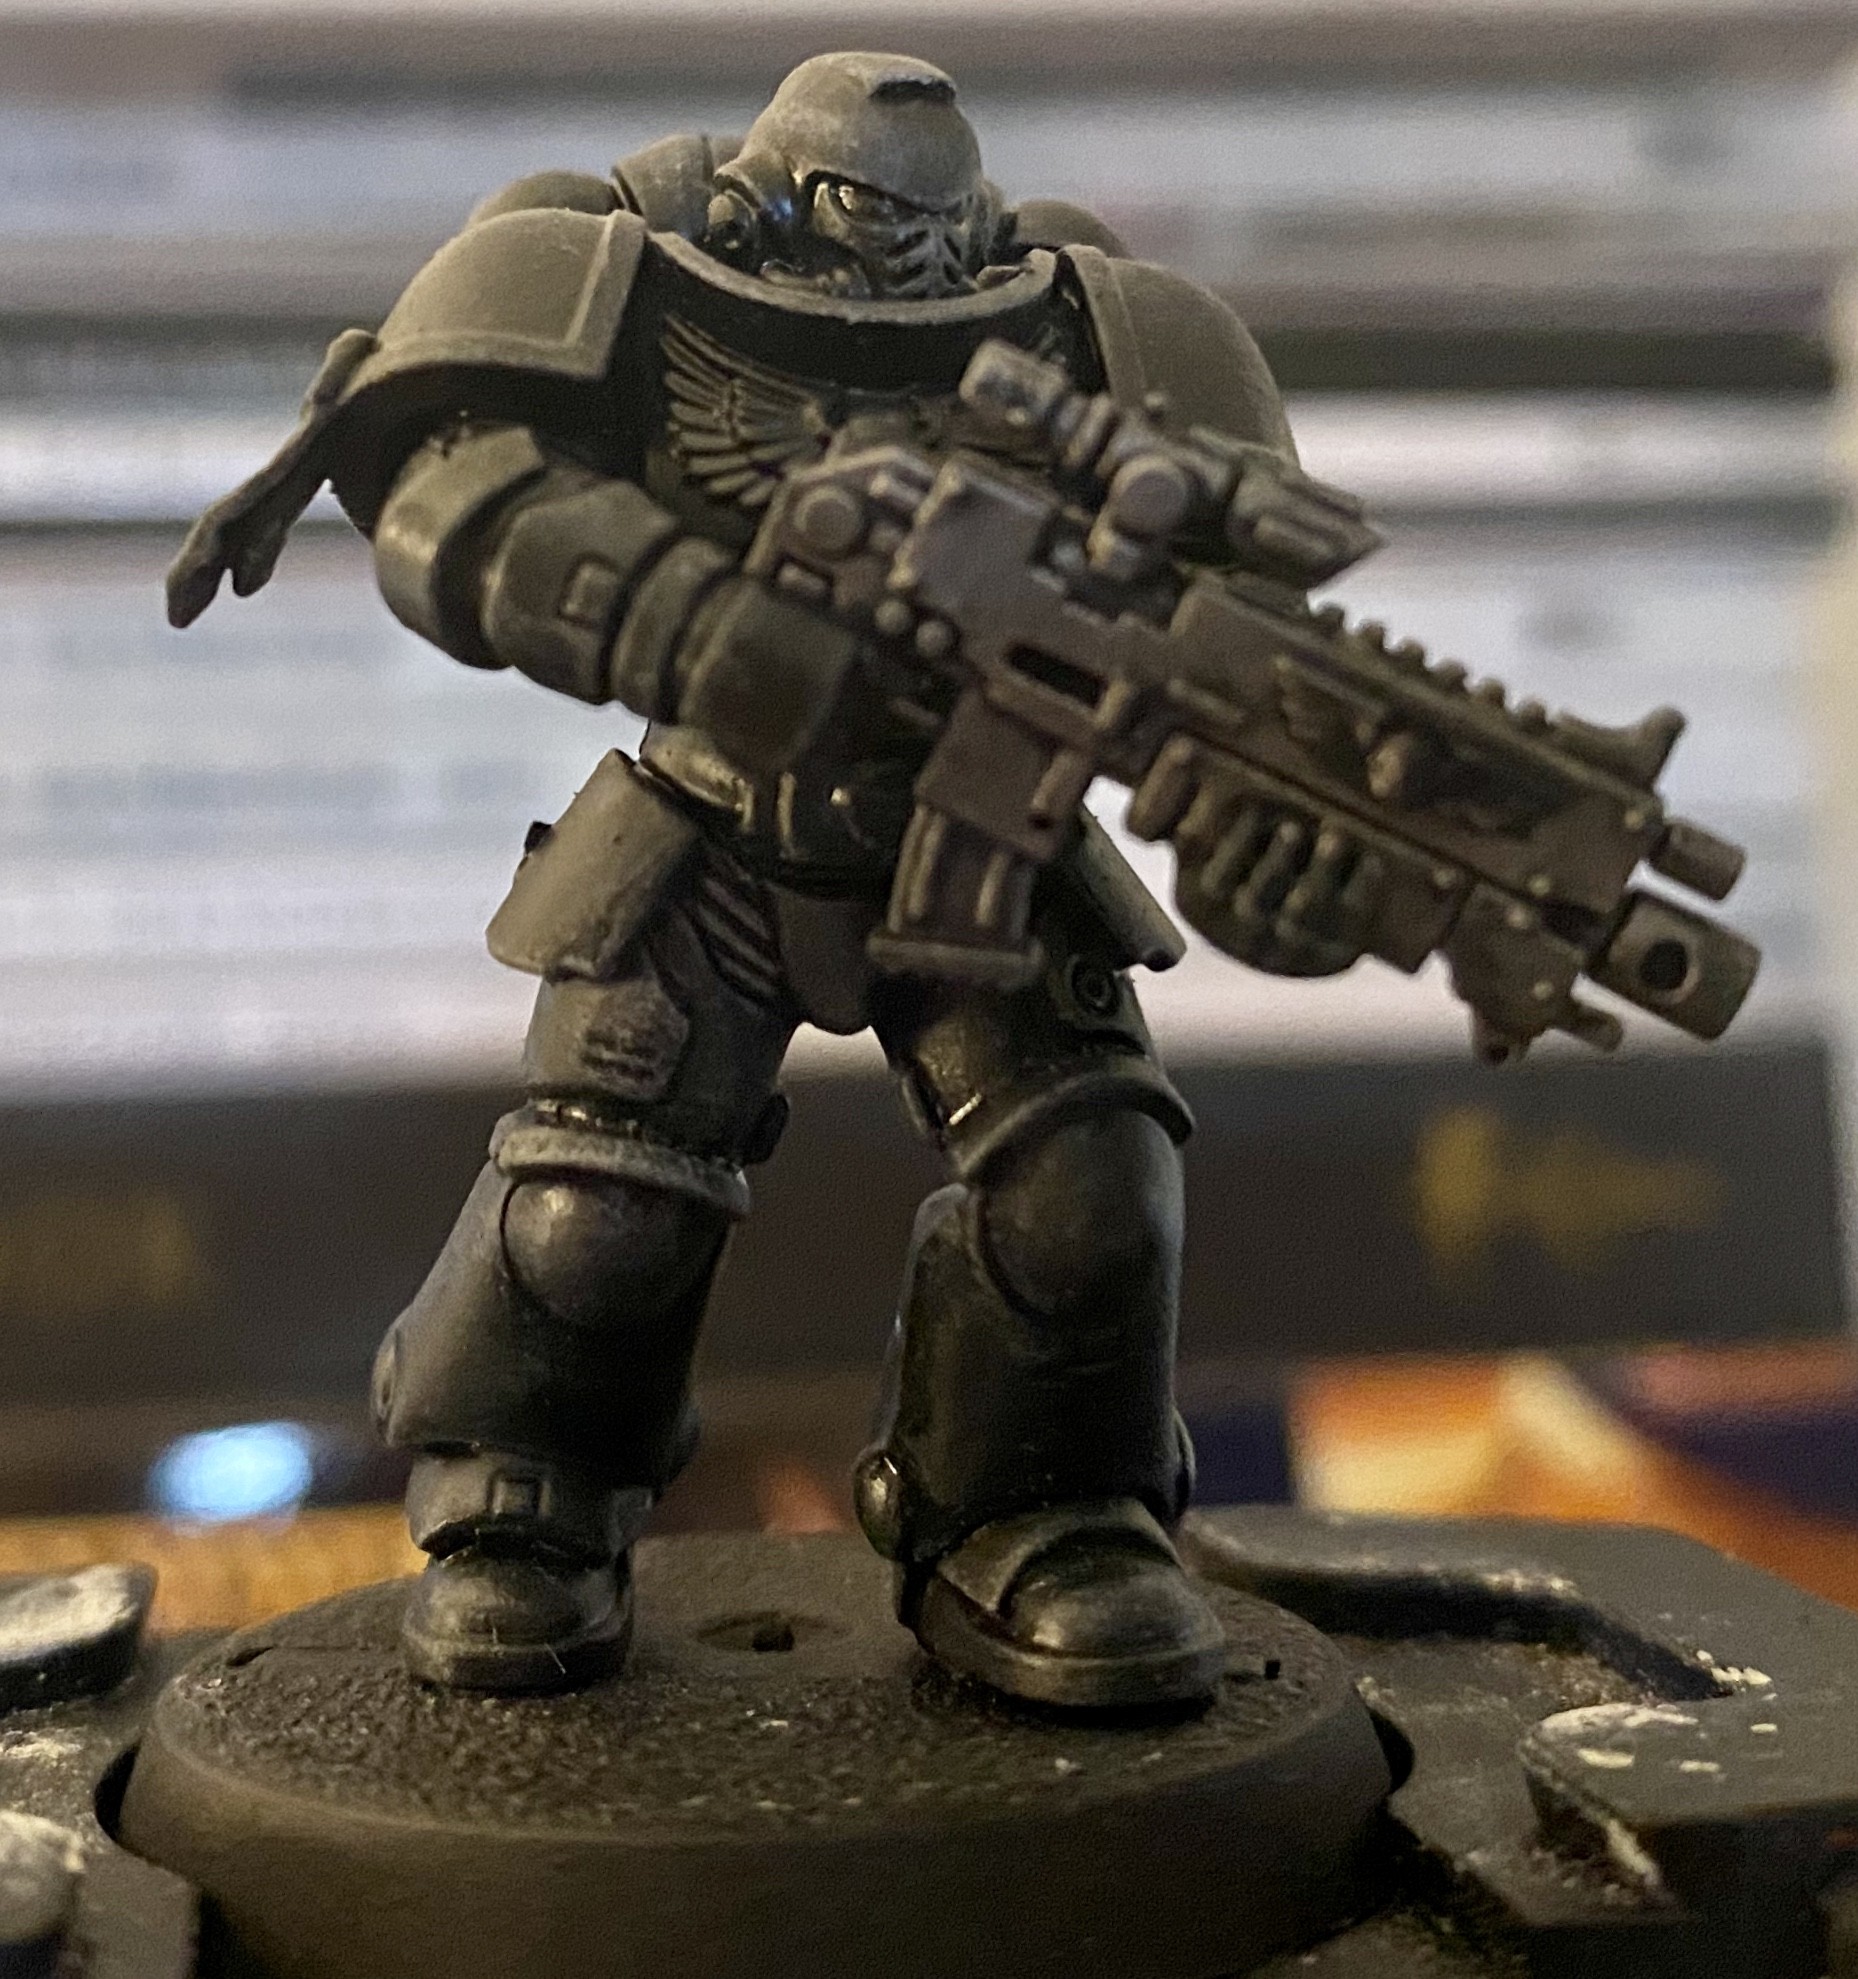
- Start by applying Corvus Black to the entire mode, then apply a heavy drybrush of Dawnstone,
- Next add Leadbelcher to the weapons, Corax White to chest crest and Raven Guard symbols, Aveland Sunset to one shoulder pad lip, Mournfang Brown to Gun holsters and similar parts.
- Then use a one to one mix of Nuln Oil and Lahmian Medium and apply it to the entire model.
- Next apply another drybrush of Dawnstone to the armor ONLY, followed by a coat of Black Templar contrast to town down the drybrush and a glossy highlight.
- Then “edge highlight” the most raised parts of the model.
- Shormhost Silver to the Leadbelcher
- Skrag Brown to the Mournfang Brown
- Air White Scar to Corax White
- Phalanx Yellow to Aveland Sun
- Eyes Phalanx Yellow
- If the model has a cloak or face use the following method:
- Base – Corax White
- Shade – Drakenhoe Nightshade
- Drybrush – Dawnstone
- Highlight – Administratum Grey
- Base of the model
- Base – Stirland Mud
- Shade – Nuln Oil
- Drybrush – Skrag Brown
- Base Lip – Corvus Black
- Any Grass Tuff
- Finally apply any transfers that you need from Raven Guard Icons to company number.
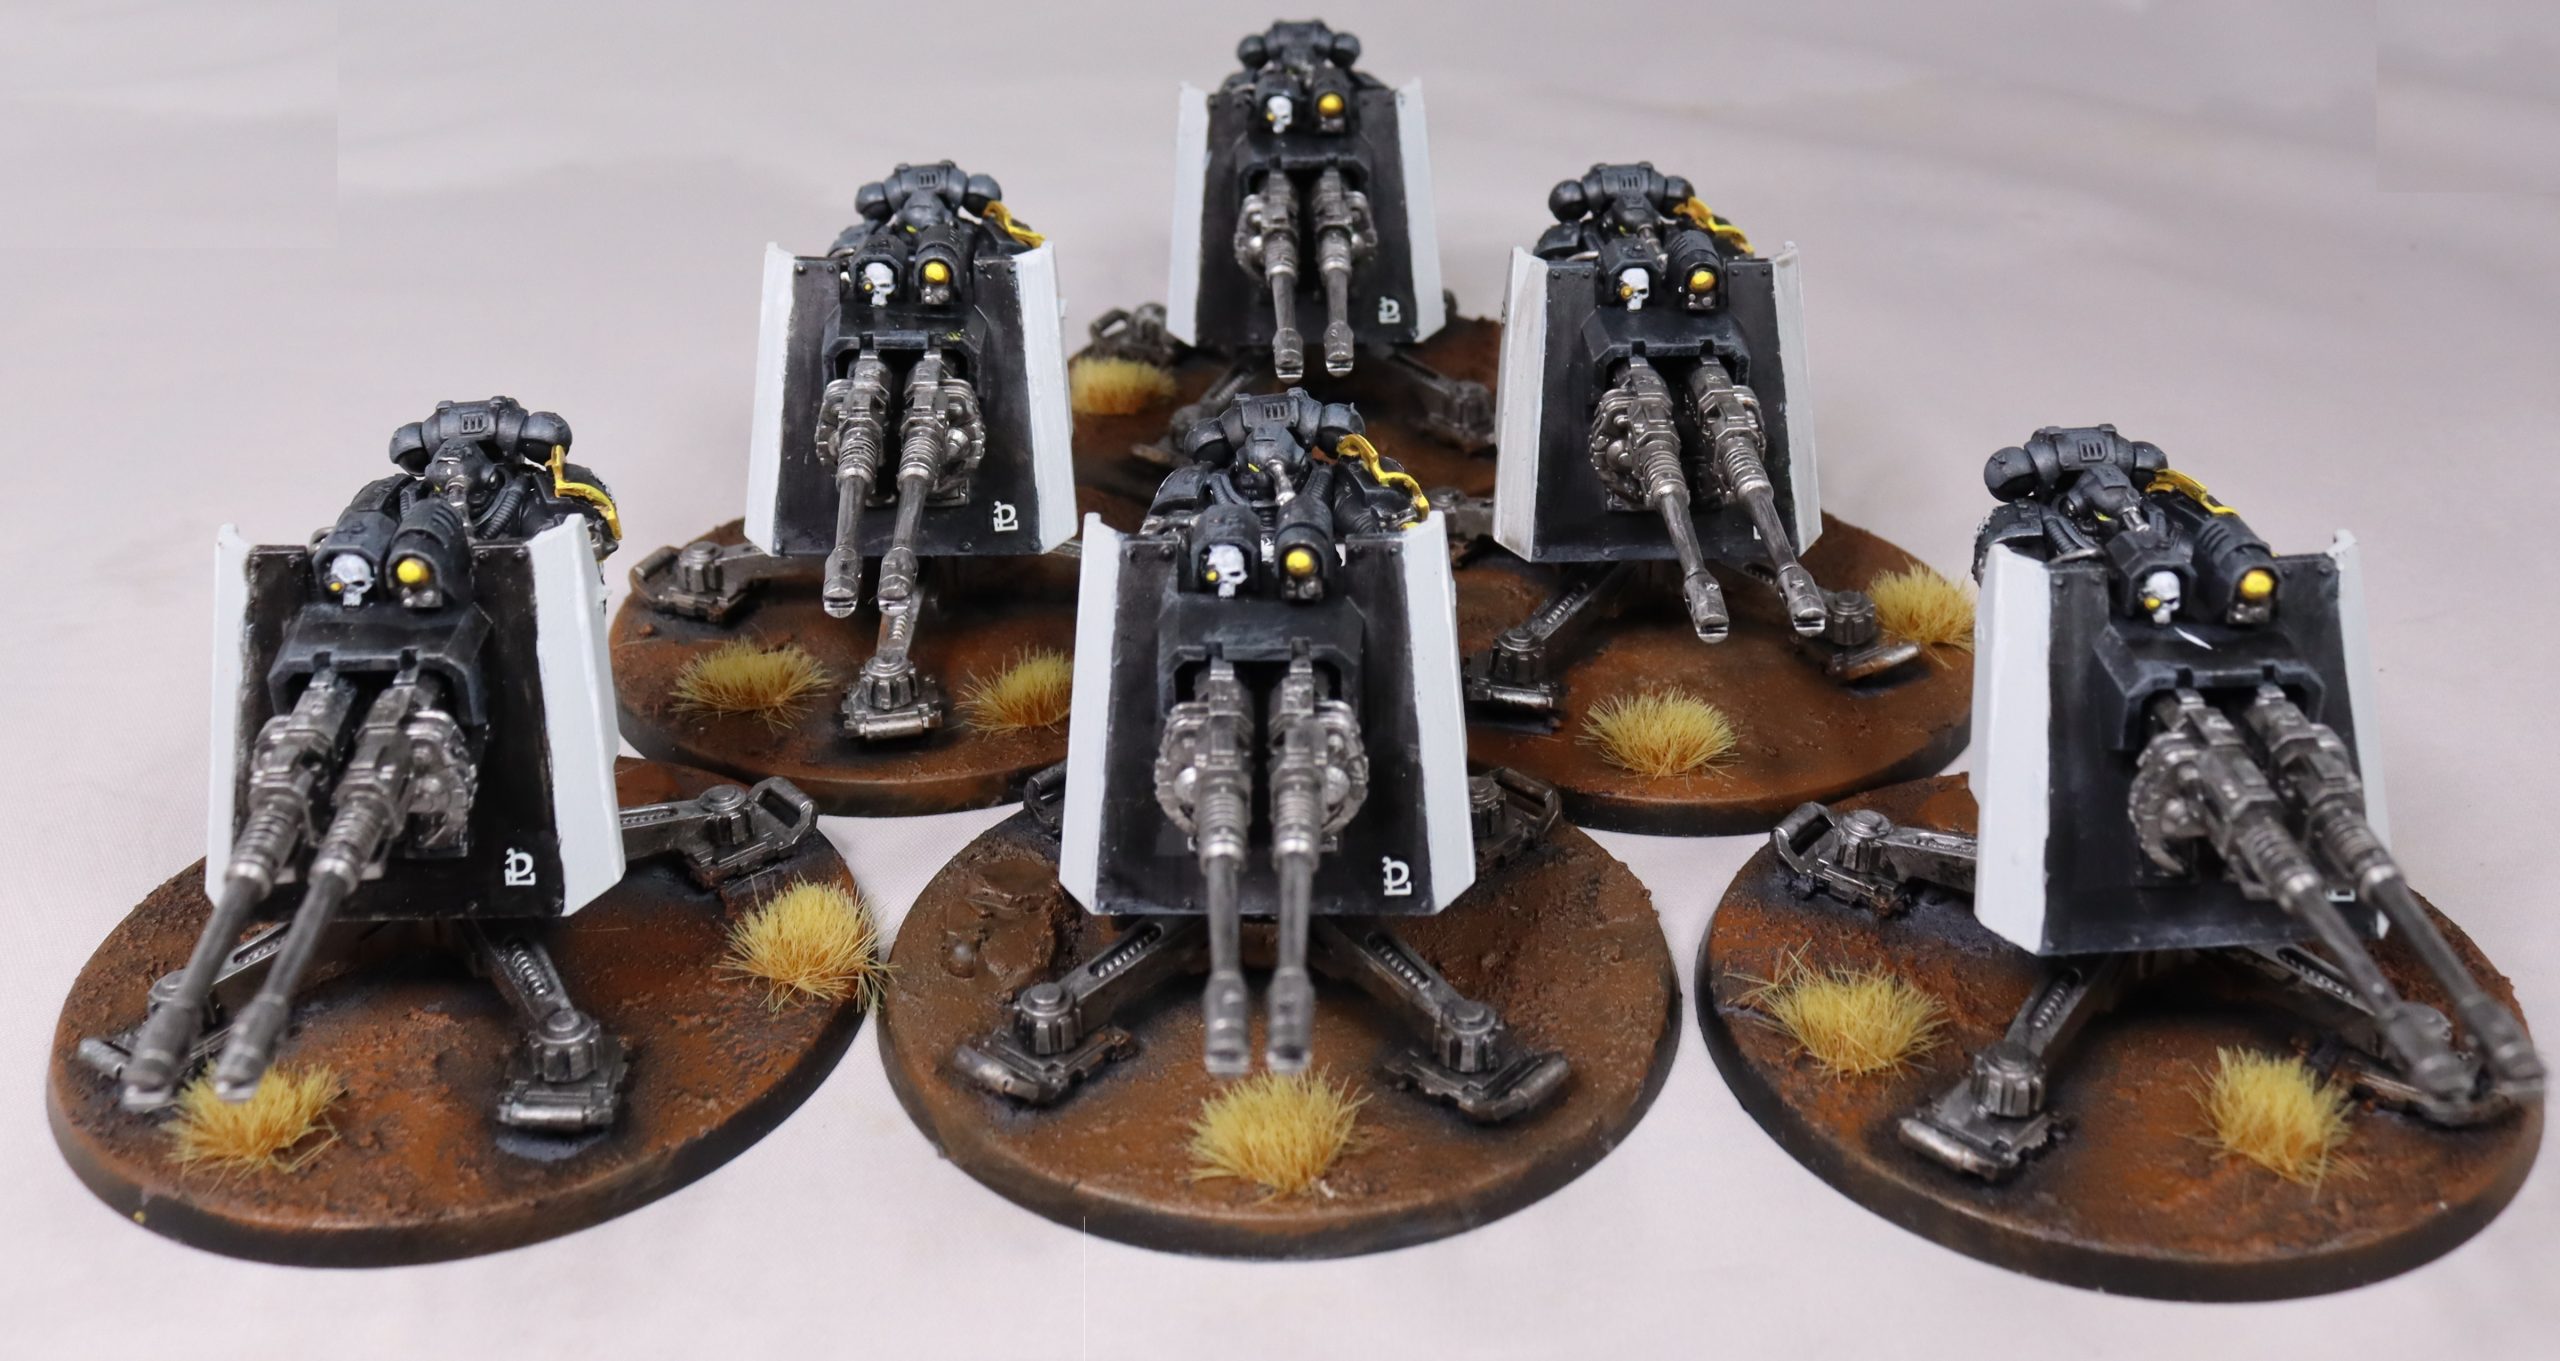
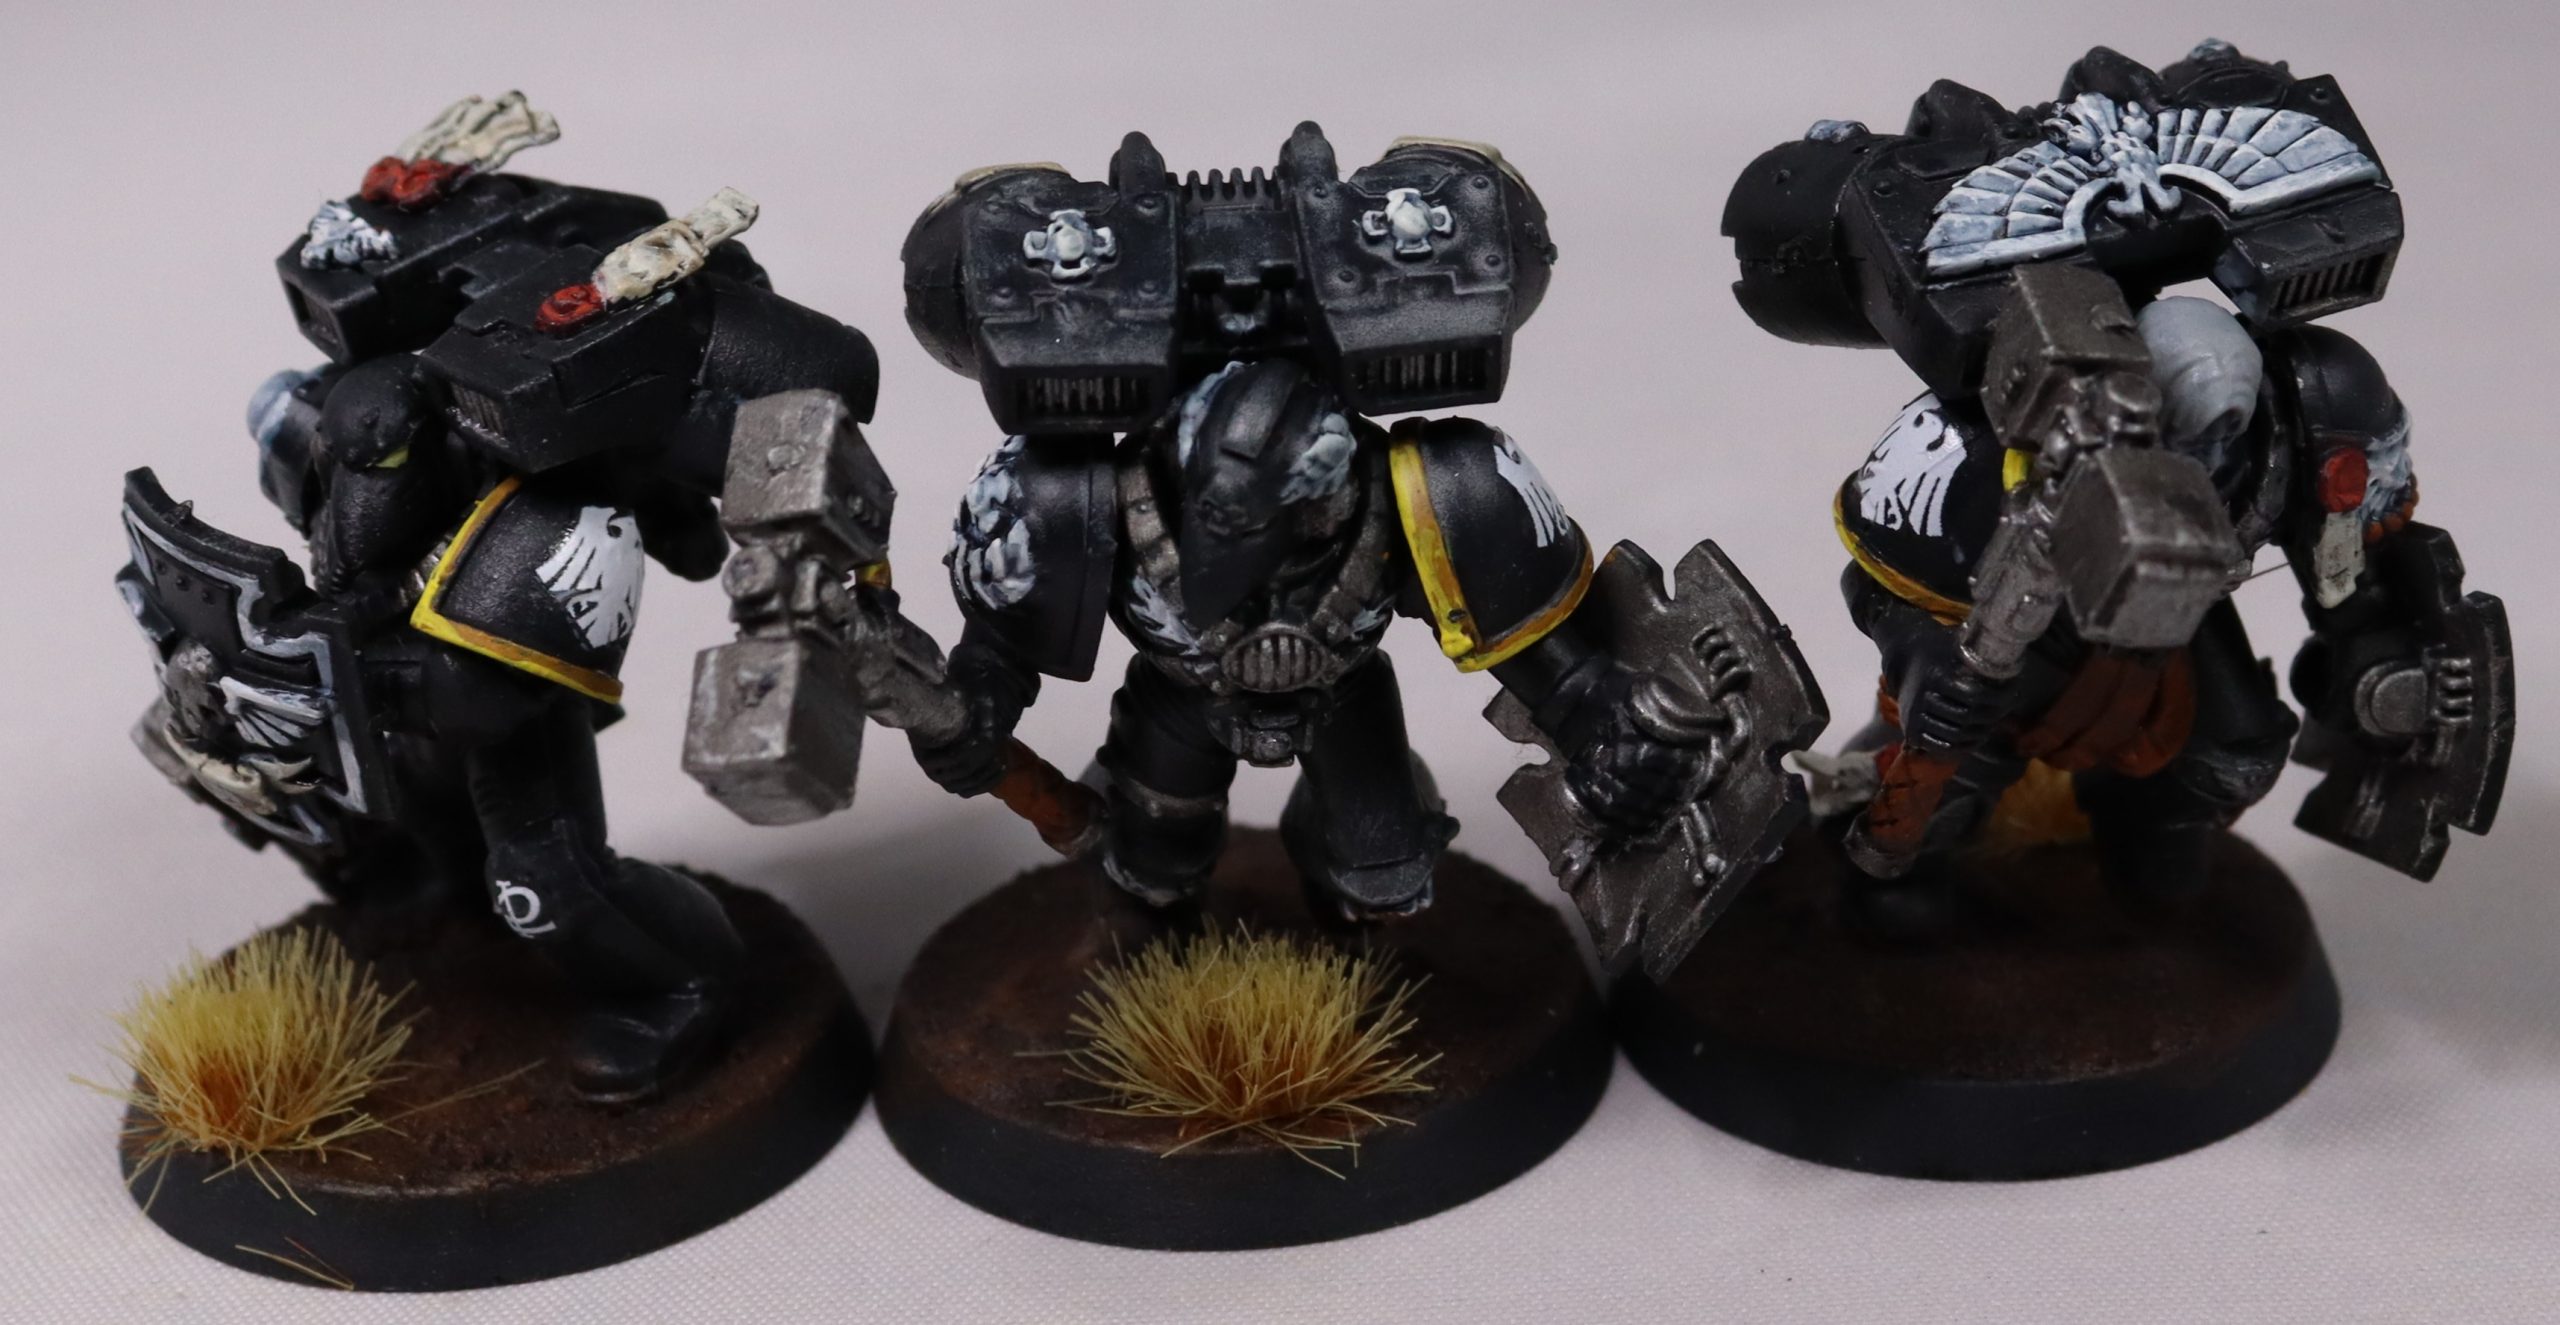
I did go back and do some touch up to the units because even speed painting I couldn’t hold back fixing at least some mistakes. I guess the next question is how long did it take me to paint this army? Well I am not going to count paint drying time here, which I am sure was at least doubled the time of actual painting time. My first test Intercessor took about 7-8 minutes of paint time, so that I would say 10 Intercessors took about an hour and half. The larger the model the easier it was with Aggressors taking about 50 minutes to do 6. The Scouts took the most time even though they are half the size of a single Intercessor, averaging about 10 minutes of paint time for each one. So if we want to average out all I would say the army took about 10-12 hours to complete, with adding transfers being another hour or so. It was fun, but certainly a challenge to hold back from mixing mistakes and not adding more detail, but in the end I think the results speak for themselves as you can see in the gallery below.