
Originally this was just going to be my take on magnetizing a predator. After I saw how cool the forward mounted turret on Redscorps predator looked I figured I had to do a version of that too. All of this was pretty easy, the magnets really easy. Actually the only problem was when I discovered I'd got the polarity wrong on one and the superglue was doing a phenomenal job. Anyway, the full story is below the fold.
They say a picture is worth a thousand words, so I'll use a few here. Of course a picture is a far larger file than a thousand words, so in a digital world maybe we should no longer be using that comparison.
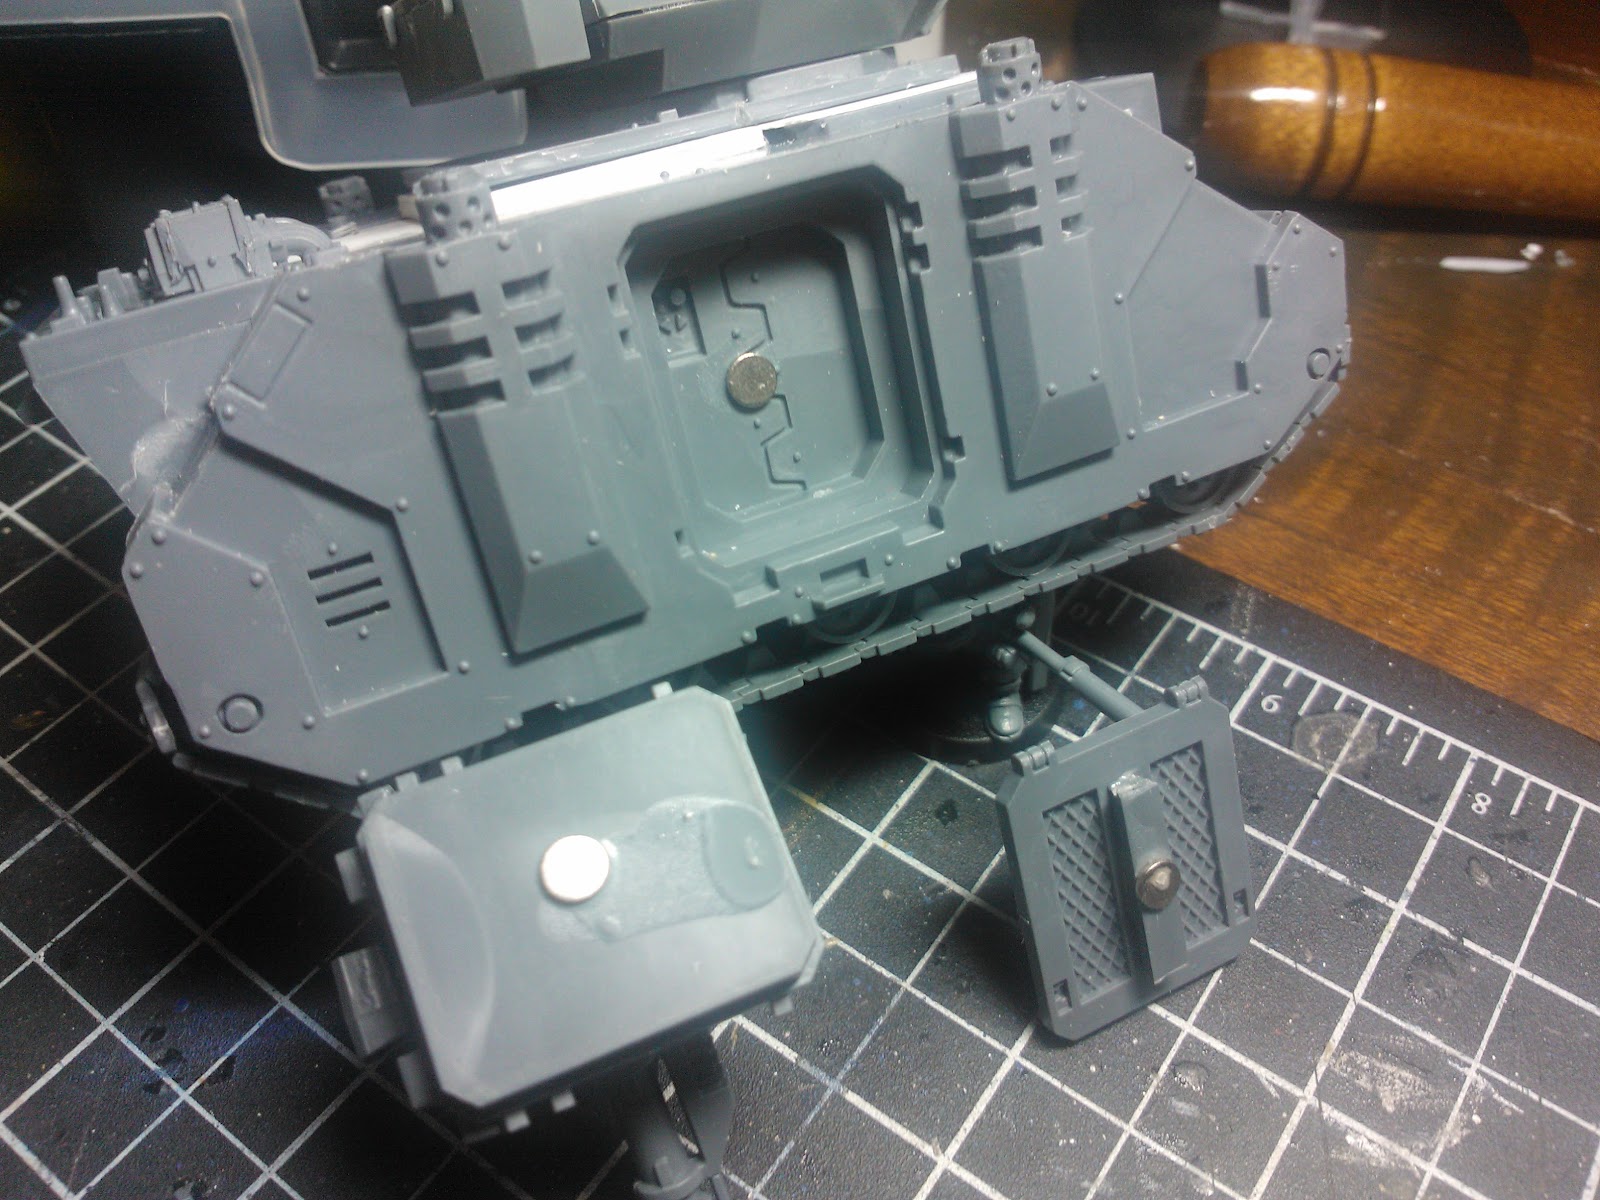
as you'll see from the gory details of these I still have cleanup work to do, but they should get across just how easy this is. First was the doors so we could swap out the sponsons. The only trick here was gluing a bit of sprue to the back of the non-sponson doors so the magnets get close enough. Very easy and could also use a washer glued to the door if you want to save some magnets. For the weapons themselves just ditch the little swivel pole thing, glue a magnet to where the weapon would hang, another to the top of the weapon, and you are done. Once its painter nobody will really know. It doesn't get much simpler than that.
Of course I wanted to be able to swap out the turret weapons too. Again it was nice and easy with just some minor trimming and spacing. Another bit of sprue across the inside of the turret supports one magnet. Then remove the center curvy bit from the weapons and put your second magnet there. With 1/16th magnets it lines up perfectly. And that's all there is to it. If you've never tried magnets before, this kit would be a great place to start. It was all easy to do, and lets you see the possibilities (and cost savings/list choices) that these will offer you.

Lastly, like I mentioned, I wanted to pull the turret forward on this rather than just using the standard razorback on steroids look. I kept the standard mounting plate but moved it forward an inch. There were a few steps to this process.
First was filling in the whole left by this, I didn't want to use the Rhino hatch doors, would have looked lame. I used the insert as a template and cut a piece of plasticard to fit. The details was just some random bits box stuff to give it some interest.
Second was using some thick plasticard to give the turret an even base. This needed a rectangle that sits behind the raised area where the view/bolter hatches used to be.
Third was another thin bit of card to cover the hatches and even the whole thing up. The turret mount was then glued to that, having taken the time to smooth out the underside of it.

Citizensmith
