When the new Skaven book was released back in 2009 the biggest changes to this 8th edition "cusp" book were the obvious importance of large-based models. With a distinct lack of cavalry models, Skaven have to make up for the lack of powerhouse units somewhere, and they do so by including some of the most destructive monsters and war machines in the game. Who hasn't heard of the fear that two hellpit abominations drives into an opponent? This week we will take a quick look at the strengths and weaknesses of monsters and war machines and how they are best implemented on the tabletop pitch.
Monsters
Monsters in 8th edition are often derided as being nothing more than cannon magnets. While it is true that cannons *can* make short work of monsters, it is equally true that monsters and monstrous infantry can cause massive amounts of damage. These are the go-to Skaven units for causing damage. These are the units you charge into the flanks of the units the skavenslaves are "valiantly" fighting (dying). With the changes to monsters and the addition of Steadfast, generals must be careful with their application of actual monsters (and monstrous infantry to a lesser degree) since steadfast will allow many units to stick around well after the initial charge. That is why charging the flanks of units already in combat with slaves or clanrats is so important. Those units deny ranks and static combat resolution while the monsters do all the damage and win the combat.
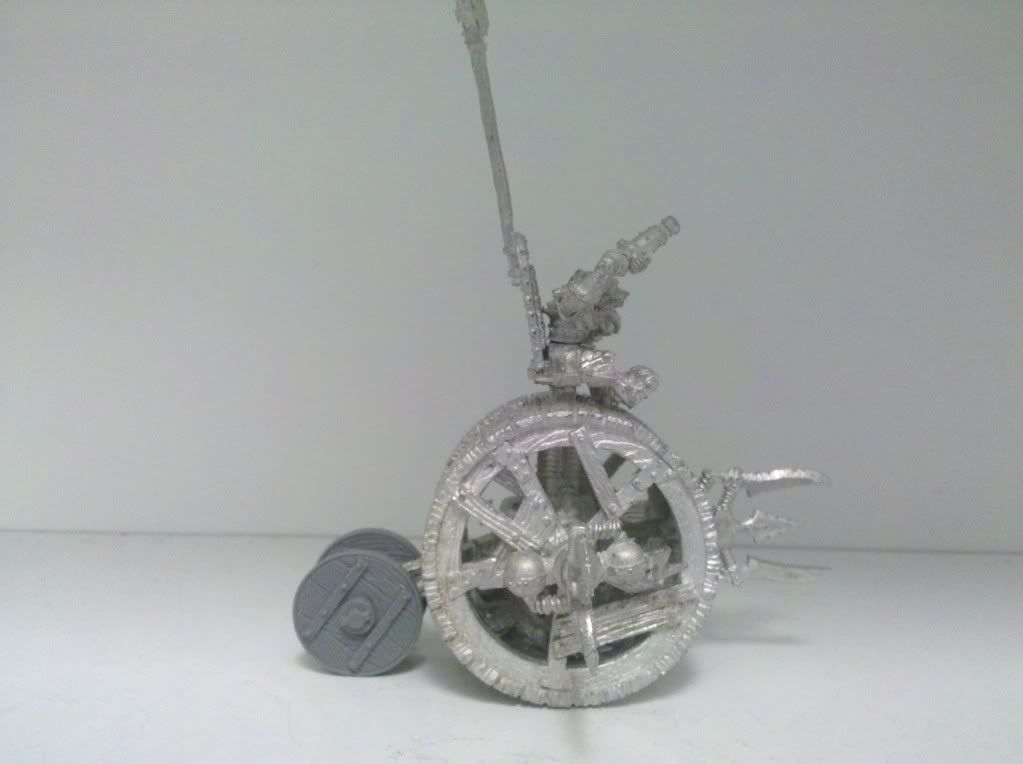
Doomwheel
Strengths: Warp Lightning, Good Stat Profile, Lots of Attacks/Impacts/etc, Fast, No Charge Reactions
Weaknesses: Extremely Random, FAQ Nightmare
Tactics: The ideal deployment for these giant hamster wheels is out on the flanks of the battlefield and usually insulated from the rest of the army by a unit of slaves or a rat dart. Always make sure this buffer exists or the doomwheel may end up zapping a warp-lightning cannon, rat ogre, or other important unit if the test to restrain those bolts fails. If cannons are present on the field, consider deploying them parallel to the back board edge to present a smaller footprint since random movement means they don't have to point in the direction they move.
Doomwheels excel at hunting small units, characters, war machines, and other monsters. Against most of these units the doomwheel can charge into combat and perform very admirably. If the unit/model uses a ward save however, consider trying to circle around the model a little to use the lightning to soften it up (or destroy it entirely if lucky. They can be used to fight ranked infantry, but only in a supporting role and never supporting slaves. Doomwheels either need a large ranked unit to give them static combat resolution or to break a unit on the charge and slaves simply die too easily. The opponent will simply concentrate ont he slaves and the doomwheel just can't make up for the slave's extremely low performance in combat. So only use the doomwheel to support clanrats, stormvermin, or plague monks.
Hellpit Abomination
Strengths: Fast, Good Stat Profile, Volume of Attacks, Can Come Back From the Dead!, No Charge Reactions
Weaknesses: Large Target, Randomness
Tactics: The first tactic for the Hellpit Abomination is simply this, don't overestimate the power of this unit. Can it tear through entire units? Yes. Can it also whiff horribly in a similar fashion to the Doomwheel? Absolutely, although it is far less likely. So don't buy into the hype and use the HPA wisely and for what it was intended and it can work wonders for any army. So now you might be asking, "What is the intended use of the HPA?"
The HPA is a linebreaker monster. It is intended to hit either hit the lines of the enemy in tandem with the rest of the Skaven battle line or move in from the flanks. With the regeneration save and six T5 wounds it can withstand a great deal of punishment. Don't be afraid to charge the HPA into ranked infantry, just be wary of high strength units (two handed weapons), or units with a plethora of attacks (two hand weapons, frenzy, etc). They will need support except against the most mediocre of units as some of the random attacks the HPA can roll offer up a meager number of attacks but can usually hold their own for a couple turns before they fold. Additionally, do NOT expect the HPA to stand back up after it dies as that is simply a gimmick that has a very infrequent likelihood of occurring and should not be the basis for tactical decisions.
Strengths: Cheap for Monstrous Infantry, Good Strength, Frenzy
Weaknesses: Combined Unit, Mediocre Survivability
Tactics: Many players chide rat ogres and consider them sub-par for monstrous infantry. The best advice is to simply try them out. They do not fit every players playstyle but if they make it into the enemy lines they can unleash a frenzied assault that can break even elite units. For options, either go bare-bones with no upgrades and minimal packmasters or add in Skweel Gnawtooth for a chance to solve their one glaring drawback (no save). Under no circumstances should master moulders be purchased as they are not effective for their points cost and they make the unit extremely awkward in shape (since they are command and must go in the front ranks).
Most people don't understand Rat Ogres because Skaven tend to be pretty cautious, trodding across the board and only attacking when they smell the scent of weakness. Rat Ogres completely defy this common tactic as they are a completely offensive unit that works best simply charging across the field. Now, you still want to maneuver the unit and aim for a flank charge, but don't hold back or the enemy will take advantage of the stalling and the fact that rat ogres, despite their offensive power, have very little defense. So move them into position quickly and charge. Consider throwing a warlord on a bonebreaker into the unit for added support. He won't receive "Look Out, Sir!" roles but otherwise he makes the unit a powerhouse.
Warmachines
Skaven don't have as many war machines as Dwarves or Empire, but the two they do have are both low points and deadly making for some great choices for cost-efficiency. Most war machines work best in pairs, that way if one misfires or comes under attack, the other is usually okay and can actually lend cover fire to the other machine. War Machines usually target large units, monsters, or high armor targets due to the damage they can wreck on those unit types. Skaven really don't differ from that, excepting that the Warp-Lightning Cannon is even better at targeting units than normal war machines.
Plagueclaw Catapult
Strengths: Ignore Armor, Panic, Blast Marker
Weaknesses: Low Strength
Tactics: The Plagueclaw catapult is the lesser seen of the warmachines in the Skaven rule book. This should not be taken as a commentary on the effectiveness of the catapult as the primary reason is due to the warp-lightning cannon because such a fantastic option for its point value. The plagueclaw itself is pretty self-explanatory. It functions as a stone thrower and has many of the same purposes. The primary perk being that any models hit by the template receive no armor saves and any units suffering an unsaved wound must make a panic check. The great drawback is that the template is only strength 2 meaning that this warmachine will struggle to kill more than a single model or two even against high elves and empire, much less anyone worth using it against (Chaos, Lizardmen, Dwarves).
The best targets for the plagueclaw catapults are heavily armored cavalry, which, in 8th edition are not as common of a site. As secondary targets they can be used to target blocks of heavily armored infantry such as Chaos Warriors, but, don't expect to kill more than a couple models even with a perfect hit. Given that Skaven can struggle against heavily armored units, the plagueclaw does offer a viable option for handling these units, although a couple plague mortars or a warp-lightning cannon would probably be a better option.
Warp-Lightning Cannon
Strengths: Cheap, Blast Marker with Cannon Rules
Weaknesses: Easy to Dissipate Shots
Tactics: Warp-Lightning Cannons operate in a similar fashion to regular cannons with a few small exceptions. They don't "thud" into the ground if a misfire is rolled on the "bounce" but rather it dissipates. This means that warpfire cannons have twice the chance to do nothing every turn (misfire on the scatter and misfire on the bounce). Additionally, Warp-Lightning Cannons end their "bounce" with a small blast template.
How do these factors change how a Warp-Lightning Cannon is used? The best way to mitigate the misfire issue is to simply take them in pairs. With this method one cannon should fire every turn. The blast at the end of the bounce means the Warp-Lightning Cannon is extremely effective at targeting pretty much any unit type from monsters and monstrous infantry to skirmishers and regular infantry blocks. Usually the best method is to place the marker for scatter 6" away from the intended target as this should mean that either the shot will hit directly or bounce through. Warp-Lightning Cannons should target heavily armored infantry and cavalry models first before targeting monsters (especially those with ward saves) and the like. Monsters are easier to miss altogether and skaven have many better ways to deal with monsters (Doomwheels, Gutter Runners, Warpfire Throwers, etc)
Only one more article left to tie everything back together and give a few sample lists!