Another quick and easy tutorial of sorts: This time we’ll deal with how to easily build a couple of ruined buildings in very short time.
Ruined buildings and crumbling hab-blocks are a staple of cityfight tables in particular and 40k terrain in general. It’s no surprise that GW has released lots and lots of easily assembled and nicely detailed cityfight ruins, and those kits are great! But sometimes you’ll want to fill up a lot of table space in a short amount of time, and maybe you also don’t want to spend a lot of money. And then, maybe you’re a bit like me and get a kick out of building terrain with readily and cheaply available materials? If you can subscribe to any (or all) of the conditions listed above, this post is definitely for you!
There are lots of useful materials when building your own ruined buildings: Cardboard, plywood, styrofoam and many others. Personally, I tend to go for foamcore, though, since it’s usually readily available and easy enough to handle. I usually work with foamcore of two different thicknesses: 2.5 mm and 4 mm. While the former is easier to cut, the latter is great for jobs that require more stability (outer walls, bases).
When I built my first ruined buildings, I prepared a very crude template that I simply drew on an A4 sheet of paper. This is pretty much what it looked like:
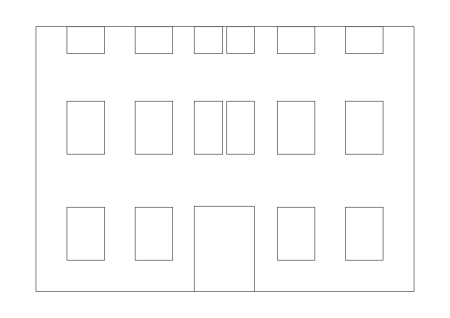
I used a 40k model for reference to get the proportions right. Since I needed some space to attach the template to the foamcore (using paperclips), the actual template is slightly smaller in size than A4. There also wasn’t enough space to add a full story at the top, as you can see. I found an easy way around that, though: Just cutting off half of the uppermost story, making it look like it had been partly destroyed. In addition to my rather crude sketch, there are also all kinds of great templates floating around the net, by the way. For a while, even GW offered a set of templates for hab-blocks, although I always found these a little off in scale. Anyway, it’s very easy to come up with a fitting template yourself or find one online.
After that, it’s really as easy as just cutting the foamcore to resemble the template. Be sure to use a very sharp exacto-knife for this, though, to make sure you get smooth edges when cutting: Foamcore tends to wear out blades pretty fast, so take care!
Once you have a finished wall, you can either just glue it together with other pieces of foamcore to make a building, or you can add some damage. If you cut the wall roughly in half, both halves can then be used to form different walls of the building, leading to a bombed-out look. Actually constructing buildings is really easy: Just glue your wall to a base (made of plywood or thicker foamcore), attach other pieces of foamcore at a 90 degrees angle, and you’re good! Foamcore is easy to glue together using wood- or PVA glue.
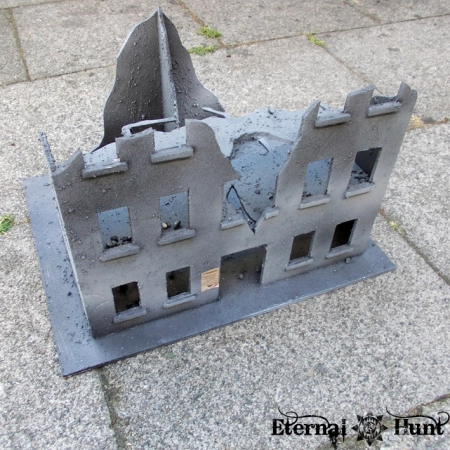
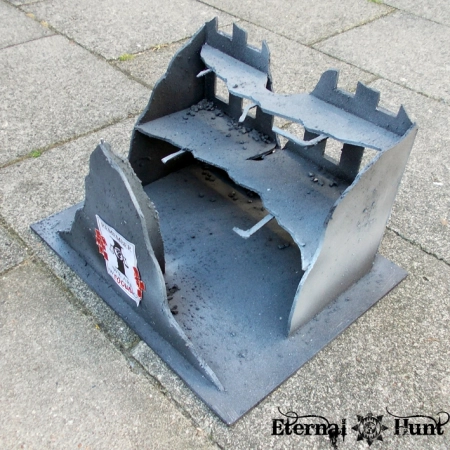
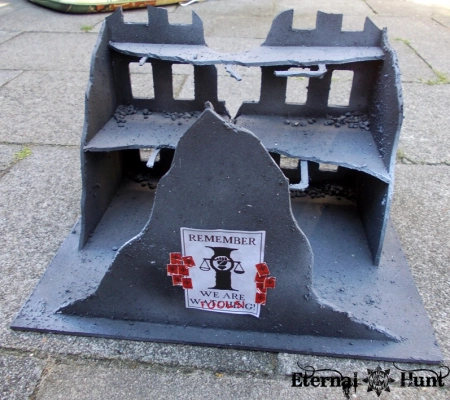
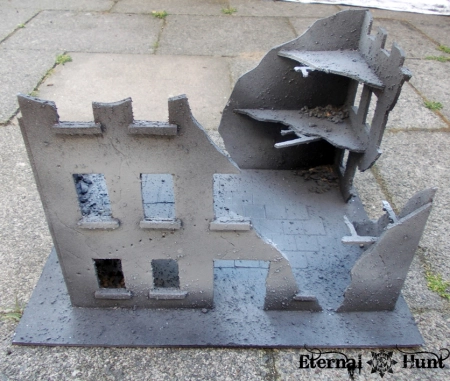
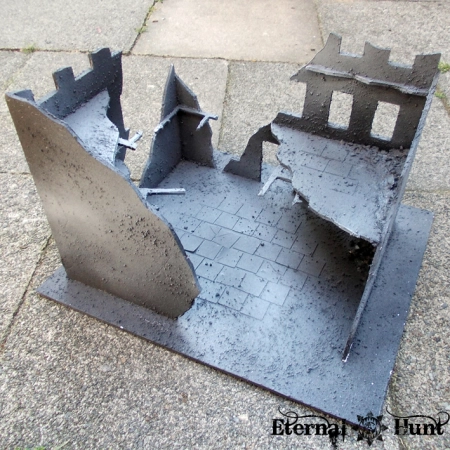
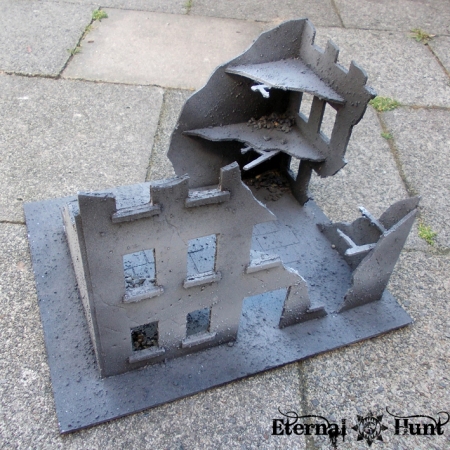
The great thing is how fast you’ll be able to build ruins this way. Let’s take a look at two buildings I built using just the one template you see above:
As you can see, you can achieve a very different look by just changing around the configuration of the walls. I also added in the remains of the buildings’ different floors, using leftover pieces of foamcore. Leftover sprue can be used to add broken and bent support beams. And you can use small stones, cork and slate to add some rubble to the corners of the building. The thing to keep in mind when adding rubble is that the building should still be useful in games, so it can make sense to actually use less rubble than would be realistic (given the damage on the building) for the simple reason that you may still want to be able to place a squad of models inside. Oh, and one small thing: Definitely take the time to add some windowsills, cut from leftover foamcore! It doesn’t take long, but that small detail really goes a long way towards making your ruined buildings look more realistic!
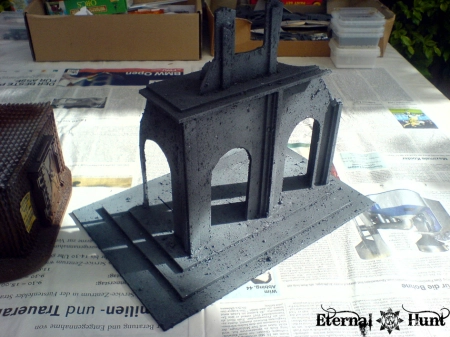
Granted, these buildings look far less detailed than the ones released by GW. But they’re very easy to build and come at very little extra cost. They can also really be as simple or as sophisticated as you want them to be. Here’s a more complex building I built with games of Necromunda or Inquisitor 28 in mind:
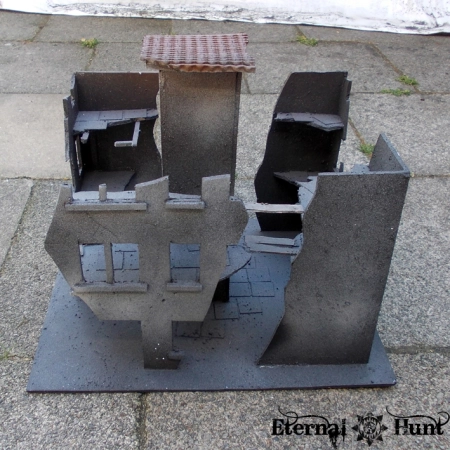
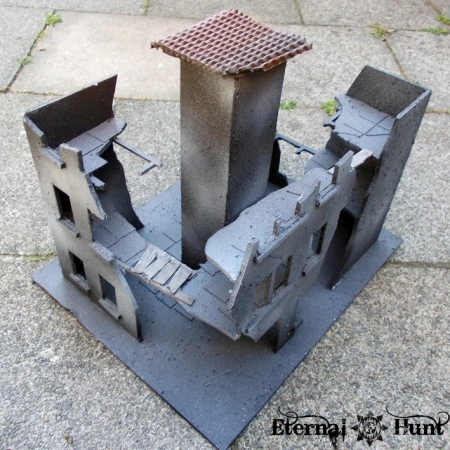
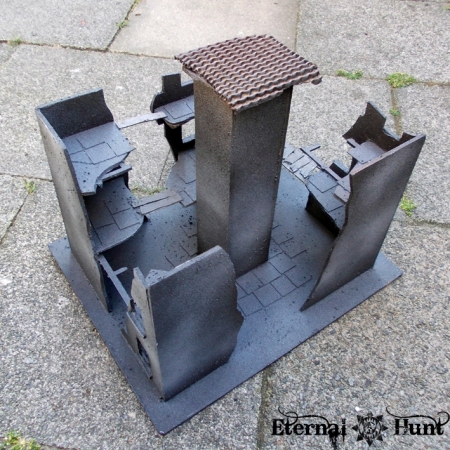
As you can see, I added a number of walkways as well as a central column. Still, the building was constructed using the exact same template as shown above.
You can also really go to town on these buildings, adding all kinds of propaganda posters, additional bitz and what have you. You could conceivably even combine your foamcore parts with parts of the GW cityfight buildings to spice things up a bit!
In my case, I wanted these buildings to be quickly usable, so I basically just undercoated them with texture paint, sprayed them with cheap grey paint from the DIY superstore and they were ready to go on the table.
Seeing how easy it is to build these, you’ll quickly want to try your hand at building more sophisticated structures as well:
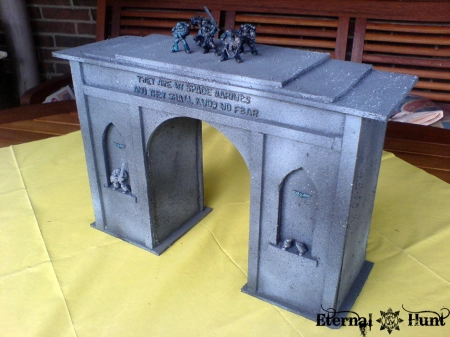
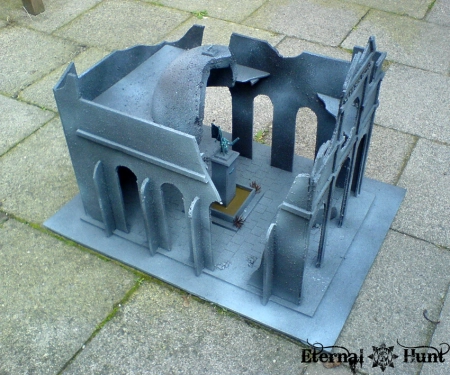
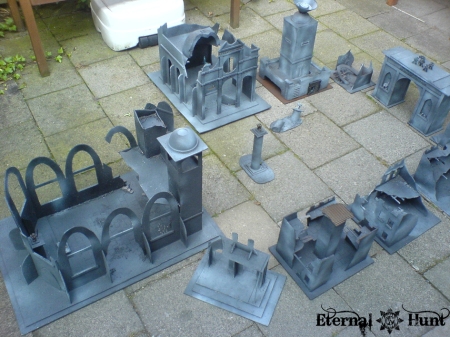
Most of these were built about one and a half years ago, and I am actually a little embarrassed by how crude some of them are. I believe that I could probably do much better today. Still, the point in showing these to you is to demonstrate how your own imagination is really the only limit here. And you’ll quickly have a table full of terrain: Get together with some people at your FLGS or wargaming club, and you can easily churn out a table’s worth of cool stuff in a couple of afternoons! Here’s the cityfight terrain I managed to build over the span of one summer in 2011:
I already explained at some length that there are many great reasons for building your own terrain! And today’s post demonstrates that it’s really quite easy to do so. So get building!
Any questions or remarks? Or any buildings or terrain projects of your own that you would like to show off? I’d be glad to hear from you in the comments section!
In any case, thanks for looking and stay tuned for more!
Filed under: 40k, DIY, Terrain Tagged: 40k, cities of death, cityfight terrain, DIY, foamcore, quick and easy, ruined building, ruins, terrain, wargaming on a budget
