Hello fellow model makers and painters. Over the past year, I've been acquiring and painting the line of medieval village buildings put out by Tabletop World. These are all very spiffy models that make for interesting and challenging hobby projects.
I thought it was time to do a building and painting tutorial for one of these. This time around, I've put together the Merchant's House. Now, Tabletop World has just announced that this model is being discontinued soon and will be replaced with a new mold. That's cool. More (and improved) buildings in the line are certainly welcome.
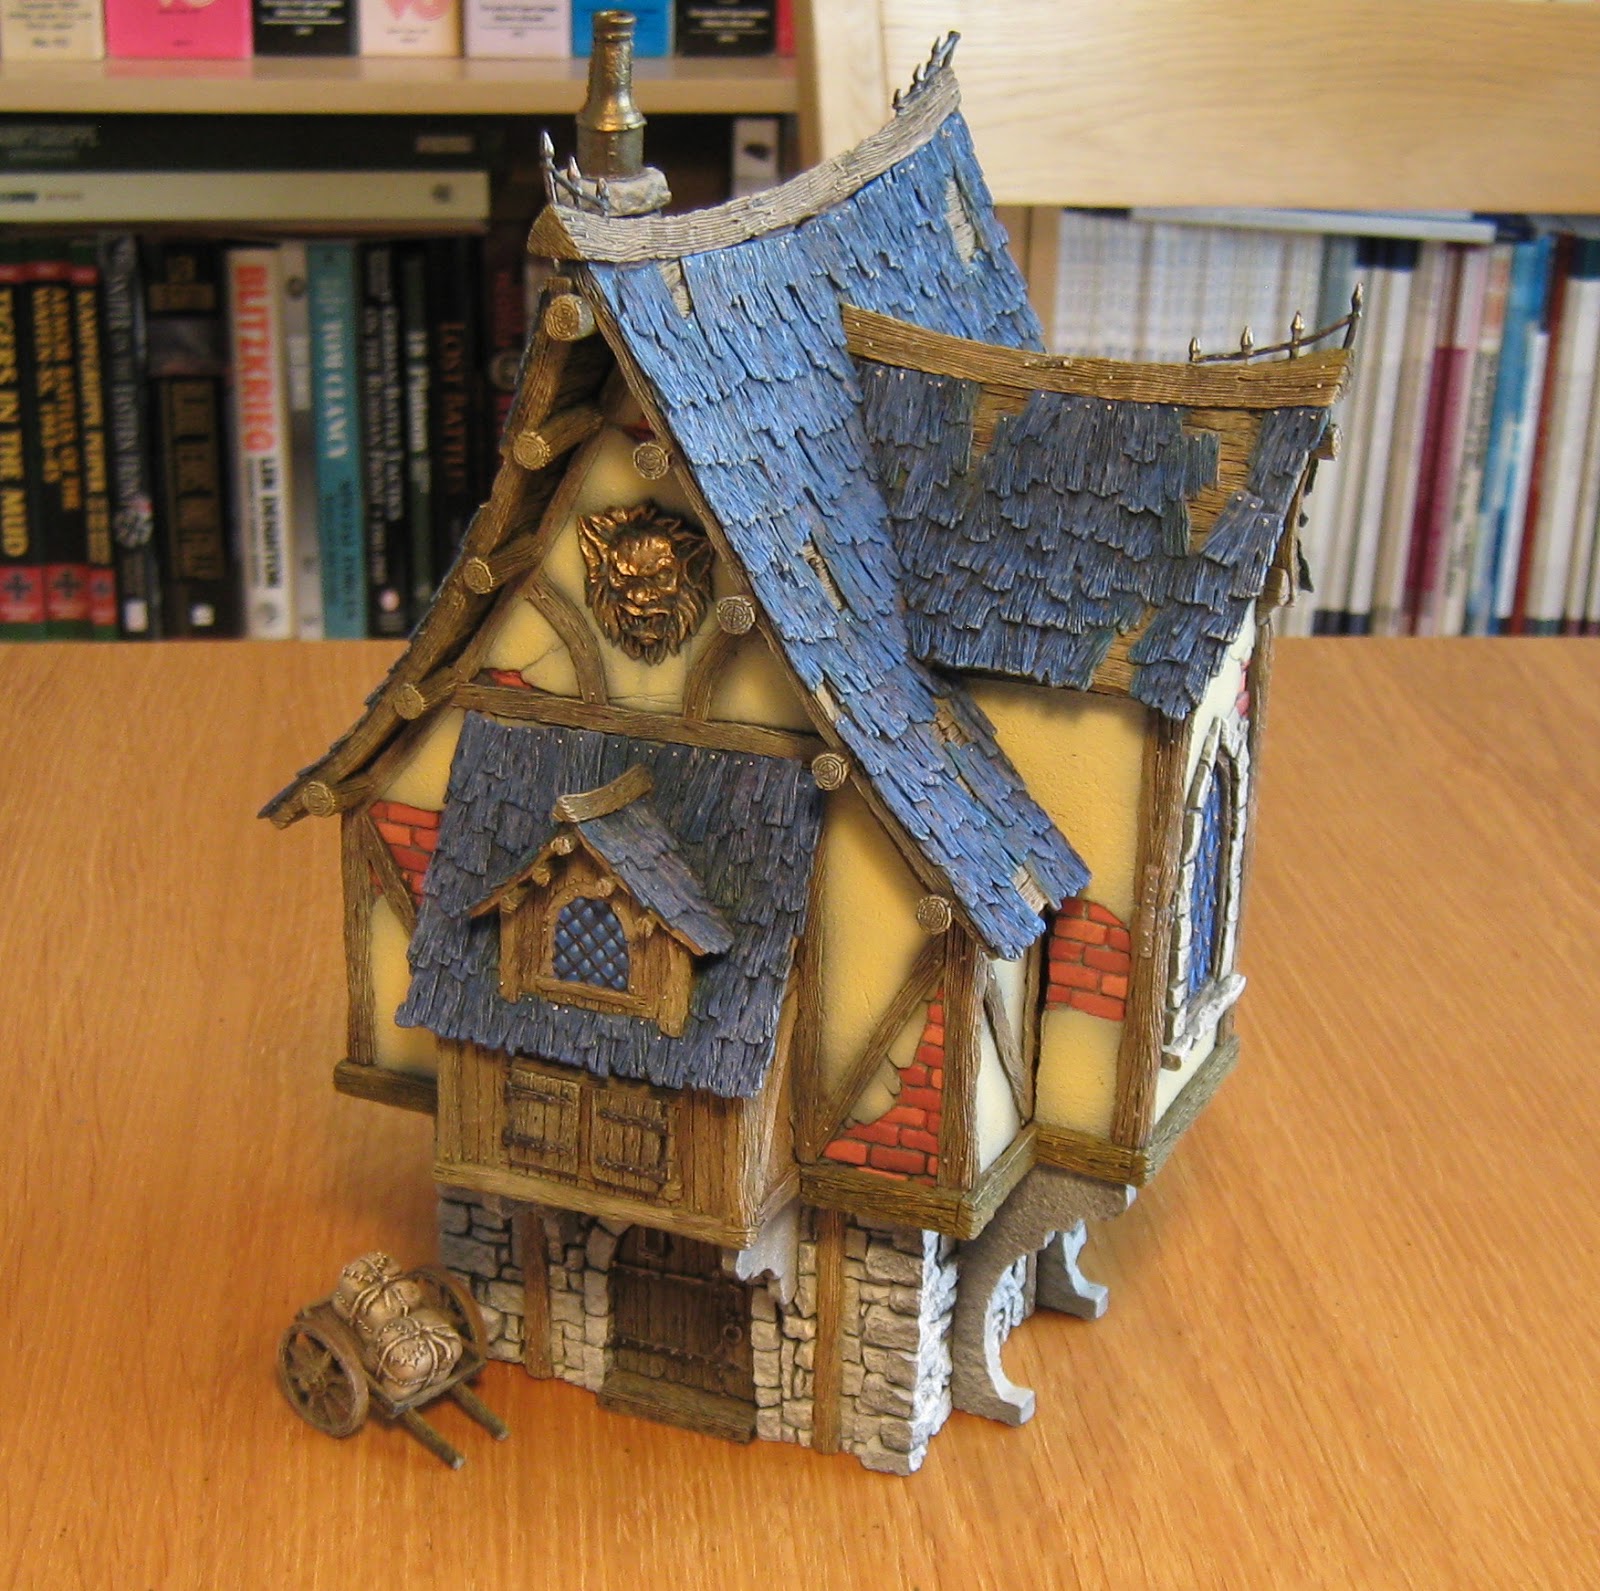
So, here's the finished project, and what follows are the steps used to put it all together.
Here's what comes out of the bag. As I've said in the past, Tabletop World does a first rate job at casting their sculpts. All resin. No bubbles. No mold lines. Amazing. But, lots of parts.

First off...prime black.

OK, there a few main types of surfaces to paint in this kit. Stone walls, wood, plaster. I started with the stone.

First overspray is dark grey.

Second layer is a light blue-grey.

Final highlighting layer is a downspray of white. All the rock walls, interior and exterior got this treatment.

Now, there are plenty of wooden pieces in this kit. And I find convincing wood to be one of the most challenging painting subjects. Here's the method I used for this kit. I had a little grey left over in the airbrush cup from the stone walls, so I did a little pre-highlighting. Not that it mattered...I wound up using so many layers of paint to do the wood, this highlighting pass quickly got lost.

First main overspray was Vallejo Model Air Wood. It's important that this not be a thick coat of paint. You want lots of the undercoat to show through in the recesses. Fortunately, this wood colored paint is very thin and doesn't cover well. That aids the multi-layered process.

Next up was a quick overspray of light grey to give the wood a weathered, bleached-out base.

Next I sprayed on some burnt umber ink. Not to much, but just enough to get tonal variations into different areas. After that was a highlighting spray of Vallejo Sand.

To finish off, I used random strokes of Devlin Mud wash, and a final drybrush of Bleached Bone...the old standby!

All of the wood bits in the kit got this same sequence of sprays, washes and highlighting. That went for the timber portions of the building interiors and exteriors as well. Wood took a long time to get done.

Next I moved on to the plaster. For this, I did a simple spray of light yellow. Nothing fancy. I let the black undercoat show through near the edges of each surface to aid in the aged look of the final structure.
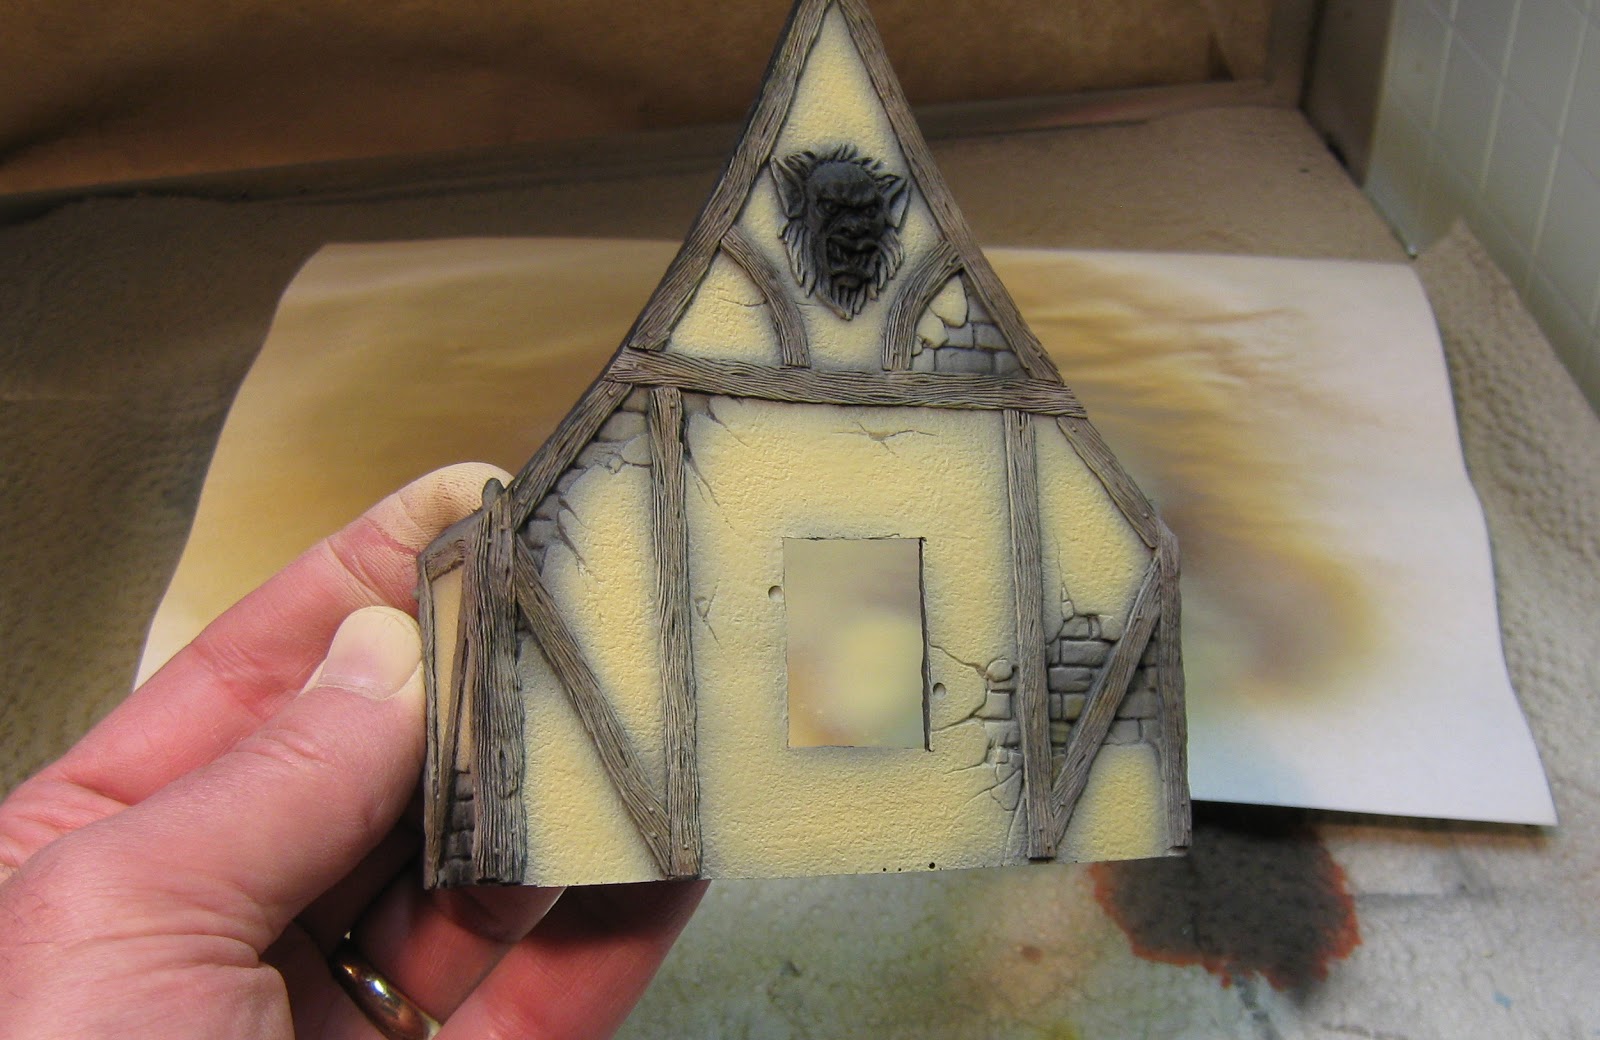
Next came wall surface details. In this case, the building has exposed brick under the plaster, and it also has big brass plate details.

I started with the brick. I simply used three shades of lightened red from Foundry's paint system, and just alternated painting the different bricks one at a time.

For the brass face, which appears on two external wall surfaces, I used the following progression. Based with Reaper Old Bronze. First highlight was Reaper Tarnished Brass. Second highlight was Foundry Shiny, and the final drybrush was with P3 Radiant Platinum. Weathering was done with a mix of green and blue washes from Vallejo.

Next up I did the windows. These were painted (inside and out) with a base of Foundry Sky Blue shade, with highlighted dots of Sky Blue base and highlight. The ironwork between the panes was painted with Reaper Adamantium Black.

Then it was time for the roof sections. Each section had several areas of exposed wood, overlaid with shingles. As I've done with all the Tabletop World models up to this point, I went with blue shingles. So, here's the start of a roof section with the exposed wood areas painted.

Next came a brushed-on coat of Foundry Deep Blue.

The shingles were then highlighted with progressively lighter shades of Deep Blue.

To finish off, I drybrushed with Bleached Bone and then hit the numerous nail heads with GW Chainmail.

Finally...assembly. I put together the bottom floor first. This snaps together easily, and at the tops of the walls are locating pins that allow you to align and place the second storey floor.

The second storey living quarters came next. There's a fancy little fireplace area, and a couple of box windows. Now, I can't say the fit was perfect here. A little cursing and epoxy glue was necessary to coax everything into position.

At this point I also glued the roof sections together. Far and away, this stage proved to be the most problematic. As I mentioned, Tabletop World has announced that they are retiring this mold and doing a new Merchant's House. My guess it's because of the problematic roof on this model. No picture to illustrate the issues...let's just say the fit of the parts leaves something to be desired. Regardless...stuff got wedged into place with an appropriate volume of cussing.
I then finished off the painting of all the little accessories that come with the kit. Here's the ground floor filled with provisions.

And the living quarters, with bed, desk, fruit-filled table and so on.

And of course there's the cat by the fireplace.

In the end, when you force everything together, you come out with another pretty cool model from Tabletop's medieval village. Nice.

I still have a number of buildings to get through to complete this fancy collection, but the end result is worth the time investment. Great models for RPGs and wargames...

...like Warmachine!

Hope you found this tutorial useful.
'Til next time.