 |
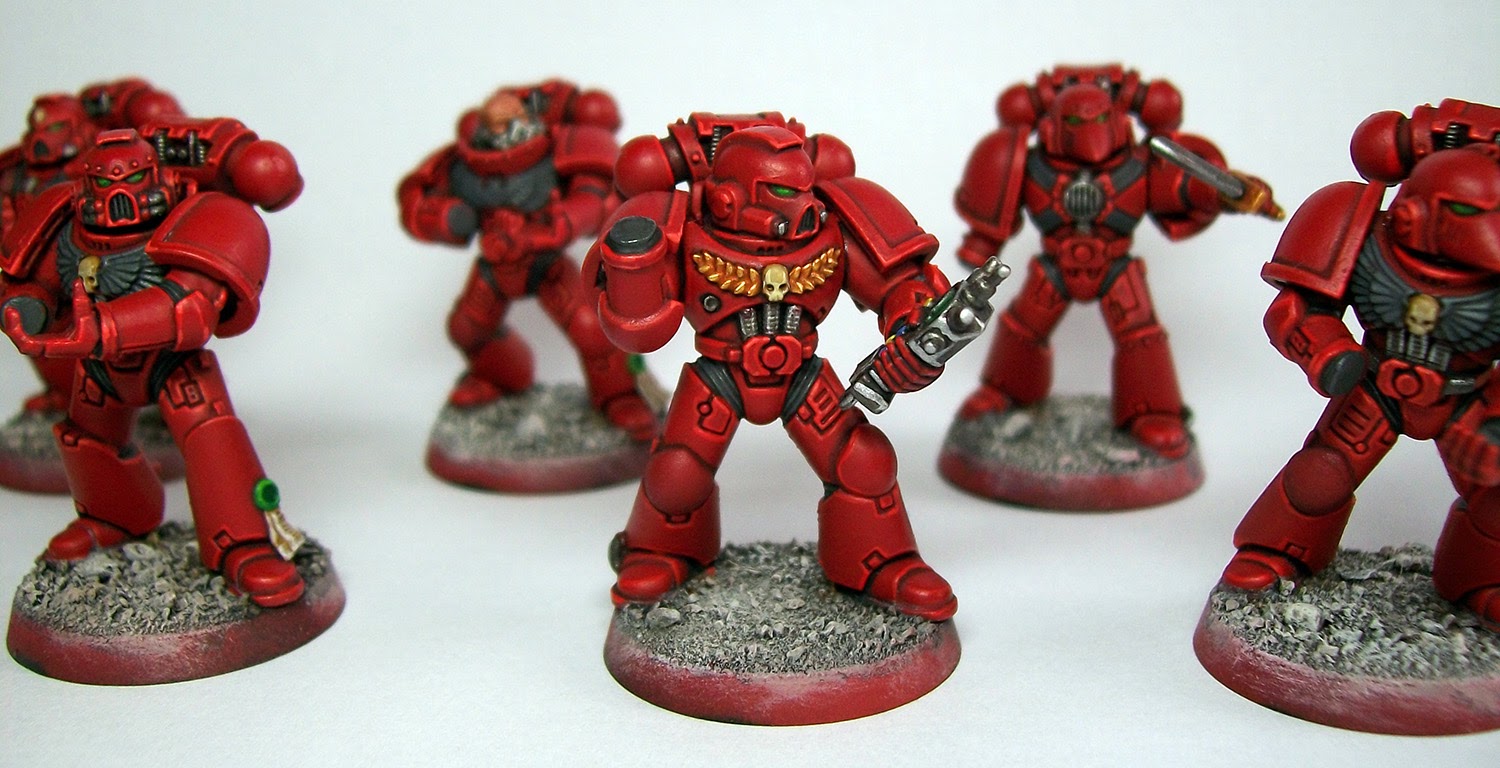
| Blood Angels Tactical Squad |
I don't confess to be an expert on painting, but I hope this little tutorial will help a few people get started without the experimentation I had to do first. I've tried to write this for beginners, but assume basic knowledge of painting (i.e. you know how to highlight, what a wash is, etc).
What you will need if you want to follow this tutorial exactly (although you don't have to follow my method to the letter if you don't have all the paints):

Step 0: Construction
What you will need if you want to follow this tutorial exactly (although you don't have to follow my method to the letter if you don't have all the paints):
|
|

Step 0: Construction
You know what to do here, but I just wanted to interject and say its really useful (especially if you're spraying the basecoat) to leave the boltguns detached. Leave the guns on their sprue if you want an easy time with painting too, although you should chop at least one out to use as a guide when assembling. It's useful to cut out the bits highlighted yellow in the image below before you undercoat the sprue, this will give you only two points (one of which will be covered up anyway) to touch up.
 |
| Boltgun sprue - bits to chop out. |
Step 1: Undercoat and Basecoat
The easy bit, spray Chaos Black and leave to dry for ages. Spray Mephiston Red. These coats need to be really light, and make sure you hold the can more than 30cm away to prevent bobbling or it going on too thick (the red spray is especially touchy). Make sure the black is completely dry before you move on to the red.

Step 2: Base Colours and Washes
Wash the entire model with Carroburg Crimson and wait for it to completely dry. Paint the armour joints and chest eagle Mechanicus Standard Grey, and metal bits Leadbelcher. Wash both of these colours with Nuln Oil. Now you need to do the base and wash for the following things:
Try and be neat with these but if you slip don't worry as we'll be touching them up.
- Parchment/Cloth: base Rakarth Flesh then wash with Seraphim Sepia.
- Skulls: base Zandri Dust then wash with Seraphim Sepia.
- Wax/Eyes/Plasma: base Warpstone Glow then wash with Biel-tan Green.
- Gold: base Warplock Bronze followed by Gehenna's Gold then wash with Reikland Fleshshade.
Try and be neat with these but if you slip don't worry as we'll be touching them up.

Step 3: Basing
It may seem weird to be basing your model at this stage, but I've found you can get a much better drybrush if you don't have to worry about ruining your paint work, and you'll be touching up stray brush strokes in the next step anyway. Different people have different ways of basing, but for these models I've gone with a 'dead ash world' style. Water down some PVA and paint it onto the base. Dip the model in sand and leave it to dry for a few hours. Wash the sand with Nuln Oil, this also helps it stick. Once the wash is completely dry heavy drybrush Rakarth Flesh over the sand, then a very light drybrush of Pallid Wych Flesh.

Step 4: Layer Colours
Layer on Mephiston Red (water it down!), leaving the recesses and bits no one is going to see anyway. Layer the base colour back over the bits you washed in Step 2, leaving the recesses:
- Parchment/Cloth: Rakarth Flesh.
- Skulls: Zandri Dust.
- Wax/Eyes/Plasma: Warpstone Glow.
- Gold: Gehenna's Gold.


Step 5: Highlights
The time consuming step, but arguably the most important as it just makes your painting more 'real'. Highlight the edges of the red with Evil Sunz Scarlet. Have a beer (maybe a nap) to help reduce the pain of RSI. Then highlight just the corners with Wild Rider Red (this makes the armour pop). Then highlight the following:
- Grey: Mechanicus Standard Grey.
- Metal: Runefang Steel.
- Parchment/Cloth: Pallid Wych Flesh.
- Skulls: Ushabti Bone.
- Wax/Eyes/Plasma: Moot Green.
- Gold: Auric Armour Gold.


Step 6: Squad Markings (optional)
It depends on how you want to paint your squad, but I've chosen to detail squad markings on the knees in accordance with the BA codex. The pad is painted with watered down Averland Sunset and given a highlight of Flash Gitz Yellow. I've also used these colours to paint the blood drops on my Sergeant. The blood drop on the knee is Mephiston Red with a slight Evil Sunz Scarlet fleck. A good trick to painting blood drops is to paint an upside down cross, connect the tips, then fill it in.


Step 7: Boltguns
With the main model mostly done it's time to paint the weapons! Base the gun with Leadbelcher and give it a wash of Nuln Oil. Paint the 'case' of the gun with Abaddon Black. Highlight the metal with Runefang Steel and the black with Mechanicus Standard Grey. Finally, give the black corners a highlight of Dawnstone. Paint the rest of the gun (i.e. the hand and any skulls/purity seals) with the same colours you did in previous steps. Once your guns are dry, chop them out the sprue and tidy up the barrel end with Leadbelcher (or drill it out like I've done). Give the wrist a drop of super glue and stick it to the model.

Step 8 Transfers
My previous Blood Angels used sculpted metal pads, but as I didn't fancy the idea of the new finecast version (and didn't want to fork out £11.50 for a single squad's shoulder pads) I opted for transfers. I've heard great things about Microsol when working with transfers but I ended up trying the simple GW method.
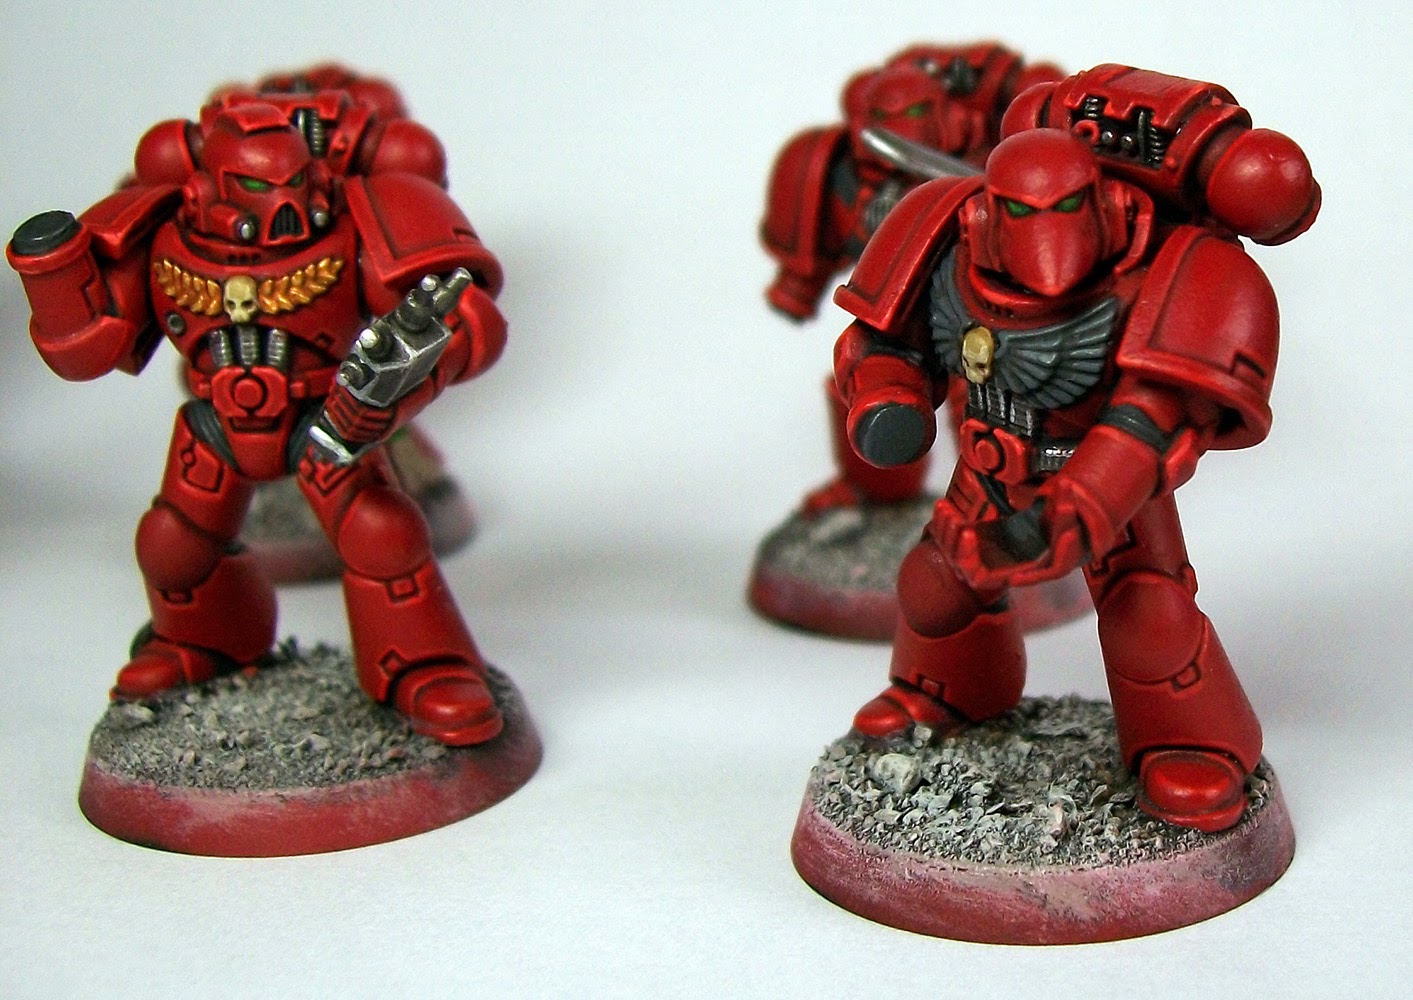
Cut around the transfer as close as you can with a knife, leave to soak for 30 seconds then brush off the baking paper on to the shoulder pad. Once the transfers are dry, paint over them with a layer of Lahmian Medium to bring the gloss down and keep them stuck. Touch up the areas around the transfers with Mephiston Red. I also like to add 'battle damage' to the transfers to blend them in (see the second image below especially).
Cut around the transfer as close as you can with a knife, leave to soak for 30 seconds then brush off the baking paper on to the shoulder pad. Once the transfers are dry, paint over them with a layer of Lahmian Medium to bring the gloss down and keep them stuck. Touch up the areas around the transfers with Mephiston Red. I also like to add 'battle damage' to the transfers to blend them in (see the second image below especially).


Step 9: Celebrate!
Finally, give the base rim a few coats of Steel Legion Drab. Pop the cork on a bottle of bubbly and wish yourselves well done!
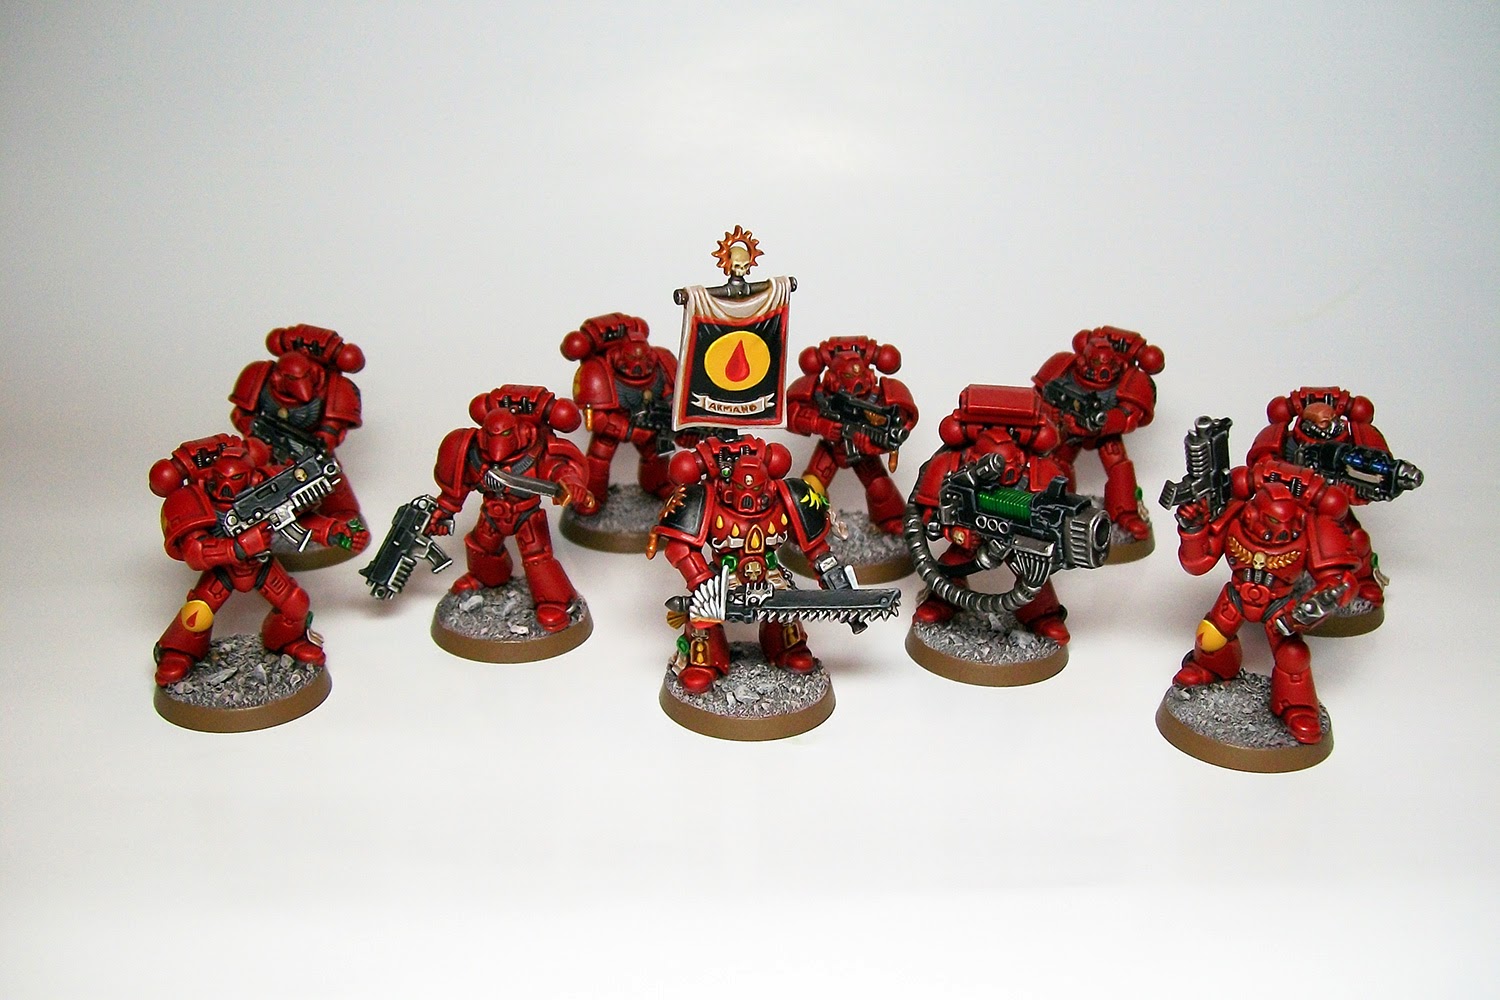 |
| Blood Angels Tactical Squad - FINISHED! |
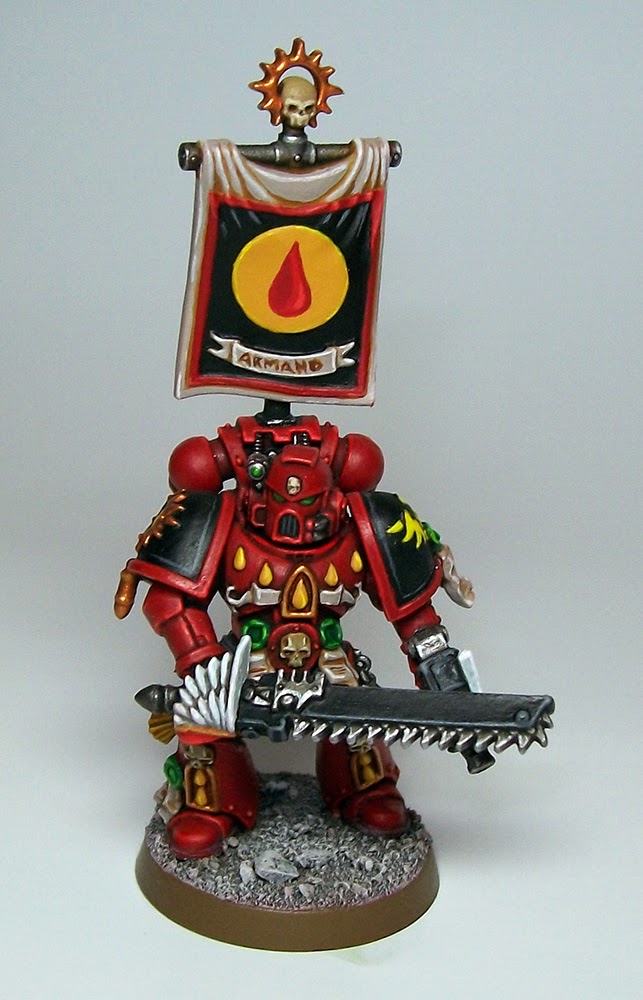 |
| Sergeant Armand |
If you found this tutorial helpful (or incomprehensible) leave a comment below!
Darth Meer