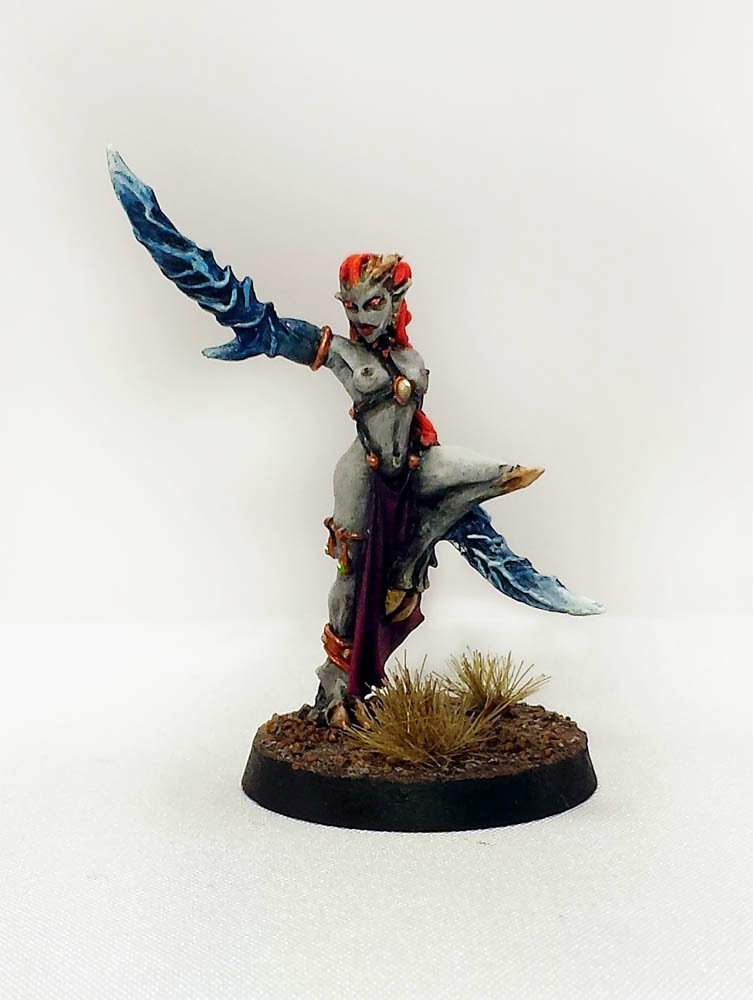
I tried some of the techniques I learned at the painting class in December. I was pretty disappointed to discover that the two brush blending technique doesn't work at all with the GW paints. So all the blending here I did with a sort of modified (read: time consuming) technique. It worked, but not as well.

The back shows off the blending in the fabric far better than on the front. I'm not entirely sold on her hair. I wanted to highlight it more to white, but thought it might be too much. I may go back and add a little more highlight later.

I used some of the Games Workshop grass tufts on her base. On their own, they don't stick very well but a little super glue solved that right up. The really disappointing part, though, was that the foam the grass is attached to is white. Distractingly white, even blindingly white against the earthy ground on the base. But I took a little bit of the brown wash to it and that colored up really nicely. It blends in much better now, and looks more natural to boot.
 |
| All three Daemonettes so far. |
You can check these links for more on the Daemonette Project and the 2012 Daemonette.
I am pleased with the mini overall but incredibly displeased with the photos. I gotta do something about my camera and light set up. Currently, my nice SLR is visiting with my father for some business related photo shoots, so I can't do anything about that. But I really need to make a dedicated photo-taking space and get some better lights. Anyone have suggestions in that regard?