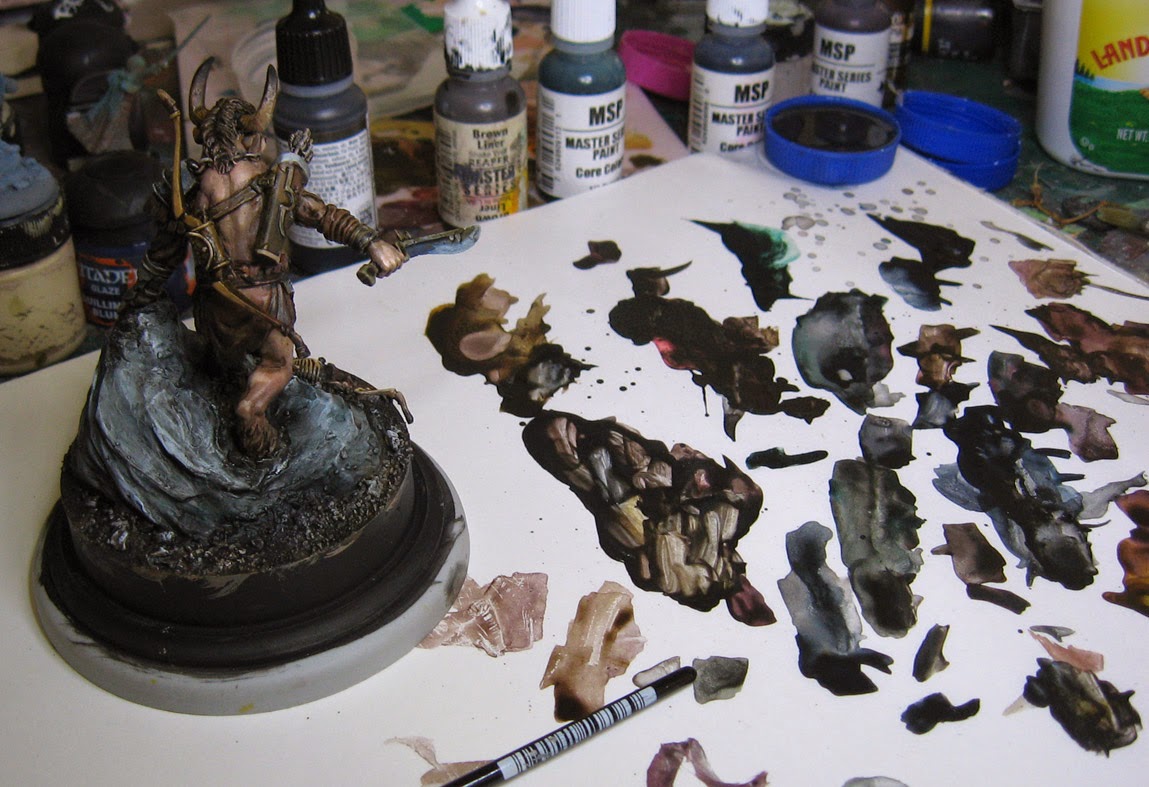
That time! Shade and tint. Out come the Black shade and liner paints.

Mixing them in secondary batches along the way and thinning them with water and or flow improver, I worked along the lowest edge of the base.

I pulled some of the darker shades up into the rocks as well, mixing in a bit more blue.

I did a lot of wiping away paint with my hand and towel on this. I would do a few applications of darker paint on the rocks, and dab that away while it was still wet.

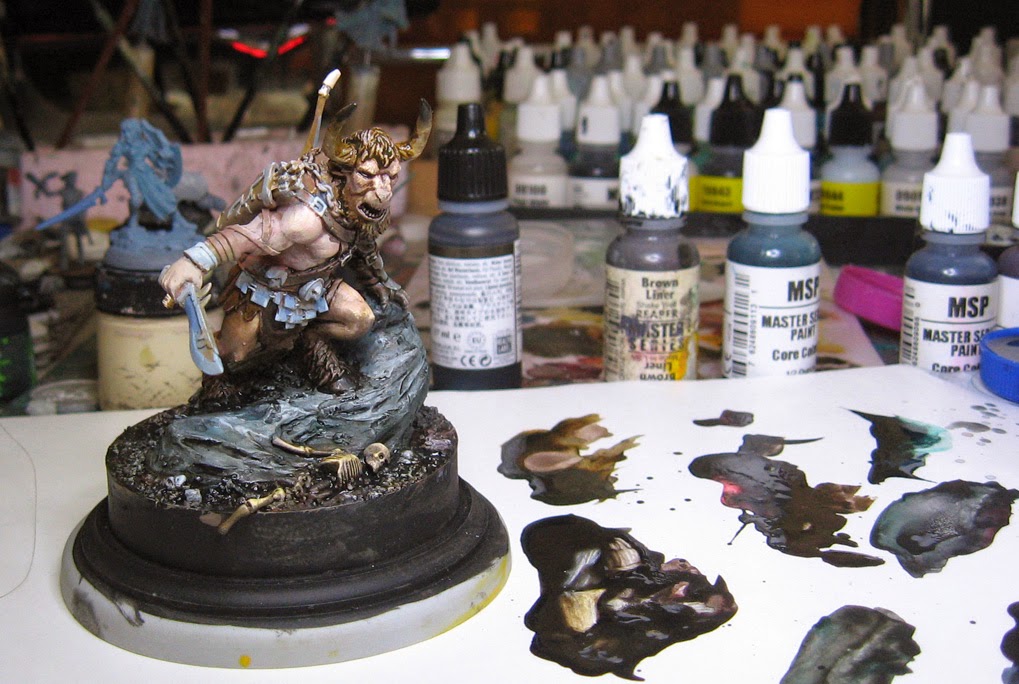
I wanted to repeat that blueish gray color on the armor was well, so I saved a bit of that mix for the armor plates.

The glazing is done in stages... not all at once! This was my first layer on the loincloth. Many more would follow.

I had some darker glaze colors on the bottom of the leg, so I 'pulled' those up to the upper thigh with a drier brush, turning the figure upside down so that gravity would assist.

Moving up the figure, starting to do the first glazes on the face an mane.
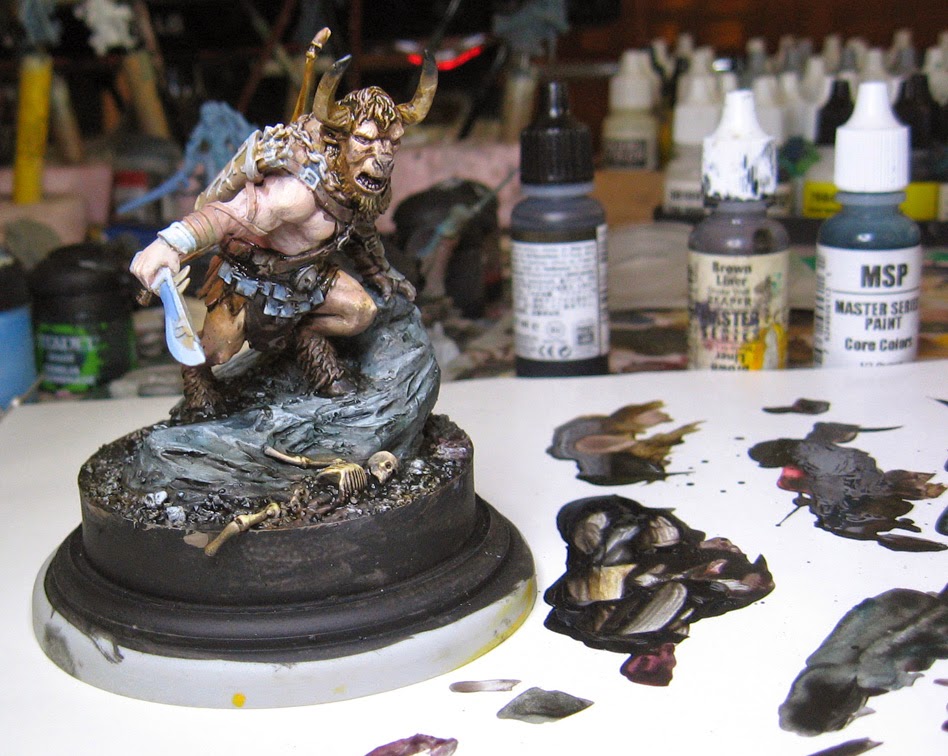
I continued to the upper arm...

I added more glazes to the loincloth and to the face. Remember, 3-6 light glazes will get you some nice color transitions. One massive splash of glaze gets you a mess. :-)
Working on the back, mostly the bow, quiver and such. I tried to introduce some green here, so that it would contrast with the cooler reds of the skin tone.
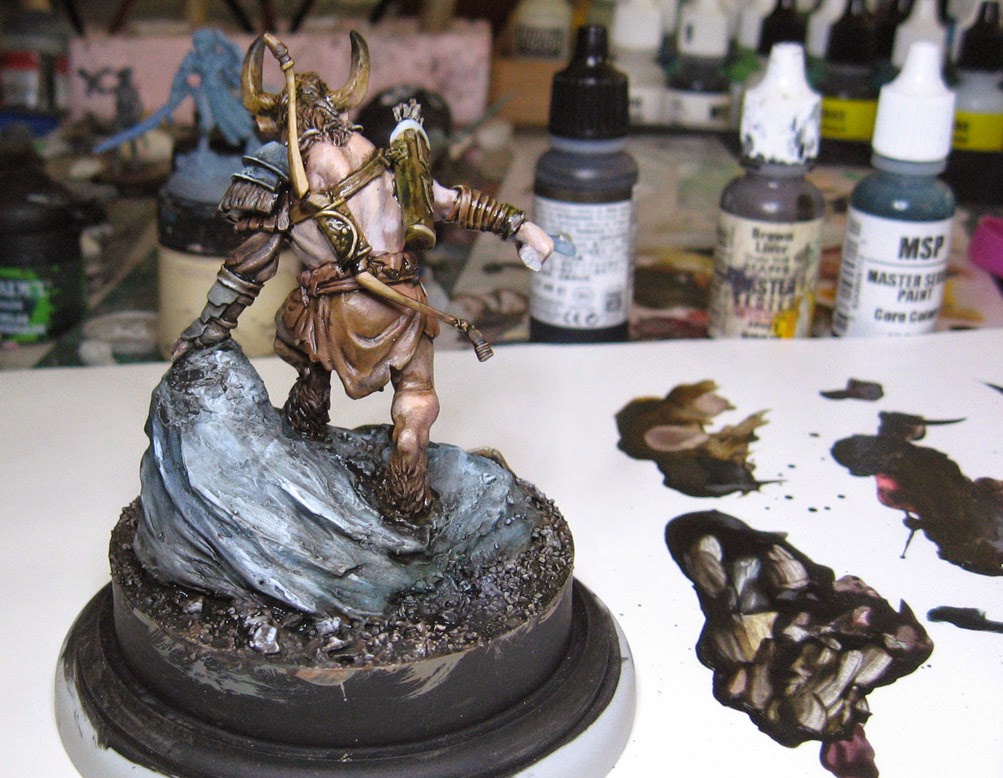
Another layer of dark on the quiver.

Here you can see some major difference in the bottom edge of the loincloth. That was mostly a mix of red and brown liner paints.
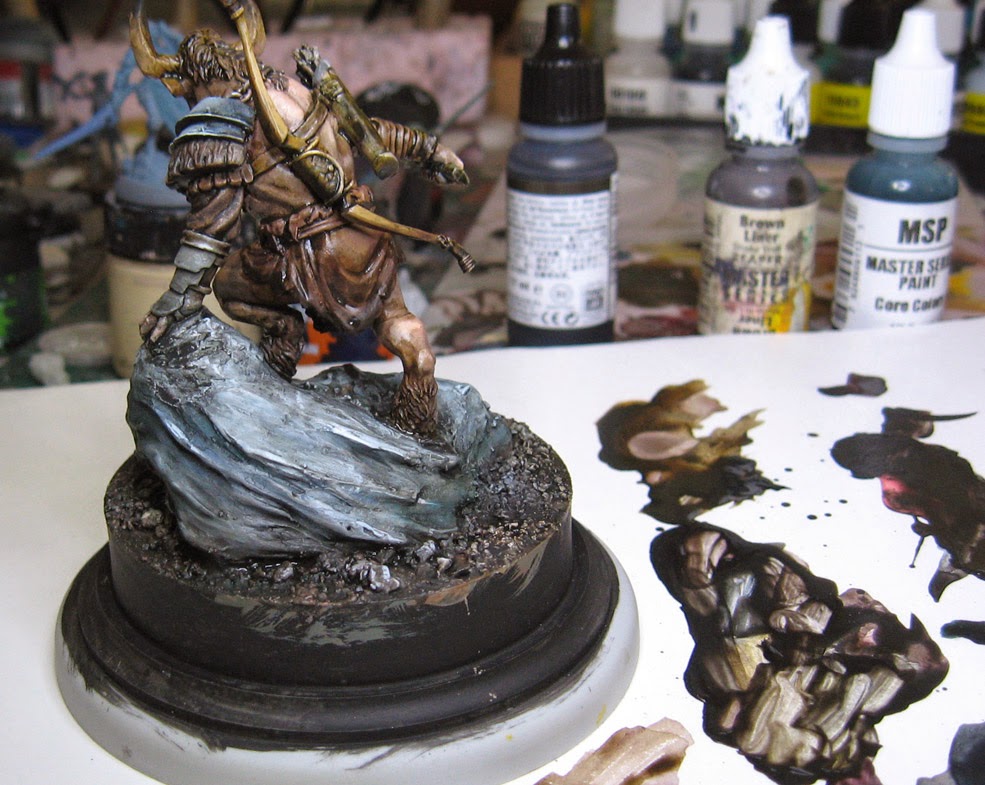
More successive glazes on the back sections. Some places got as many as 7 or 8.
The semi transparent light glazes are next!