So the Kickstarter for the new edition of alternate history miniatures games DUST: Tactics has finished along with the new Campaign setting OPERATION BABYLON which more or less reopens Africa and the middle east as a major front in 1947 and should be making its way into stores and homes very soon..
Knowing that DUST creator Paolo Parente was going to be a Gen Con gave me more than enough motivation to really trick out one of my DUST models that I've had on my shelf for a while. I chose the PrinzLuther Axis Armored Transport for a couple of reasons. 1. I love the general look of it - it combines the body lines of several WW2 German trucks/halftracks and great SF styling with its 4 big walker legs. 2. I love the look of historical DAK vehicles with the paint all chipped and weathered away showing the original German Grey beneath. 3. With the open back there was lots of room to do small personalized details that really add to the overall presentation.
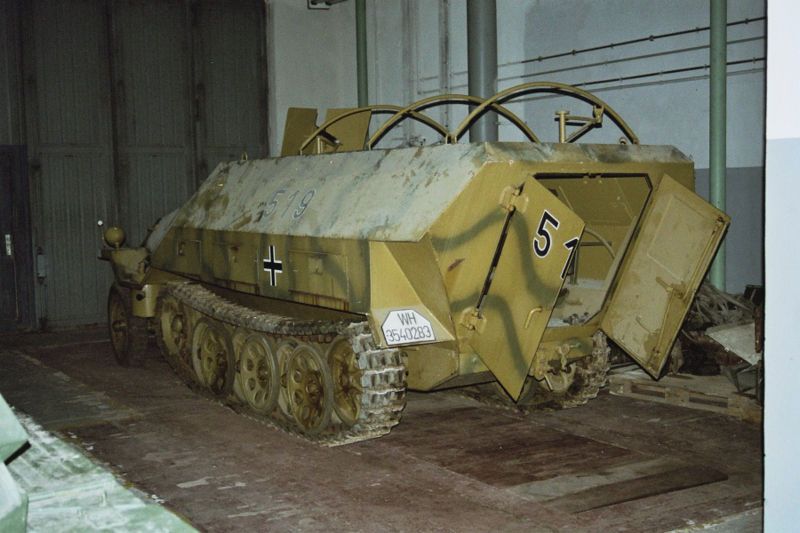
 |
| A ww2 DAK restoration in progress. Note the floor texture... |
As DUST models all come preassembled, I began with the onerous and difficult job of disassembling the model so that I could really get in and rework sections of the kit that I though could use a more realistic upgrade.
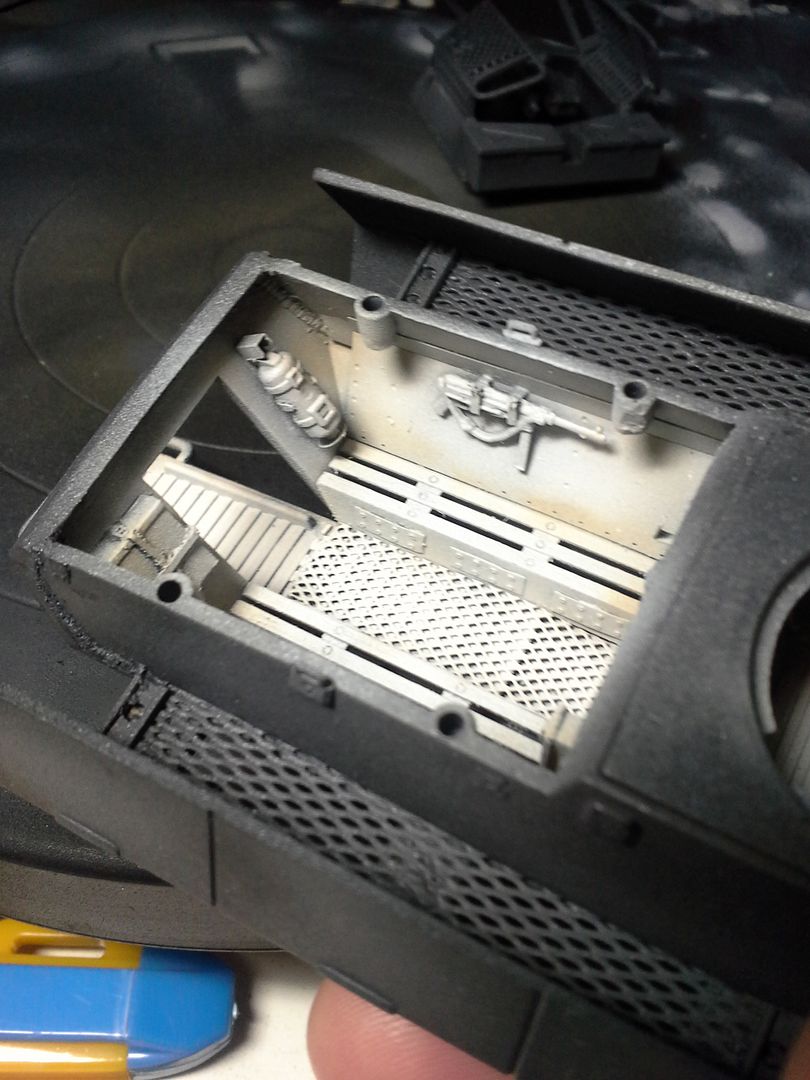
Though it took my entire monthly quotient of BFI (brute force and ignorance) I managed to get the body halves separate, remove the radio/partition wall and to cut out the lattice along the inner side skirts/ablative panels. I replaced this with some styrene and a brass mesh usually used as armature for traditional sculpture techniques. I also used a second smaller metal mesh to texture the floor.

With these parts done the kit already looked enormously better. I used a scalpel and wire brush to add wood grain textures to the benches and then moved onto some easier modifications. I ordered some parts from RB model - 1:48 brass gun barrels and some 1:35 tow clamps. The gun barrels, while brilliantly accurate looked too small for my aesthetic preference so I upsized, ordering 1:35 barrels of the same styles. These suited me perfectly! I was VERY pleased. Great service - incredible products.


Next I hit up my good friend John Bunton for some extra Brass Etch from his bitz box, Instead he gave me a couple of complete sets of Voyager and Griffon Models brass detailing sets that he had picked up for next to nothing at a model show in Hamilton last year. This was an incredible boon and gave me far more choices and detail bits than I would ever use on this kit - in fact I may well be using bits from this horde for years to come!


I wired up the radio and sheathed the interior panels in brass to hide the supports for the side skirts, added some small hinges and boxes, wired the headlight and then made some small brass support straps for a set of headphones that I have to go with the radio, a submachine gun mount for one interior wall and a set of straps to hold the fire extinguisher and first aid kit that I attached to the back walls beside the door. When I reattatched the top half of the body I also puttied in some small weld seams to add some visual interest to a few body lines that I wasnt totally happy with. The welds fit the bill - a subtle modification that just added a bit of detail where additional equipment/dodads would have been out of place.


Following this I cut the lattice out of the turret roof and replaced it with brass, added metal barrels here as well and then some interior details for both the turret and inside the front part of the body in case it could be seen from outside.
All in all this was a REALLY satisfying build. I test fitted everything on to a mock up base and got ready to paint....
PART 2 Next Week ;)
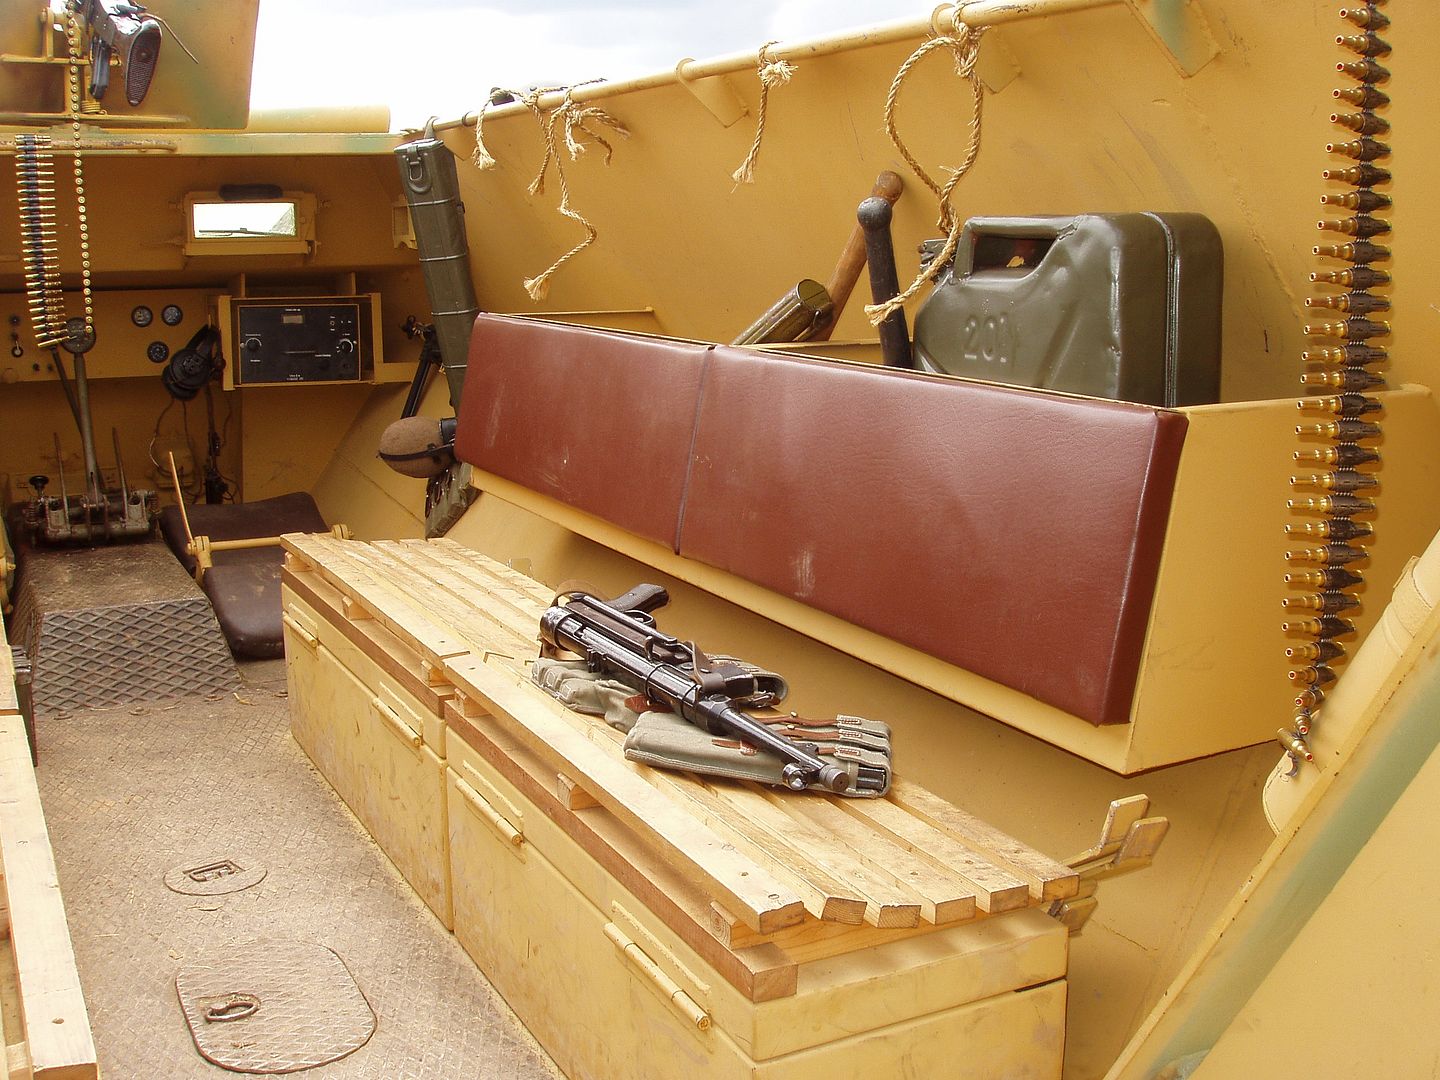
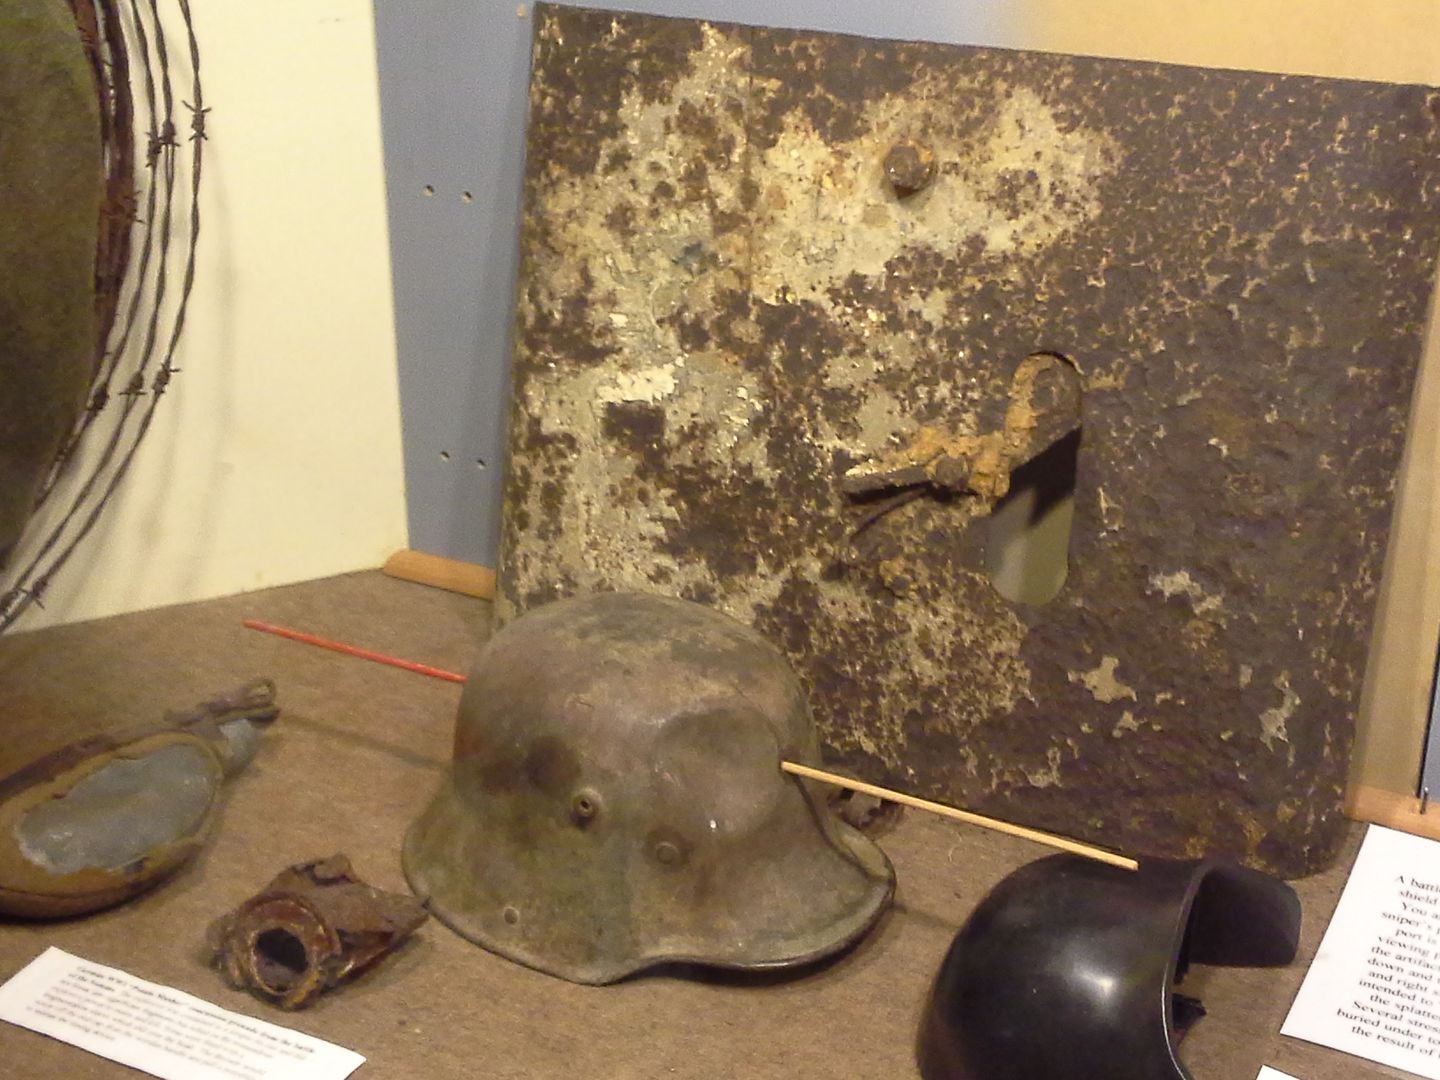
ADDED BONUS - After the Jump are some photos that I used/kept in mind while I was working through this project. If you are doing DAK/NDAK, Desert models, armour etc. perhaps these will be of use to you as well! So click if you want to see these as well!


And a few extra WIP build shots