I posted about the starting of this project back on January 9th, and only now posting more about it! Yikes! Best correct that!
The deadline for the project is fast approaching ( Monday at midnight is what we were last told! ). And as such, I think I took on far too much of an ambitious project than I realized. Especially with my normal daily schedule being needed to be worked on!
But progress I have made since the last post on it!
Here is what the base looked like with the initial sketches applied, and some extreme highlights applied to give it a sense of direction. Of course it cannot stay this way as the project is to be about a post apoc like area, that has plenty of weathering on it!
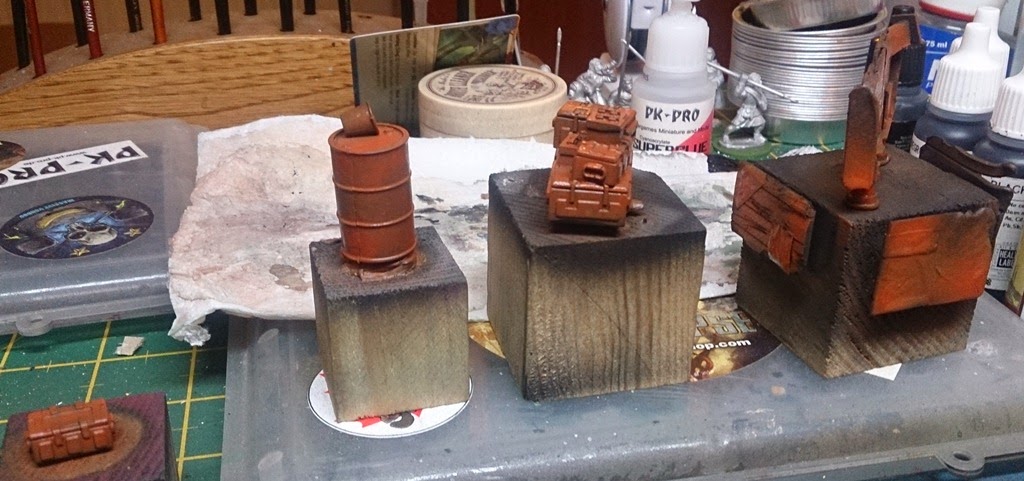

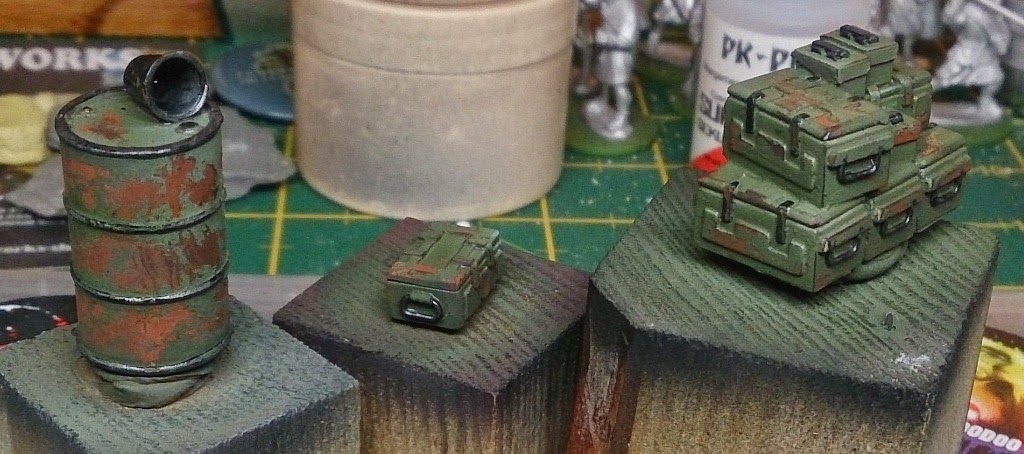
Well in the area of extras for the base I started with a simple weathering technique I picked up ( or refined would be a better word ) with John at one of his Weekend Workshops. Process was simple enough.
- Spray down a couple different rust like colors with the airbrush.
- Spray down 2-3 layers of heavy chipping fluid. Ensuring to let it dry fully, and naturally between the layers ( using a hairdryer removes the activator or whatever in the chipping medium and ruins the effect ).
- Spray down my main colors ( in this case army green? )
- Pick out the details and do some layers for some highlights as well.
- Then taking a warm, stiff brush, slowly rub off the top layers of paint from the pieces. Exposing the rusty colors below.
And Voila! Rusty pieces ready for the dio!
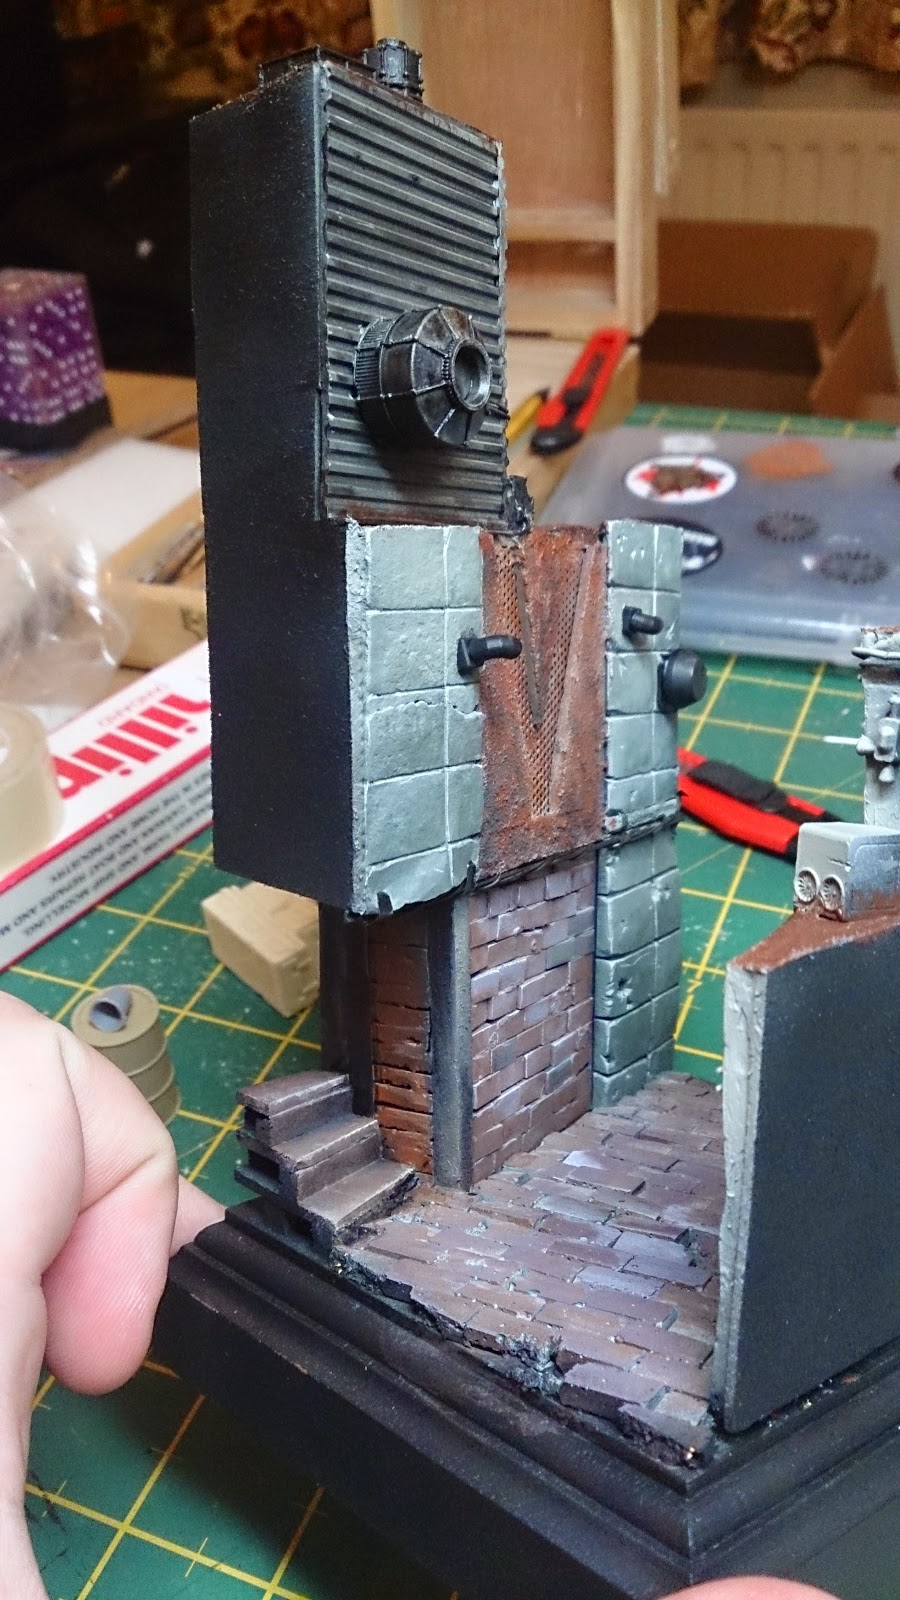
Though they look a bit ... um.. stark in contrast to the rest of the alleyway.. and everything is still looking very clean. Too clean rather..
This is where I began to really experiment on how to continue with this. Especially with the bricks on the path ( which I took several attempts at! ).

Unfortunately due to it being experimental, I don't have so many photos.. but the general premise of the steps were the below:
- Take out several different pigment powders. Apply them directly to the base without water and rub or dump them into the cracks and sides of the wall.. Rubbing them in with a stiff brush once more.
- Add a bit of pigment fixer to some areas ( mostly cracks ) and then dump some more on top
- Add some AK interactive Rust Liquid on areas. It doesn't come across as full rusty, but more dirty and muddy even on this scene.
- Add more pigments.. just start throwing them on top of each other, and work them into the base.
- Take some Modelmates Sand Liquid Pigments, thinned a bit with water, and begin to layer that on the bricks..
- Beginning to like the effects!
- Add more pigments :) Rub them in some more.
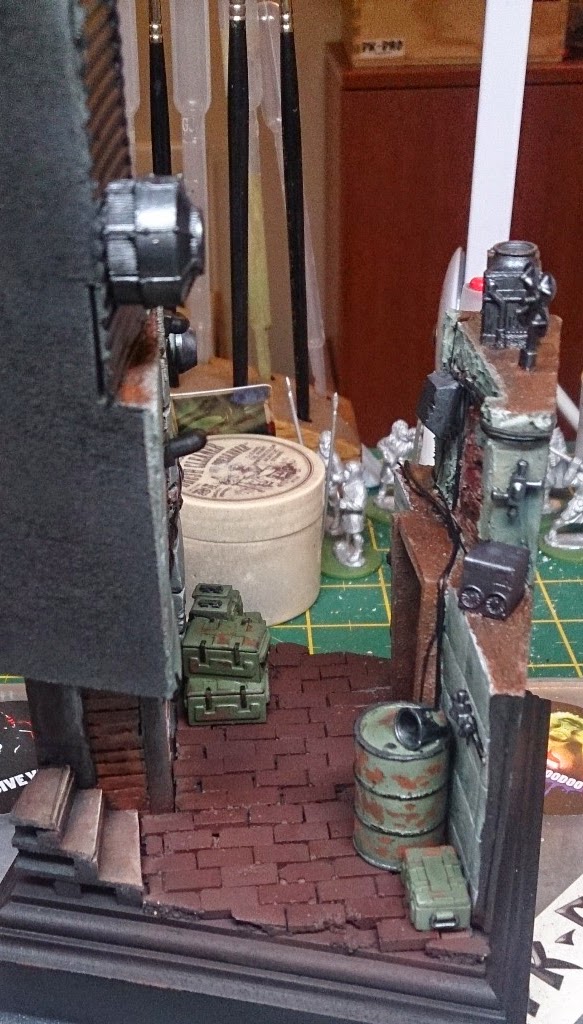
As you can see it is a very scientific method to the madness going on here.. but when it was all said and done.. the piece looked more together and definitely dirtier with the pigments and liquids applied.


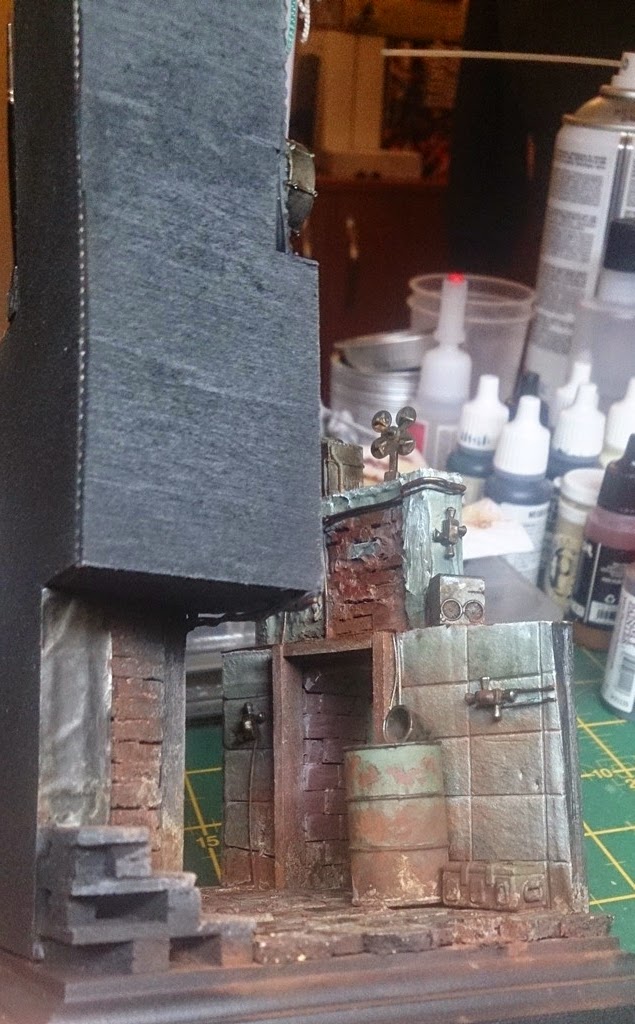
The AK Interactive stuff really helped on the signs though. Just a tough of it, and then worked with a damp brush and it spread out nicely. Making the chipped aspects look more real. Spreading the color out a bit, while still making the chipped parts stand out ( in some cases ... I overdid it a few times! ).

Now I begin to work on the models themselves.. you can see the Ottoman standing in his alleyway ( though not fixed yet ) waiting for the trader to arrive.. oh and his mount ( whom I hope to finish! ).

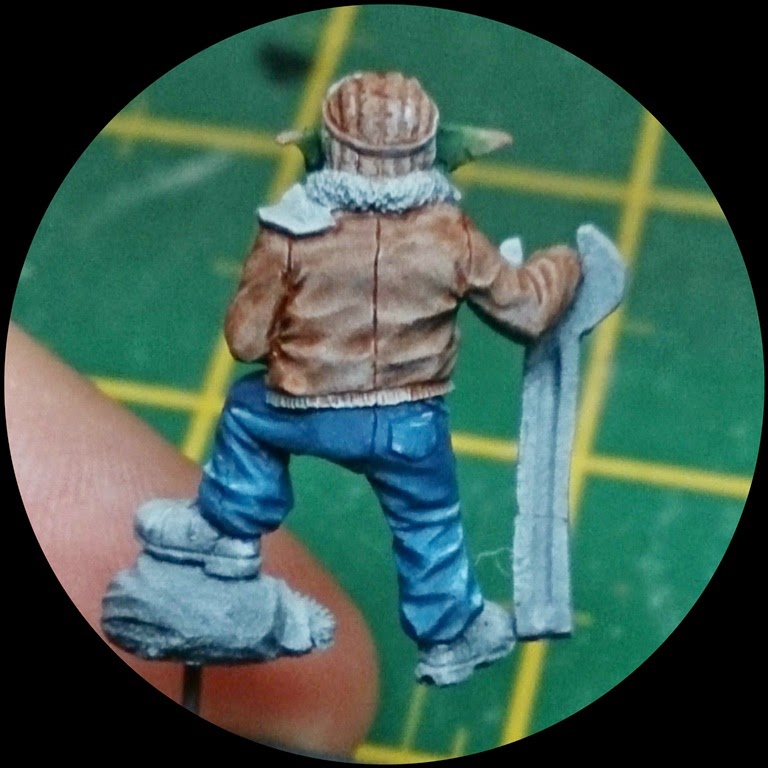
Quick work on the models themselves ( amazing how fast 28mm scale pieces are to paint compared to 1/6 scale busts! ).
Looking forward to seeing how the scene builds up, and what else I can push into it yet.
Hope you enjoy this so far, and expect some more ( final ) photos next week! Enjoy the weekend in the meantime!