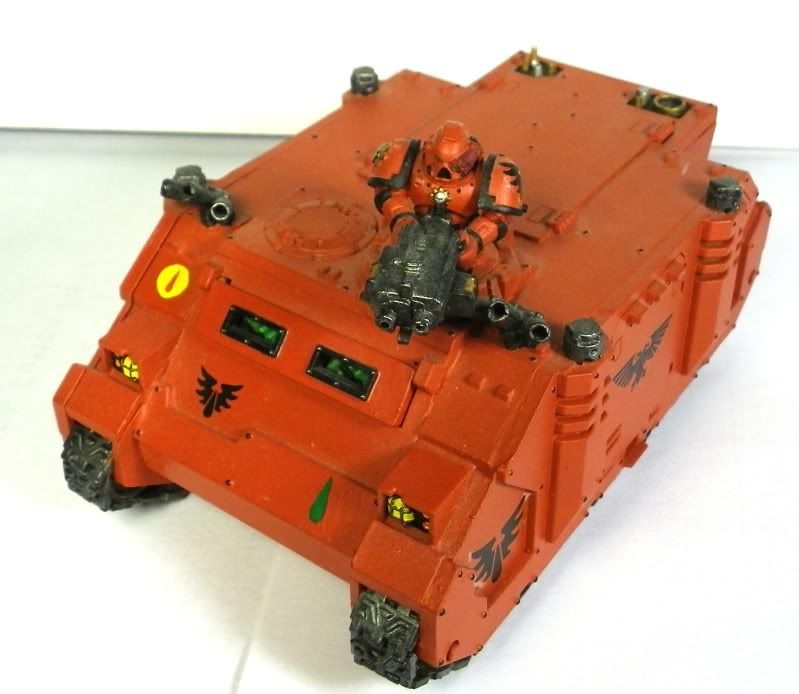
Rhinos
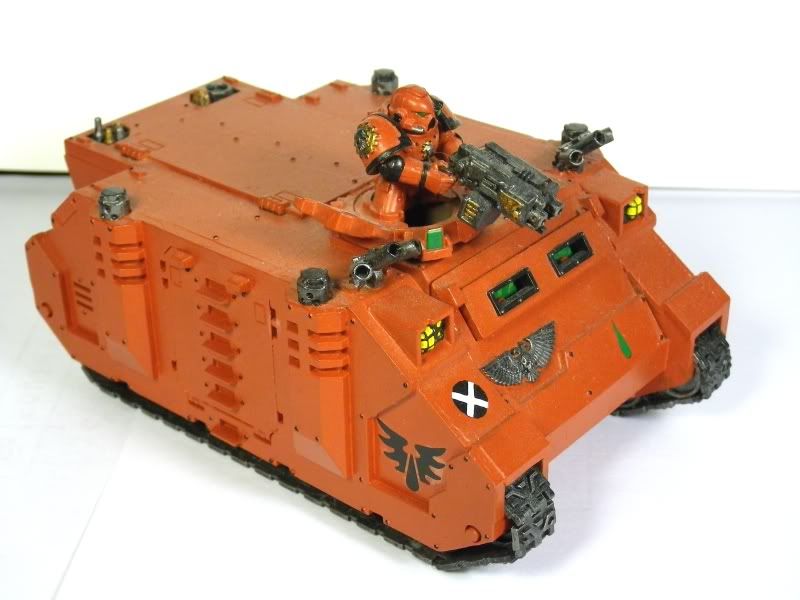
Our Rhinos cost 10 points more than standard, but they’re Fast, so it’s a pretty fair trade. Rhinos aren’t that popular now, but I still love them. If you want to play an “army” that revolves around one deathstar unit with 6 attached characters and you only have ten other infantry models in your army that just exist to hold backfield objectives, then you really don’t need Rhinos. If you want your squads to actually contribute to the battle, Rhinos are indispensible, both for protection and speed.
We can now take Rhinos as Fast Attack choices as well as dedicated transports, but I don’t see much reason to do so. Just about every Imperial unit has access to a Rhino or similar transport as a dedicated transport.
Razorbacks
The Razorback is a Rhino that gives up some of its transport capacity to mount a heavy weapon. It comes standard with a twin-linked heavy bolter or heavy flamer for 20 points more than our Rhino, and can upgrade to a variety of more lethal heavy weapons. Honestly, it’s a lot of points put into a relatively fragile vehicle, and it distracts from its role as a transport. The Razorback is designed for an army where the infantry supports the vehicles, but I have better results playing the other way around.
Razorback spam was a popular choice in our last codex because they could be taken with Assault squads at a discount. This enabled you to run six cheap Razorbacks, and build an army around their fast firepower. Thinking back, it really was similar to Wave Serpent spam armies today. However, this discount is gone, and the Razorback is not nearly as points efficient anymore.
Drop Pod
For the same cost as a Rhino, a Drop Pod will deep strike your squad onto the table with almost guaranteed safety. Even better, half of your Drop Pods (rounding up) automatically arrive first turn. This means that you can get your squads where you want them early in the battle. However, your squads lose their mobility once deployed, so be careful where you deploy them.
Drop Pods are pretty self explanatory to use, as they’re more of a deployment option than a transport. There are some subtleties, though. Always take an odd number of Drop Pods as it allows you to drop an extra Pod on your first turn. Never drop near the edge of the table, as that is the only way a Drop Pod can mishap. Counter-intuitively, dropping near enemy units and impassible terrain actually makes the Drop Pod more reliable. If it scatters near them, it will stop an inch away, so you can use enemy units and terrain as buffers to control scatter. Finally, if you take your Blood Angels as a Combined Arms Detachment, Drop Pods attached to Tactical squads will have Objective Secured. Drop them directly on objectives to cause your opponent all sorts of annoyance.
Unlike Rhinos and Razorbacks, there are good reasons to take Drop Pods as Fast Attack choices rather than dedicated transports. If you are taking Battle-Brother allies that will benefit from Deep Strike, then you can just stick them in a Fast Attack Drop Pod. I see this most often used for Devastator Centurions, but you could also make a good case for Imperial Guard Veterans.
Unfortunately, I expect Blood Angels (and Space Wolves) to be a common allied contingent for armies that need a Drop Pod. A Librarian, 5 Scouts, and a Drop Pod is a cheap way to allow an important unit to Deep Strike. I expect to see it as a common addition to Centurion deathstar armies.
Notes on all of these transports
Despite their speed, none of these transports are a good fit for assault units. In general, riding in one will delay your assault for an extra turn compared to advancing via jump pack. The Drop Pod is a possible exception, as it could allow a Turn 2 assault. However, it will expose them to close-ranged enemy shooting or counter-assault before they can charge, or the enemy can just run away.
In general, these transports are best used with close-ranged shooty squads, such as Tactical and Sternguard squads. Squads that you want to reach assault quickly should stick with jump packs or Land Raiders.