The next article in this series is about water explosions. I will show you how to create simple techniques to create this effect, enhancing your bases and models. This little effect is probably my favourite in this series.
So let's get to work. The first thing to do is plan out where your explosions will be. I opted to do them for my bomber squadron, which back in Ver1.5 totalled 4 models. So I decided to make two of the bases with explosions. I planned one in the middle and the other on the side for variation.
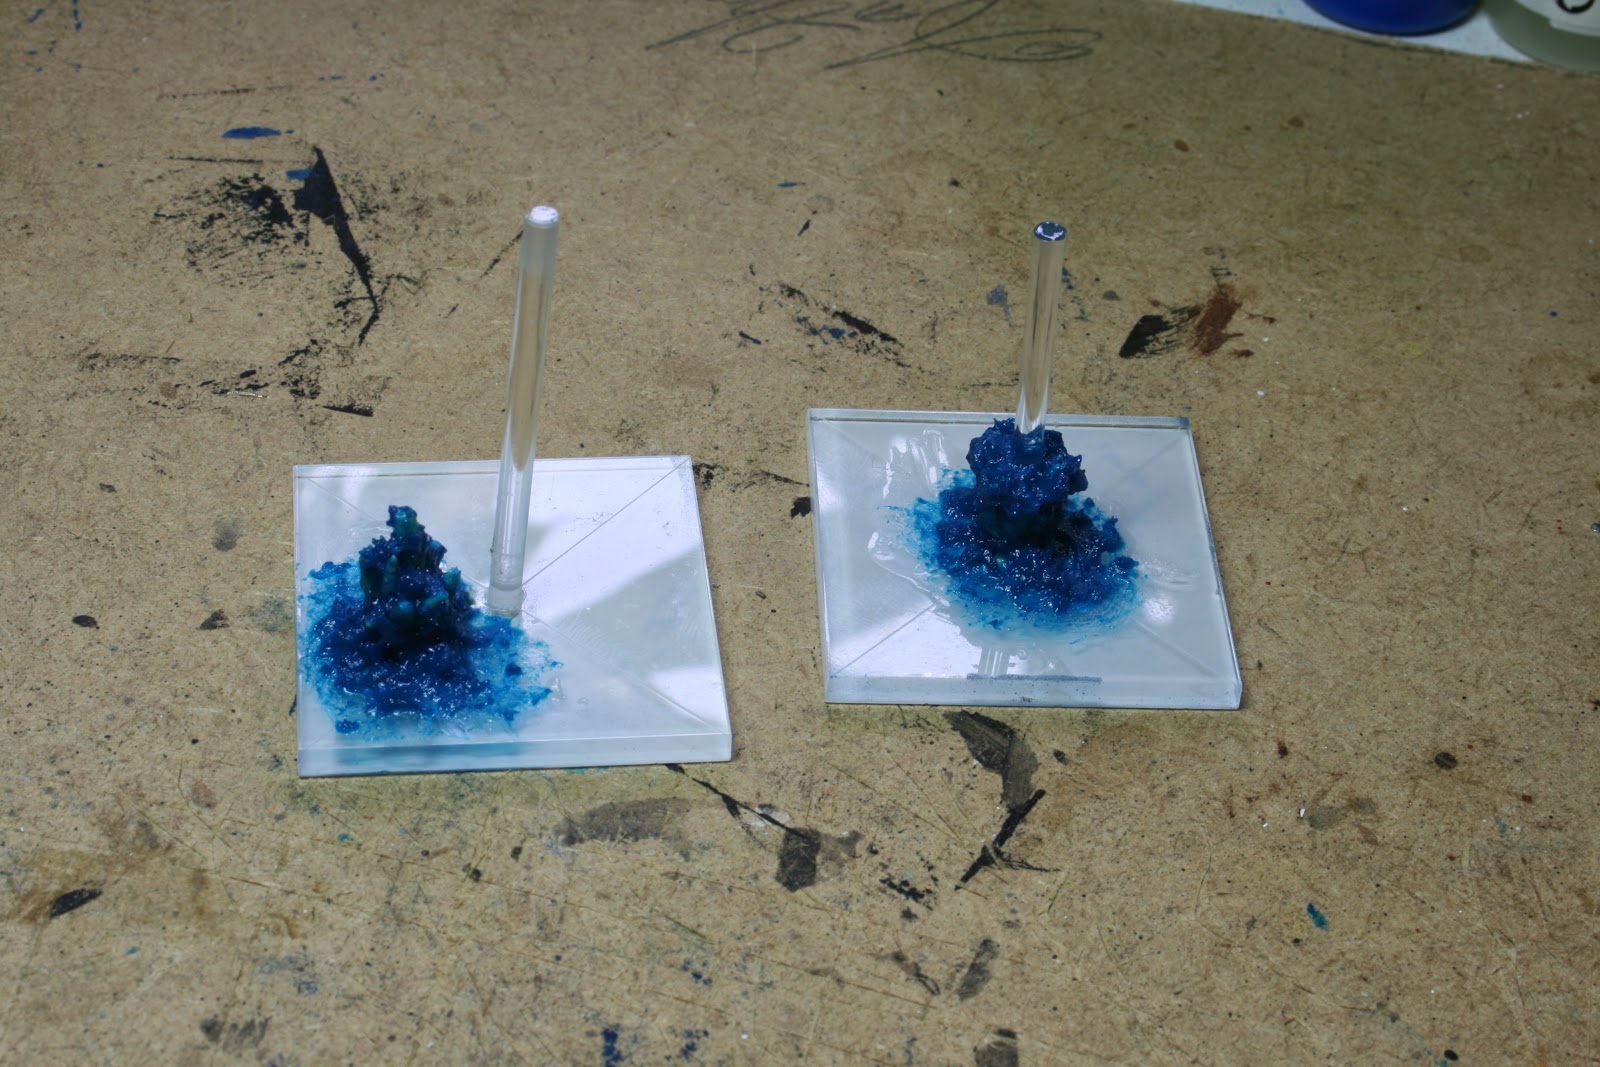
The explosions are made out of common epoxy-putty. Any brand will do, but I like to use Milliput or Magic-Scupt for such work as it allows for better sculpting of surfaces. Roll out small pieces and place them together. Leave them set for about 5 minutes and smooth the surfaces together with a clay-pusher tool or even a toothpick.


I like to add several layers of heavy gloss gel medium in the inner circle touching the explosion. I add a bit of white to this to create the agitated white-water in that particular area. Do not feel shy to paint the crests with touches of pure white, increasing the amount of pure white paint as you come closer to the epicentre of the explosion.
If this step frightens you, then practice a bit first. I can assure you that the amounts used are minute so you will not be wasting hardly anything. Do this until you reach an effect you like or are comfortable with and then re-apply it to the base.


Well, we have come to the end of this post. Next week I will publish another article in the series dealing with simple arctic water effects.
Farewell and good health,

NR