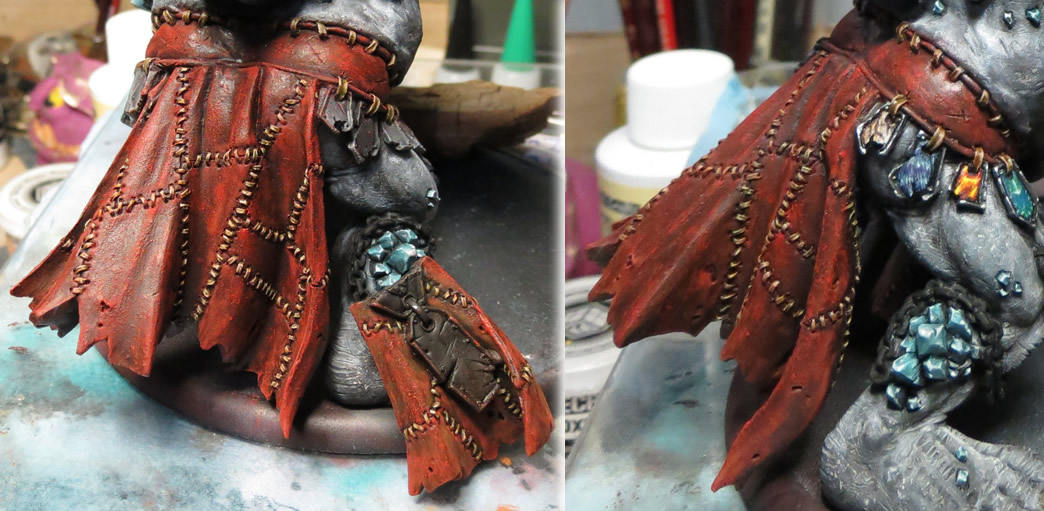
Next up in the saga of the Elemental King, I've got a brief article on his loin cloth. (haha) Not really anything fancy going on here, but I'll cover it nonetheless.
Base Coat
As I've demonstrated before, stippling / sponging is a great way to paint leather because of the texture it adds. So as an undercoat, I've painted some layers of mixed size dots by changing up how firm I'm pressing the sponge onto the surface. I want the cloth to be red when I'm done, so I use a number of red and browns of different brightnesses. Because of the nature of leather, don't even wait for paint to dry - let it mix.
At this stage, don't worry about the details of stitching that hold the sections together. That'll get painted later.
Airbrushing and Shading
The base coat was done to add a little texture and colour variation before applying the actual main colours. In this step, I've used some darker and brighter reds to airbrush "real" definition. By thinning my paints a little more than usual, the base coat really comes through and the airbrushing just ties it all together.
As a final step at this stage, I washed with black.I don't usually wash colours with black because it tends to be too dark and too different. In this case I wanted deeper shadows because of the contrast I was planning on adding while highlighting.
Highlighting and Shading
While highlighting, I first painted brighter reds over the raised areas to brighten up after the black washing. To blend into the shadows, I rubbed on a red-brick coloured pigment.
You'll also notice I've painted all the stitching at this stage. Pretty straight forward - dark browns working up to beige.
Varnished and Final Photo
Varnishing darkened the overall look of the loin cloth. As I've mentioned before, varnish mixes with pigments, turning them into washes / paints and blending everything together.


