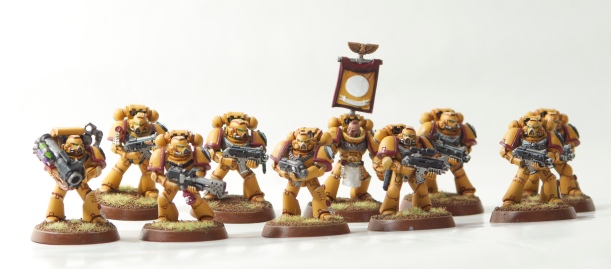
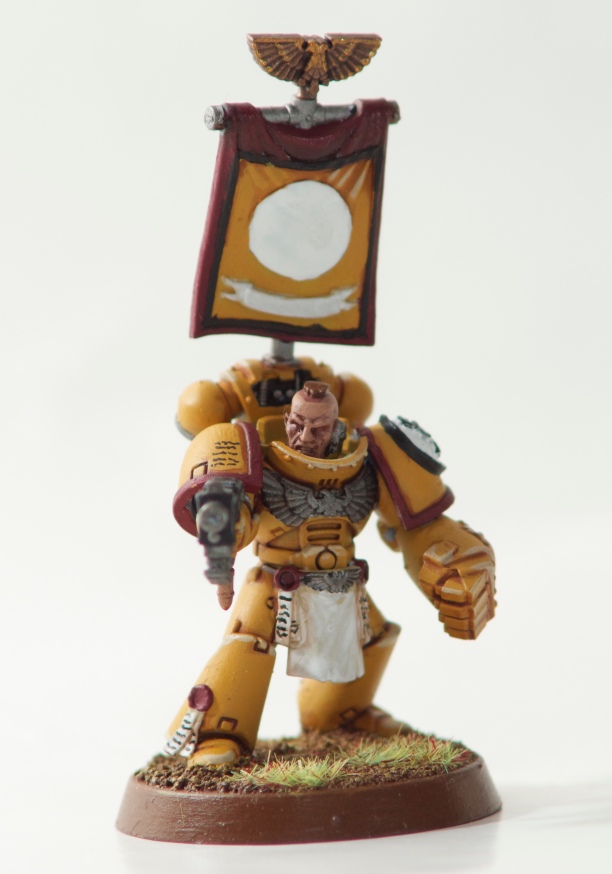
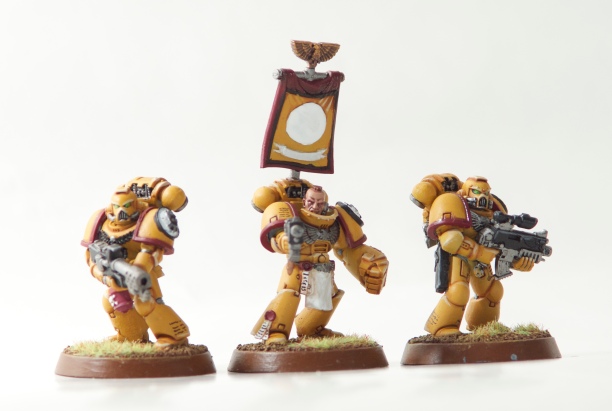
It was over a month ago when I posted my test model. It takes a lot of effort to finish two squads of marines but I got it done. I tweaked the paint job and I have a few more tweaks in mind for future squads. But first… some photos.
Photos


Photo credit Michael Arestad.
Painting Technique
Basing
Basing was done with Games Workshop sand. Games Workshop static grass. And it was painted with Mournfang Brown drybrushed with Zamesi Desert.
Metal
I’ve updated the metal technique a bit. I didn’t think the black base coat was useful and I wanted a bit more depth so I added a wash.
- Basecoat Leadbelcher with a small base brush
- Wash Nuln Oil with a small layer layer brush
- Highlight Runefang Steel with a small layer brush
Gold
I painted gold on a few bolters & on top of the sergeant’s banners.
- Base Balthasar Gold
- Wash with Nuln Oil
- Highlight with Gehenna’s Gold
Skin Tone
One of my sergeant’s has his helmet removed so I had to paint some skin.
- Base with Bugman’s Glow
- Wash with Reikland Fleshshade
- Highlight with Cadian Fleshtone
Missiles
The generic missiles (the ones in the backpack) are Khorne Red.
The extra missiles were three different colors schemes.
- Caliban Green followed by Moot Green
- Genestealer Purple
- Khorne Red followed by Squig Orange
Grav Gun
The grav guns were really fun to paint. They have a bit of a Necron-y feel since there’s green in the cracks of the weapon.
- Paint the areas around the cracks Leadbelcher
- Paint Caliban Green in the cracks
- Paint Moot Green in the cracks
- Fix all of the mistakes with Leadbelcher
- Wash the cracks and the silver around the cracks with Waywatcher Green
The last step will give the whole metal gun a greenish tint.
Coming Up Next…
Now that I have two tactical squads they have to have something to ride in! I’ll be building and assembling two rhinos so these guys can ride in style. I’m hoping the yellow will be easier to paint since it’s a vehicle and I can use a big brush. That will save a TON of time. :)