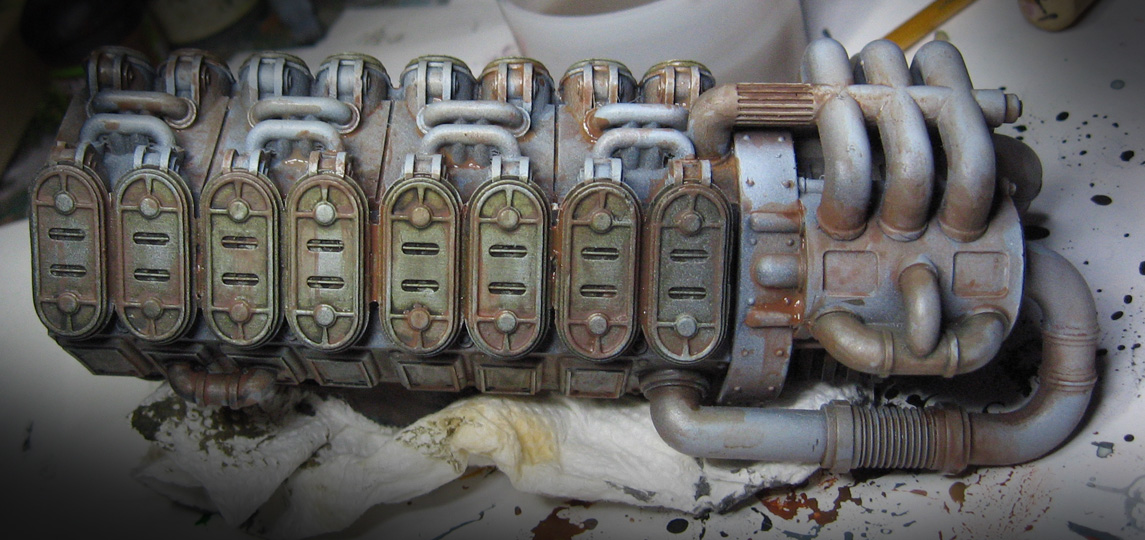
Some of the most challenging parts of this monster were the largest. This was the heaviest of all the pieces, even without the extra pipes and tubes!
I had to keep the colors on this relatively simple, due to the nearby object source lighting on the gun itself. I didn't want the viewer to get too caught up in this maze!!
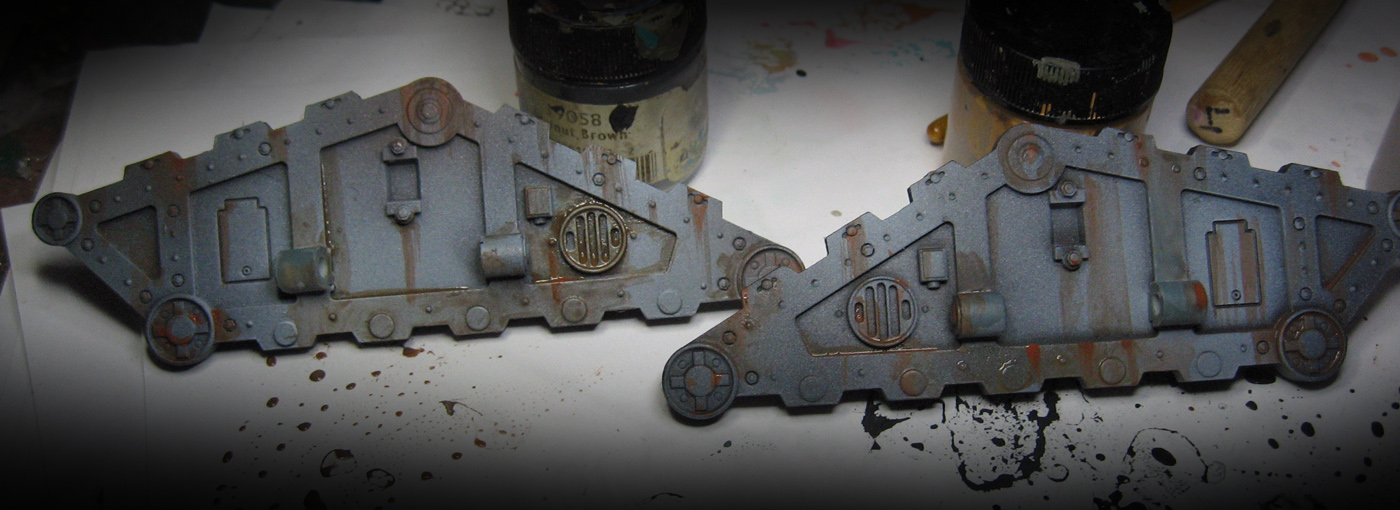
Slight weathering began on the other pieces as well, so that it would match the previously painted vehicles. Also, with this many exposed parts, the weathering was the only real method of preventing a sea of endless grays!
Sometimes it was difficult to orient the pieces to tell which way gravity might affect them. Again, I felt that a few rust and grime streaks here and there would give a low level boot to areas that could get very monotonous, without drawing undue attention to them.
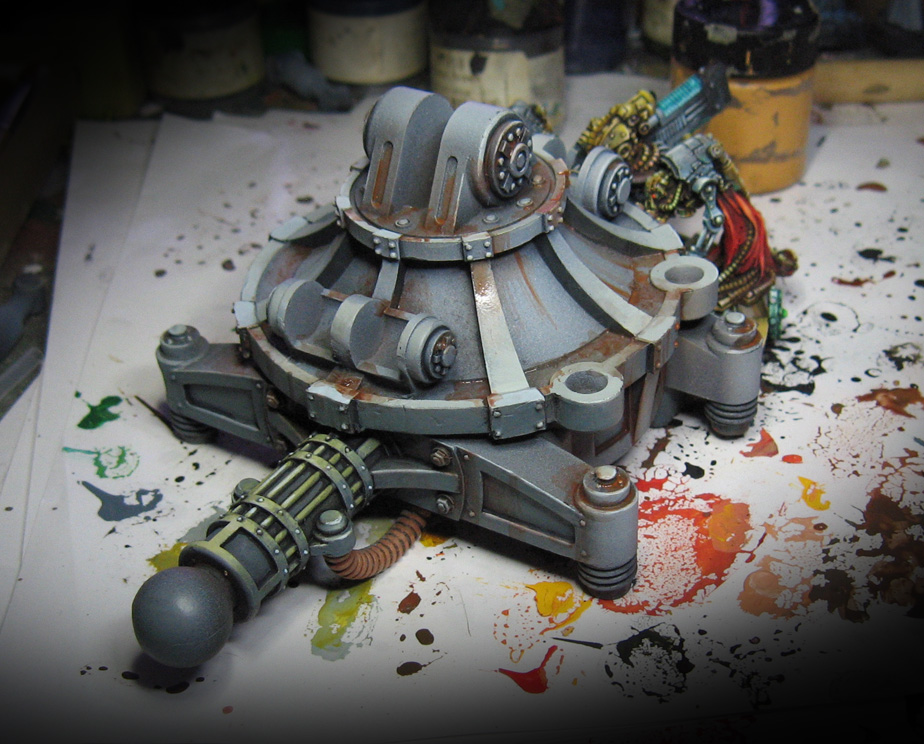
The main coupling/gun carriage really benefited from a touch of rust and streaks.
Did I mention that this came in a few pieces?
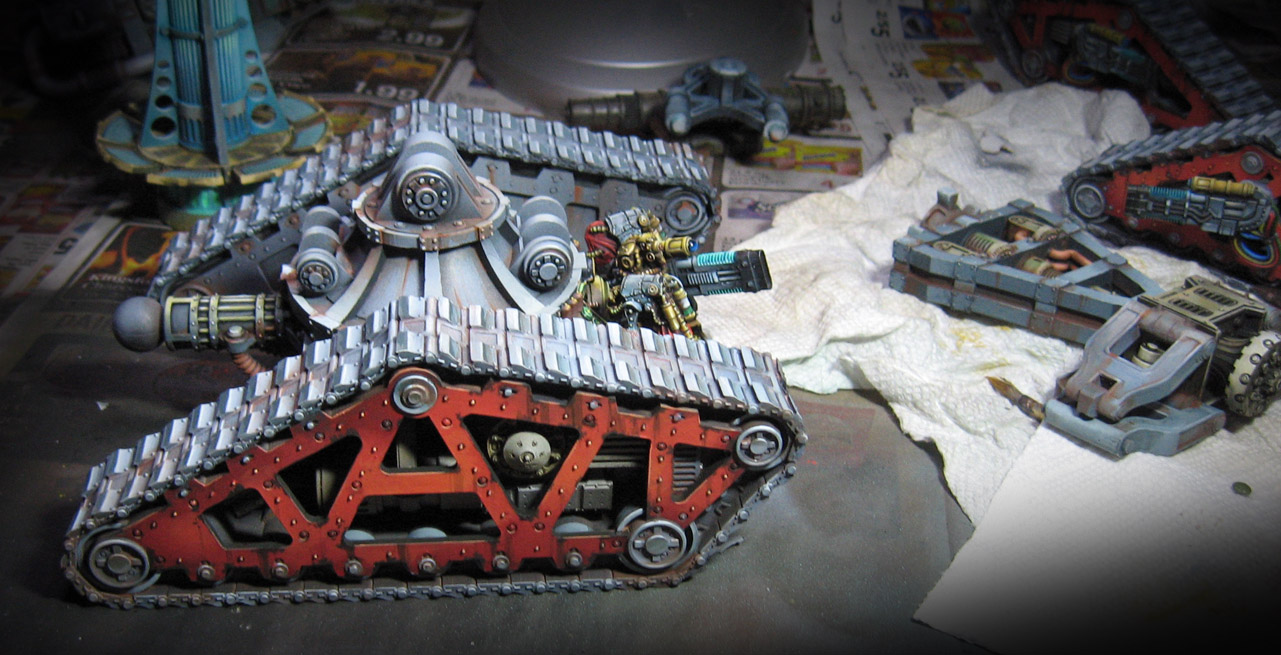
As some of these sections were assembled, I came to the conclusion that I would not be permanently gluing the giant gun or the front wheel assembly in place. Not only would it be nearly impossible to ship, but taking it to a game or tournament would also be very hazardous.
I continued with a little more weathering as these sections were assembled, because as I did this, more context was provided for me as to how much or how little weathering might be needed.
The monster begins to take form!
Had this been a more standard, closed in vehicle, I would have completed the painting in my usual methods. With all the exposed parts and difficult angles created by them, I had to use my very rare "powder painting" techniques to complete the process.
This was not used exclusively for weathering, as some might assume.
In fact, this was intended to create more shading in difficult to reach areas, or even more light! Here you see me mixing a variety of powders, including some Secret Weapon pigments, to paint the housing on the front to rear wheel assembly junction.
I used the pigment fixer from Secret Weapon to turn the powders into a liquid paint. This was great, because I could get it into an impossible to reach area, push the powders around with my fingers, and more.
You can even smooth out some blending by mixing the powders together, and painting with them
This was my favorite bit, taking the Secret Weapon blue pigment and working on the glowing gun. I had set everything up by painting in the lighter shades, even using the Vallejo fluorescent paints.
Now I took the blue pigment and shaded some of the hard to reach areas. However, where the base colors of the metals or whatever was darker, that same powder created a very nice subtle glowing effect!
I even hit the cooling panels on the left side of the image with this powder color. Instant glow, but very toned down. A tiny bit of this powder shade was also placed on the vehicle parts directly below it.
They are so minimal, you may never pick them out. However, that small hint was all I was after.
I took as many pictures of the completed tank as I could, so I will process those and make a post or two for you all to see!! Stay tuned.


