I know I've been slacking here. www.FalloutHobbies.com has been busy as hell and I'm just riding the wave. Check out this new tutorial after the jump
Fallout Hobbies Eldar Wraithknight Hex Mesh Airbrush Stencil Tutorial.
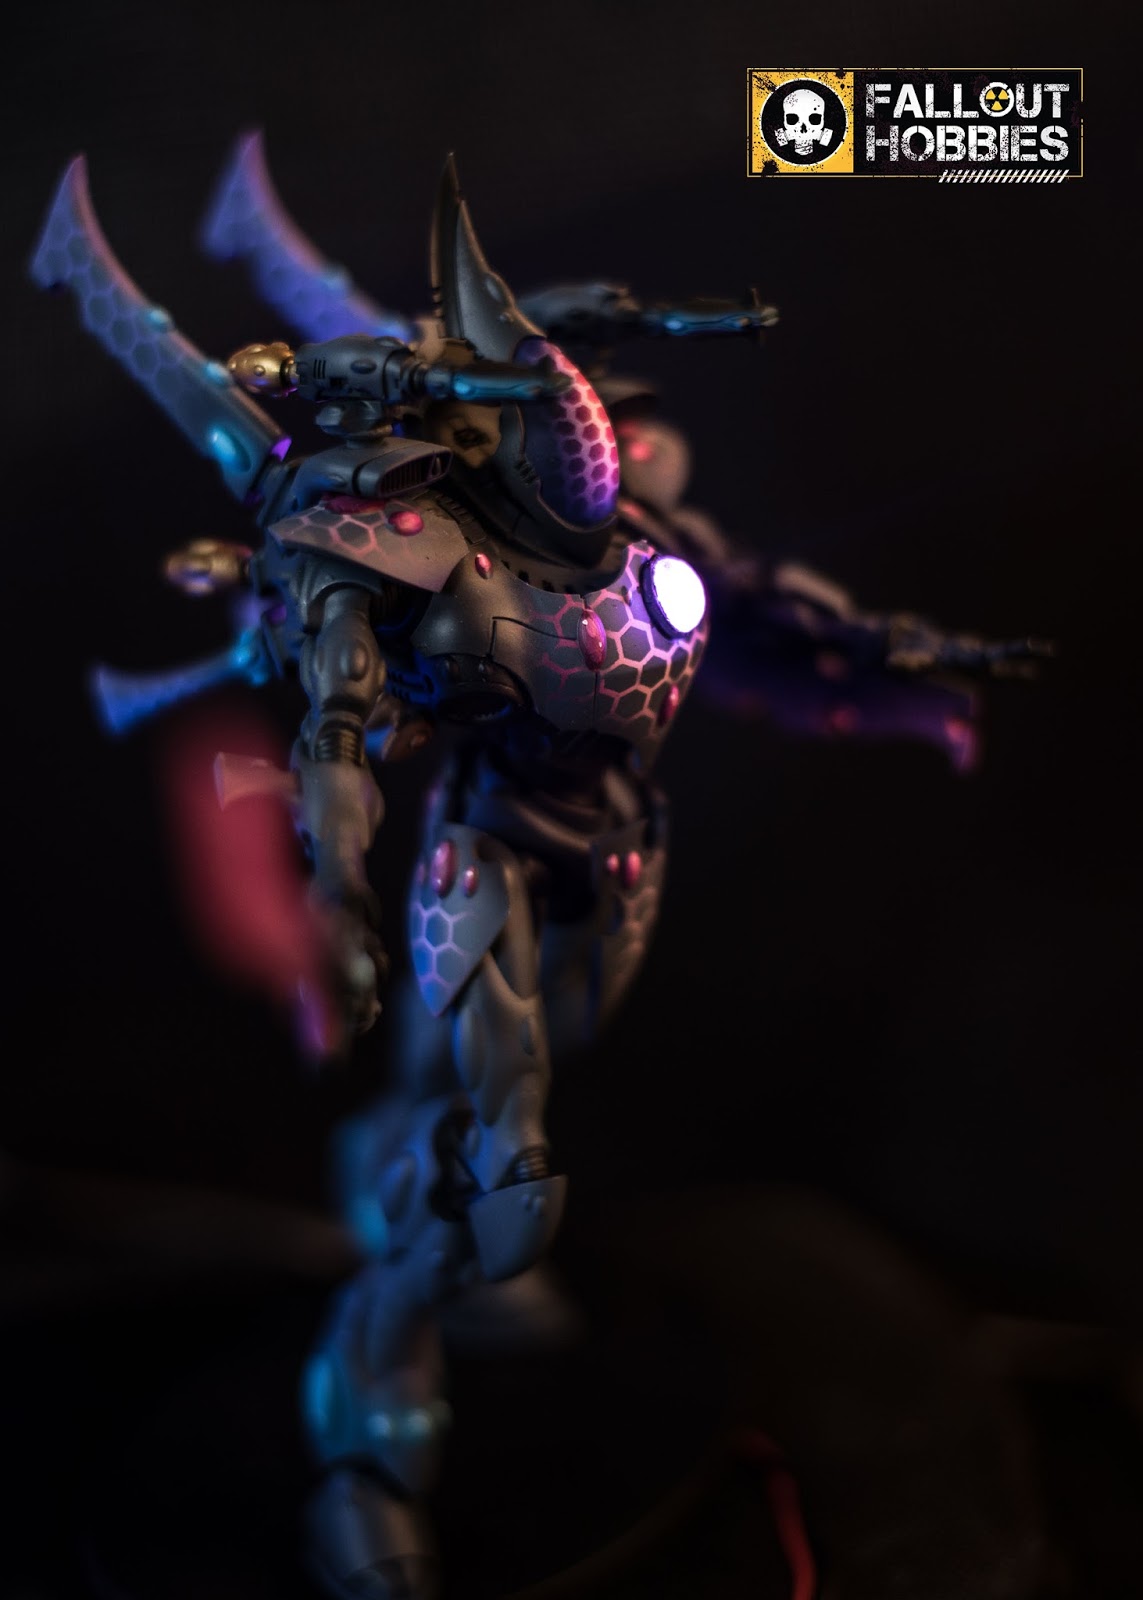
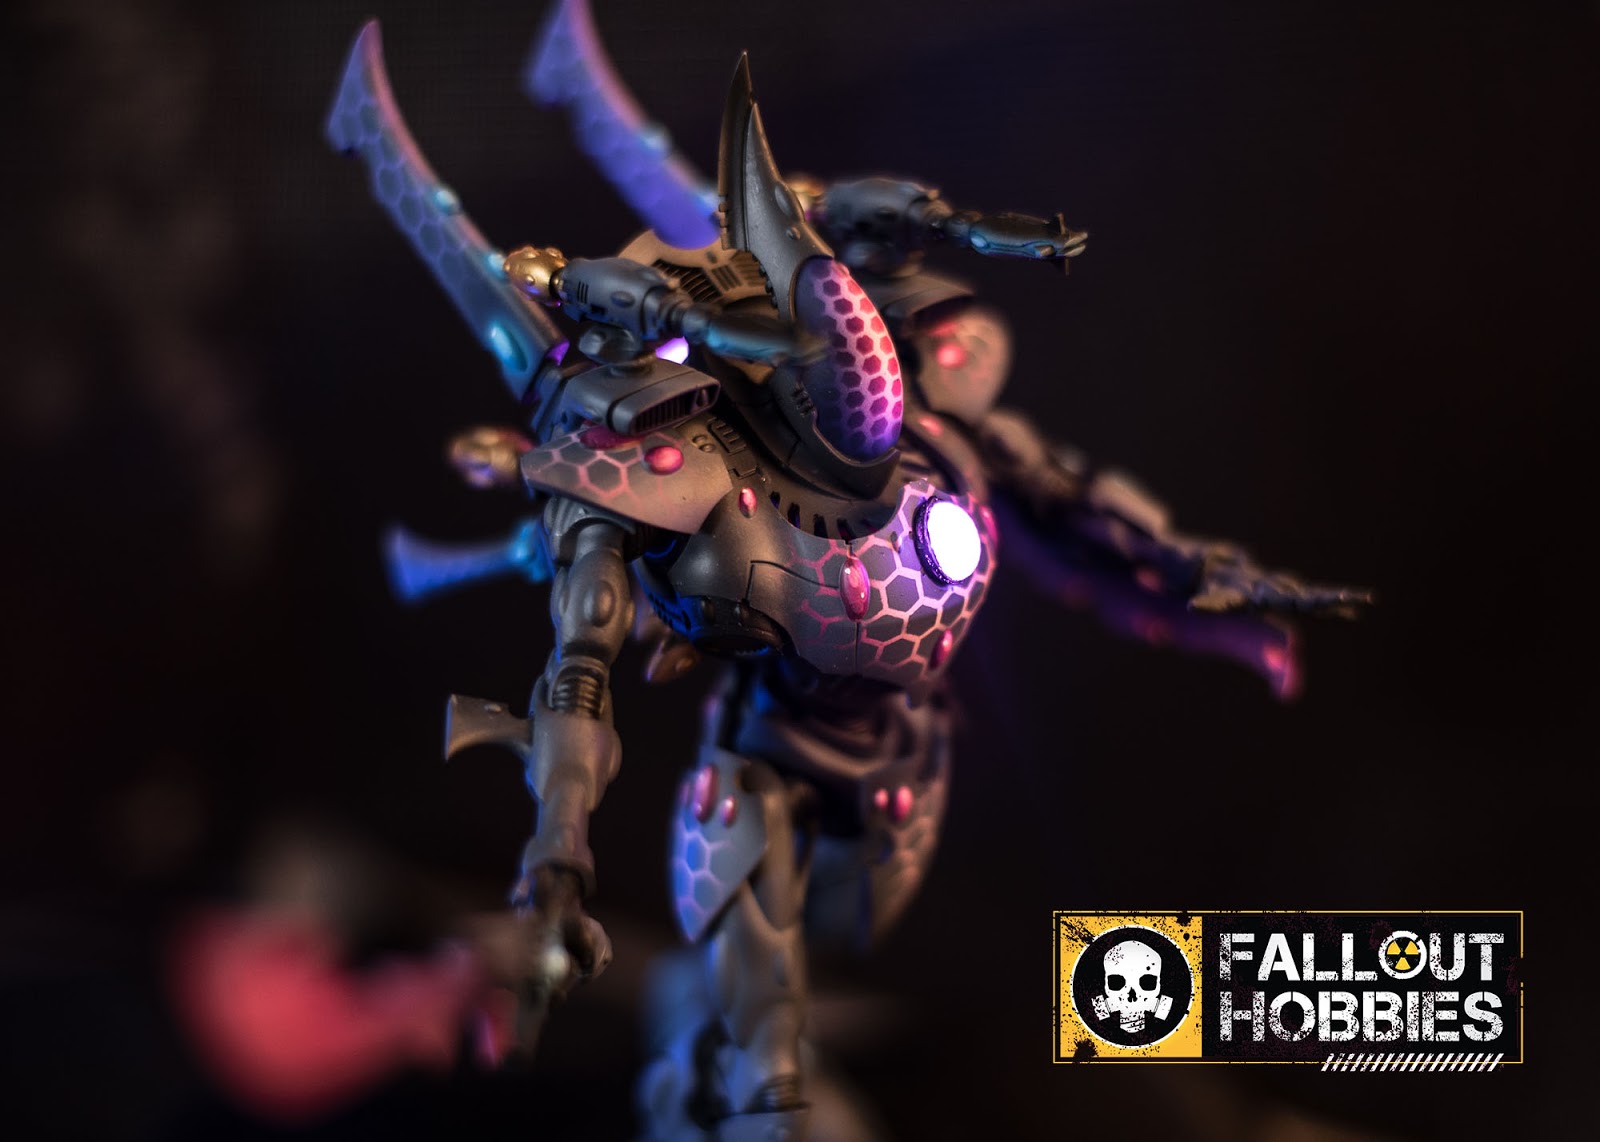
The Wraithknight we've been using in our advertising for the past month or so was done very quickly and effectively using a simple method that can be achieved with our Hex Mesh Stencils available at www.fallouthobbies.com.There's an image for each step below.

Step 1
Spray all main armor pieces with Vallejo White Primer.

Step 2
Spray all main armor pieces with Vallejo Game Air Warlord Purple.

Step 3
Spray a highlight on all main armor pieces with a 50/50 mix of Vallejo Game Air Warlord Purple and white.

Step 4
Lay down Hex mesh stencil overtop armor pieces. Spray with Vallejo Game Air Sombre Grey.

Step 5
Once the hex mesh stencil is removed, I like to spray in the edges with Sombre Grey to blend the stencil work into the armor.

Step 6
Once all the paint is dry I airbrush a coat of Matte Varnish.

Step 7
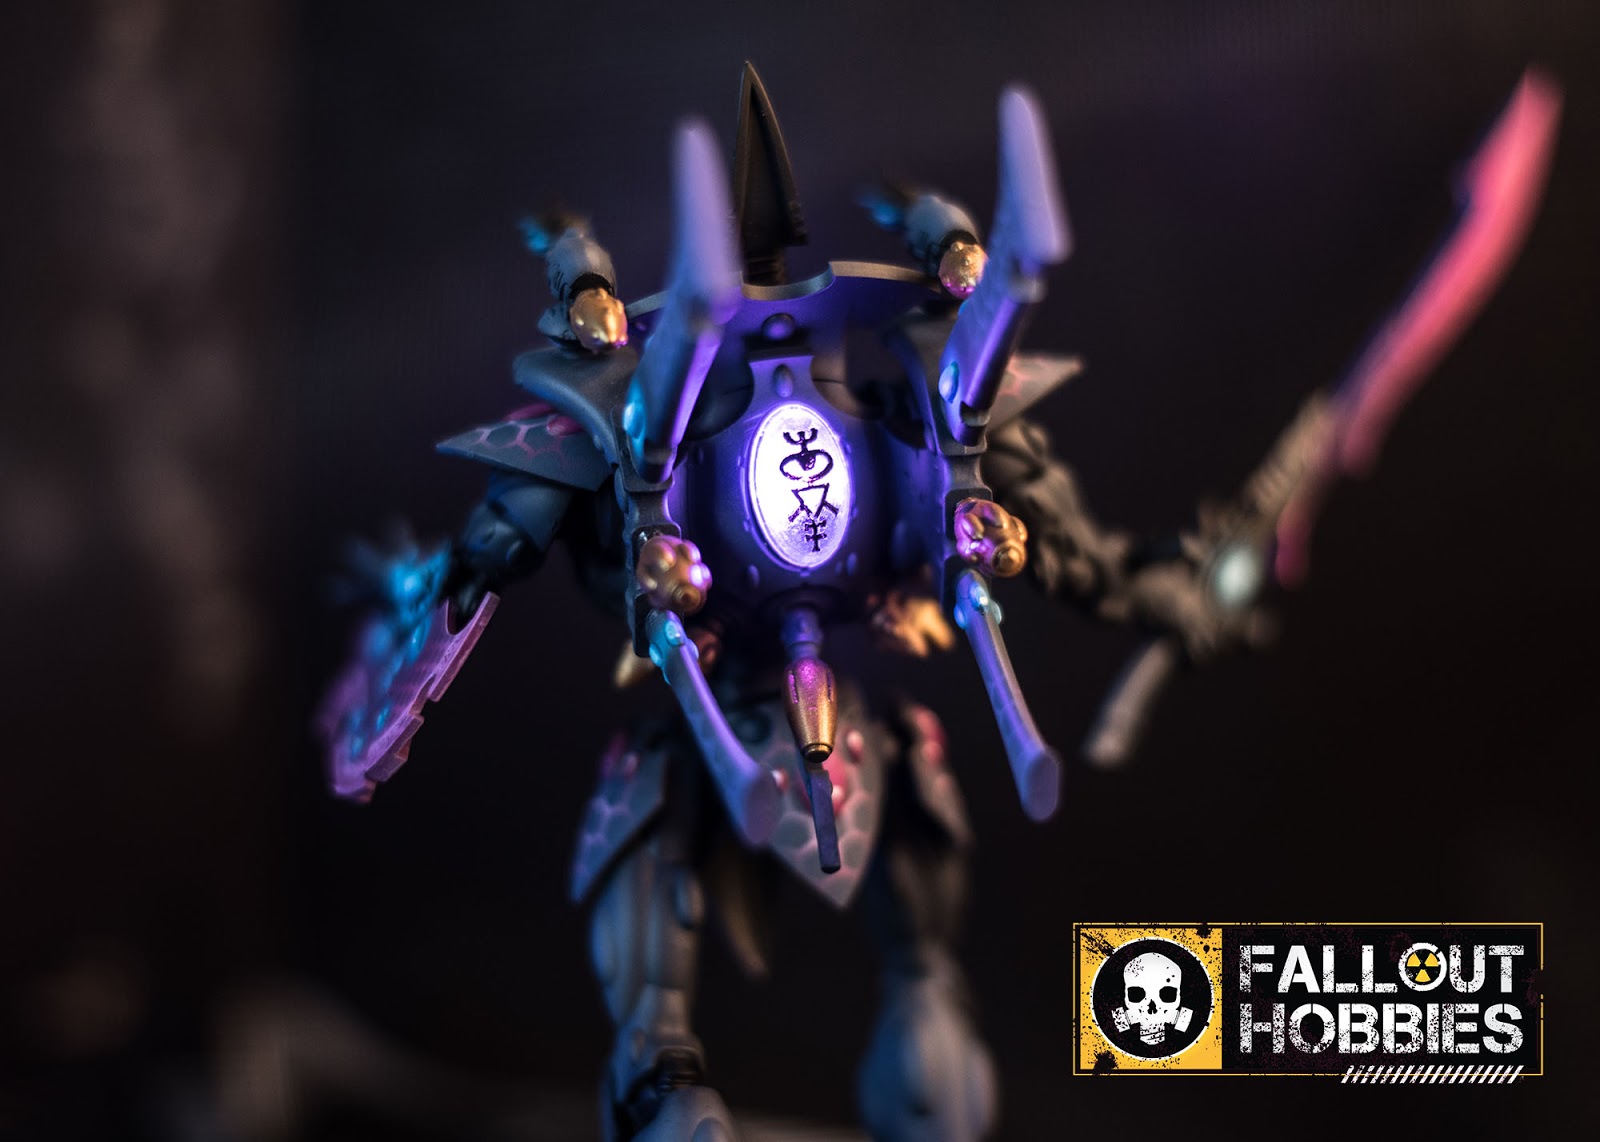
To create a different, but similar effect on the helmet, I used the smaller hex mesh pattern and sprayed pure Vallejo Game Air Warlord Purple followed by a edging of Vallejo Game Air Hexed Lichen.

Step 8
After removing the stencil I painted the edge Sombre Grey top match the rest of the armor.
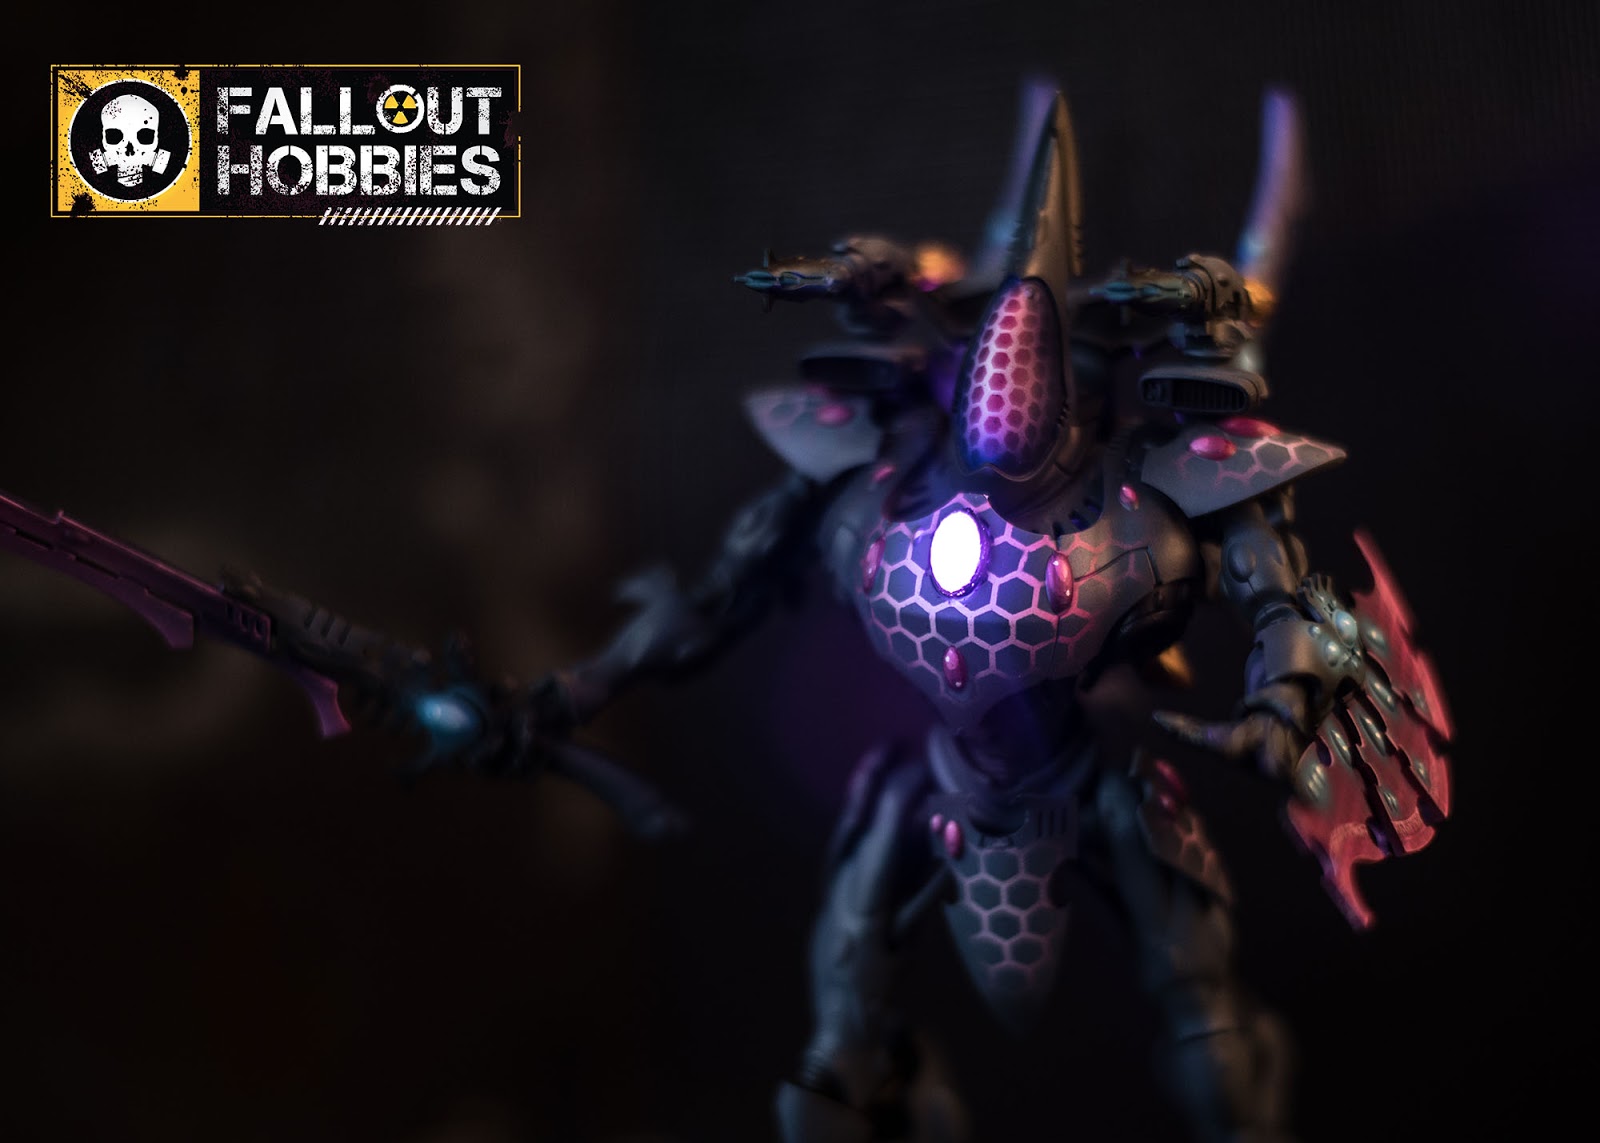
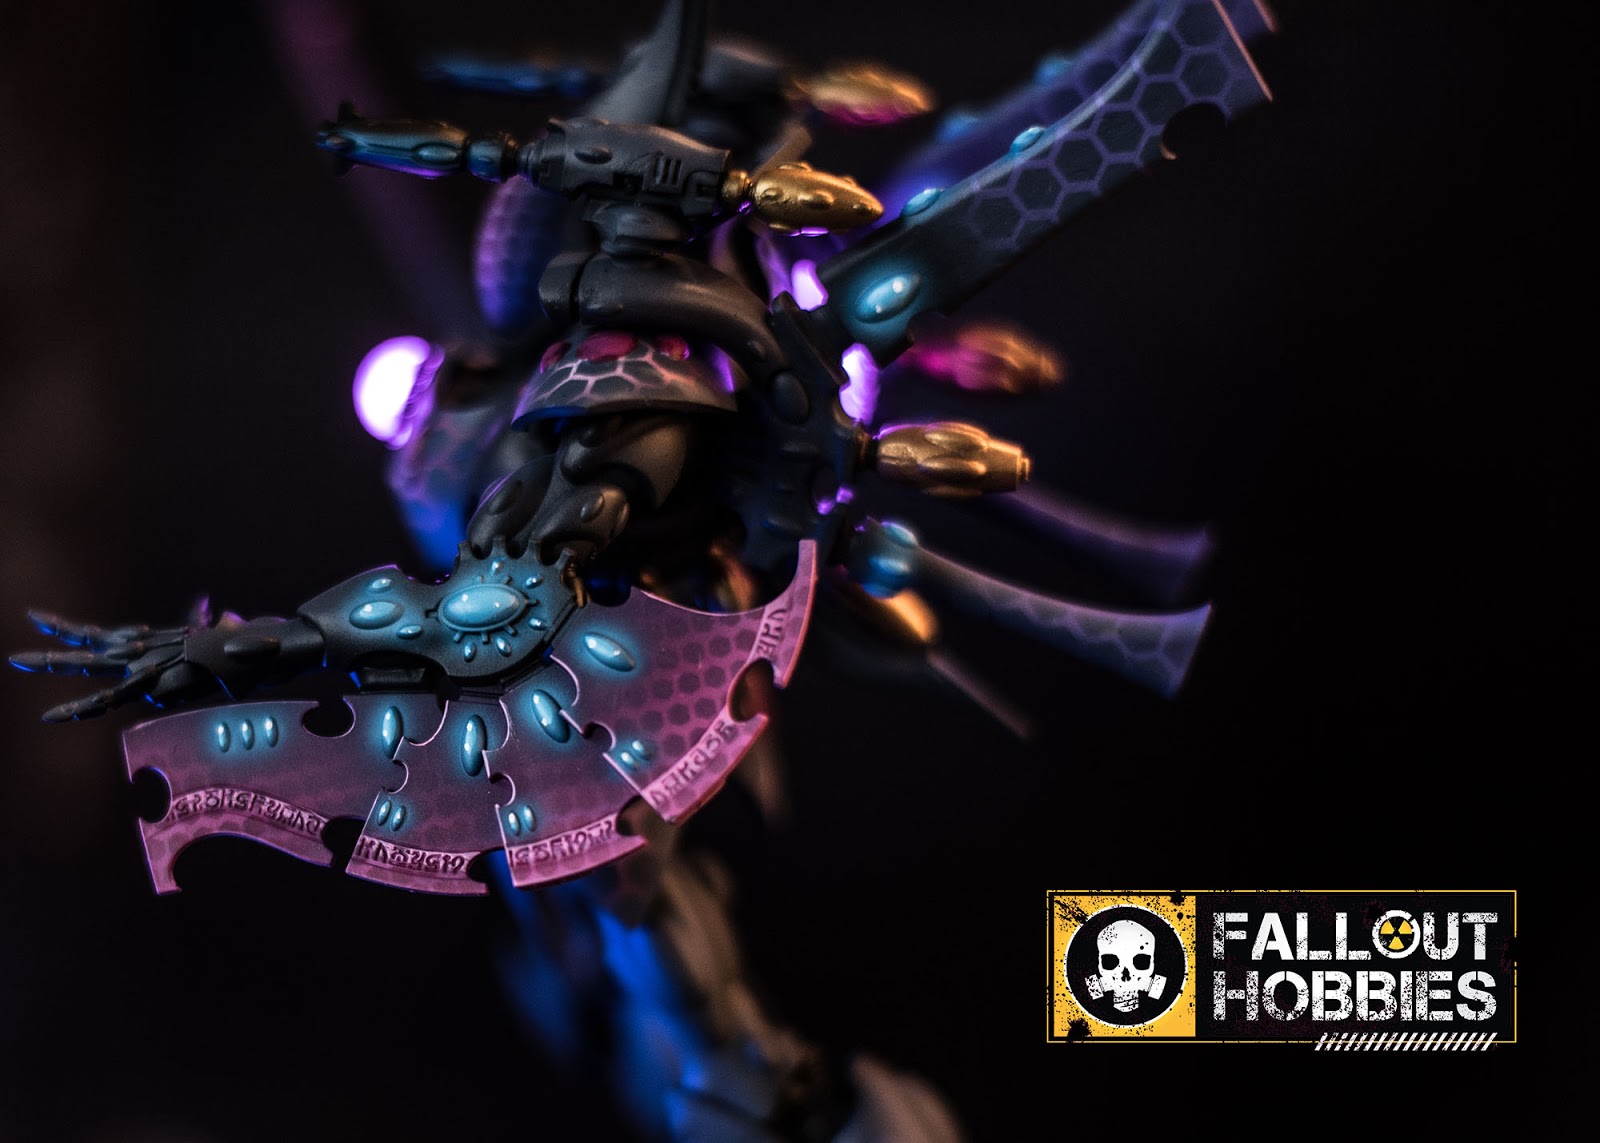
I used these methods in various other areas of the Wraithknight like the shield, lower legs and back spines. It took about 2 nights of painting to complete the figure as you see in the images.
This model also features Fallout Hobbies Eldar Gemstone LED kit, which is available at www.fallouthobbies.com as well. There will be a tutorial on that soon.
Photos by Simon Dyjas: www.simondyjas.com