The three missions were as follows. The fighters would screen transports ships as they left the base, the Fleet would wait to hyperspace ambush the imperial fleet as it arrived, and the special forces team would defend the base personnel and take the last transport out.
The stakes were high as any failed mission would impact on the rebels command structure during the next phase.
Battle one: Fire in the sky of Axamar
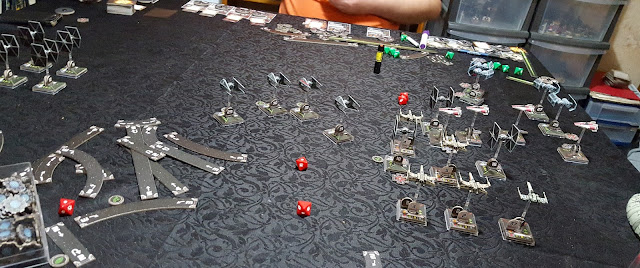
The rebels were going to be outnumbered in this one, but they had two simple goals. Get the transport off the table and kill the bombers so they couldn't get the next transport off the line.I was forced to deploy randomly, so split my deployment into 6 zones and rolled for where each squadron went.

8 ties with no upgrades, 4 basic intecerptors, and 4 bombers with torpedoes and missiles for transport blasting.
 The rebels countered with 4 Awings with concussion missiles, 4 X-wings with Torps, and Airen Cracken in his Z-95.
Things started pretty normally, with the rebels attempting to use their concentrated mass of fighters against the bombers and one group of ties before the interceptors and 2nd squad of ties could get in position. (Dr Vox just loves the camera, and yes, hes wearing an armoured hoody)
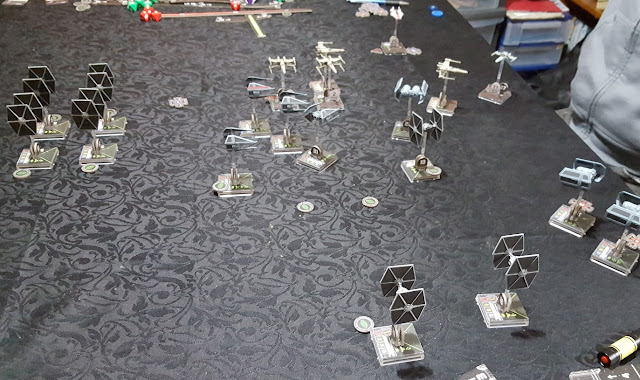
Unfortunately for the rebels, the Empire slammed on the breaks in their Tie Bombers and the A-wings, who were expecting them to fly full speed ahead towards the transport, were totally out of position.
This allowed the bombers to punch right through the formation, and while there was some scrappy dogfighting in the grand melee, things did no go well for the rebellion.
Once through the breach, the lead bombers hit the rebel transport with everything they had. And while the interceptors kept the rebel fighters busy, the second tie squadron crashed in on the other flank.
Caught in a crossfire, the rebels started taking heavy damage, and once through the line, the bombers fled the engagement zone to attack the next transport leaving the surface
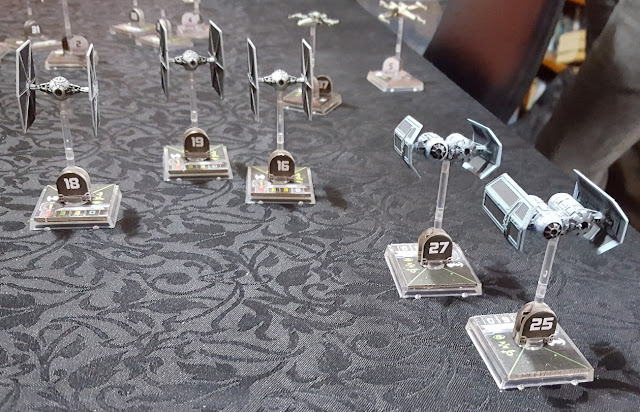
Round one in the Battle for Axamar was a solid Imperial victory, with the rebels losing half their fighters before retreating, and the Empire taking out the Rebel transport and getting two bombers off the board edge.
Battle Two: Begin planetary bombardment
While the fighters were engaged, the capital ships had a different mission. The Imperials objective was to bombard the rebel base, while the Rebels had to prevent them from doing so, and force them to retreat and get reinforcements before continuing the attack.
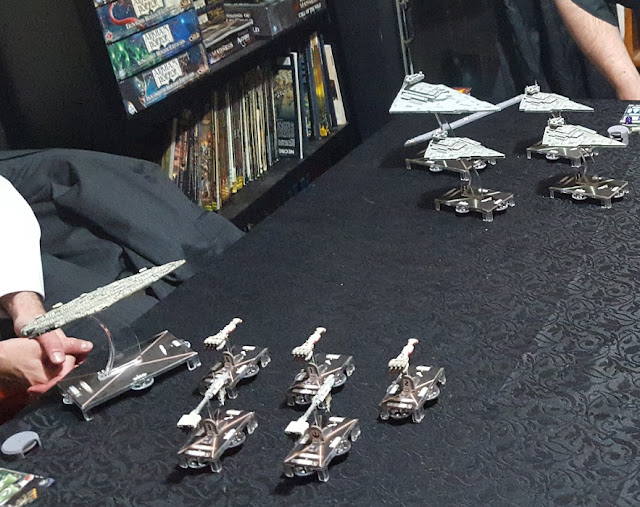
The Imperial Squadron, led by the Imperial Star-Destroyer "Malice" and it's victory class bombardment specialists. Heading straight for Axamar.
However, using "hyperspace ambush" the rebel attack fleet, supplemented by a massive expenditure of favours with Rebel high command to include a Mon Cal cruiser for the fight, were in prime position to exploit the Imperial fleet deployment.
This is because our leaders get to make a tactics roll, and based on that roll, they can buy upgrades, including flank deployment. In this battle, they had rolled well enough to get 2nd deployment and a flank deployment. Which was huge.
The Empire decided to break for the planet Axamar and pound it instead of breaking and engaging. They knew they would not be easily able to turn the fleet to engage before the rebels were on them, so it was full speed ahead for the Victory destroyers, while Malice would turn and engage the rebels to buy time.
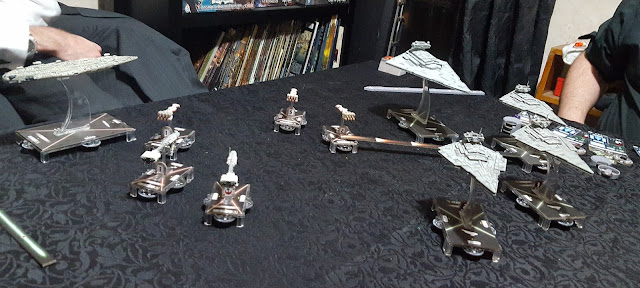
In, what can only be described as some amazing admiral skills, the Rebels were almost always out of firing arcs when the Empire came to shoot, but right within range when the rebels could return fire.
Malice was absolutely mauled by the Mon Call cruiser, yet could never return fire on it until it was much too late.
However, the Victory cruisers made it to the planet while the rebels were flanking and gave it a solid bombardment. Damage cards were piling up on the rebel base, and they would greatly impact the next scenario.
This did nothing to save Malice, who could simply not bring her guns to bare on the Mon Cal cruiser, and was ripped to pieces by it, causing the Empire to signal a retreat to wait for reinforcements.
So while this was a major victory for the Rebellion, the personnel on the ground paid a heavy price, and the base took 10 damage card worth of bombardment.
As we will see in the next battle, this changed the scenario completely.
Battle Three: Get to the transports
Imperial troops had landed and the main base evacuated, but the secondary command center, designed to cover the retreat, had been badly hit.
In the Hangar at the rear of the base, three transports were ready to take survivors away. But no one was moving in the base.
The special forces team job was as follows.
- Deploy at the doorway outside the base
- Retrieve as much data and sensitive material as possible from the base (as depicted by the cards on the map)
- Rescue as many of the survivors as possible.
- Get to the transports, which had limited capacity
The base was a wreck, and there were internal fires, smoke, impassable areas, and rubble that would need to be cleared. As the team moved through the base, they would uncover survivors and material.
But they would be on a very short timer.
Following them into the base, was every Stormtrooper I could muster and an AT-ST for a laugh (even though it couldn't get inside the base)
As you can see here, smoke and fire was really starting to spread, and the time pressure in this scenario was the real driver. The team had to split up, make calls that included leaving one trapped rebel officer to die in a fire, and rush for the transports.
Eventually, the team cleared a path to the transports and fought a rearguard action to slow the Imperials down so their allies could reach the transports.
But overwhelming numbers mean't they could only delay, and once the bases crew were onboard the transports, the assault team bolted and ran for the transports.
Almost all the secure data and base personnel recovered, and two of the heroes were wounded. But it felt very close and tense the whole way through.
Final outcome
Imperial fighters carved a hole in the rebel transportation corps and the fleet had a good day against the empire, while still allowing the Empire to bomb the rebel base.
But in the end, the ground forces managed to pull off a close win and save the rebellion from catastrophe. Still, there will be some rolls in the resolution phase to see just how bad the damage was, and if anyone didn't make it out.
