Scott and I would be running Rebels with the following list:
298pts of Rebels
CR90 (fore) - Han Solo, Sensor Team, Single Turbolasers, Quad Laser Cannons
CR90 (aft) - Weapons Engineer, Engineering Team, Tibanna Gas Supplies, Quad Laser Cannons
Lieutenant Blount (Z95) - Veteran Instincts, XX-23 S-Thread Tracers
5x Bandit Squadron Pilot (Z95s) - Concussion Missiles, Guidance Chips
3x Dagger Squadron Pilot (B-wings)
Matt and Sam were running:
299pts of Empire
Raide-Class (fore) - Single Turbolasers
Raider-Class (aft) - Engineering Team, 2x Ion Cannon Battery, Optimized Generators, Instigator (title), Tibanna Gas Supplies, Shield Technician, Rebel Captive.
Gozanti-Class - Dual Laser Turret, Emperor Palpatine, Docking Clamps
Lieutenant Colzet (TIE Advanced) - Adv. Targeting Computer, TIE/x1
Darth Vader (TIE Advanced) - Adaptability, Adv. Targeting Computer, Stealth Device, TIE/x1
4x Academy Pilot (TIE Fighter)
Our strategy was simple. Get the Z95s into firing position, fire off the tracers and then hit one of the huge ships with a volley of missiles that would hopefully bring it down. That would take a big chunk out of their forces and in the meantime should act as a distraction to let the CR90 pick off their support craft.
Battle Report
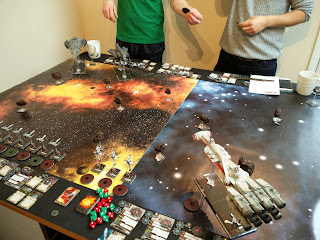
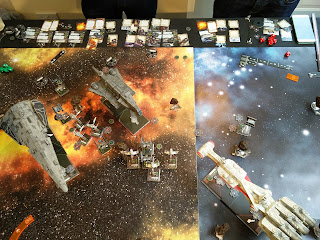
Matt and Sam set their huge ships in the back left corner so we matched their angles with the CR90. On reflection we should've travelled along the edge of our deployment zone rather than trying to meet them head on as the CR90s guns are best in broadsides. Anyway, Their measly two support craft (the TIE advanced) set up in opposite corners. We arrayed the Z95s opposite their huge ships and the Bs in support of the CR90.
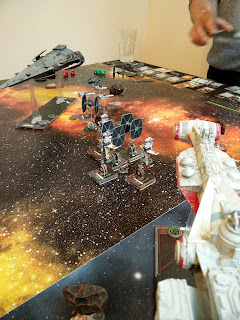
With time winding down on the game (we'd set a time limit to stop it going on all day), the aft section of the CR90 was wrecked at around the same time as the fore section of the raider. The difference though was that the Raider barely needs the fore section whilst the CR90 was pretty much unable to generate energy without the aft section. We called an end to it at this point but basically the Raider was pretty healthy so it wouldn't have been long until the CR90 was destroyed completely.
When we totalled up the points the Empire had taken a narrow victory but that definitely felt irrelevant when we'd all had a great game.
Conclusion
This was the first Epic game we've had (we've played two before) where I actually enjoyed myself. The other times it felt like the Raider was near invincible and it was just a matter of time before we lost all of our ships. This time I think if a couple of things had gone differently we could've destroyed both of the Imperial huge ships.
One thing we all learned was that taking expensive support craft is hard to justify. Darth and Colzet were 57pts in total which would've bought nearly 5 academy pilots. Of course they're not particularly devastating but by bumping our support craft and generally being a nuisance I think they'd be more useful. In smaller games the likes of Darth shine but here he didn't feel particularly special. Our only named pilot was Blount but he had a very specific role to play.
Speaking of which, the Z95s advanced too quickly. We should've barely moved them in the first turn then blasted into range in the second. That would've kept them further away from the Raider's guns and maybe more would've survived. We should've also gone right into the corner in a tighter formation to try and get some shots on the Raider's aft section. Mind you, Matt would've probably turned towards us so it's difficult to know if it would've made much difference. I still think it's a fun tactic to have some glass cannon Z95s to lay a crippling blow. If a couple more had been alive they'd have been enough to kill the Gozanti on their own I think.
The B-wings did a reasonable job of either distracting the Raider or damaging the Gozanti but I think we'd have been better with 4-5 A-wings instead. Easy to say these things in hindsight I suppose. There's definitely a lot to think about before our next big game which I hope will be much sooner.


