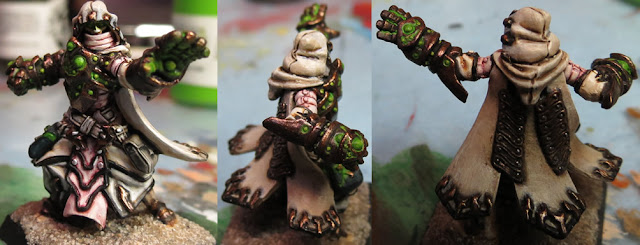
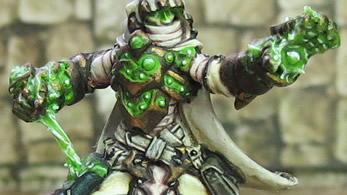
I painted with washes as a shortcut to complete him in a reasonable amount of time, but still added some of my special touches. Read on, and I'll detail some specifics of how I approached his OSL, (Object Source Lighting) metallics and my gels.
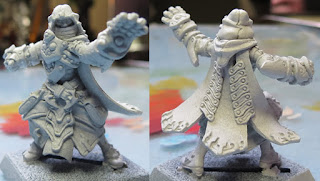 Base Coats
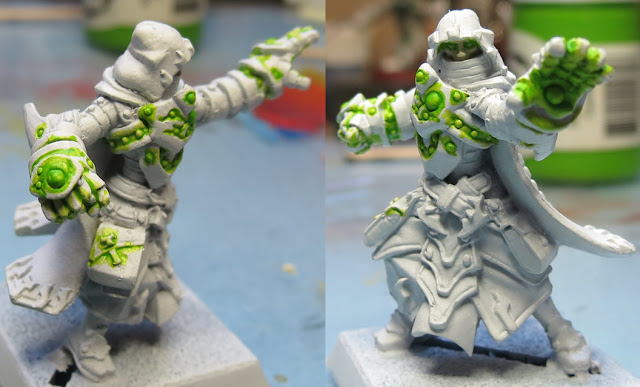
Started out with a white base coat. I don't often do this because I love the dark contrasts of a black primer, but a white primer lets you use shortcuts for tabletop quality miniatures the best.
Painting the Model
To start, I quickly painted his face, then:
- Object Source Lighting
- I watered down some bright green and painted it over the areas I wanted to be glowing.
- By painting the bright paint over white, it gives me the brightest colour I could ask for.
- Painting with Washes
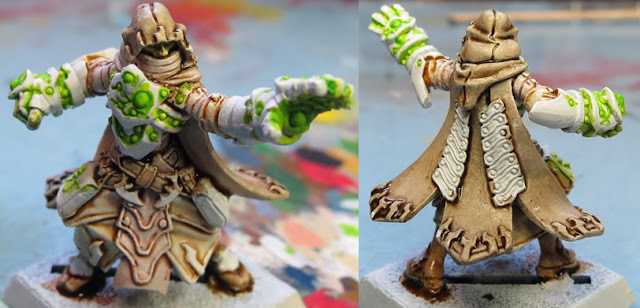
- Next, I've used a dark brown wash over the bulk of the miniature and a chestnut wash over some of the wrappings and the cloth down his front.
- Not pictured: I actually re-washed the the chestnut areas with a red wash because I wanted them to stand out more.
- Painting Metallics
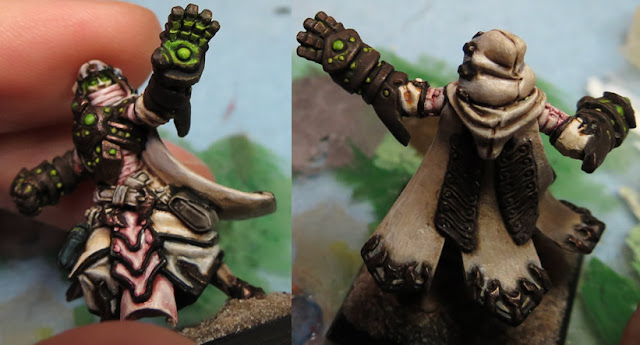
- I've started with a dark brown paint, followed by dark tin / brown metallic.
- Object Source Lighting
- As I've painted the metal, I ended up painting over some of the glowing outsides, that's OK.
- In the case of his open hand, I simply didn't paint the metal over the green areas. Again, this keeps the green strongest there.
- Painting with Washes
- So, that first step up above really did the bulk of the work. If you wanted to, you could stop there.
- OPTIONAL: I've highlighted cloth in the photo below. Beige on the bulk of him, then a light-red on the wrappings.
- Basing
- I've simply super-glued on some sandbox desert-like sand.
- Painting Metallics
- As a final step, I've highlights edges with a brighter bronze like metallic.
- Object Source Lighting
- I watered the green paint down again and washed it into the crevices and details around the green spots creating my glow.
- Painting with Washes
- OPTIONAL: Just a little more highlighting on the beige robes to whiten some of the highest edges.
(Don't criticize the close ups too closely, I just painted tabletop quality so I could get back to my Hordebloods sooner..)
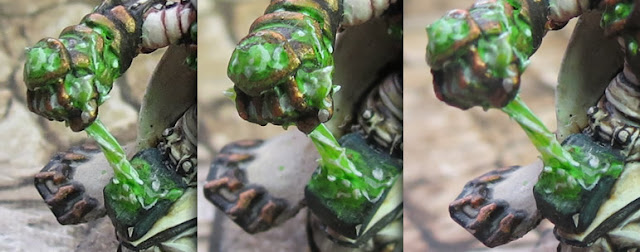
- Sculpting Gel
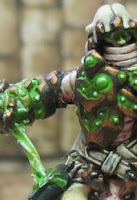
- I've used some of my sculpting effects gel and created a twisting funnel from his spellbook to his closed fist as well as some sparks that are shooting out of his gauntlet.
- Since I don't paint it thickly, you can see light shine through some.
- Object Source Lighting
- Washed the gel with the thinned green paint.
- Highlighted the edges with white, like pure energy spikes shooting off.
- I've also added some white to crevices where the energy would be brightest.
- Painting Metallics
- I've added a little gold to some of the metals as a stronger shine.
- Sculpting Gel
- Just pointing out that on the open hand, I've used gel to create energy sparks here too.
- Object Source Lighting
- You can see in better detail how I've washed bright green in the detail crevices.
- I've highlighted with white, just on the light sources and his eyes.
Completed!
