The printing in the area around the faces was a bit dicey and tended to have spaces and holes. Nothing really serious but worth noting.

In any case they were an experiment in painting marbled surfaces and I learned a lot about painting in the various veining.


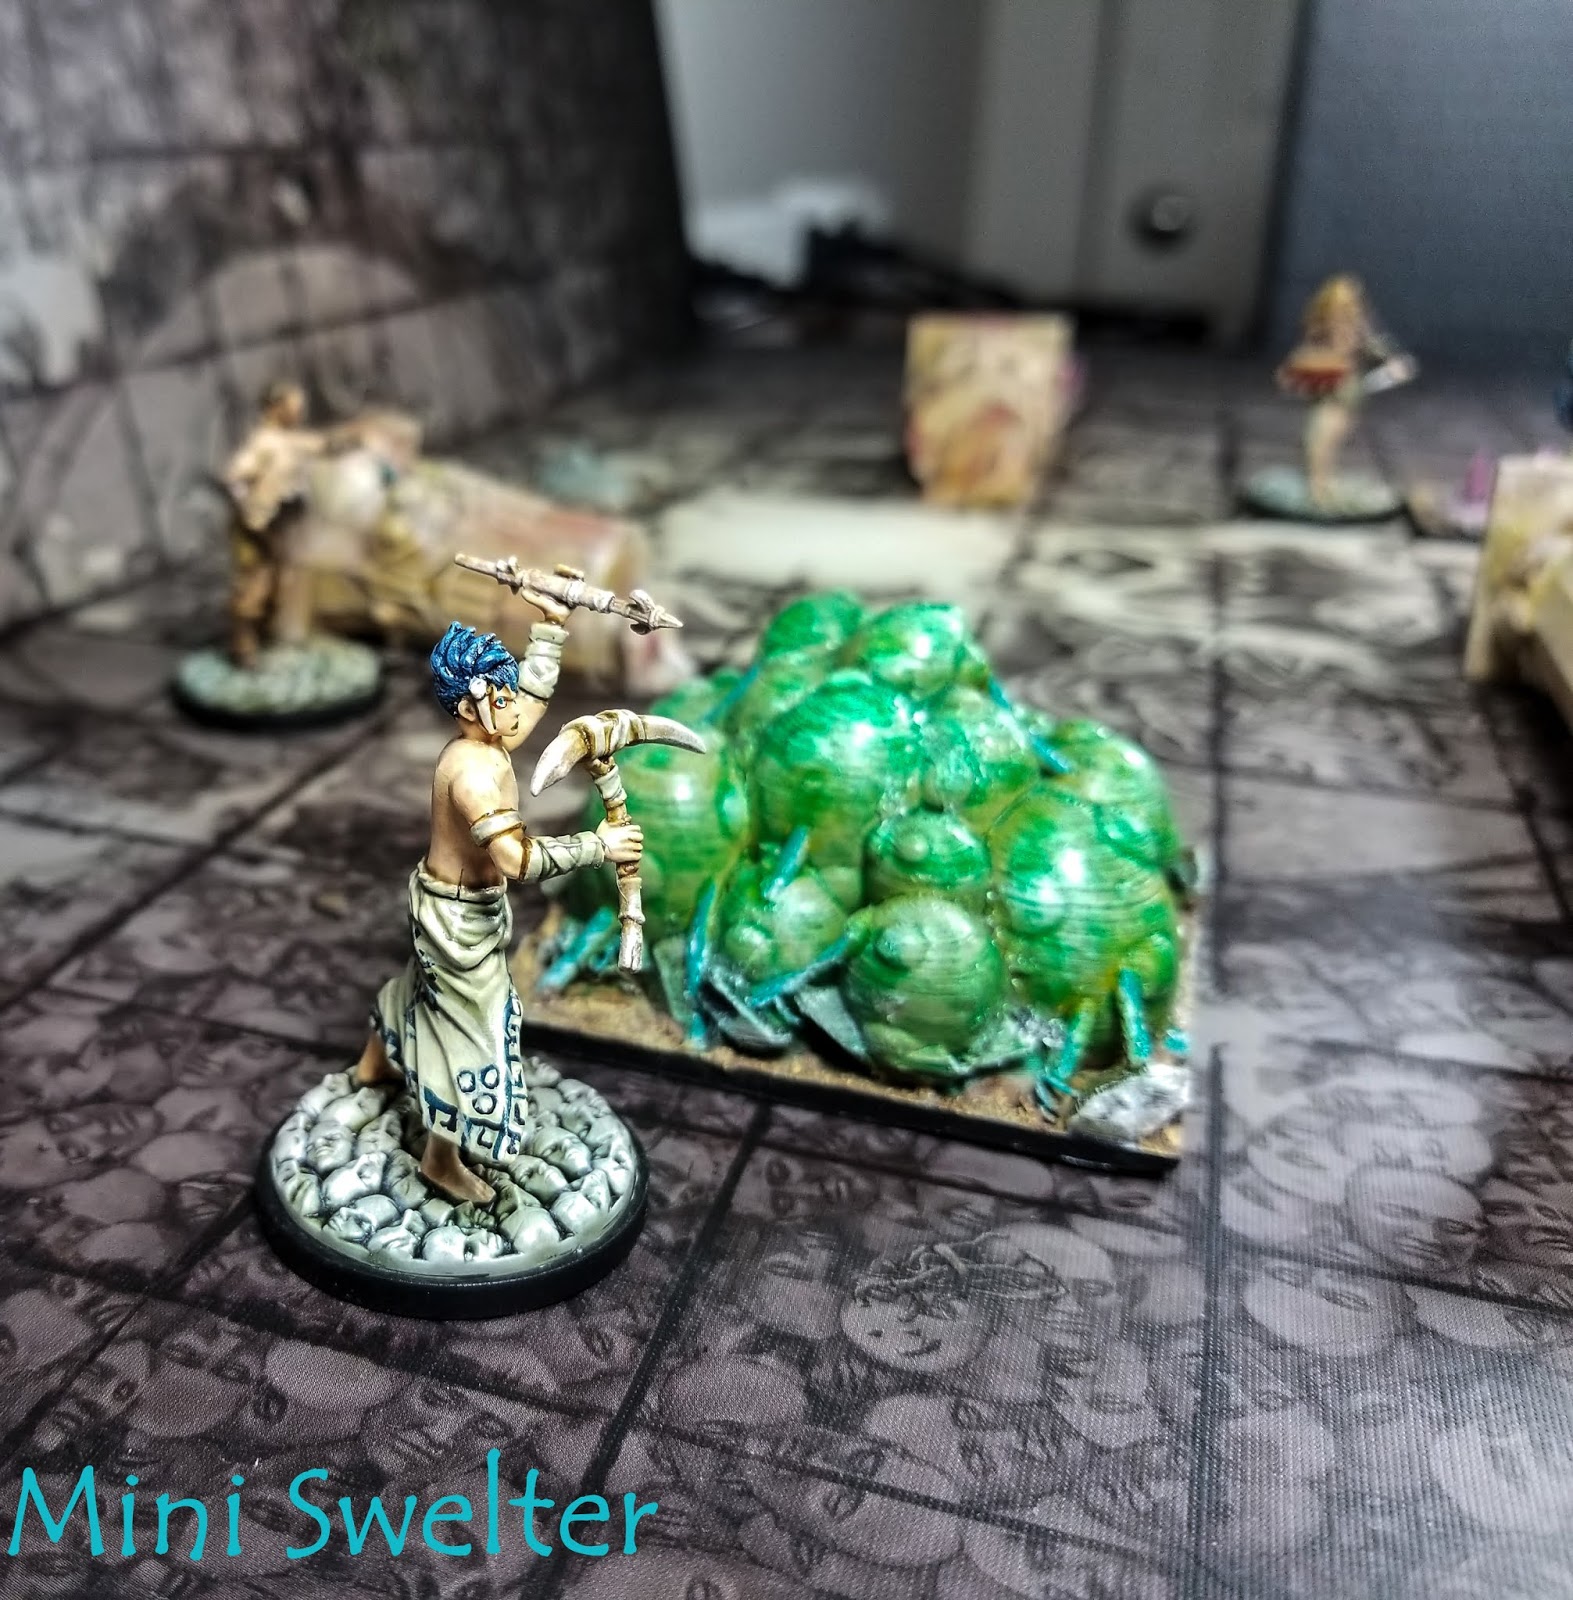

I think that completes the terrain for the game. I've printed replacements for all the cardboard terrain counters that I've found in the game and the Spidicules expansion... If I find anything else there will be more!

The first happy lesson was that printing this with black material was both less expensive (Black seems to be the cheapest color of PLA roll around by a couple of dollars a roll) and much, much easier to paint up.
Shown throughout with some of the excellent Raging Heroes Void Elves for scale. This is important as, due to the limitations of my build space, I was compelled to print the model at 99% of its intended size.

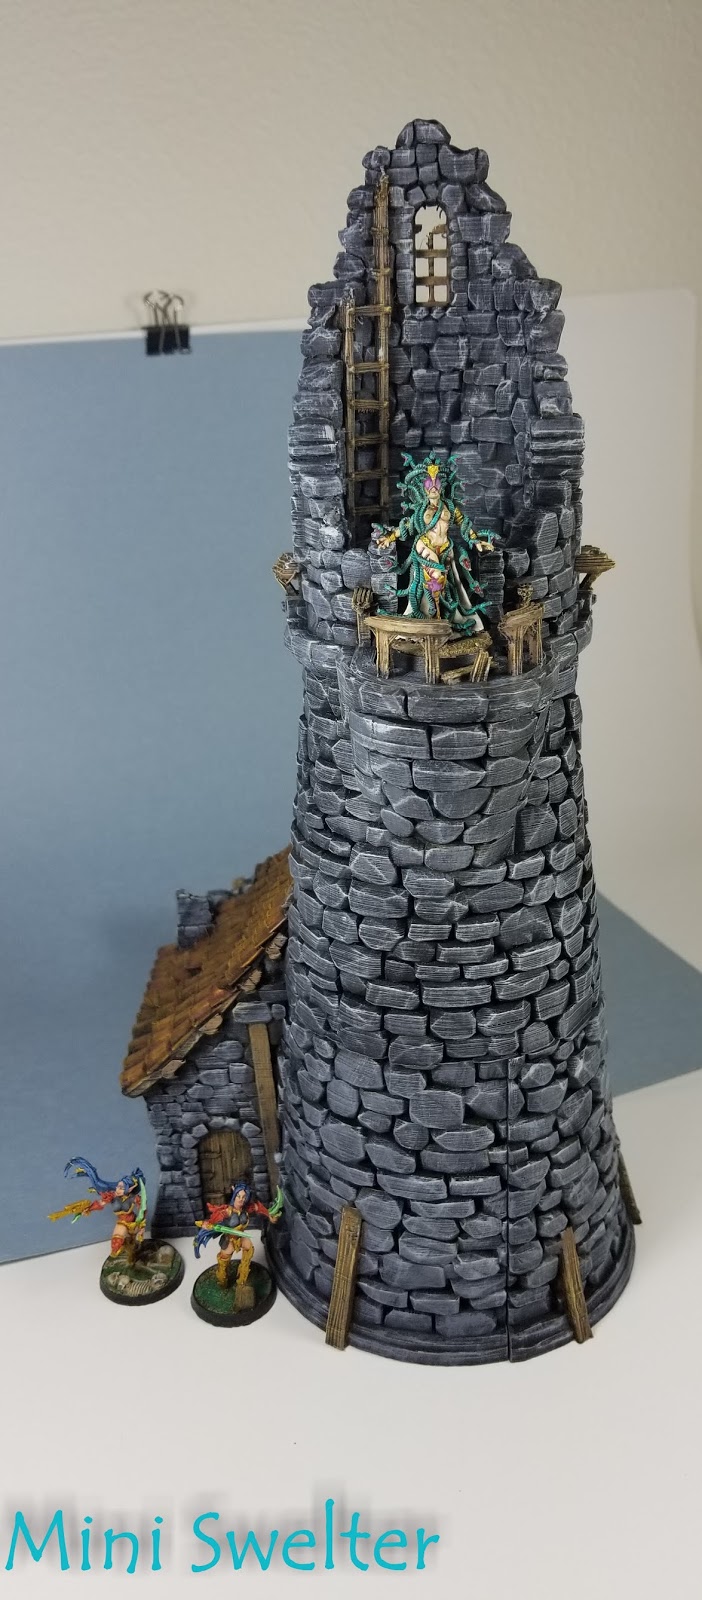
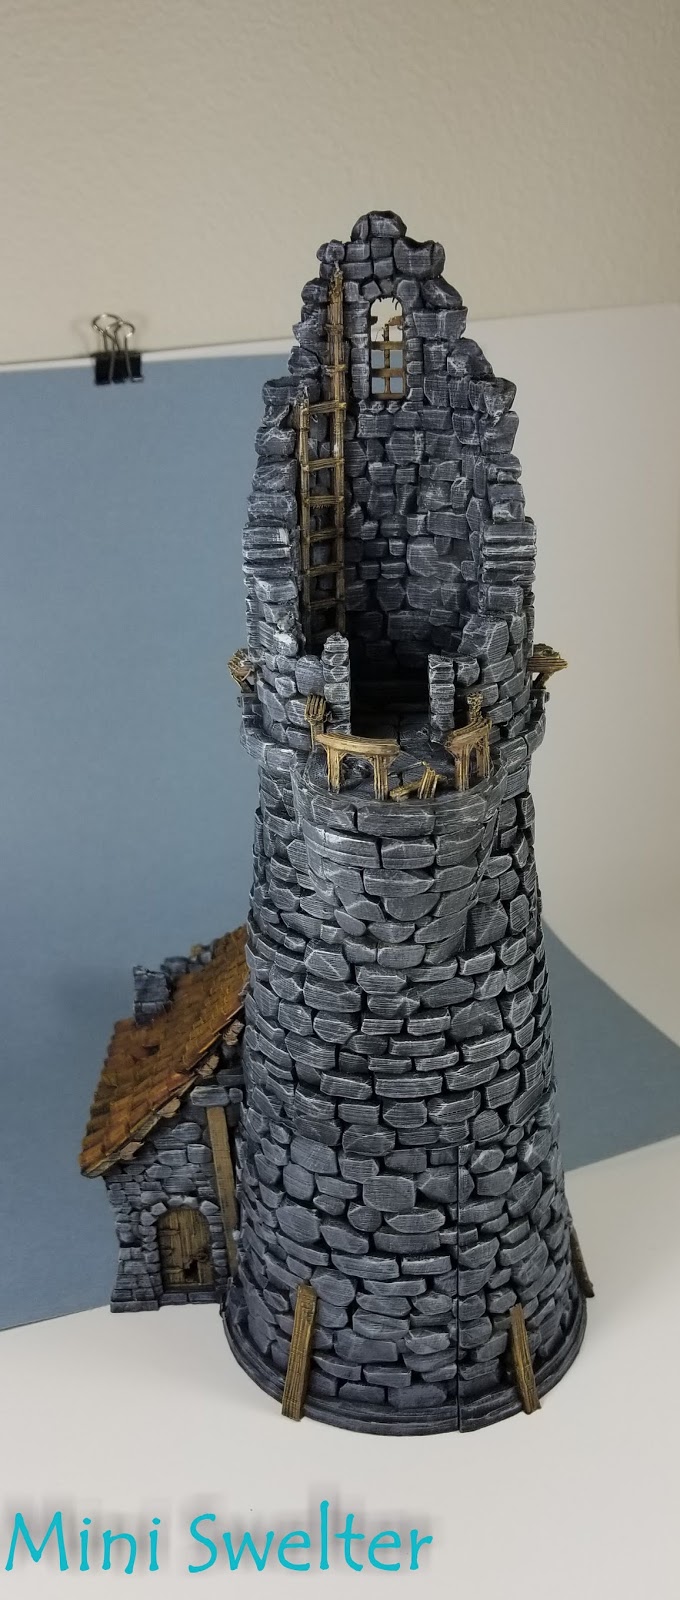
In my case... my printer (Snapmaker) is on the petite side of small... which means that I am unable to print this size of model without using the small format files...without dramatically reducing the model dimensions. Because of the inclusion of the small format files I'm able to print this model at 99% of its intended size. Score!

The model is quite large and I noticed that it printed with small holes for magnets! Sometimes Storing and transporting big terrain models is problematic so I popped magnets into the designated holes and it went together surprisingly well... with a satisfying snapping sound to boot!

All in all this took me a time fraction of the time it takes to paint an equivalent model in another color. Printing took a couple of days but cleanup and adding magnets time was under an hour. Painting was done in two short afternoon sessions.

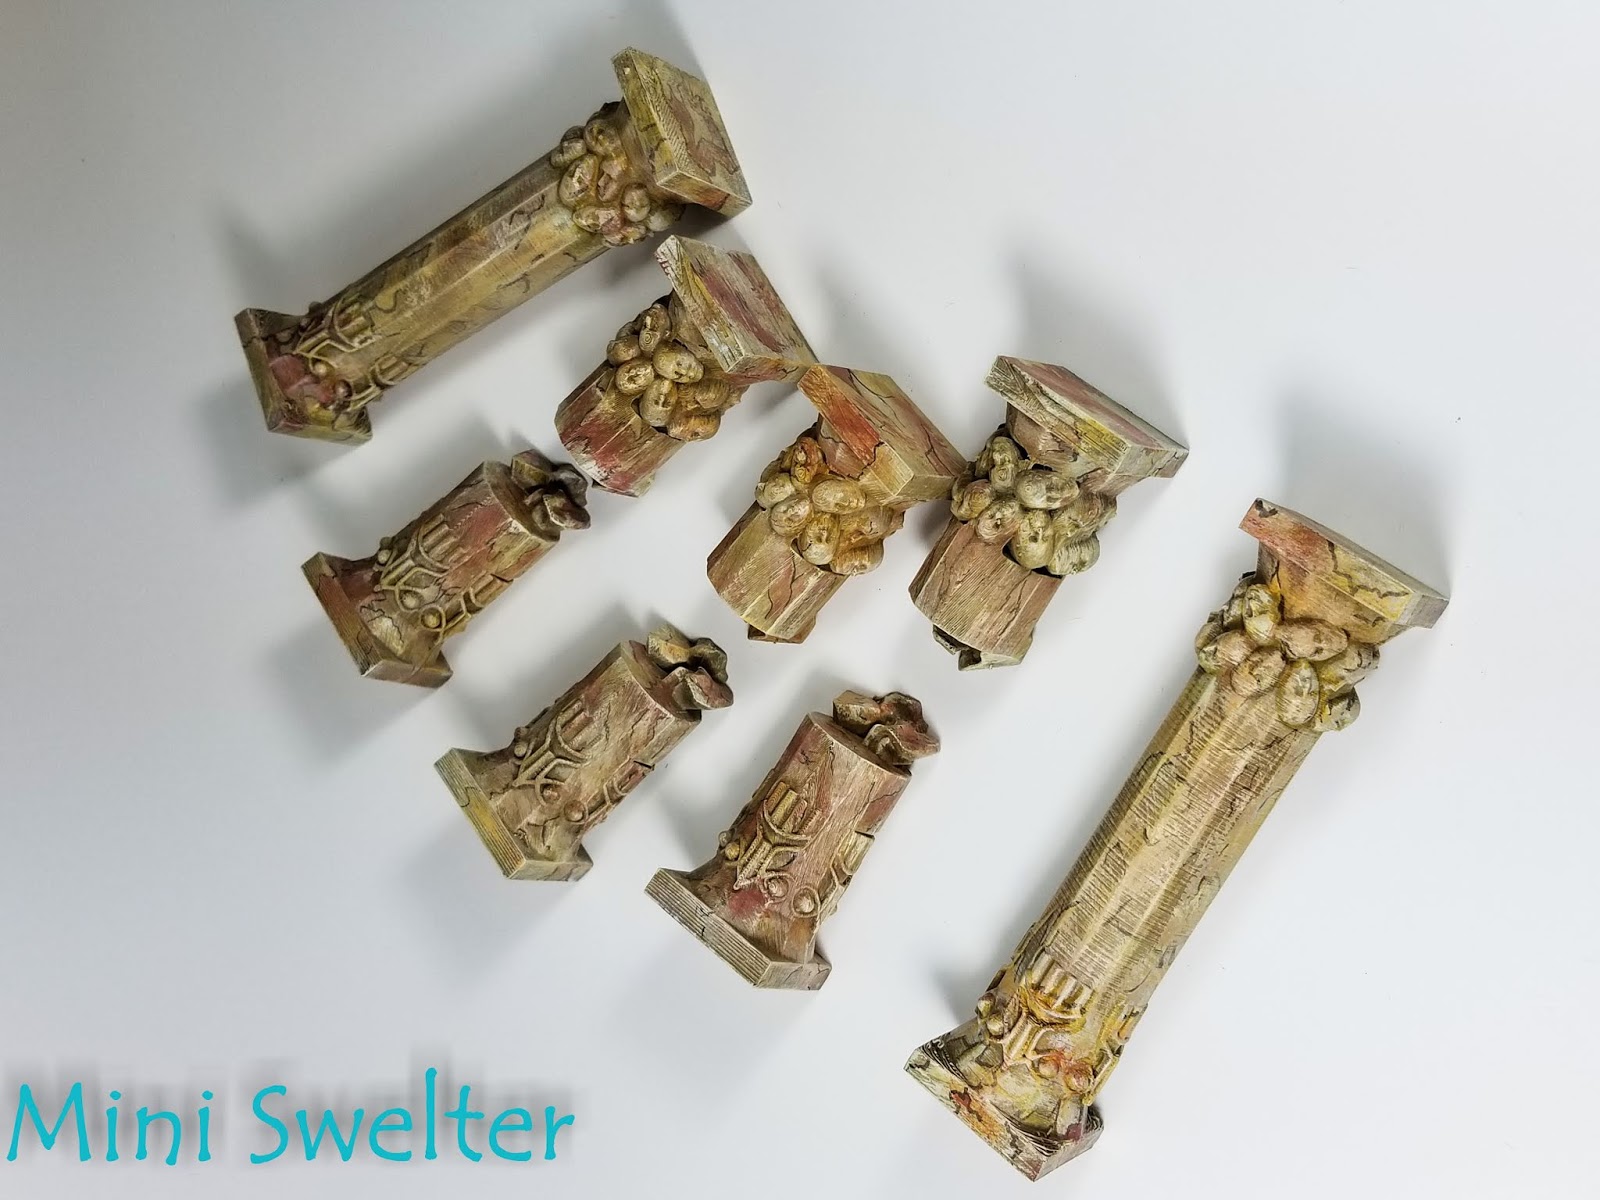
An early experiment with texture rollers from Greenstuff World (Thanks for the heads up Ed!).
While these will be great for Twisted! I'm really going to want to switch to a less spendy putty or clay and roll out big sheets of texture. Then I'll want to get, or make, some small size biscuit/cookie cutters and punch out circles and squares. I'm having difficulty locating circles and squares in the right sizes for this but its early days and I haven't put a lot of time into the search... hmmm... maybe some pill bottles are the right size.... we'll see!
Back to the desk to experiment!