One of my goals this year is to win a painting contest. A little challenge helps me keep focused on the hobby. So when I heard about the painting contest on the Fury’s Finest podcast I knew I had to try. I have some skill so maybe I’ll get lucky. 
The rules for the contest require you to paint a model that has the flight super power. There are a ton of good options like Hulkbuster, a Sentinel, or Malekith, I eventually selected Crimson Dynamo because he seems like a very splashable character in MCP so I’m more likely to put this model on the table which is always a plus. And finally, because I have a cool concept:
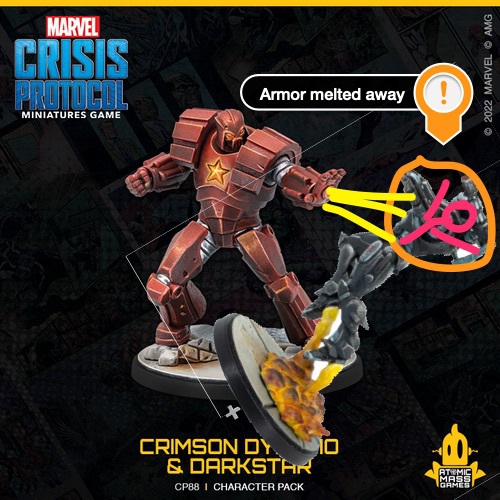
I think the final mini came out well. Here’s how I did it.
Read moreFirst Step: Another Man In a Suit Model
I’ve been wanting to learn how to paint shiny armor. It’s basically learning how to paint Non-Metalic Metals (NMM) and I’ve never really been able to follow a NMM tutorial and have it look good.
So I wanted to paint up a quick test mini with a similar style and I picked the baby Hulkbuster. And I could also experiment with some LEDs. So I get to practice two new techniques on a single model.
It took me several tries of NMM. And I had to put the mini down and check it again the next day to see if I even liked it.
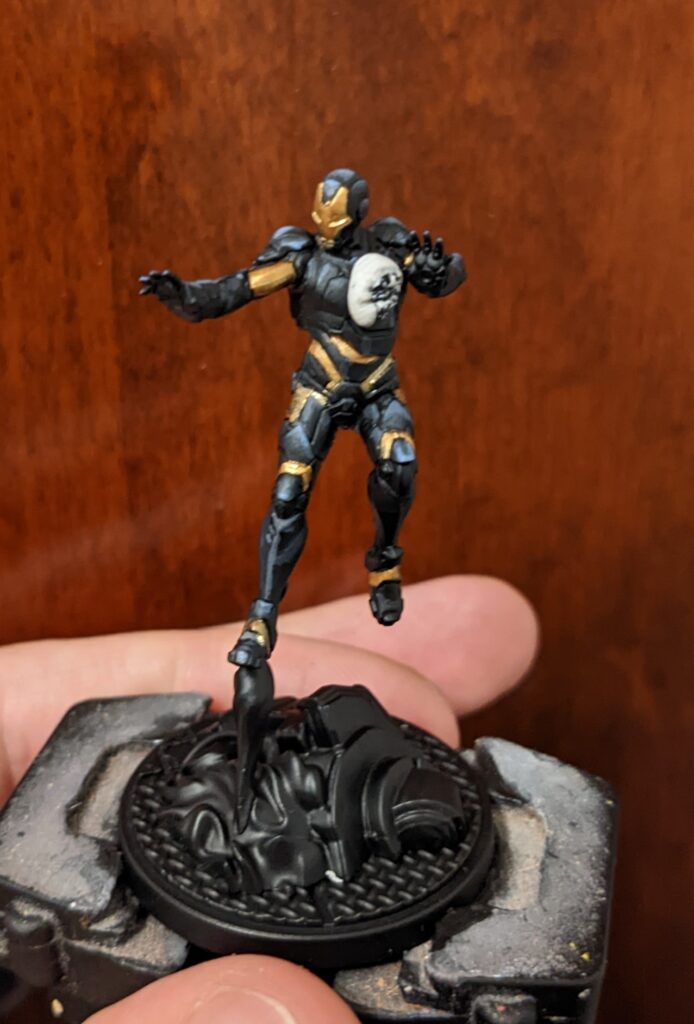
Eventually after several rounds I got to a good place.
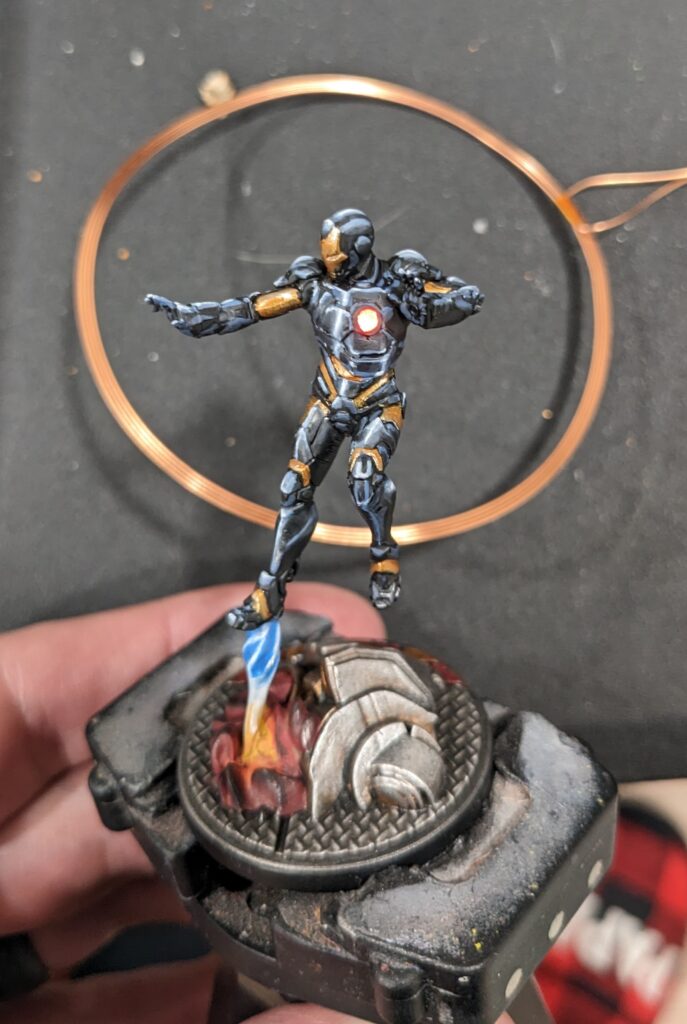
This is some of the best NMM I’ve ever done so yay(!). But there’s still PLENTY to learn. My skill isn’t where my taste is, so I’m just appreciating the opportunity to practice. I can definitely improve on choosing the right number of bright reflections on a piece and the transitions.
Now, with a little warmup complete all I have to do is replicate this process with red instead of black. 
Painting Crimson Dynamo
With a new wet palette I started painting Crimson Dynamo. He took less back and forth than mini Hulkbuster. Despite the NMM pratice I put myself through I decided to go with a mostly red armor and apply fine edge highlighting to represent the metalic nature of the armor.

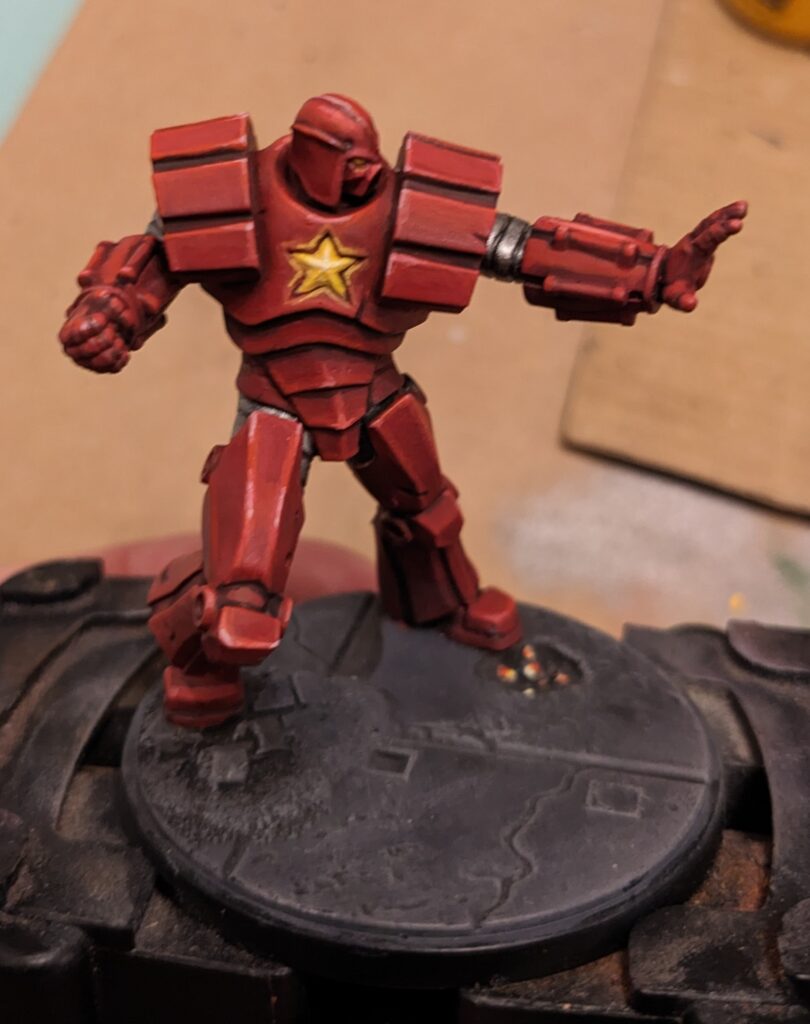
The armor looks pretty good. I’m happy the blending, the weathering, & the edge highlighting. It didn’t turn out nearly as NMM as I originally planned but still really like where it ended up.
The chest star and eyes have a nice subtle OSL effect. I can see one or two places where the edge highlighting and OSL aren’t perfect. But sometimes you just have to call a model done.
Testing Snow Bases
I don’t have a process to make snow bases so I watched a couple YouTube videos and then went to the local hobby store to test a few options. I came home with AK Ice Sparkles, AK Snow Microballoons, and Army Painter Battlefield Snow.
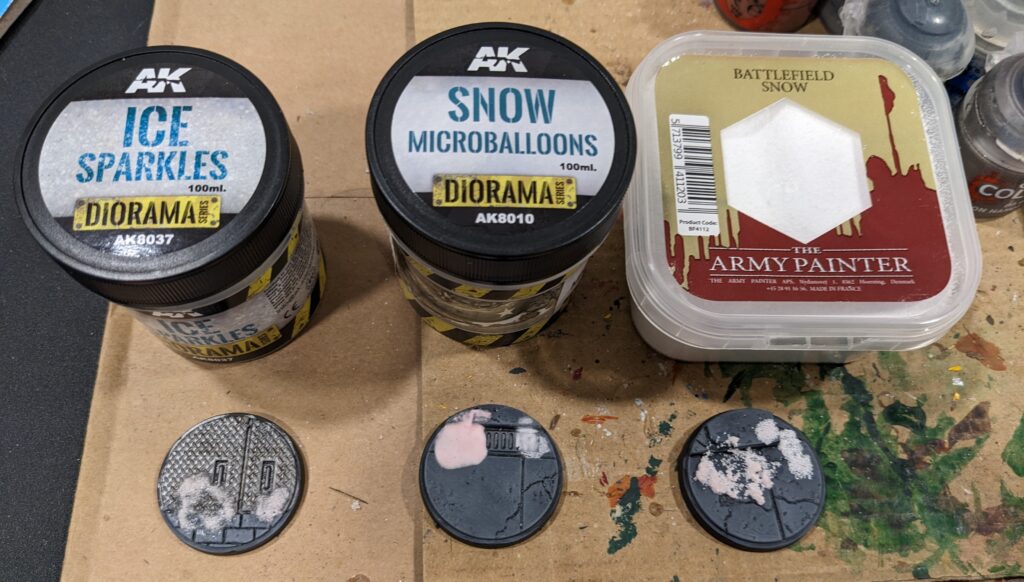
I started with 3 individual products and then I started combining products.

In the end I liked the Ice Crystals and Microballoons the most so I stuck with those. Starting with an icy layer and then adding some puffy snow on top.

Converting Warmachine Being Melted
Okay so here’s my original concept. And this concept is honestly the primary reason I selected Crimson Dynamo in the first place.
I saw this awesome lava effect on Facebook. And it reminds me of Mars Attacks. Some super cool sci-fi weapon that melts armor but somehow leaves bones behind? Ludicrous. I had to include it.
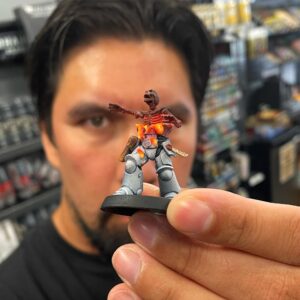
The War Machine pose always seemed a little weird to me and if I’m being honest, he’s one of my least favorite characters to play in MCP. So I decided to use the bottom half of War Machine as productively as I could. If you rotate War Machine it seems like he’s flying up in the air away from something which is pretty cool to start. Crimson Dynamo is just a little bigger and is shooting straight in-front and a little down. So without having to do any serious reposing I can have a cool diorama-like effect.

I checked if I had any skeleton minis but I didn’t have any that fit.
So I asked my friend Lily to print something for me. I found this Skeleton that should match Warmachine’s pose.
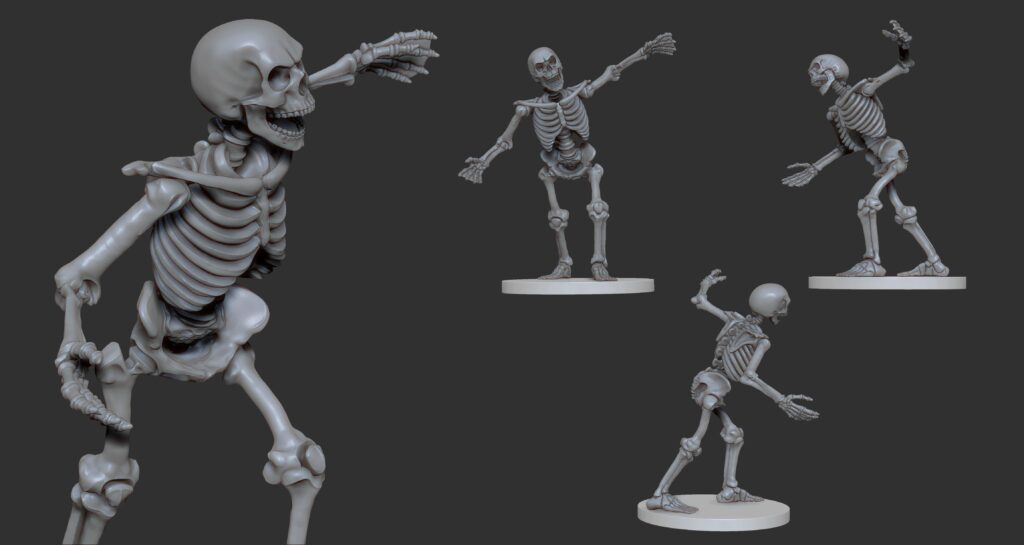
I received some prototypes from Lily and I drilled off Warmachine’s torso trying to leave a little more of the back armor intact.
I dry fit the pieces. These worked great but the resin was too fragile. The hands kept breaking off when I was simply holding it.
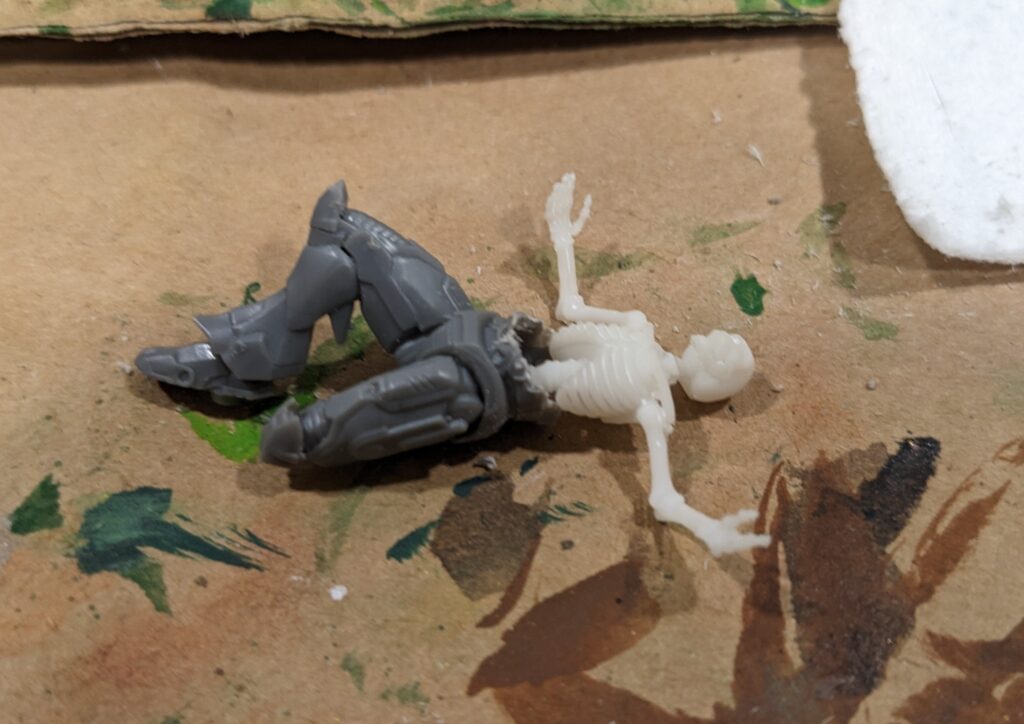
So Lily did some research and found a resin better suited for this project, she learned how to print minis in this new resin, and then reprinted the skeleton. And the result looks great. I used greenstuff to connect the skeleton to the torso.

Painting Warmachine Being Melted
Warmachine was easy to paint. I went with a simple silver scheme of Iron Warriors from Citadel.
For the skeleton I started with a bleached bone color and then drybrushed brown and then black.
I realized I didn’t leave enough metal dripping off the torso. I need some lava bubbles to sell the effect. So I used UV reactive resin to create slag melting off. Then I painted it to look like lava.
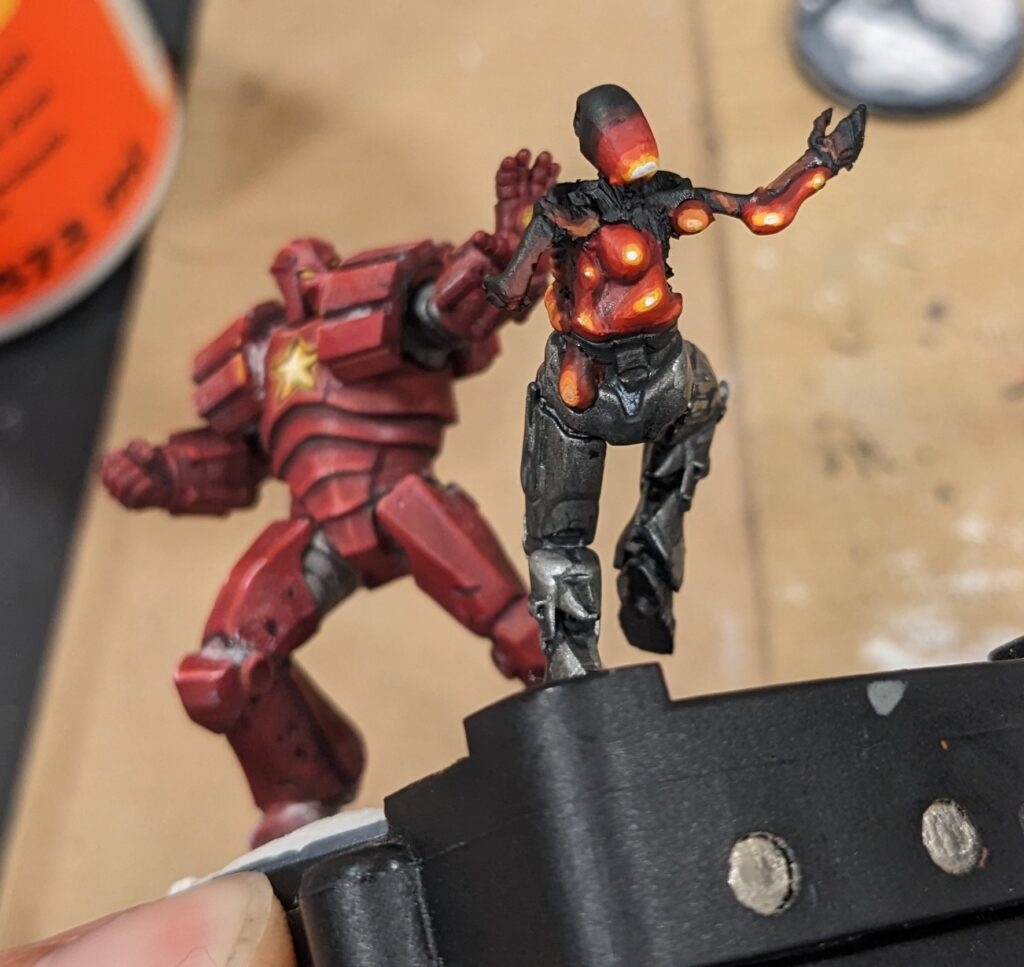
And it looks great.
Taking Photos with Mark
When you put it all together the mini looks good. But with good lighting and the right camera skills you can do some really cool stuff. So I asked my friend Mark to help take photos.
We did all sorts of poses and tried different lighting settings. It took 2 hours of chit chat about life, playing with the mini for a second, rearranging pieces, and trying a new shot.
Final Photos
And finally Crimson Dynamo is ready!
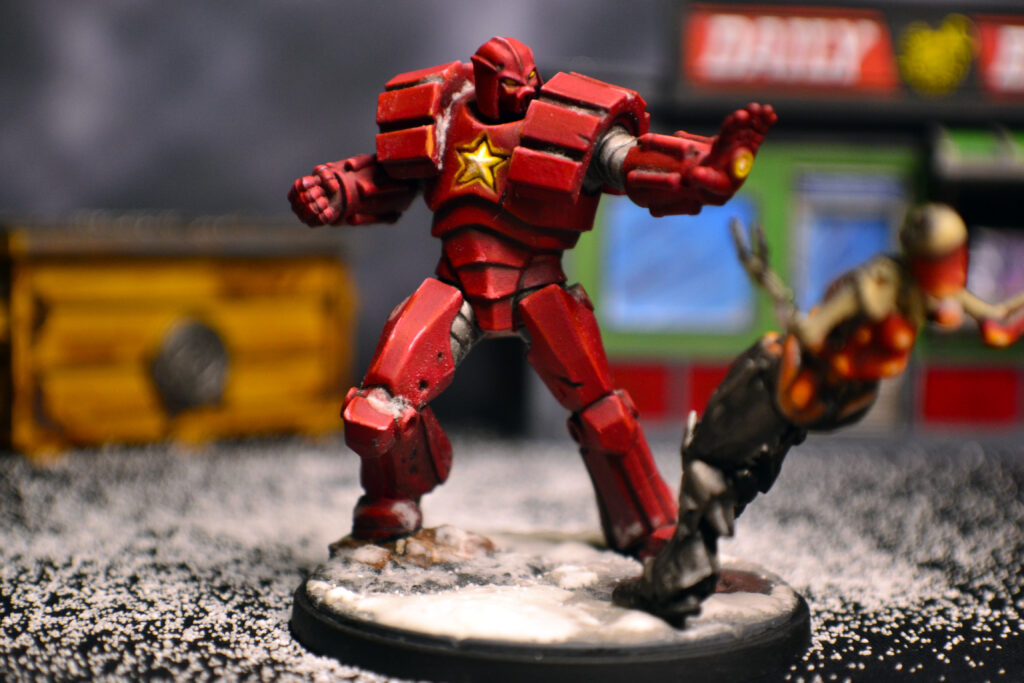
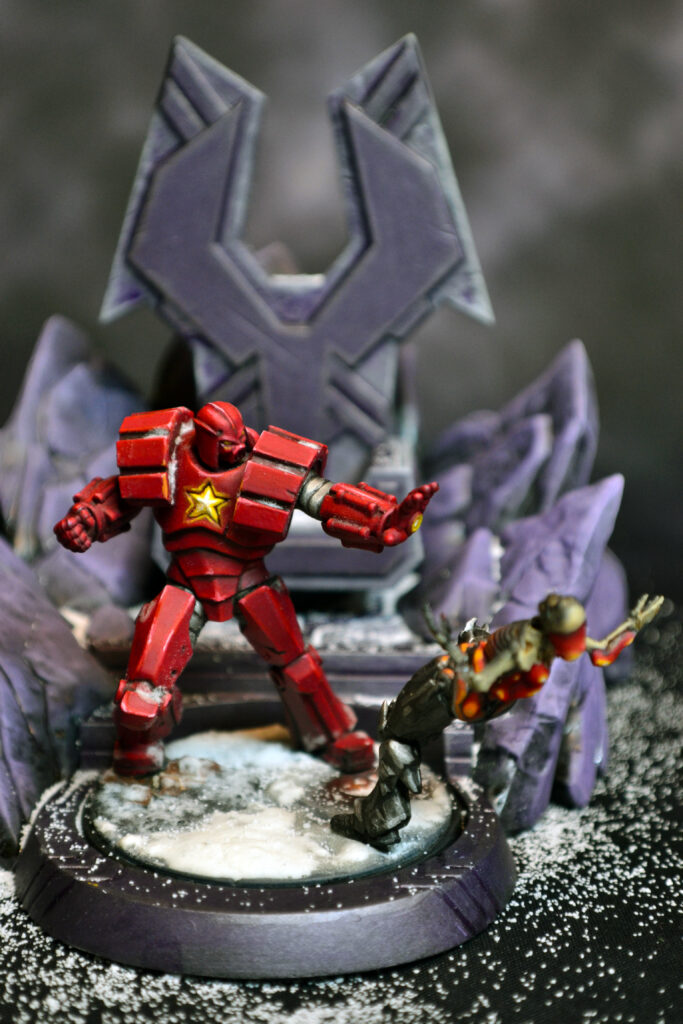
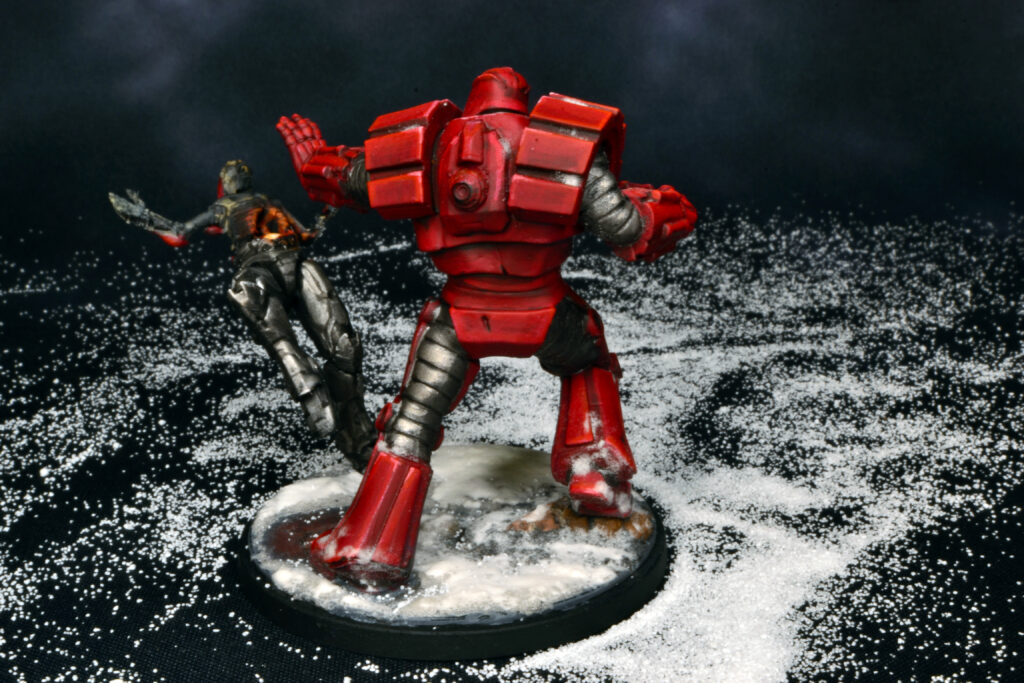
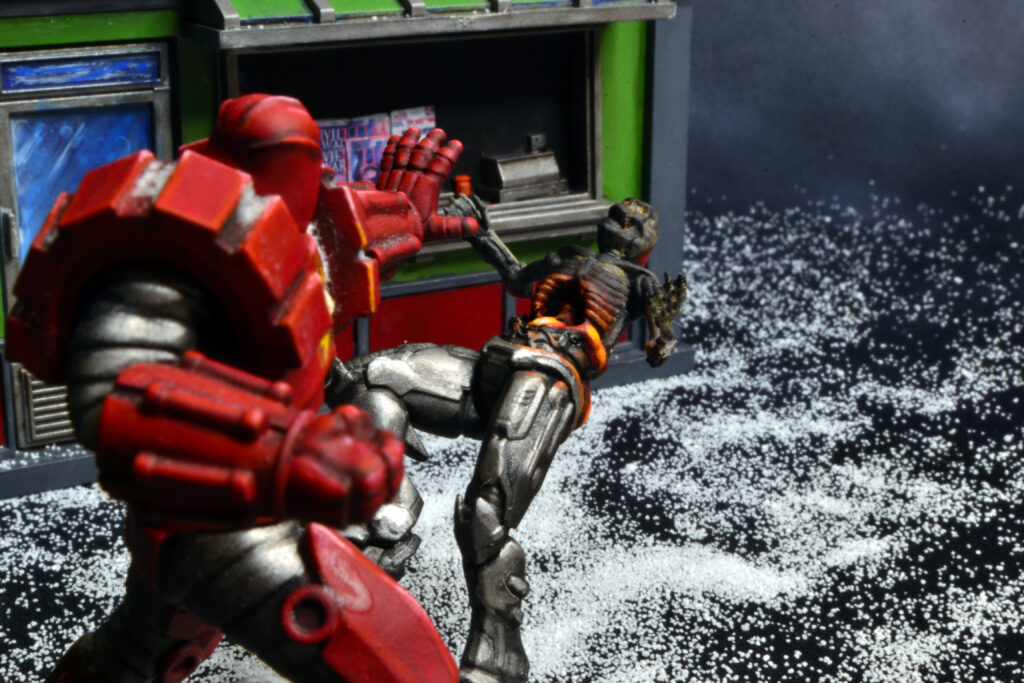
Thank you Mark & Lily. Crimson Dynamo is awesome. 
Contest Update
I’m releasing this post the day the Fury’s Finest painting results were announced. Crimson Dynamo Received an honorable mention. 
The post Painting Crimson Dynamo for the Fury’s Finest Painting Contest appeared first on Patricks 40k Hobby.