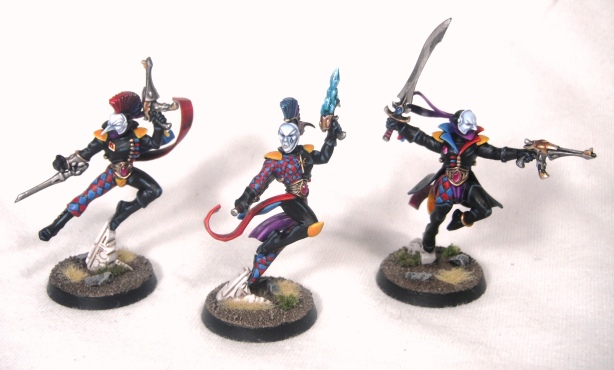
The first three Harlequins are finished and based. It has been really satisfying seeing these models come together as they are very different to the Astral Claws and Lord of the Rings models I have been working on recently and are totally unlike anything I have painted before. They feature far more extensive freehand than I have ever painted on a model and the diamond patterns are quite tricky. However, I have learned a few tricks along the way and I’ll share these with you below.
For the colour scheme I opted for the ‘Masque of Midnight Sorrow’ as the three primary colours look very effective and it was their picture on GW’s website that really attracted me to the Harlequins in the first place, particularly the deep purple/red colour of their vehicles (which I will try and replicate on my own models at some point in the future).
Planning Your Colour Scheme.
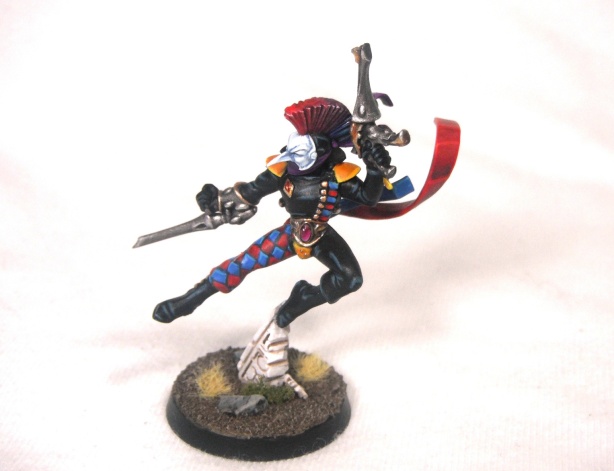
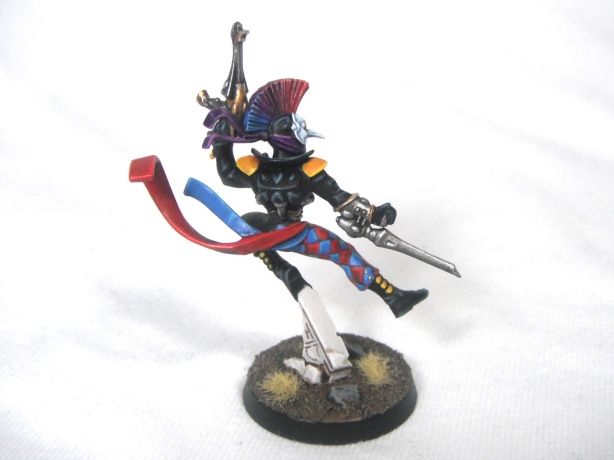
This lady was the first of the Harlequins I painted and I learned a lot about painting diamonds working on this model. Firstly, I would encourage any Harlequin painter to think very carefully about the placement of the patterned areas. You want a nice clear area that you can get good access to with a paintbrush. Also, straight limbs are easier to paint the pattern on as you don’t need to worry about how the pattern will follow the contours of the fabric.
On this model, for example, I made the mistake of choosing to paint the right sleeve with the diamond pattern. However, the problem with this was the fact that the model is holding a sword in a backward grip which obscured the back of the sleeve and made painting this area very fiddly. In the end I resorted to the unorthodox method of carefully snapping off the arm, painting it as a separate piece and then gluing it back on!
I would also think carefully about the size of the diamonds. Smaller diamonds are obviously harder to paint. Also, from a distance the effect is a little indistinct whereas larger diamonds stand out better.
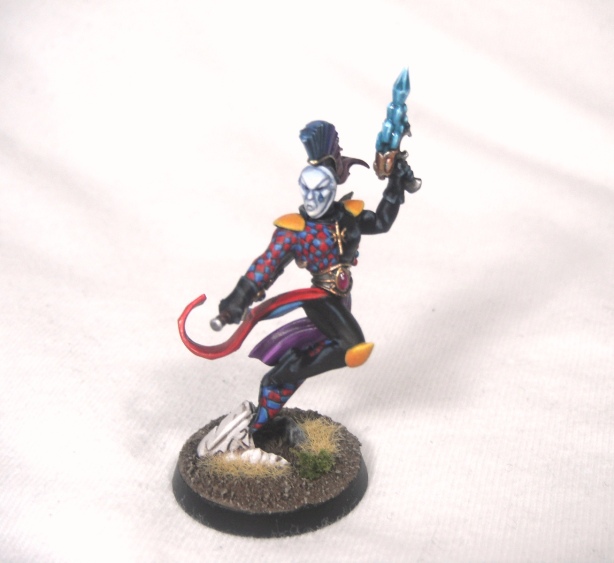
This chap is one of my favourite Harlequins. I really love the mask with the phallic, beak-like nose; it reminds me of one of the extras from the masqued ball scene in the film Labyrinth. The pose of this guy is copied directly from one of the old metal Harlequins from when the range was first redesigned back in 2007. A number of the components of this kit match the design of those earlier models (the Troupe Master being a particularly obvious example) so it is possible to recreate them in plastic should you wish to do so.
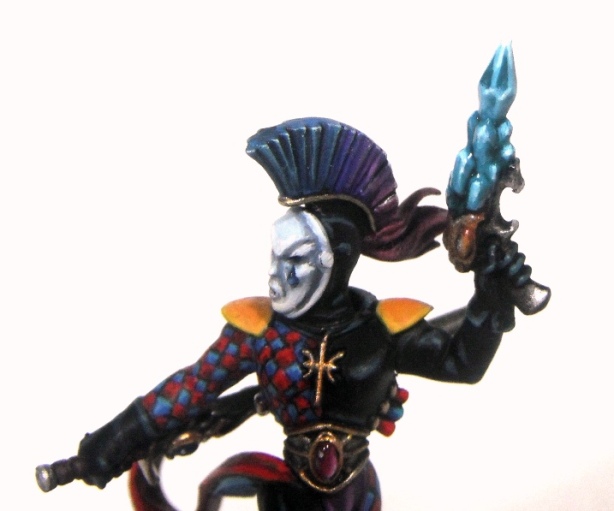
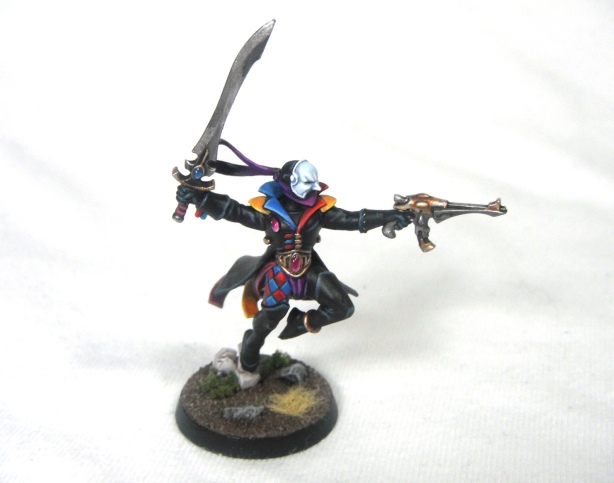
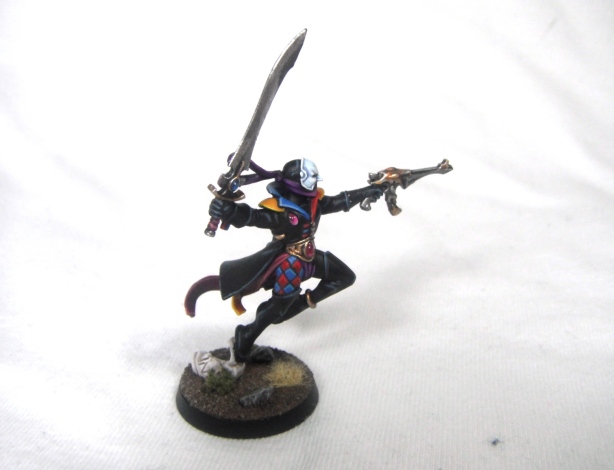
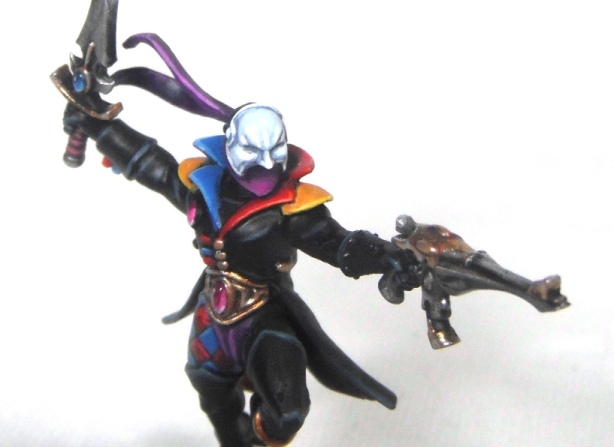
This guy is my favourite of my Harlequins so far. I really love the mask and his pose is very dynamic as he leaps forward into battle with his coat billowing behind him. One of the lessons I learned with this model is just how fragile some of the Harlequin components are and I accidentally broke the scarf that trails behind his head while painting him. This was easily repaired by drilling a small hole in the knot of the scarf and gluing the end of the scarf tails in with polystyrene cement but it does demonstrate how delicate they are. When painting the models this is something to be aware of. One tip for avoiding this is to blue tack the model to a wine bottle cork and use this to hold the model in order to minimise how much you need to handle the figure itself. For this I use corks sold for home-bottling wine rather that ones taken from wine bottles as a) most wine these days doesn’t come in corked bottles and b) used corks are misshapen and will not stand straight. They are dead cheap and readily available from shops such as Wilkinsons.
Another thing you may notice about this model is the red and blue lapels; this was another way of introducing some colour without having to spend ages painting tiny diamonds. Not only is this a time-saving device but it stops the model looking too overwhelming. I find it better to judiciously apply diamonds to specific areas rather than go overboard.
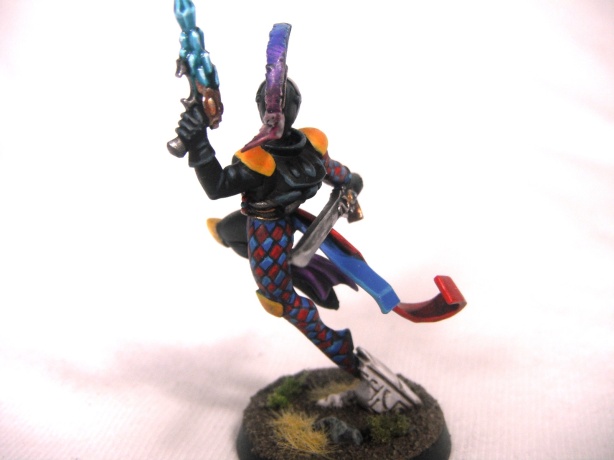
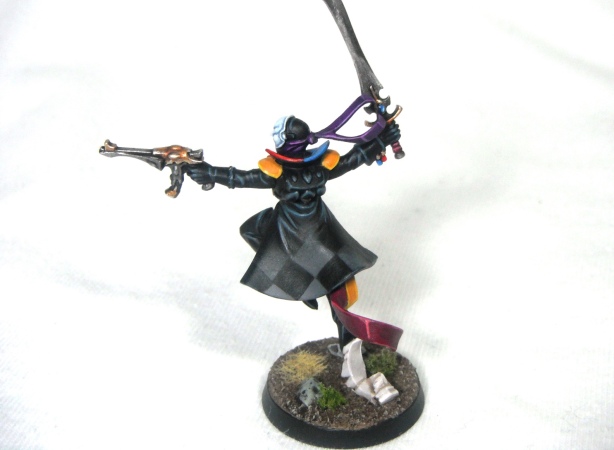
From the back you can the diamond pattern I airbrushed onto his coat using stencils cut from masking tape. Full credit for this idea goes to Tim Davis (aka Dezartfox) over at The Vanus Temple who wrote this tutorial on the subject. When I first saw his Solitaire on Twitter I was so impressed by the subtlety of the effect that I knew I had to give it a go. I used a pencil and ruler to mark out squares on a strip of masking tape and then cut them out with a sharp craft knife before sticking them at an angle onto the coat. Eshin Grey and Codex Grey were gently airbrushed on starting dark and blending up to a lighter colour at the bottom to get the fading pattern. This simple technique looks great and adds some interest to what might otherwise have been an empty surface.
Painting the Harlequins
When painting the Harlequins I started out by blocking out the basic colours. While this is a useful technique for any model, for models as colourful as the Harlequins it is important to make sure that you are getting the colour balance right. I did this using Balor Brown followed by Averland sunset for the yellow (the brown provides a better base for the yellow that painting directly over a black undercoat), Mephiston Red for the red, Liche Purple for the purple areas, Screamer Pink for the red/purple areas and Lightning Bolt Blue for both the blue and the diamond patterned areas (the red would be added later). The masks were basecoated with Russ Grey.
Diamonds are a Harlequin’s Best Friend
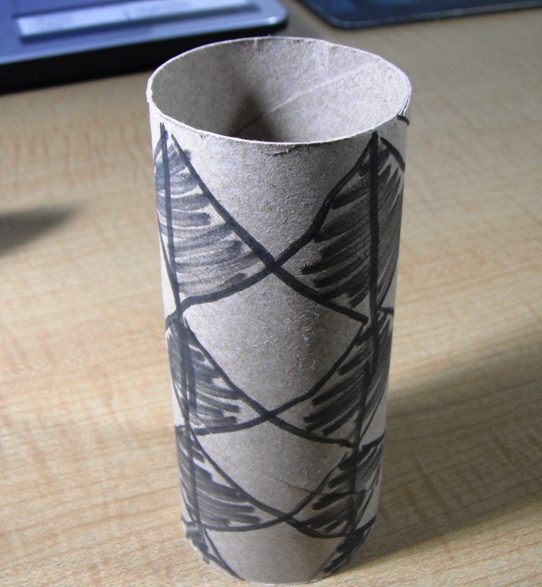
For the diamond pattern I found that the hardest thing was getting the pattern to join up at the back. Through trial and error and much frustration I came up with the idea of painting vertical lines of thinned Abaddon Black down the front, back and either side of the arm or leg at even intervals. I then painted a series of crosses in the columns created. This ensures that all of the diamonds line up and that there are an even number of diamonds going around the area (essential so that you can alternate the colour of the diamonds and not end up with two diamonds of the same colour side by side). After this, the pattern was filled in using Mephiston Red. The tops of the diamonds were then highlighted with two sharp lines using either Temple Guard Blue or Evil Sunz Scarlet.
Here’s a high-tech visualisation to give you a better idea of what I mean:
Hopefully you can see how the lines create colums which are then filled in with crosses to mark out the diamond pattern.
Back to Black
I have previously written about painting black on this blog. However, I have found that since the new Citadel pant range has been released painting black has become a lot easier and I have a new, quicker method which is perfect for painting rank-and-file troops (I still use my other methods but these are best saved for characters or display models). For the Harlequins, I simply highlighted the black areas using Dark Reaper followed by Thunderhawk Blue. This produces a nice blue/black look which is simple to achieve and takes no time at all.
And the Rest.
The other areas were relatively straightforward and used a base colour followed by a wash and a highlight. the colours used were:
- Mephiston Red > Carroburg Crimson > Evil Sunz Scarlet
- Lightning Bolt Blue > Drakenhoff Nightshade > Temple Guard Blue
- Screamer Pink > Carroburg Crimson > Pink Horror
- Liche Purple > Leviathan Purple > Liche Purple and white
- Averland Sunset > Cassandora Yellow > Flash Gitz Yellow
The masks were painted Russ Grey and highlighted using a mix of Fenrisian Grey and White Scar up to final highlights of pure White Scar. As these form the faces of the models it’s worth taking your time over this stage and using lots of thin layers to build up a smooth finish.
And that’s it really. Other than the diamonds these are deceptively easy models to paint. Right, now onto the rest of the squad…
Andy.
