Demi-Company
Chapter Master w/ power fist, shield eternal, artificer armor, bike
Chaplain w/ bike
Command Squad w/ bikes, apothecary, 4 storm shields, 2 power fists
10 Tactical Marines w/ flamer, heavy bolter, Rhino
10 Tactical Marines w/ meltagun, heavy bolter, Rhino
10 Tactical Marines w/ meltagun, heavy bolter, Rhino
Land Speeder w/ heavy bolter, typhoon missile launcher
10 Devastator Marines w/ 4 lascannons, armorium cherub
1st Company Task Force
5 Terminators w/ assault cannon, chainfist
10 Sternguard w/ 2 combi-meltas, Rhino
7 Sternguard w/ 2 combi-meltas, Rhino
My opponent took a Space Marine CAD backed up by another 1st Company Task Force
Combined Arms Detachment
Tigurius
5 Tactical Marines w/ meltagun, combi-melta, Razorback w/ lascannon, twin-linked plasma gun
5 Tactical Marines w/ meltagun, combi-melta, Razorback w/ lascannon, twin-linked plasma gun
5 Tactical Marines w/ plasma gun, combi-plasma, Razorback w/ lascannon, twin-linked plasma gun
5 Tactical Marines w/ plasma gun, combi-plasma, Razorback w/ lascannon, twin-linked plasma gun
3 Devastator Centurions w/ grav-cannons, hurricane bolters, omniscope
Drop Pod
1st Company Task Force
5 Assault Terminators w/ thunder hammers and storm shields
10 Sternguard w/ 4 combi-plasmas, Drop Pod
10 Sternguard w/ 4 combi-meltas, Drop Pod
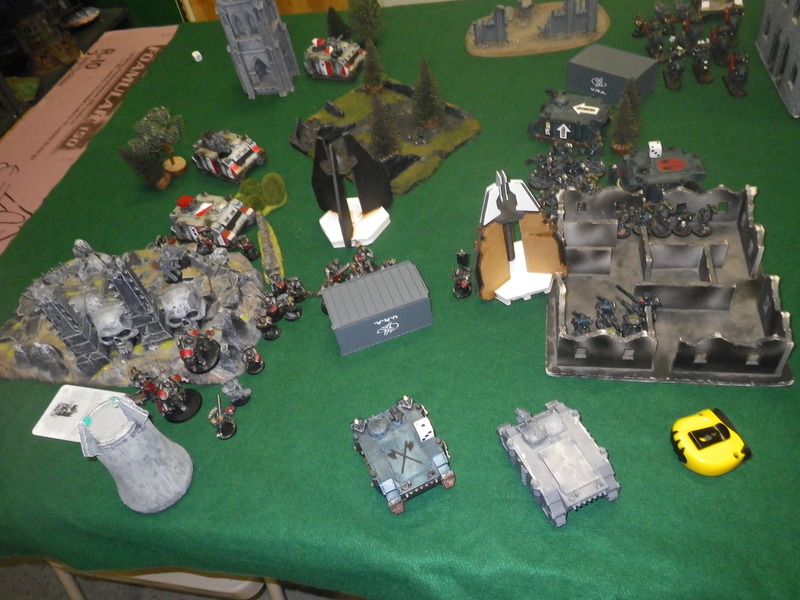
The game was Purge the Alien with Vanguard Strike Deployment. My opponent chose to deploy first and go first. Deployment was pretty much a bunch of Rhinos and Razorbacks staring at each other. I deployed my Devastators in the best cover I could find, but their lines of sight weren't great. The Land Speeder was kept in reserve, since it always gives up First Blood. I combat squadded everything I could. Even though it seems like a liability in a kill point mission, my experience is that the smaller squads are so much more flexible and durable that it's worth it.
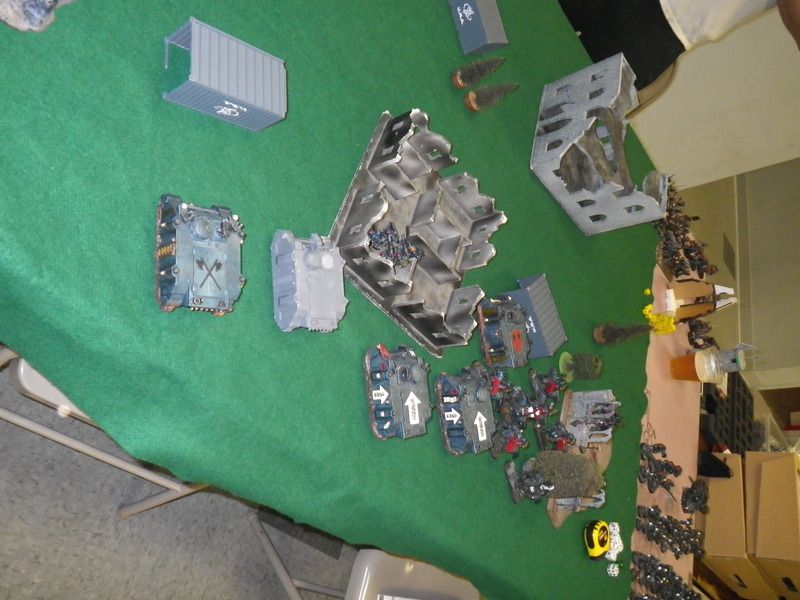 |
| Note the ruins splitting my deployment zone. These turned out to be a massive problem. |
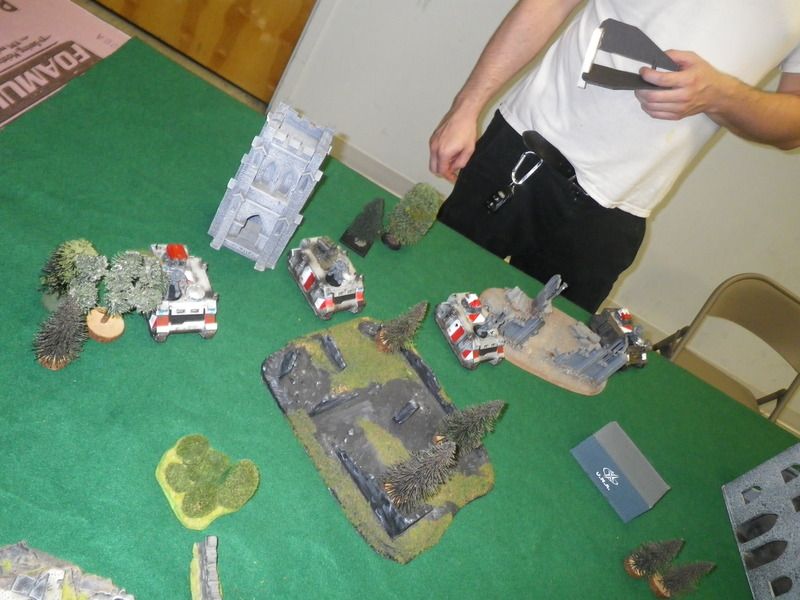 |
| The enemy before the Drop Pods arrive. |
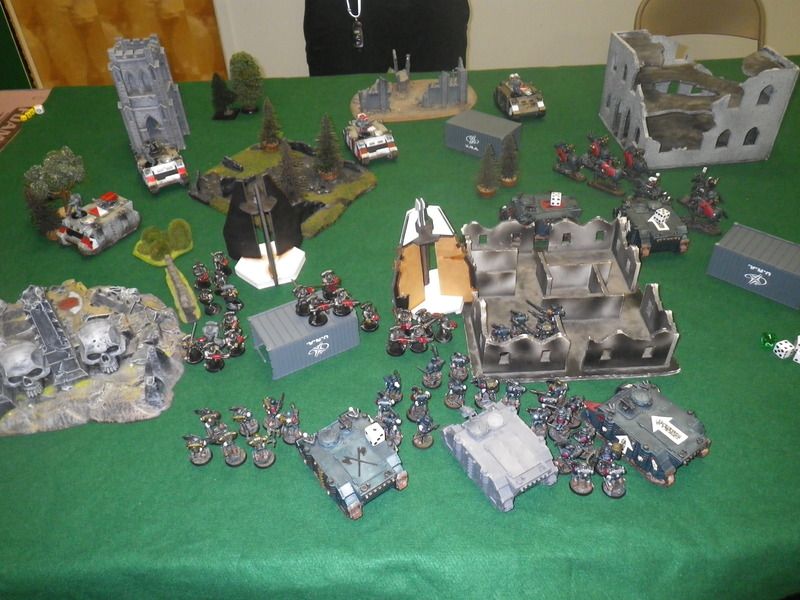
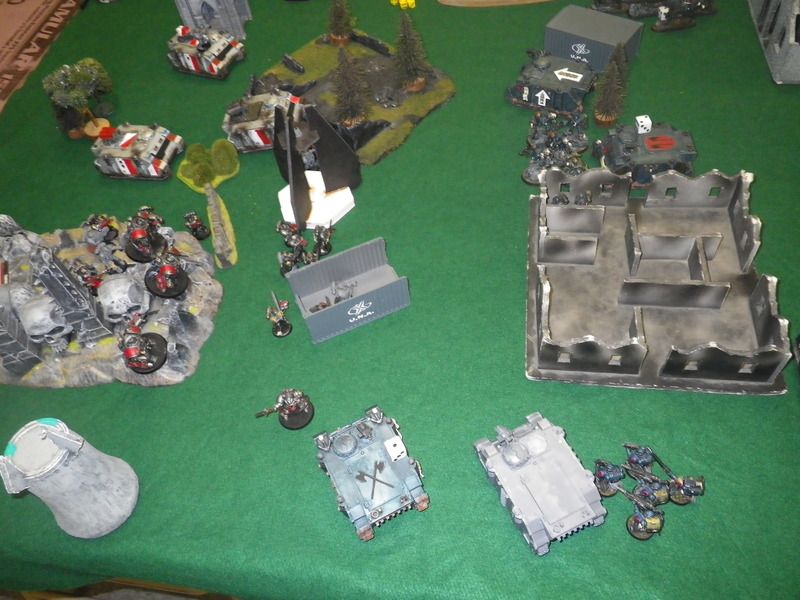
I failed to seize the initiative, so the enemy drop pods came down on my left. Both Sternguard squads came down and combat squadded. Amazingly, even though he used all his combi-weapons, my opponent failed to kill any Rhinos, immobilizing one and reducing it to a single hull point, but all my squads were safe.
I deployed all of my squads on the left, while my Command squad, Sternguard, and Tactical squad on the right swung forward to move around the ruins in my center.
My squads all open fired on the Sternguard, but didn't do as much damage as I hoped. While my bolters were all super accurate (even the Sternguard!) I wasn't rolling too hot to wound. I killed off one Sternguard combat squad for First Blood, reduced another to a single model, and another to 3 models. Not nearly what I was hoping for, as my squads were now exposed to the enemy Sternguards' vengeance rounds.
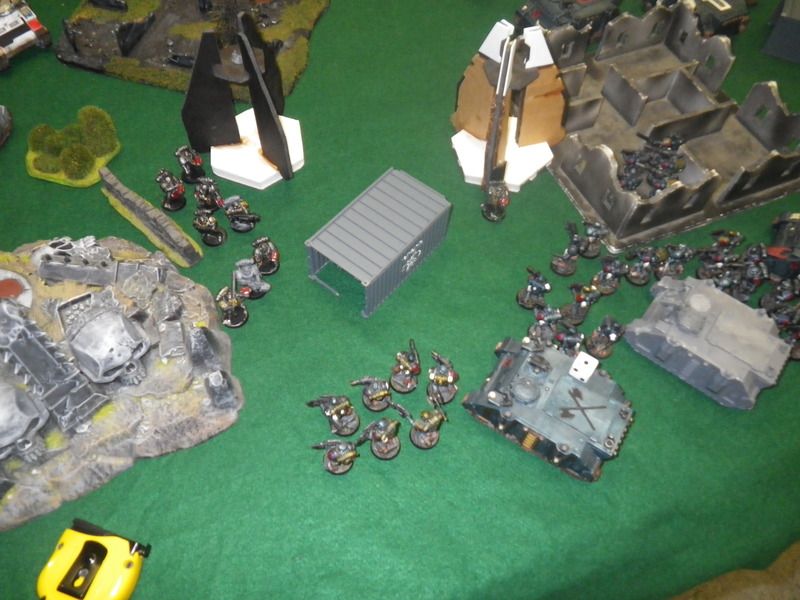 |
| The enemy Sternguard survivors. |
Turn 2
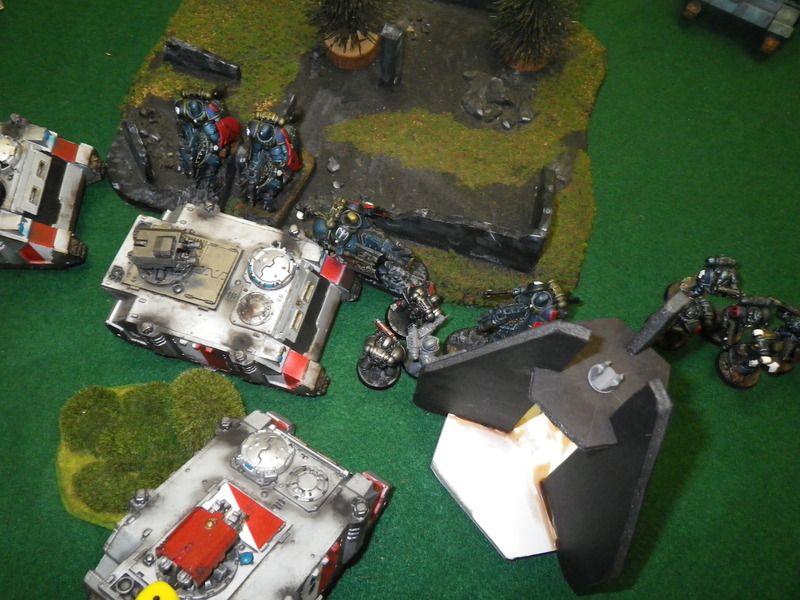
The turn began with Tigurius and his Devastator Centurions slamming into my left flank, along with the Assault Terminators. The Sternguard all advanced on me. The Razorbacks managed to immobilize my other Sternguard Razorback, while one of the Tactical squads disembarked to take some shots at my Command squad. The Centurions (now invisible) and Sternguard annihilated my left flank, killing the Sternguard and 2 Tactical Combat squads.
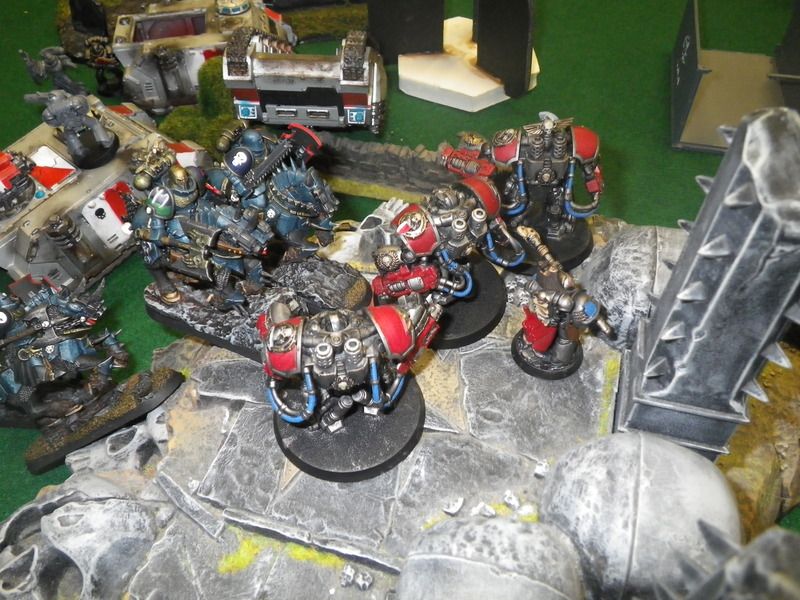
My Terminators also arrived, dropping in the center of the table, joining my remaining Sternguard as the jumped out of their Rhino. The surviving 2 Tactical Combat Squads in my center hopped back into their Rhino and took off away from the Centurions. My Command Squad charged the dismounted Tactical squad and their Razorback, wiping both out. My Sternguard and Terminators combined fire on the Assault Terminators, killing all but one. I also kill of the lone Sternguard survivor of one of the combat squads.
 |
| Enemy Tactical squad being run down by Captain Amalric and his Command Squad. |
The Centurions stayed invisible, and the enemy Razorbacks and Sternguard moved up to take on my Terminators. Tigurius cast Terrify on my Devastators, making them fall back. The Terminators shrugged off an impressive amount of firepower from Tactical squads and Razorbacks (I think they were trying to convince me that they belong on the table again), but were finally wiped out by the Centurions along with most of my Sternguard. The lone Assault Terminator assaulted my immobilized Rhino and destroyed it.
My Land Speeder showed up, strafing a Tactical squad but only killing one. My Chapter Master fired his orbital strike at the Tactical squad next to the Devastators, which would have caught Tigurius and 2 Centurions if it hit. Unfortunately, it scattered 6" and missed completely. Someday, it'll actually hit something. I deployed another pair of Tactical combat squads from their Rhino, and they combined with my remaining Sternguard to wipe out the enemy Sternguard. My other Rhino full of Tactical Marines takes the risk and drives right through the ruins (something I should have done at the beginning of the game). My Devastators started firing at Drop Pods and Razorbacks to try and pick up kill points.
Turn 4
My opponent is running low on units, but he still have the Centurions. The Tacticals and Razorbacks trade fire with my Tactical squads, doing a bit of damage. The Assault Terminator charged my Rhino, doing a hull point of damage. My Command squad was just within range of the Centurions, and I paid the price for it, losin my Chaplain, Apothecary, and one Veteran.
My Tacticals deployed and gunned down the last Assault Terminators, along with a few enemy Tactical Marines. My Command squad charges in, killing a Razorback and a few Tactical Marines. I pulled my punches against the Tactical squad, trying to stay in combat for a turn. Unfortunately, they broke and managed to run away.
Turn 5
My opponent put his firepower into my Rhinos and Tactical squads, trying to pick up some kill points. The Centurions wiped out 2 Tactical combat squads, but amazingly, Tigurius fails to cast invisibility. A Tactical squad charges and kills my Land Speeder (because I forgot to move and shoot it last turn).
I run my surviving squads back into Rhinos, attempting to preserve some kill points. My Devastators kill a Razorback while the Command Squad charges the Centurions. Amalric's challenge is answered by the Centurion Sergeant and chopped apart, but two of the Veterans are killed without doing any damage so the combat is tied.
The game ends here. We count up the Victory points. I had First Blood, but my opponent had Linebreaker. It turned out I was one kill point ahead due to the Razorback my Devastators had killed in the last turn, so I could claim a bloody victory.
Lessons Learned:
1) Sternguard are awesome with their Imperial Fist re-rolls! Vengeance rounds have almost not associated risk, and tear through marines.
2) Combat squads still are great. They really limited the killing power of the Centurions, as they could only wipe out 5 marines at a time, and always overkilled their target. With the omniscope, the Sergeant would often kill a combat squad by himself.
3) I've got to keep my nastier squads more central. I put a Sternguard squad on either flank and my Command squad on the right, and my opponent pushed to the left. The Command squad eventually pulled their weight, but would have done much more if I had them in the center.
4) The Gladius Strike Force is really restrictive. I missed my Thunderfires, another Devastator squad, and my Stormtalons. I think I need to try a CAD next. If I'm going to keep trying a GSF, I need to remember all my units. I really misused the Land Speeder.
5) Doctrines are really nice, but both me and my opponent failed to used them to their full extent. It was our first time for each of us being able to use them. With all of the Imperial Fist re-rolls, I felt like the Doctrines were kind of redundant, but they did help my special weapons and heavy weapons, so that was nice.
6) The negative LD bubble that the 1st Company Task Force puts out pairs well with Telepathy, particularly Terrify, Psychic Scream, and Dominate. With transports and combat squads, it becomes very easy to get enemy squads within 12" of 3 Veteran squads, and -2 LD is pretty serious. My Tacticals were taking break tests in LD 6 (5 when hit with Terrify). Fortunately, they generally died to a man when targeted, so it didn't hurt my list much, but it would be nasty against more sizable units.