
The Archangels Orbital Intervention Force consists of 3 Terminator squads or Terminators Assault squads. Swift Deployment requires the Formation to start the game in Deep Strike Reserve but allows them all to arrive on a single reserve roll. Orbital Intervention is the exciting rule, as it allows Terminator squads to fire twice on the turn they deep strike (at different targets if they want) and Terminator Assault squads to assault on the turn the deep strike, albeit making a disordered charge.
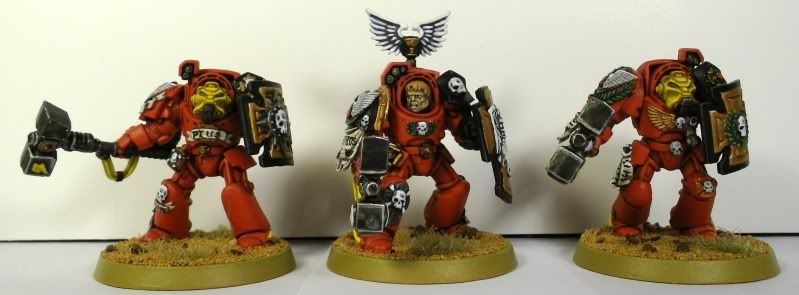
These are both strong abilities, making Terminators worth taking again. Allowing Terminators to shoot twice is great, but allowing Assault Terminators to charge out of deep strike is huge. Terminators are much more durable in assault than in shooting, and only having to endure a round of overwatch before reaching close combat will mean they last a lot longer. The disordered charge won't matter much for them because Assault Terminators all carry pretty devastating weapons. An extra attack and point of strength is relatively minor.
However, there is a downside. The Formation doesn't include the ability to re-roll Reserve Rolls or mitigate deep strike scatter, making this strong Formation a bit unreliable. However, there are always options to help with these problems. Captain Karlaen is a theme appropriate answer to the reserve roll problem, though a Comms Relay works just as well. Fixing the scatter problem is a bit more difficult. Teleport homers and locator beacons will both solve the problem, but they need to be in position at the start of your second turn. Thus, Scouts and Scout Bikers are your safest delivery system, though a jump pack equipped character could also get in position early enough. According to the Draft FAQ, teleport homers don't work from within a vehicle, so Tactical squads make for a poor delivery system.
The 10th Company Ambush Force is a solid Formation because it's the exact same as the Space Marines' 10th Company Task Force. It will keep your Scouts safer until they move and grant them Precision Shots during their first turn.
The Death Company Strike Force is as simple as they come. It consists of a Death Company Chaplain, 3 Death Company squads, and 1-3 Death Company Dreadnoughts. The Death Company squads can take Stormraven Gunships as Dedicated Transports if you have the points. The Formation conveys The Black Rage, which means that the Formation's Death Company Chaplain has a 12" +1 Attack aura for any other squad in the Formation. This is simple but raises the humble Death Company Marine to 6 attacks on the charge. This is quite formidable and the aura is large enough to easily cover the whole Formation. In general, you'll want one larger squad to accompany the Chaplain and benefit from his Rites of Blood, but the other squads can be quite small to save points.
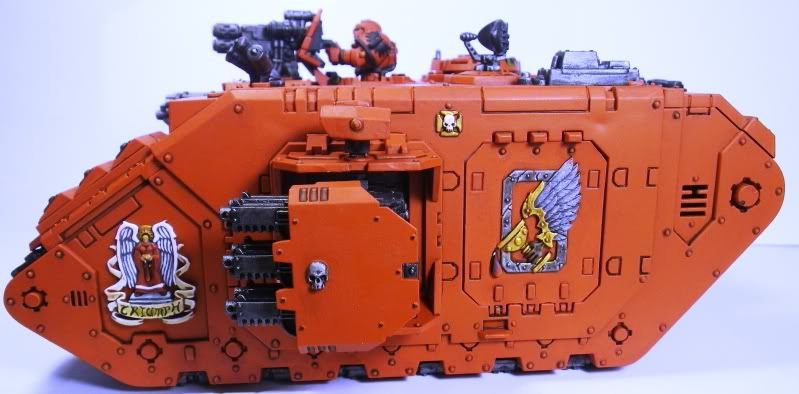
The Lucifer Armored Task Force is extremely interesting. It requires 1 Techmarine, 3-5 units of Baal Predators or Predators, and 1-3 Land Raiders of any pattern. The entire Formation received Scout as well as First into Battle, which gives the Predators and Land Raiders overcharged engines for free, making them Fast. This saves you some points on your Predators and gives you an upgrade on the Land Raiders that they can't normally take, making their many weapons fire much more efficiently. In total, this Formation gives you a bunch of tanks that can move into good positions before the game and remain mobile throughout the game. Oddly, the Baals benefit the least from this Formation since they already come with overcharged engines, but their short range means that they benefit the most from Scout. A Fast Land Raider with Scout all but guarantees a second turn assault for any unit inside of it. This is definitely a strong Formation if you like tanks.
The Stormraven Squadron is another simple Formation, consisting of 2-4 Stormraven Gunships. These solid but expensive gunships gain Annihilation Strike, which allows the Stormravens to fire all of their remaining missiles at the beginning of any of your turns at a single target. These missiles do not count toward the amount of weapons the Stormravens can fire in their shooting phase. This rule does allow you to unleash a lot of firepower on a given turn, but it requires a ton of setup. Since it has to be used at the beginning of a turn, you can't use it the turn that the Stormravens arrive on the battlefield. Once your Stormravens are on the table, you have to line them up at the end of your previous turn to all target an important enemy unit for an Annihilation Strike at the beginning of your next turn. Don't plan to shoot anything fast enough to move out of line of sight. Finally, there's nothing guaranteeing that your Stormravens will arrive from reserves together, so you may never get the chance to fire a coordinated strike. Overall, I think this rule requires way too much luck and setup to use reliably.

The last two Auxiliary choices aren't real Formations, just groups of units without Command Benefits. The first is the Rapid Assault Force, which is composed of 1-3 units of Assault squads, Bike squads, Attack Bike squads, or Land Speeder Squadrons. This includes a number of Blood Angels players' favorite units, and is an appealing cheap Auxiliary choice to fulfill the Angel's Blade's requirement. The second is the Fire Support Force, which is composed of 1-3 units of Devastator Squads, Vindicators, or Whirlwinds. While not as favored by Blood Angels as the faster units in the Rapid Assault Force, it's still nice to be able to take some solid fire support as part of your army.