Space Wolves
Rune Priest w/ Divination
10 Grey Hunters w/ 2 plasma guns
10 Grey Hunters w/ 2 plasma guns, Drop Pod
6 Long Fangs w/ 5 missile launchers
6 Long Fangs w/ 5 missile launchers
6 Long Fangs w/ 5 missile launchers
Aegis Defense Line w/ Quad Gun
Chaos Space Marines
Kharn the Betrayer
8 Khorne Berzerkers w/ power fist, Dreadclaw Drop Pod
16 Chaos Space Marines w/ Mark of Khorne
Blood Slaughterer
Maulerfiend
As we set up, we were talking to our opponents about our previous games. We just assumed that we'd been paired with another team that had lost their first game, so we were very surprised that a quirk of the pairing system had resulted in our fighting a winning team. Not only that, but they'd beaten a historically strong team in their previous game. We were in for a tough fight.
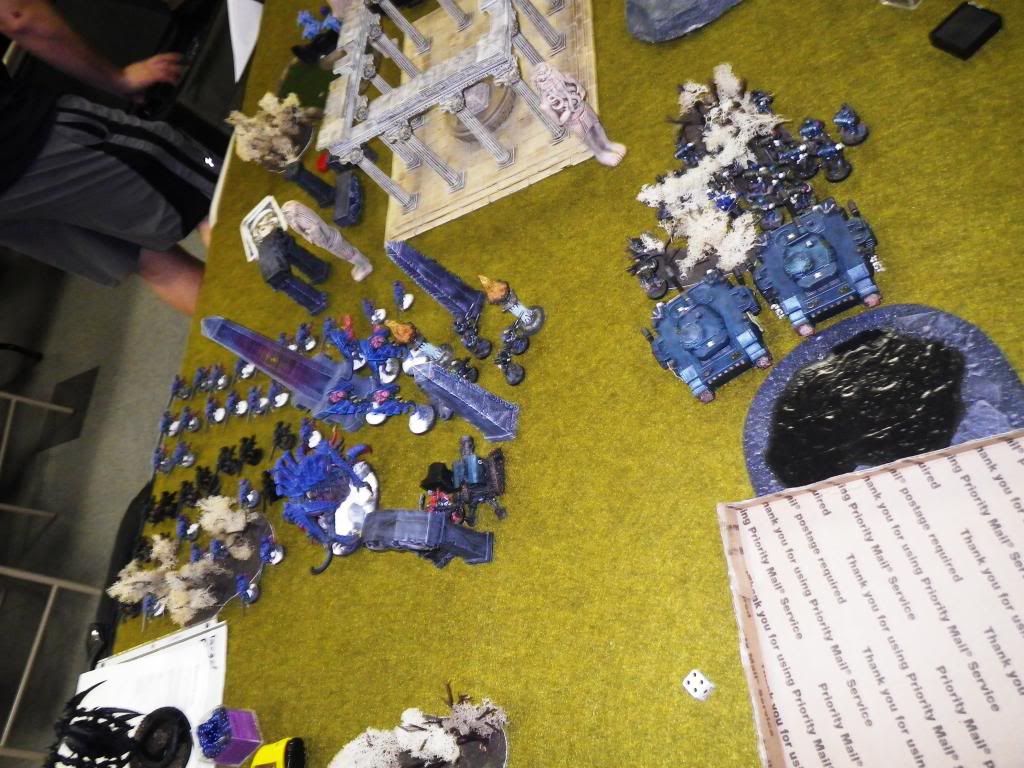
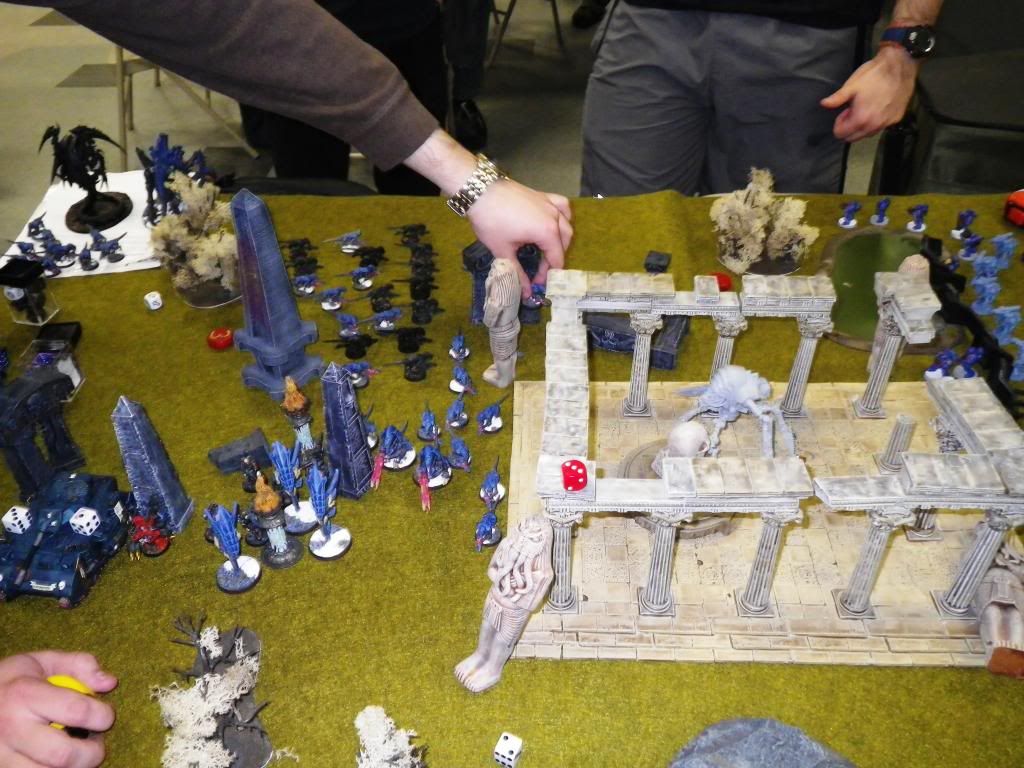
The game was The Scouring with Hammer and Anvil deployment. Our enemy took first deployment/turn. They deployed the Aegis across the front of their deployment zone, with Long Fangs and some Grey Hunters covering the flanks. The Chaos Space Marines were deployed on our right flank, while the Blood Slaughterer and Maulerfiend deployed in the center.
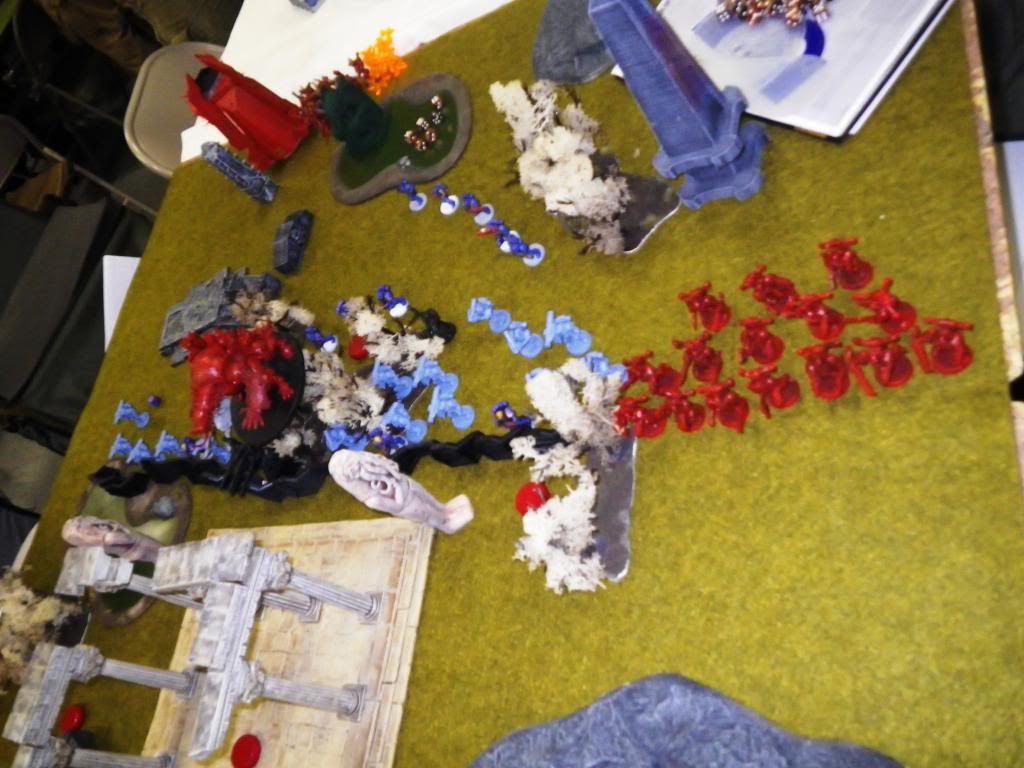
I deployed the Sternguard and Tactical squad in the woods on the right, with the Predators behind them. We crammed the Thunderfire, Scouts, Tervigon, Zoanthropes, and Hive Guard into the ruins in the center, while Termagants swarmed the left flank.
Turn 1
Our opponents started the turn by charging the Khorne Marines forward on the right and the two walkers forward in the center. The Drop Pod arrived and deployed more Grey Hunters behind the line. They uncovered two objectives, worth 4 and 3 points. In the shooting phase, the Long Fangs gunned down the Tervigon. Not a good start for us.

 |
| Note the large gap in our lines that used to contain a Tervigon. |
We uncovered the objective in our deployment zone, worth 3 points. The Termagants shuffled around a bit, and then we opened fire. The Zoanthropes and Hive Guard killed the Maulerfiend, which was our first priority since it would be able to assault next turn. Most of my army shot at the Khorne marines, killing 9 of them making sure they couldn't assault next turn. Finally, the Thunderfire targeted a squad of Long Fangs, blowing apart a Pack Leader and 3 missile launchers.
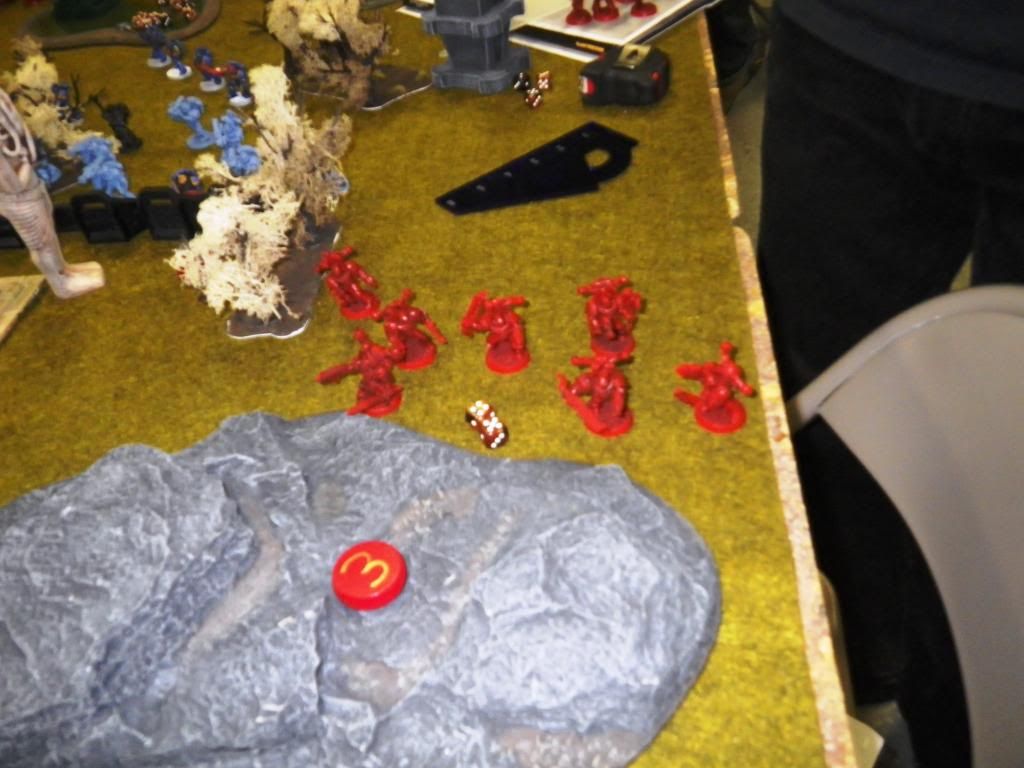 |
| The Khorne Marines took a mauling but held their ground. |
 |
| The Thunderfire took a chunk out of the Long Fangs. |
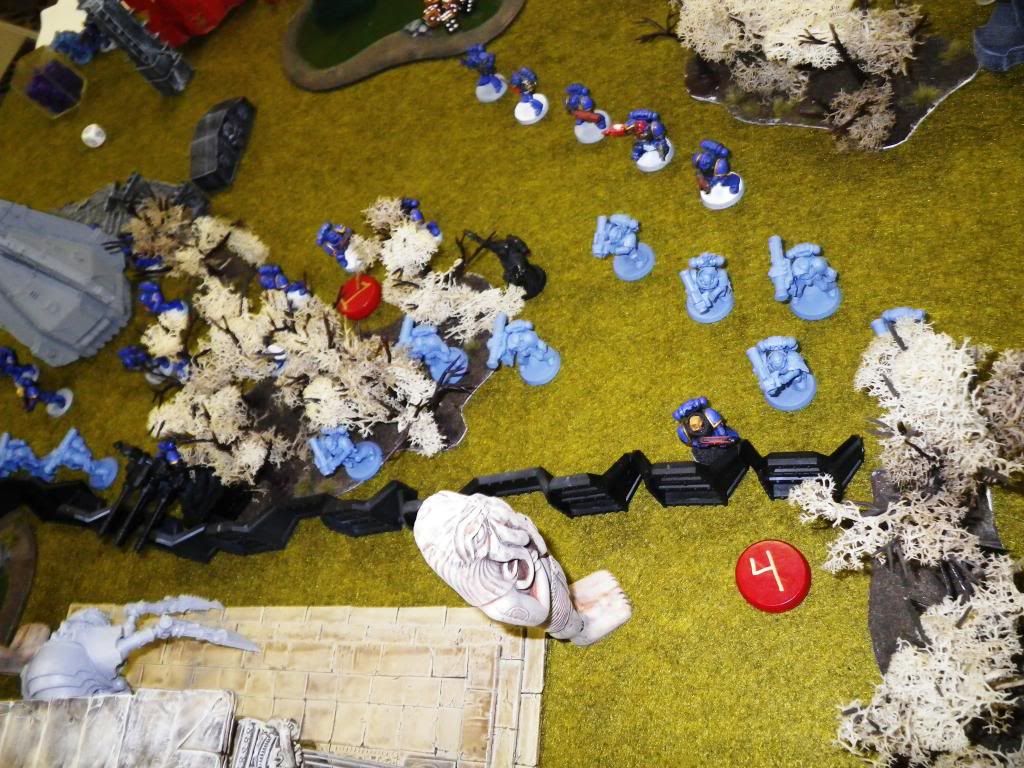
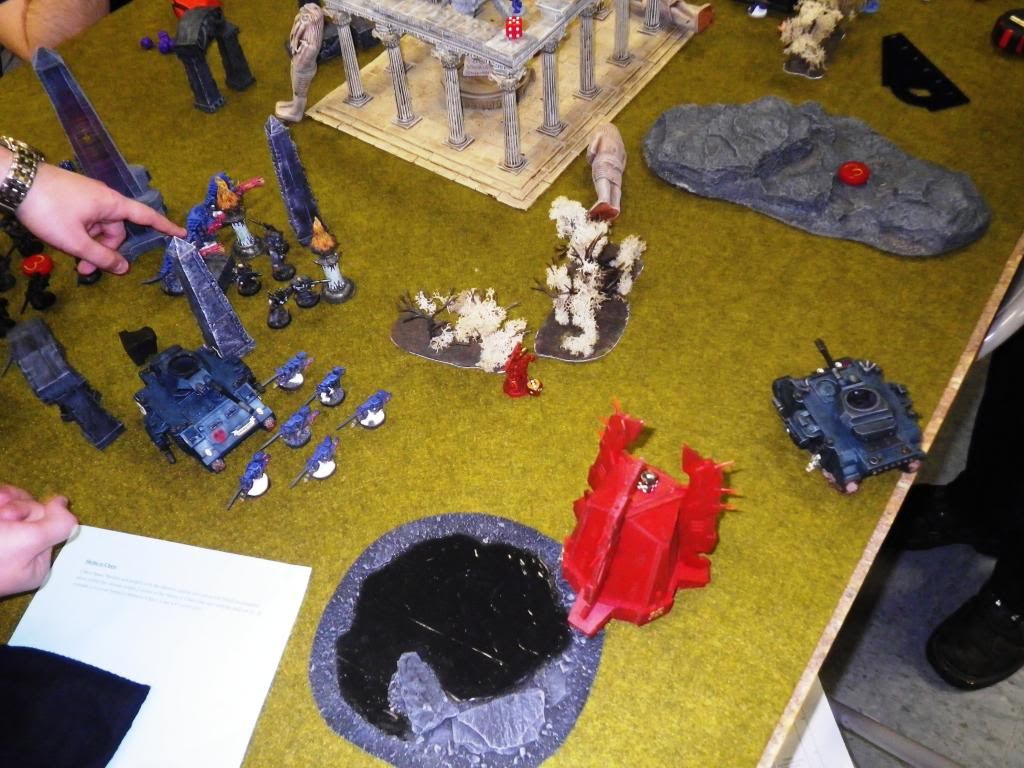
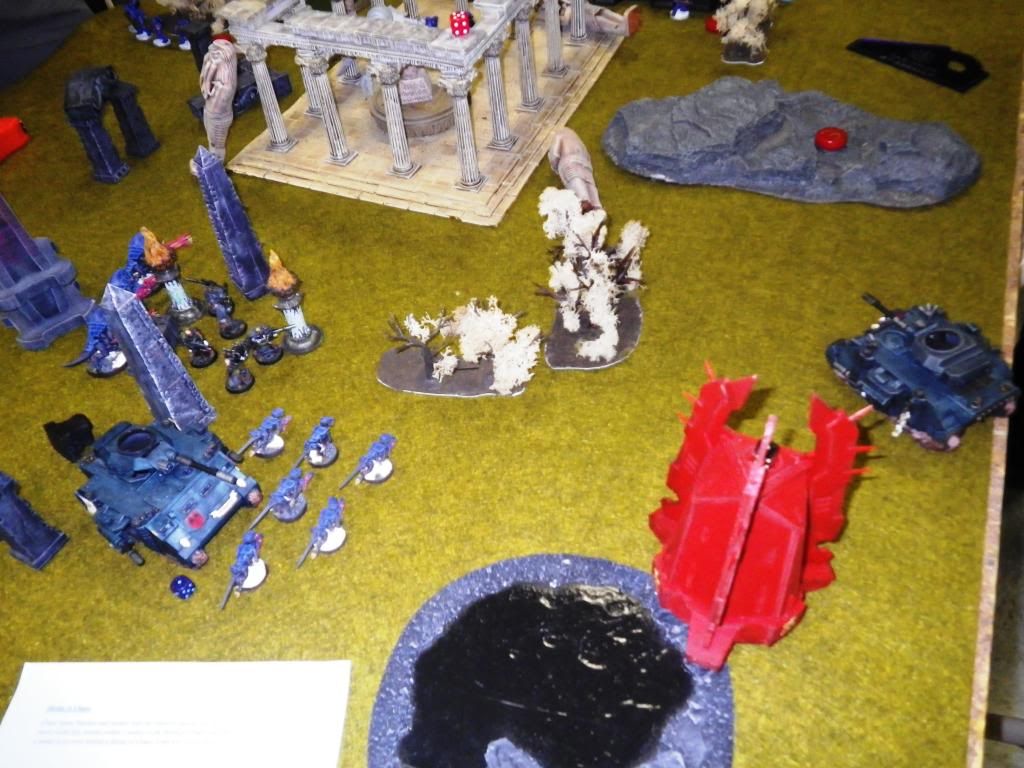
The Dreadclaw came on from reserve, and hovered behind my Predators. The Khorne marines advanced again, as did the Blood Slaughterer, while some Grey Hunters moved forward on our left to secure another objective. Remembering the damage it did last turn, the Long Fangs concentrated on the Thunderfire and destroyed it, leaving the Techmarine on his own.
The Nids advanced to counter the advancing Grey Hunters, while the Zoanthropes and Hive Guard immobilized the Blood Slaughterer in the center of the table. Since it didn't have any ranged weapons, we were happy about that. On the right, my marines had a tough choice. They had Khorne marines in assault range in front of them and a Dreadclaw full of nastiness behind them. I chose to advance my squads toward the Khorne marines, hoping to move out of assault range of the Dreadclaw's squad. They gunned down the remaining Khorne marines. My Predators swung around to take shots at the Dreadclaw, but didn't hit it.
Turn 3
The Grey Hunters continued to move toward the objectives, while the Long Fangs blasted the Zoanthropes but they made all of their saves. The Long Fangs also shook one of my Predators. In the mean time, the Dreadclaw dropped off Kharn and his Berzerkers. I had horribly misjudged the assault distance, and Kharn assaulted the Sternguard while the Berzerkers charged the Tactical squad. Kharn killed the Sternguard Sergeant in a challenge while Berzerkers wiped out the Tacticals thanks to some horrible armor saves on my part. The Sternguard tried to use Combat Tactics to fall back away from Kharne, but weren't able to break away.

Our turn started with the Trygon arriving in the forest behind the enemy line and gunning down a couple more Long Fangs. Meanwhile, our firepower was concentrated on the Berzerkers running amok on our right flank, killing 5 of them. Kharn challenged and killed my Librarian. This time, the Sternguard were able to break away from Kharn. I know that allows him to assault again but it also gives my squad another round of Overwatch. Given how nasty Kharn is, 2 extra attacks wasn't going to make a difference.
Turn 4
The bulk of the Space Wolves firepower went into the Trygon, killing it off. The last 3 Berzerkers charged and destroyed my rightmost Predator while Kharn charged the Sternguard, killing 4.
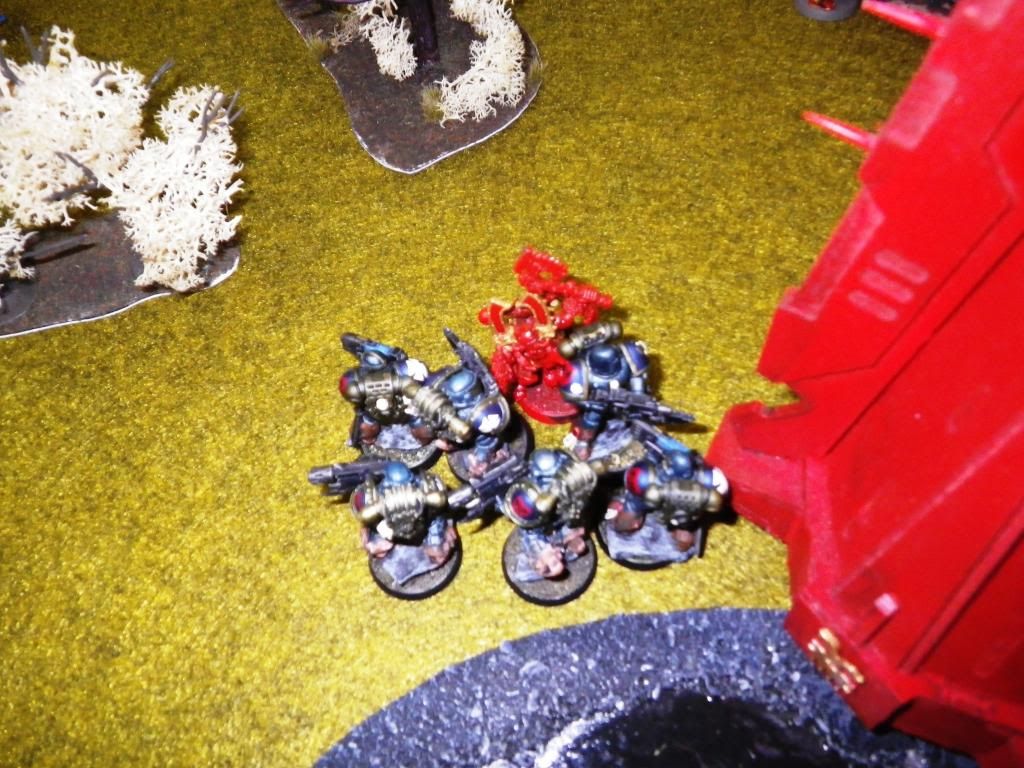
 |
| The Khorne contingent prepares its assault. |
 |
| The Berzerkers tear apart the Predator. |
 |
| Sternguard before Kharn... |
 |
| ...and after Kharn. |
Turn 5
The Long Fangs finished their vendetta with the Zoanthropes by gunning them down, and the Grey Hunters held onto 3 objectives. Kharn wiped out the last 2 Sternguard and consolidated toward our center.
We held our only objective and gunned down Kharn. With that, the game ended. We had lost pretty conclusively.
 |
| And Kharn is finally down! |
Lessons Learned:
Things really didn't go our way this game. We had the firepower to take out the enemy assault forces, and I was confident we could deal with even 3 squads of Long Fangs. When the Tervigon died first turn, we were in off to a bad start. The Trygon not showing up until Turn 3 also hurt, as all our other major threats were already dead and they could concentrate their fire on the Trygon.
However, the real killer was the squad in the Dreadclaw. It wiped out the bulk of my army and destroyed most of our firepower. There was no way I could outrun their assault; I should have measured it and realized that. I should have retreated from the Khorne marines and put every shot I had into the Dreadclaw; since it's a flier, killing it would probably have wiped out the squad inside. That alone might have turned around the game for us.
Anyway, it was a fun game. In particular, I always enjoy playing the Khorne player. His list and play style are amazingly fluffy, and Kharn reaped a great tally for Khorne this game.