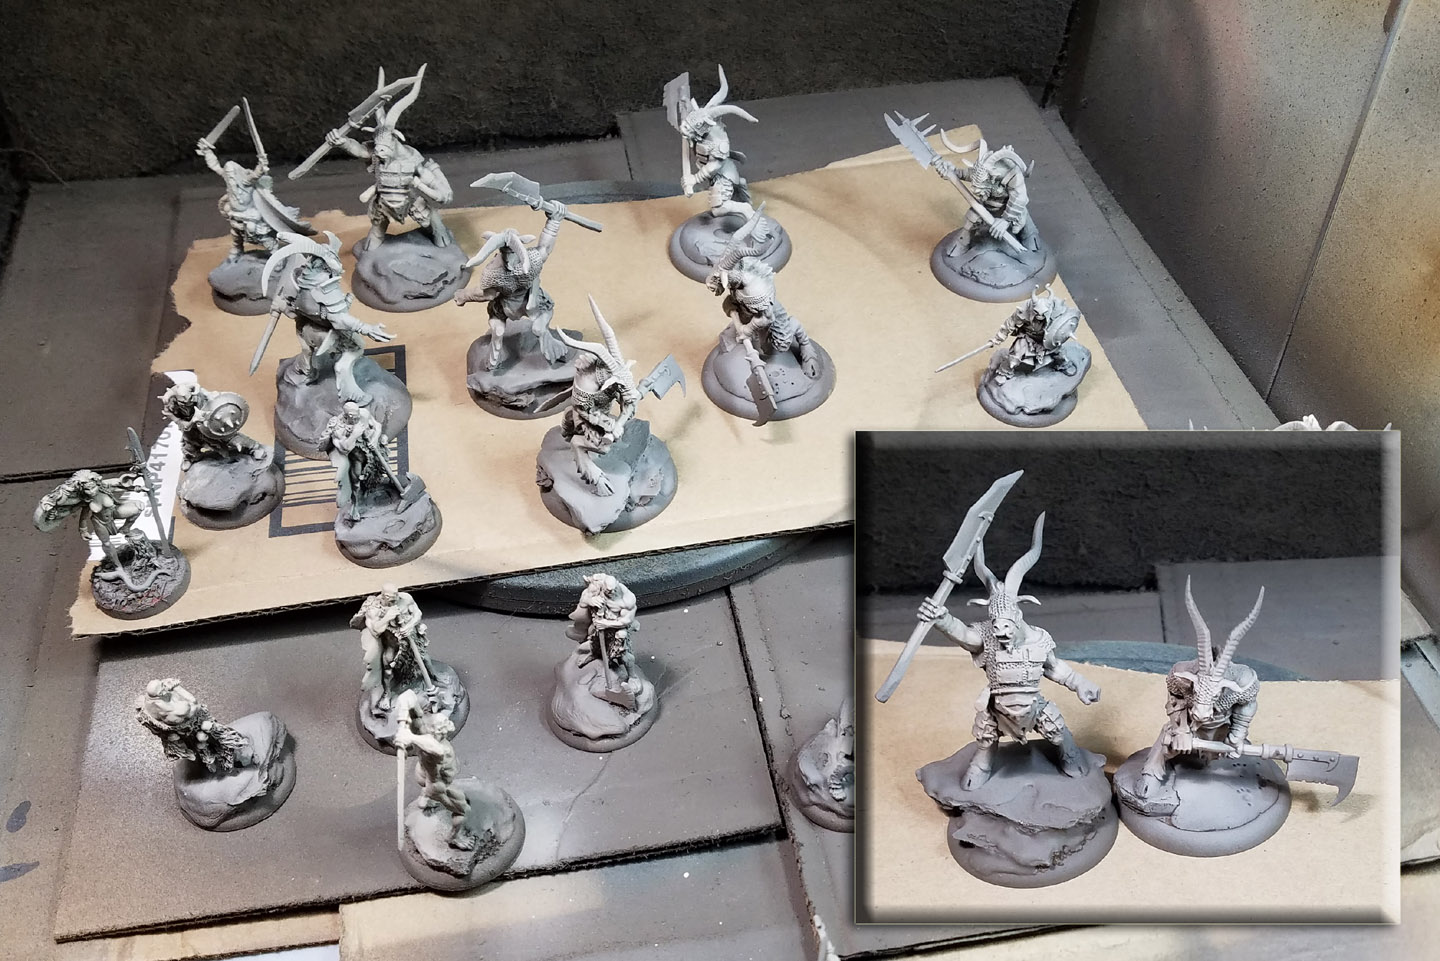
I think the last little step by step that I made of "primer painting" showed a unit of Bolt Action minis, so I thought I would snap some images of a more diverse group. There are a number of different manufacturers here, ready for some Stynlrez Primer from Badger Airbrush.
As you know, there are already a dozen colors, which means that you really can paint with primer! I Began in this case with one of the new dark brown primers, which is called Ebony.
It is a very nice Van Dyke Brown shade, which was a great initial layer for these big beastmen figures from Mierce Miniatures. At this point, I am just looking to cover every surface.
There's even more sitting over here, including some telephone poles that I quickly made for the urban table (there's a how to on those coming as well!)
I prime dozens of figures all at the same time, along with large creatures and even terrain. Once that all has the first darker layer, I will start to add in some lighter colors and let those 'mix' in the reservoir of the airbrush. The lighter tone here is the 'Skintone' primer.
That is allowed to mix in the reservoir with the remaining Ebony primer, and the figures will be primer painted lighter and lighter...
I continued with this process on the Reaper and Red Box Games figures, gradually lightening that mix... but making sure not to wipe out the original darker color in the shadow areas. Some of the Mierce beastmen are shown in the inset image.
Remember, what I am trying to do here is the replication of my Shaded Basecoat technique on a mass scale. Since you are going to be making a bit of a mess anyway, why not do a whole bunch of minis at once, instead of just a handful?
I gradually add lighter colors into the mix, such as tan and then ultimately a tiny bit of white primer. I do not clean out the airbrush at any stage here! It is important, because allowing the colors to mix and flow from the brush means that you get those smoother transitions of light to dark along the way.
I also have to keep in mind that I sometimes go back into the darker areas with another tone once I have all the lightest colors established. Sometimes I will do that by mixing in the ghost tints with primer colors. You still get the benefit of a primer, but now it is tinted in a way that you could not make a primer color...
Here's that lightest color established on the beastmen. The bases will have snow on them, just like all the previous figures in this massive army. So even more lighter colors have been added in those areas.
There are certainly more colors in the primer range than tans and browns! There are greens and even a blue, which I will use here on a few Mantic figures, which have an obvious under sea theme. You can see what the slate blue primer looks like on the test spray.
After I put the blue primer layer down, I started to mix in some seafoam green to get a few quick color transitions. I will be painting glazes over this with the Reaper clear paints to enhance the depth of tone and shades, along with golds and copper NMM which will see the original greens and bues showing through.
That is all a part of the Shaded Basecoat technique, which is setting up the layers of glazing in advance. Sometimes the glazes are meant to darken and enhance these early layers, which is the case on the beastmen. Sometimes, however, I will actually put layers of color that are the opposite of what I did during the primer painting phase, using that as an underpainting.
Finally, I added a few spritzes of the slate blue on metal areas, such as the weapons and armor on the beastmen and this Gondor figure.
I will try to do a few step by step articles to show how I take advantage of all this rapid primer painting, so stay tuned for those!
I am also going to start doing the live sessions again, now that we have learned a few things about gaining more control over the camera focus and macro settings! If you want to see more of that, I have established a patreon page which will create a bit more time for those live action tutorials:


