 |
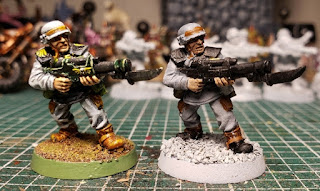
| Finished and basecoated. |
Recently I tried to arrange a game with Da Masta Cheef which sadly didn't happen. We had set the point limit for just 500pts and with that low a model count I started to look at my armies that I rarely play. I decided to make a list for an army that I have never played (at least not within the decade that this blog has existed): Imperial Guard. I have two Imperial Guard armies, Valhalla and Cadia, very little which of either are painted. When it comes to painting them, I have always been intimated by the sheer number of these guys I have for both armies. And I have been having fun with projects already in the queue so the urgency to get to them has simply never been there. But, 500 pts....hmm. I was able to cobble together a decent list for that with half of the models painted. Since the game was canceled faster than we could plan it, I found myself with the free time to really look at these guys. I love the original metal Cadians. I like the plastic ones just fine too, but the metals had a character and charm the plastics lack. I assembled a squad of totally unpainted minis and decided, "screw it, it's just one squad of infantry, let's do it!"
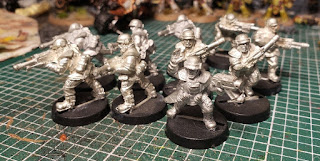 |
Cadia stands...in the Neverness paint queue.
|
The first thing I did was clean up the flash and mold lines. A chore I don't miss when it comes to metals. Then I added grit and skulls to their bases. Then it was prime time.
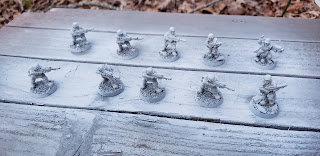 |
| Prime time. |
I chose a white primer this time. The
last time I painted this color scheme on Guardsmen I used a black primer and was a bit unimpressed with the outcome. They're fine I guess, but compared to the first test model I had done a few years earlier, I found them lacking. I intend to not let that happen to these guys.
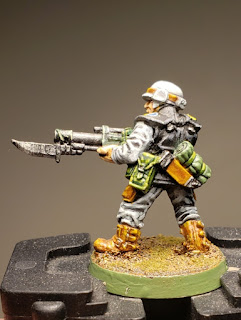
So I revisted the first test model I did way back around the turn of this century ('99? 2k?). I have shown this model on this blog before but those pics were not the best so here it is again and from more than one angle.
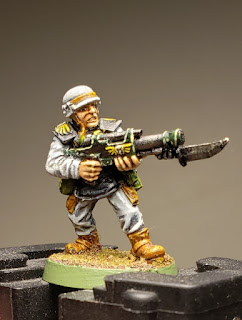 |
| Original test model |
 |
| Test model from behind. |
I struggle to recall the exact formula I used on this guy originally, but my pallette was very much limited back then compared to what I have now so it shouldn't be too hard to figure out.
I started by using Gulliman Flesh Contrast Paint on the skin. This is the dream color for anyone who wants to get their Caucasian skinned miniatures battle-ready as soon as possible. Two layers of tha paint and it's passable in my book. Ultimately I will work on it more but for now, it's alright.
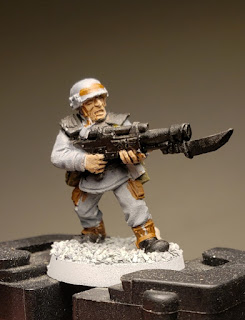 |
| Basecoats (front). |
The Grey uniform was basecoated using Craftmade Graphite. The black areas were basecoated using Abaddon Black. I used Mournfang Brown on all the brown areas. The pouches and bedroll was painted using Tamiya Color Olive Drab. The aquillas are going to be down in metallic golds. I like how these came out on the test model but that yellow is a pain to paint and they look a bit too...'90s.
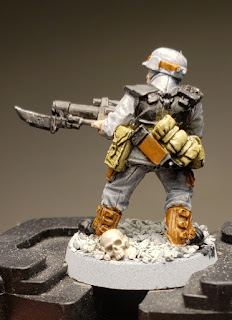 |
| Basecoat (rear) |
These basecoats came out well, and I think it's good enough to be battle-ready honestly. I took advange of the moment and repeated this process on the rest of the unit.
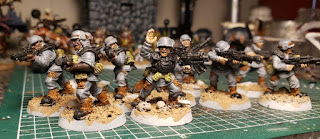 |
| The whole unit. |
I plan to to paint these guys up to the level of the test model. But for now I am happy to have, what I consider to be, a battle-ready unit for when the chance to have that game with Cheef ever arises. Oh, wait, it did happen! Expect a battle report soon!
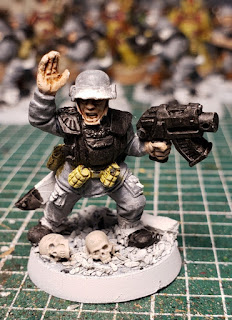 |
| Sarge says: "Come back for some xenos slaughter!" |


