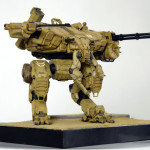
As with everything I do it took longer than planned, but the Fidder is finally completed!
I spent my long weekend finishing off the base so that I could do the pigment “dusting” to both the base and the model at the same time (to ensure the tones are correct). The base has turned out fantastically, especially after the pigments were added – they really pull everything together.
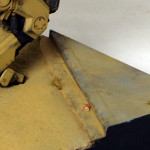
I’m very pleased with the concrete sidewalk on the base – I’ll share the technique on an upcoming post for my Warhound diorama (that’s next on the agenda). It was coloured by airbrushing with a custom Vallejo paint mix and then discolouration was applied using some oil and enamel paints. This step really makes the difference and makes it look like real, dirty concrete. A dark wash was applied to the joins between the slabs. I do have to note how much better these oil washes look than trying to achieve the same effects with acrylics. After the oils had dried I misted a light coat of Tamiya TS80 Flat Clear spray over the concrete to dull it down a bit.
But by far my favourite detail is the Coke can in the gutter. It was a last minute addition that came to me in a moment of inspiration. It’s simply a piece of 2.5mm styrene rod with a crinkle pattern carved into one side. A small hole and a piece of microstrip make up the ring pull on one end. It was then primed and painted with Vallejo silver. The sides were given a coat of semitranslucent red (in order to retain some of the metallic sheen of the silver underneath) and finally “Coke” was painted on the side in white with my finest brush. It turned out fantastically and as my girlfriend pointed out it gives a really good reference of scale.
As I said above, it was the pigments dusting that really brought it all together. Despite the concrete looking dirty from the oil paint application, it needed to be covered in dirt to simulate the arid environment. In particular the gutter needed to be very dirty. I mixed up a nice colour using Secret Weapon Yellow Earth, Green Earth and Slate Grey pigments and applied it everywhere. It was deposited in heavy clumps in the gutter and then some Tamiya X20A thinners were dropped on top to settle it down. Once the thinners had evaporated I feathered it all out a bit and the result looks great.
All in all it’s been a very satisfying project. As always I’ve learned a lot of lessons along the way! The biggest change that I think would have helped would be to add some warning sign and other aircraft style decals in a few spots. I just didn’t have any handy when I was at that stage and didn’t want to delay things waiting for some to arrive via mail order!
I do also have a 1/35 soldier figure to add to the base but the intention is to sculpt a futuristic looking helmet/visor system for him first. I’ll get around to that one day and he can be added to the base then ![]()
On to the pics!

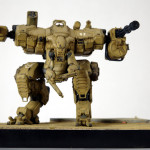
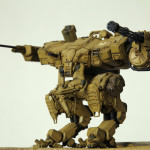
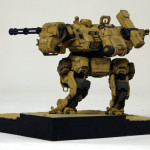
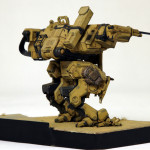
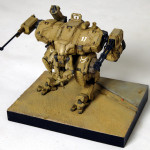
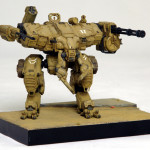
I’ve got to give a shout out to my girlfriend Kat for taking the pictures with her super expensive camera in her home studio. Thanks! ![]()