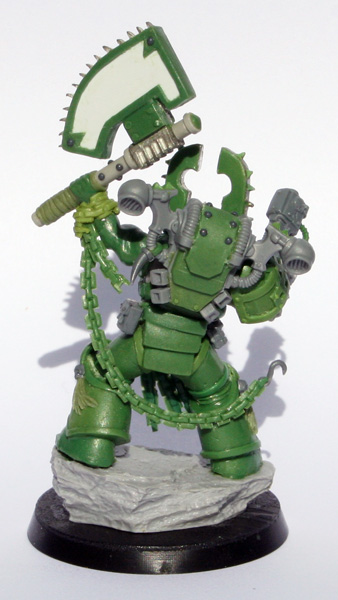
While working on my Kharn conversion I knew I had to figure out a way to remake the chains wrapped around the model’s arm. There are a few tutorials online on sculpting chains but none of them appeared to be what I needed. This method gives a more refined and squared off chain.
Whilst I normally mix Magic Sculp with my Green Stuff, in this instance I stuck with plain Green Stuff. Begin by rolling out a very thin sausage keeping its thickness as even as possible.
Press the Green Stuff on a clean flat surface, plastic card or something similar. Try and keep it in roughly a straight line.
Using a sharp blade (lubricated with Vaseline, water or saliva) trim the edges away to leaving a tidy clean strip.
Next (using the scalpel again) carefully remove small segments at regular intervals.
Leave to cure.
Repeat the same basic technique with an even thinner sausage of Green Stuff on top to create the links between the first set of segments.
Here’s one I made earlier.
Once cured, make a one piece mold. I use Blu-Stuff, but whatever molding putty or medium you prefer should work.
When you have a mold roll out a sausage of Green Stuff and push it into the mold, carefully removing excess putty as best you can.
Using the edge of a tool (I used the chisel shaped Clayshaper shown above) to make indents on the back of the cast to match the front. After this has cured you can add the central line of interlinking parts just like you did for the front.
Note: if you want the chain to be curved you will need to remove the cast from the mold before it fully cures. If that’s the case the last stage of links on the back have to be added after it’s removed from the mold and left to cure.


