Welcome in part two. I shall start with step seven, as on six finished we have, lols.
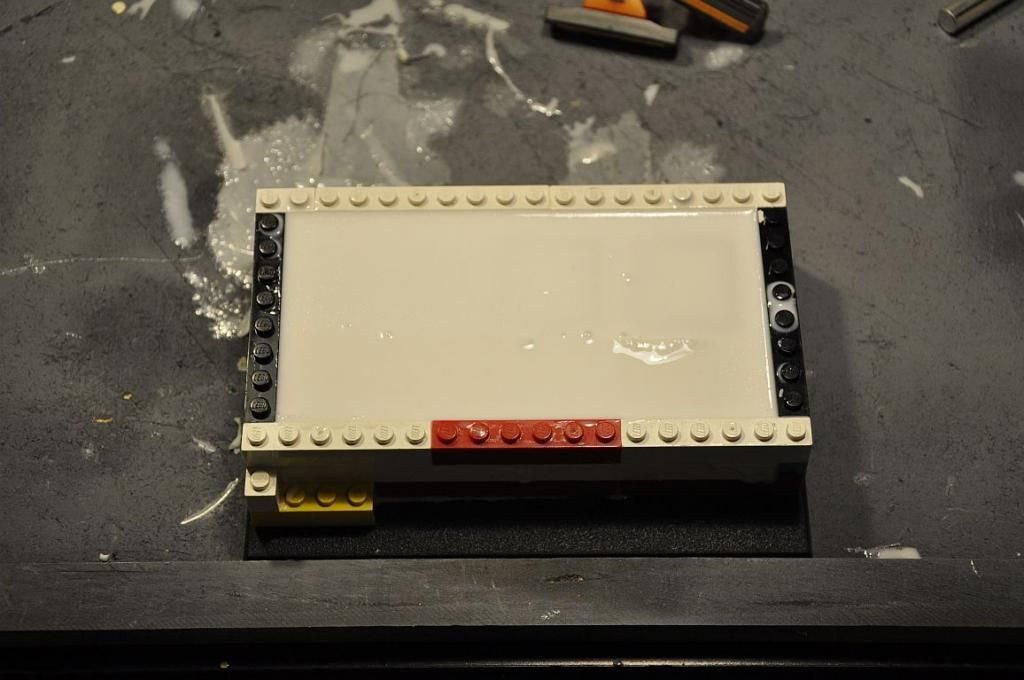
7. Jak pamiętacie na tym etapie skończył się poprzedni tutorial. Forma wyglądała tak:
As you remember, we have finished more or less in that state. The mould looked like this:
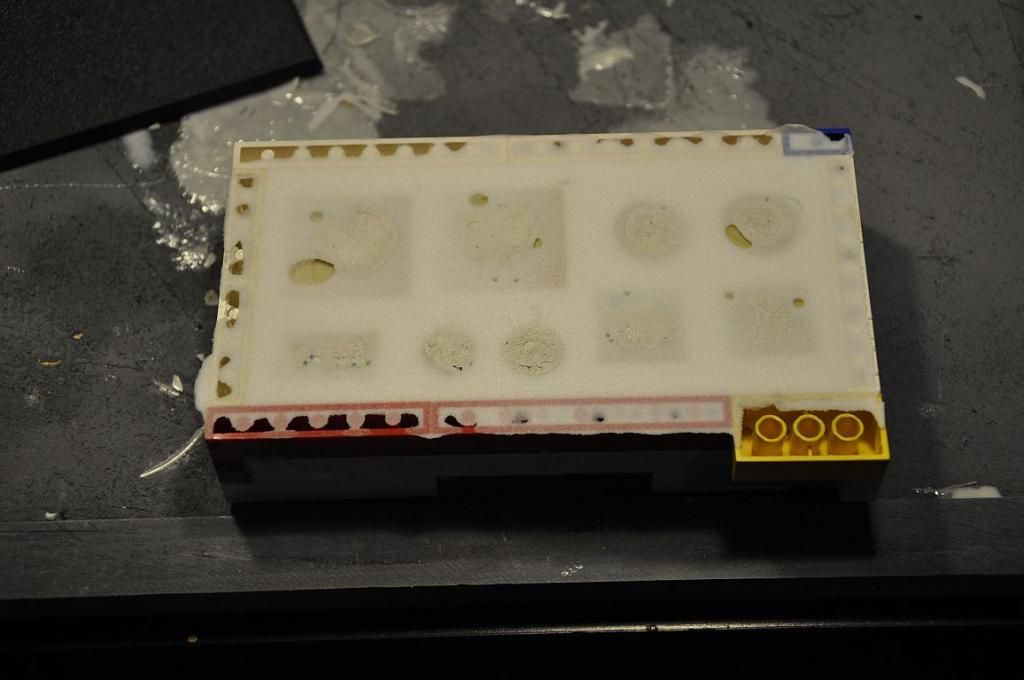
A po odwróceniu prezentuje się tak:
And after flipping upside down:
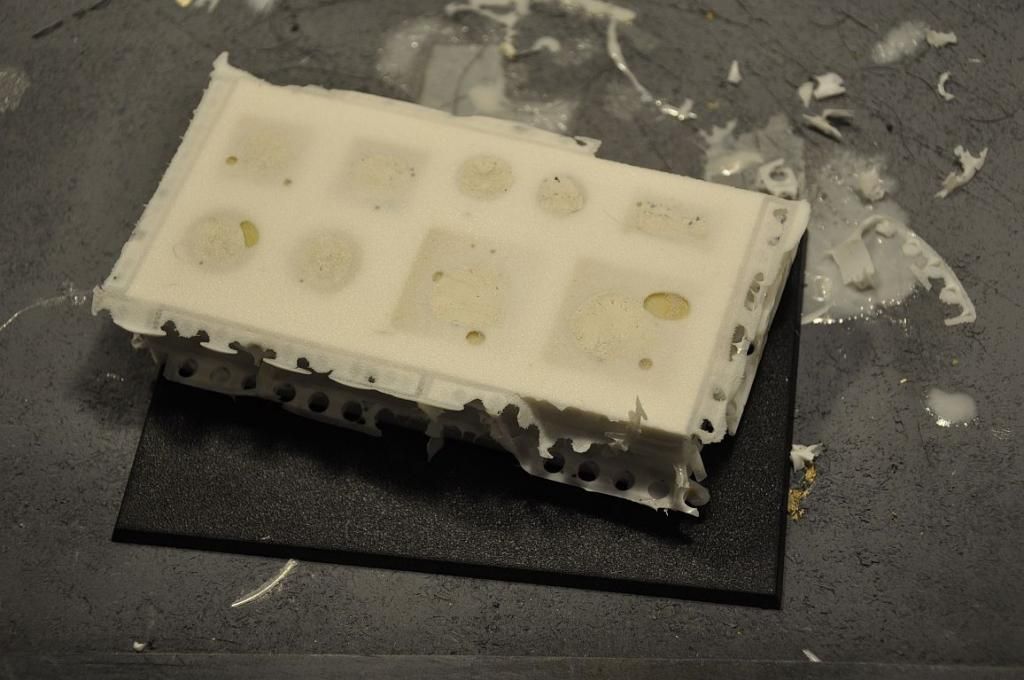
Po zdjęciu klocków i ogólnym wygląda tak:
After removing the bricks like this:
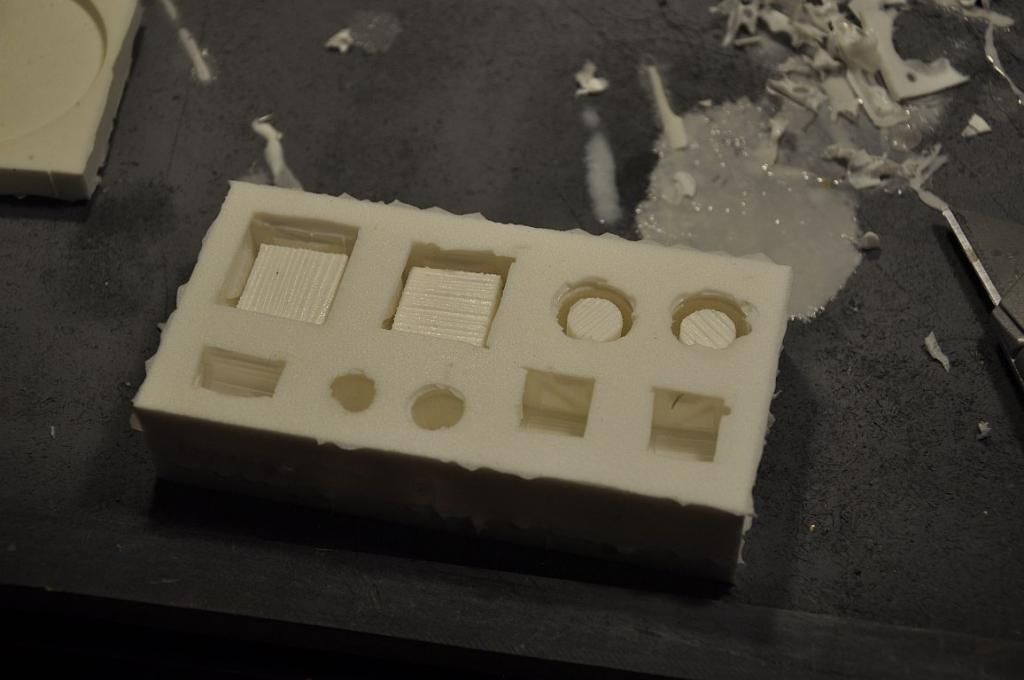
8. Teraz gotowi jesteśmy wyjąć ostrożnie oryginały i zobaczyć jak prezentuje się forma:
Now we are ready to remove the originals and inspect the mould:
9. Jak już wszystko się zgadza, łapiemy oryginały i wrzucamy na wagę. Jeśli były, jak w tym przypadku zrobione z żywicy, to sprawdzamy w ten sposób ile żywicy musimy przygotować do pierwszego odlewu.
Assuming everything's A-OK, grab the originals and weigh them. If they were, as in this case, cast in resin, this should give us a guideline on how much resin we need to prepare for our first cast.
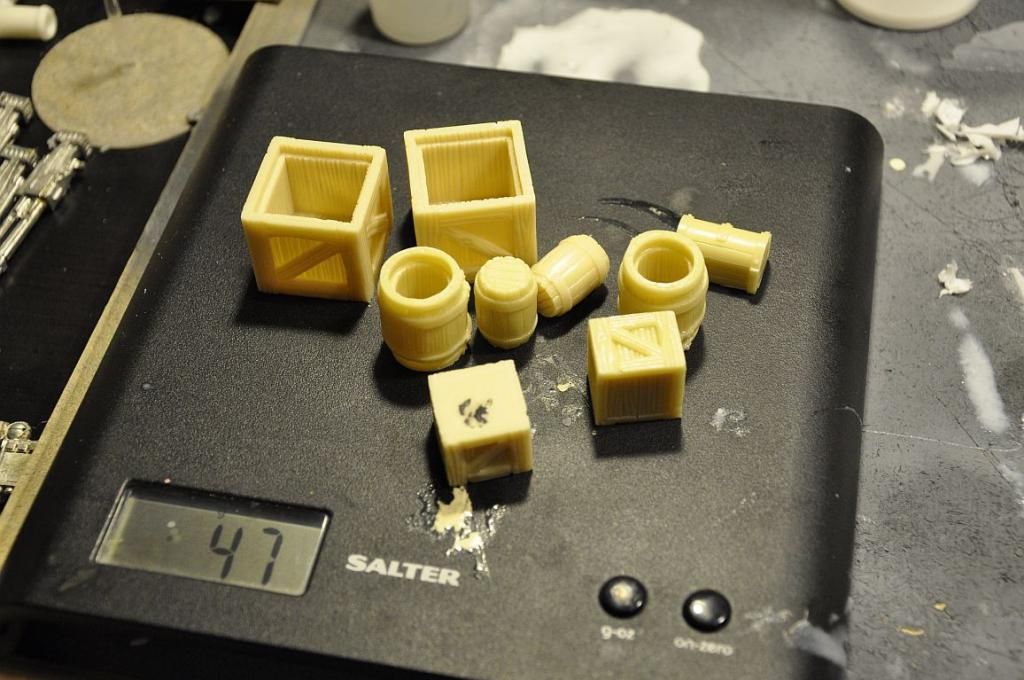
10. Mamy już nasze 47g, czyli 24 na każdy składnik (przy żywicy dwuskładnikowej 50/50).
We got our 47 g, so 24g of each compound (in two compound resin 50/50).
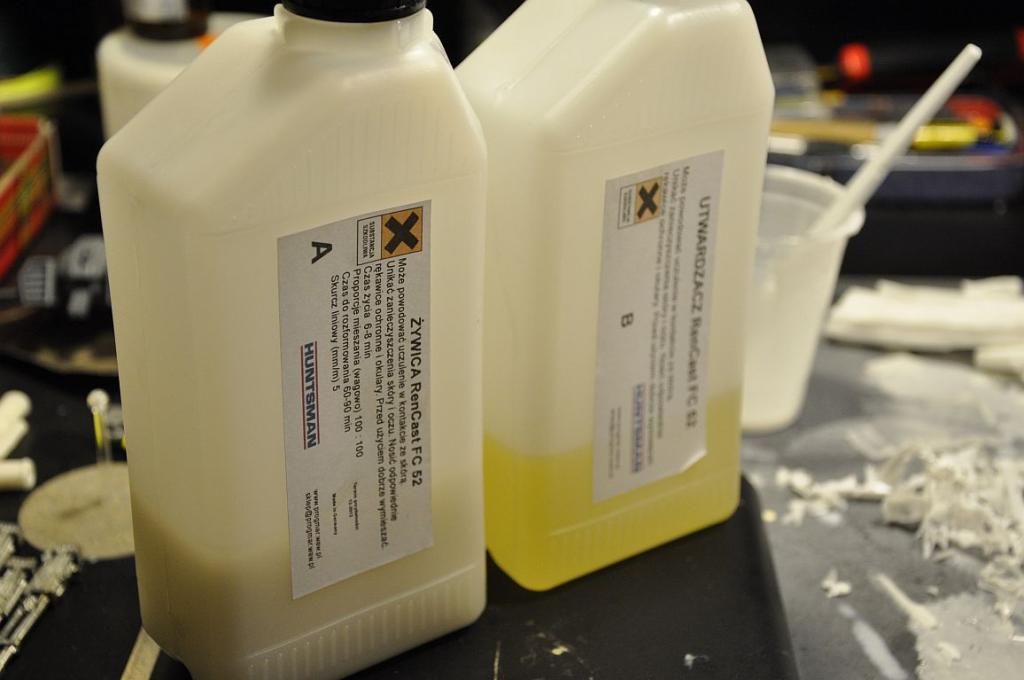
W przypadku pierwszego odlewu, proponuję rozrobić trochę więcej i przygotować (jeśli już macie) inną formę, aby tam odlać resztkę. W ten sposób nic się nie zmarnuje, a na pewno wam wystarczy żywicy aby formę ładnie zalać.
If this is the first try with the mould I suggest mixing a bit more and have one other mould ready so you can dispense the remaining resin. This way we do not waste any and have enough to fill the mould properly.
11. Rozrobioną żywicę wlewamy połowicznie lub mniej w formę i stosujemy mój kolejny trik.
Pour the mixed resin half way into the mould and apply my next trick.
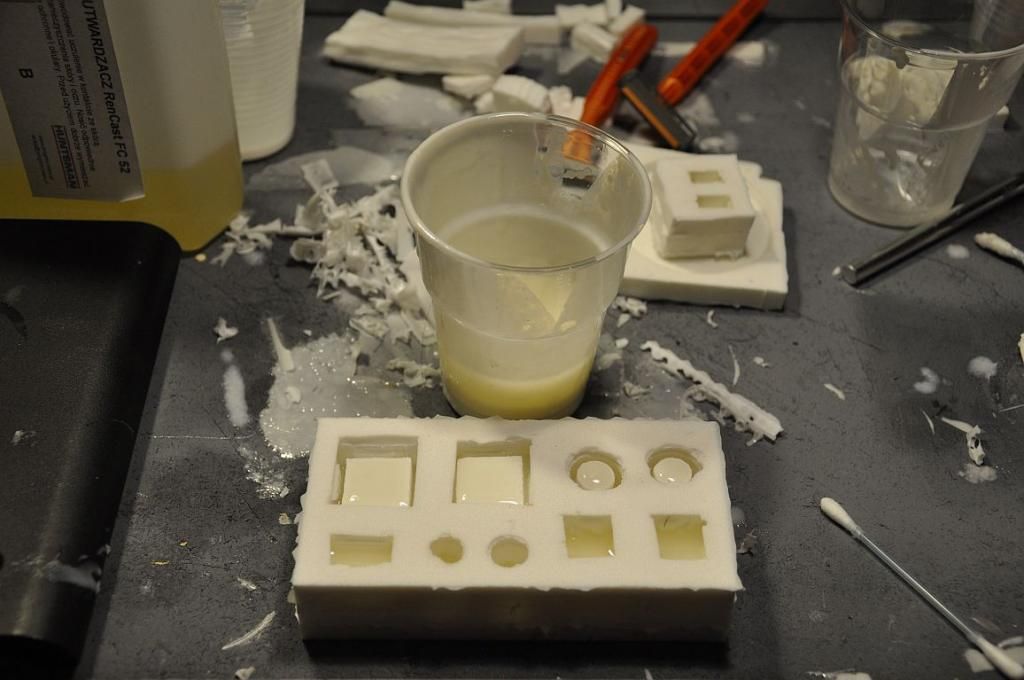
Patyczkiem do uszu rozprowadzamy po brzegach i dolnych partiach. W ten sposób unikniemy niedolewek. Jak już to zrobione, zalewamy resztę tak, aby była lekko wypukła, nie może być efektu niepełnej szklanki - wolimy przelaną.
With an ear bud spread the resin all over the bottom and deep creaveces of the mould to fill them with it avoiding any bubbles. Then we pour the rest until we have the effect of an overfilled glass top.
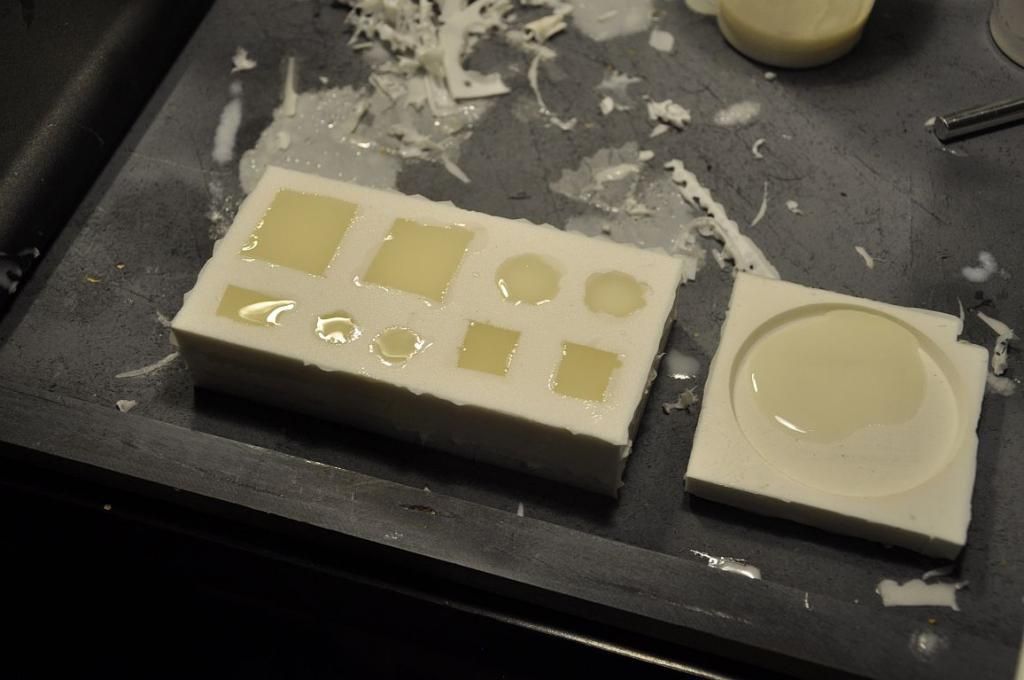
Jak na obrazku powyżej. Jak widzicie, forma na podstawkę dreadnoughta leży obok i zbiera resztki. Z kilku takich akcji mam podstawek, ich nigdy za mało.
Tak zalaną formę zostawiam na kilka godzin. W sumie można już wyjmować po 45 minutach, ale to są duże gabaryty i grube, więc dla bezpieczeństwa zostawiam na dłużej.
As you can see on the picture above, I have a dreadnought base at hand to pour excess resin. Couple of tries and I have a full base. There's never enough of them.
The mould should stay like this for couple hours at least. You can pull out after 45 minutes, but since these are huge in size and volume I should leave it longer.
12. Jak sprawdzić, że już wszystko gotowe? No ja na przykład odłamuję jakąś drobną nadlewkę:
How to check if it's all set? Try the overfilled resin:
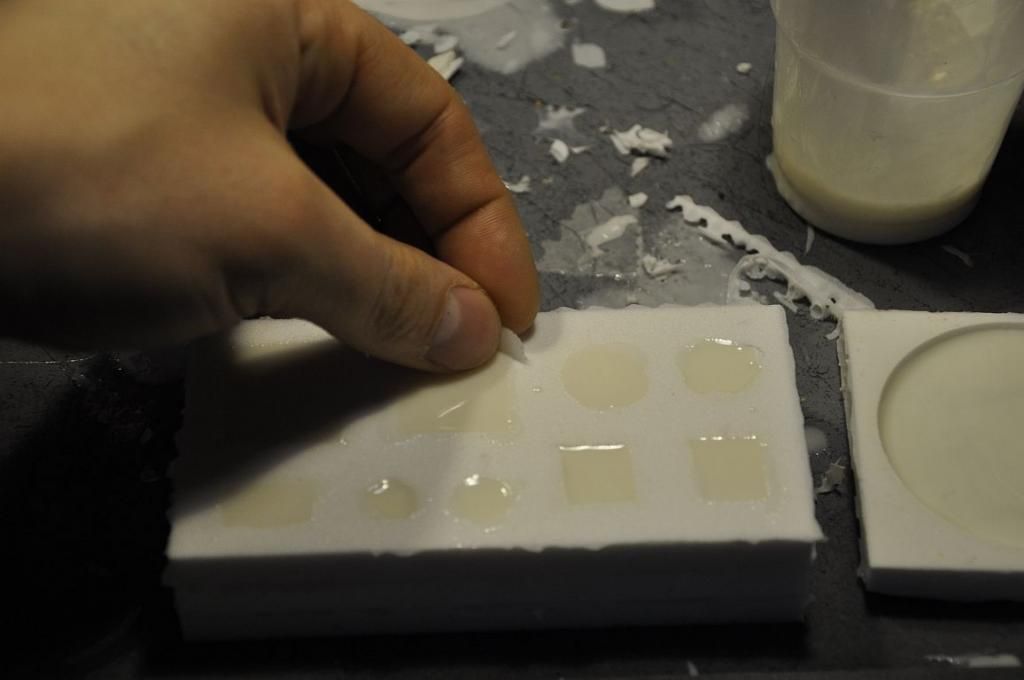
Jeśli jest krucha, to można już wyjmować, ale wszystko zależy od żywicy jakiej użyjecie. Musicie to wyczuć po prostu. Jeśli macie wątpliwości, zostawcie na dłużej, proste.
If it cracks easy it should mean it's OK to pull casts out. You need to get the feel of the resin you use. The longer you leave it in, the better.
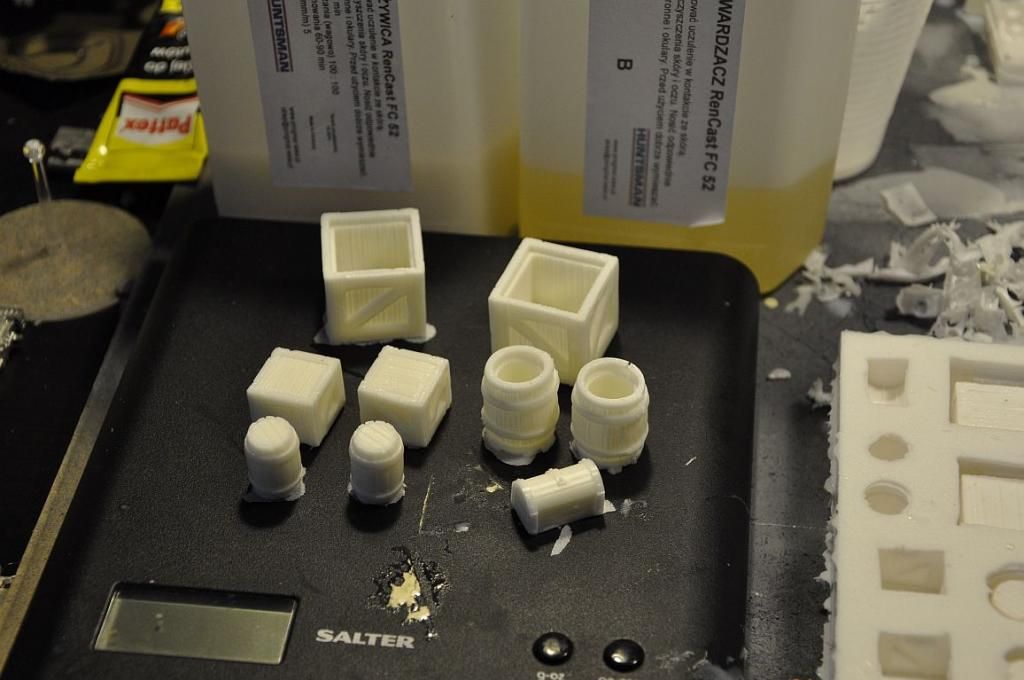
13. I Voila! Cyk Myk i nasze twory są gotowe!
And Voila! Few steps and it's ready!
Jeśli macie jakieś sugestie lub też pytania odnośnie powyższego tutka, piszcie śmiało w komentarzach.
If you have any questions regarding this tutorial, go ahead and ask in the comments.