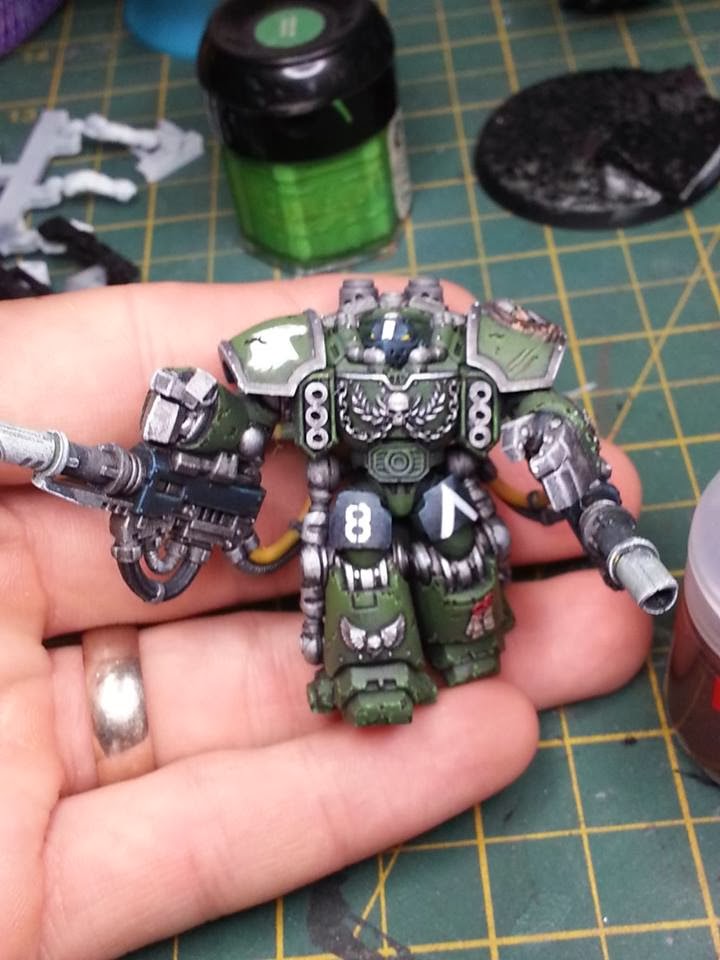
After last weeks Tutorial which covered the application of decal transfers Joel from PaintMyBits has provided another Tutorial for us taking a closer look at how to make your models look gritty and also how to hide some issues caused during painting or even the decal stage.
Joel explains all after the jump.
Take a colour lighter than your lightest shade of your armour. In this case I used goblin green. Then take your smallest brush and apply in random patterns where you believe there will be heavy wear and where you want damage.
Now I mix scorched brown with some black and apply over the green but where ever you can leaving the green showing on the bottom edge of the damage pattern. This won't always be possible so just employ a little artistic license.
You may have noticed I didn't put the chip on the raptors symbol on the area affected by my back decal cutting instead I put it above.
For this you need an old detail brush. Oil paint. ( either mix red and orange to get a rust colour you like or migs dark rust pre made ones it matter not).
Then apply to the model in lines where you want some rusty streaks to be.
Now you need a flat synthetic brush. And some turps/minerals. I use migs odourless turpentine.
Wet the flat brush and wipe off any excess and run it in the direction of the rust streak you want. Easy as that. There more you rub with the brush the more subtle the effect will be. Good thing about oils is that if you don't like it it rubs off nice and easy.
We have not covered weathering powders.. these shall be covered at a later date but for now these results are easily achieved by the novice painter and are more importantly quick for the effect you get.
Thanks again Joel this series is full of great tips!
Martok


