I had this great plan while I was in Vegas for work this past week to work on some update posts and keep everyone apprised of progress...
Anyone else notice how well that didn't work? Apparently the Luxor doesn't think it's important to have WiFi in the rooms. I can't exactly upload photos or a post in that situation. Especially since if I'm not in my room while on that trip, I'm either on the trade show floor working, or with clients at a dinner, or a meeting with clients...you get the point.
...who wants to see pictures? I want to show pictures!
Last we left our interred hero, he was missing one very important part of his wargear; the dreadnought-sized storm shield!

I started by shaping a few different styles and shapes for the shield, from a traditional kite shield to something more akin to a riot shield.
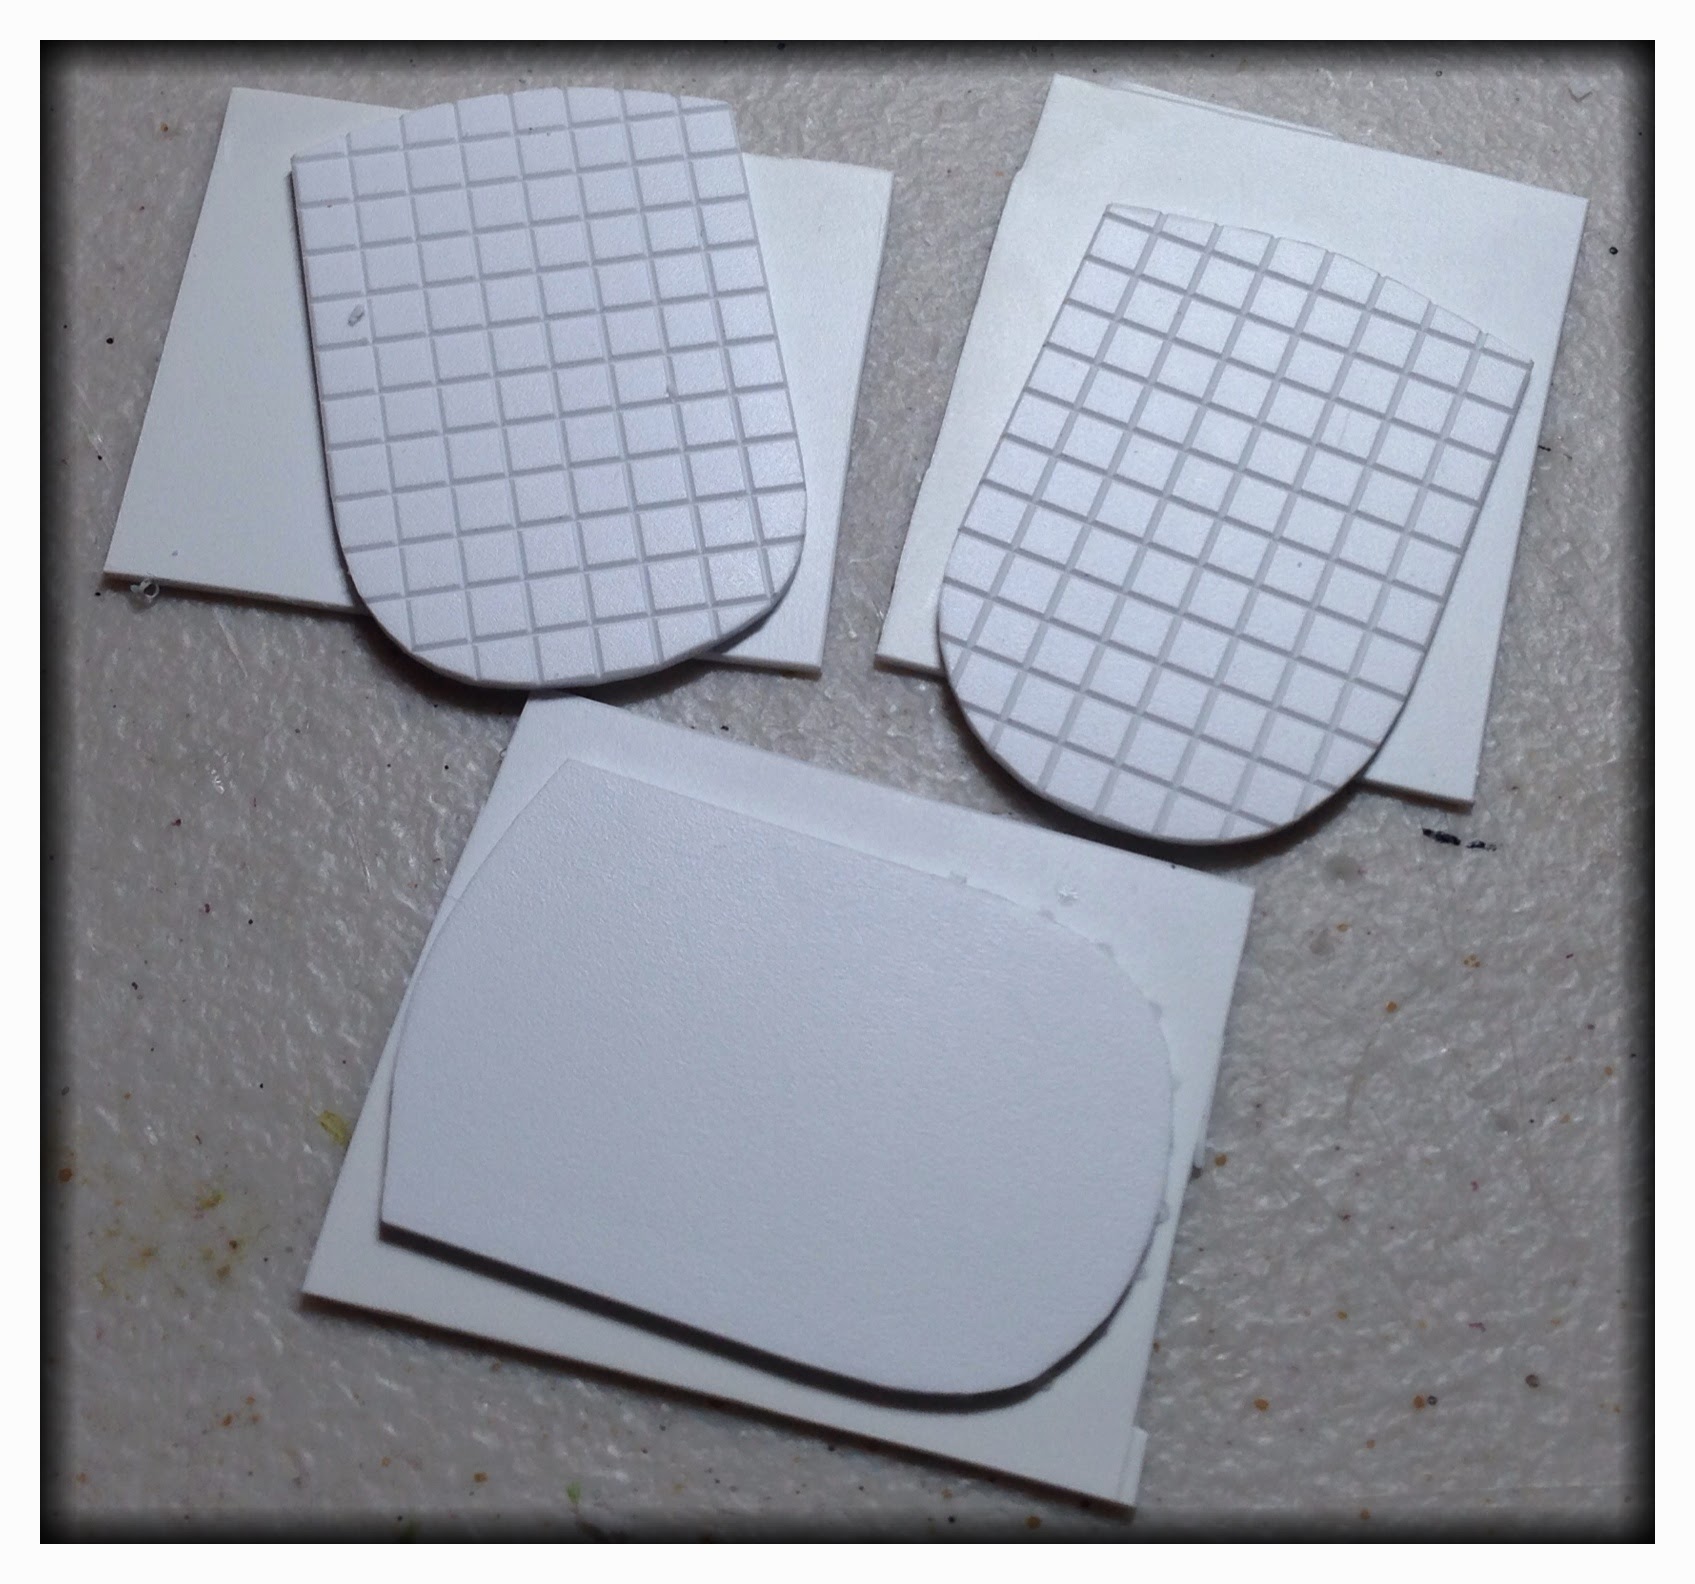
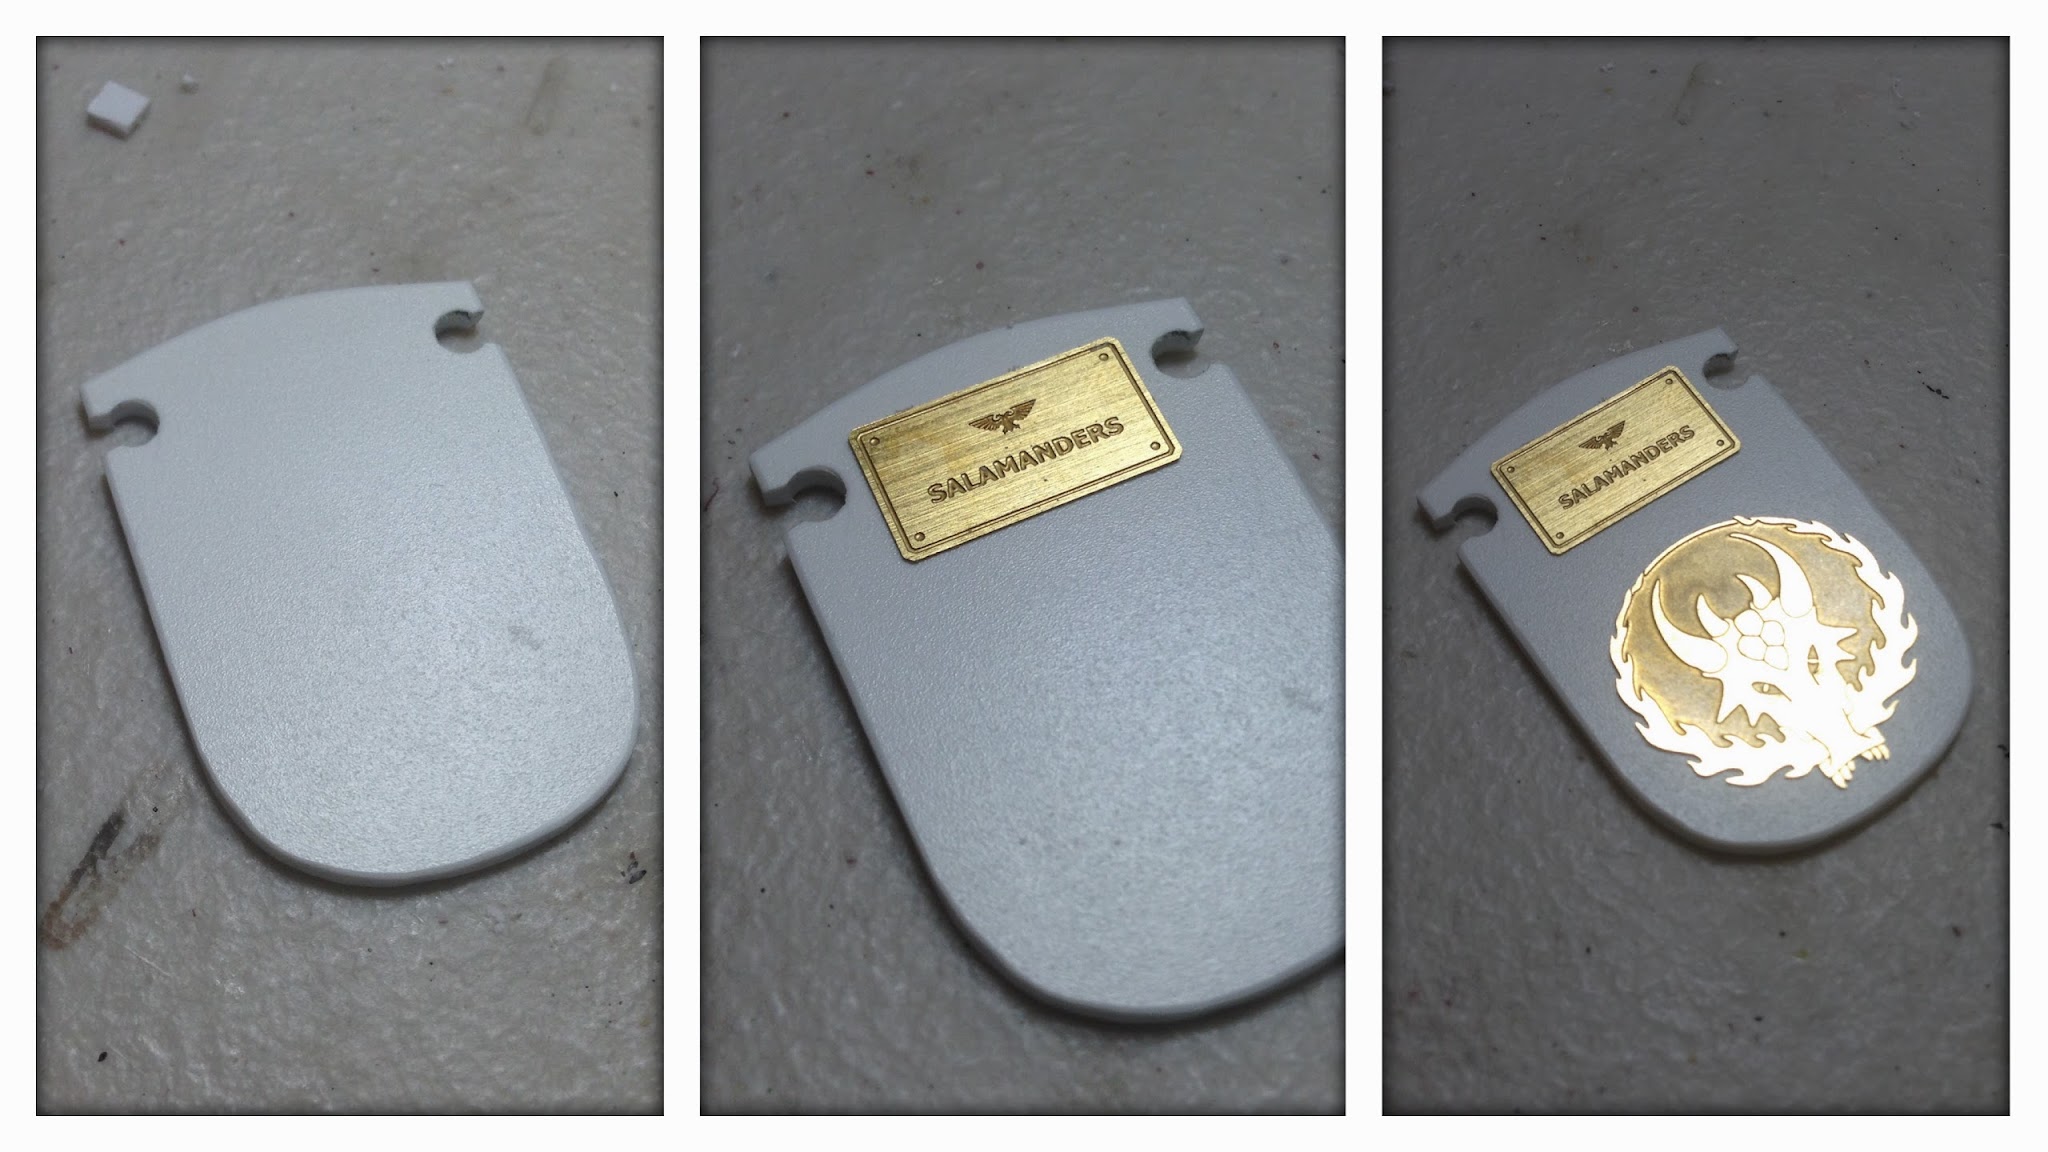
I ended up deciding on a slightly different route, combining the riot shield look with something a little on the heraldic side of things. I ended up created three blanks to play with but sandwiching two layers of plasticard together and then shaping them with my hobby knife. My first design relied heavily on the Forge World brass etch, and while I liked it, I wanted to try something a little more ambitious.
Yup. With three weeks to go, I wanted to go more ambitious. Dangit.

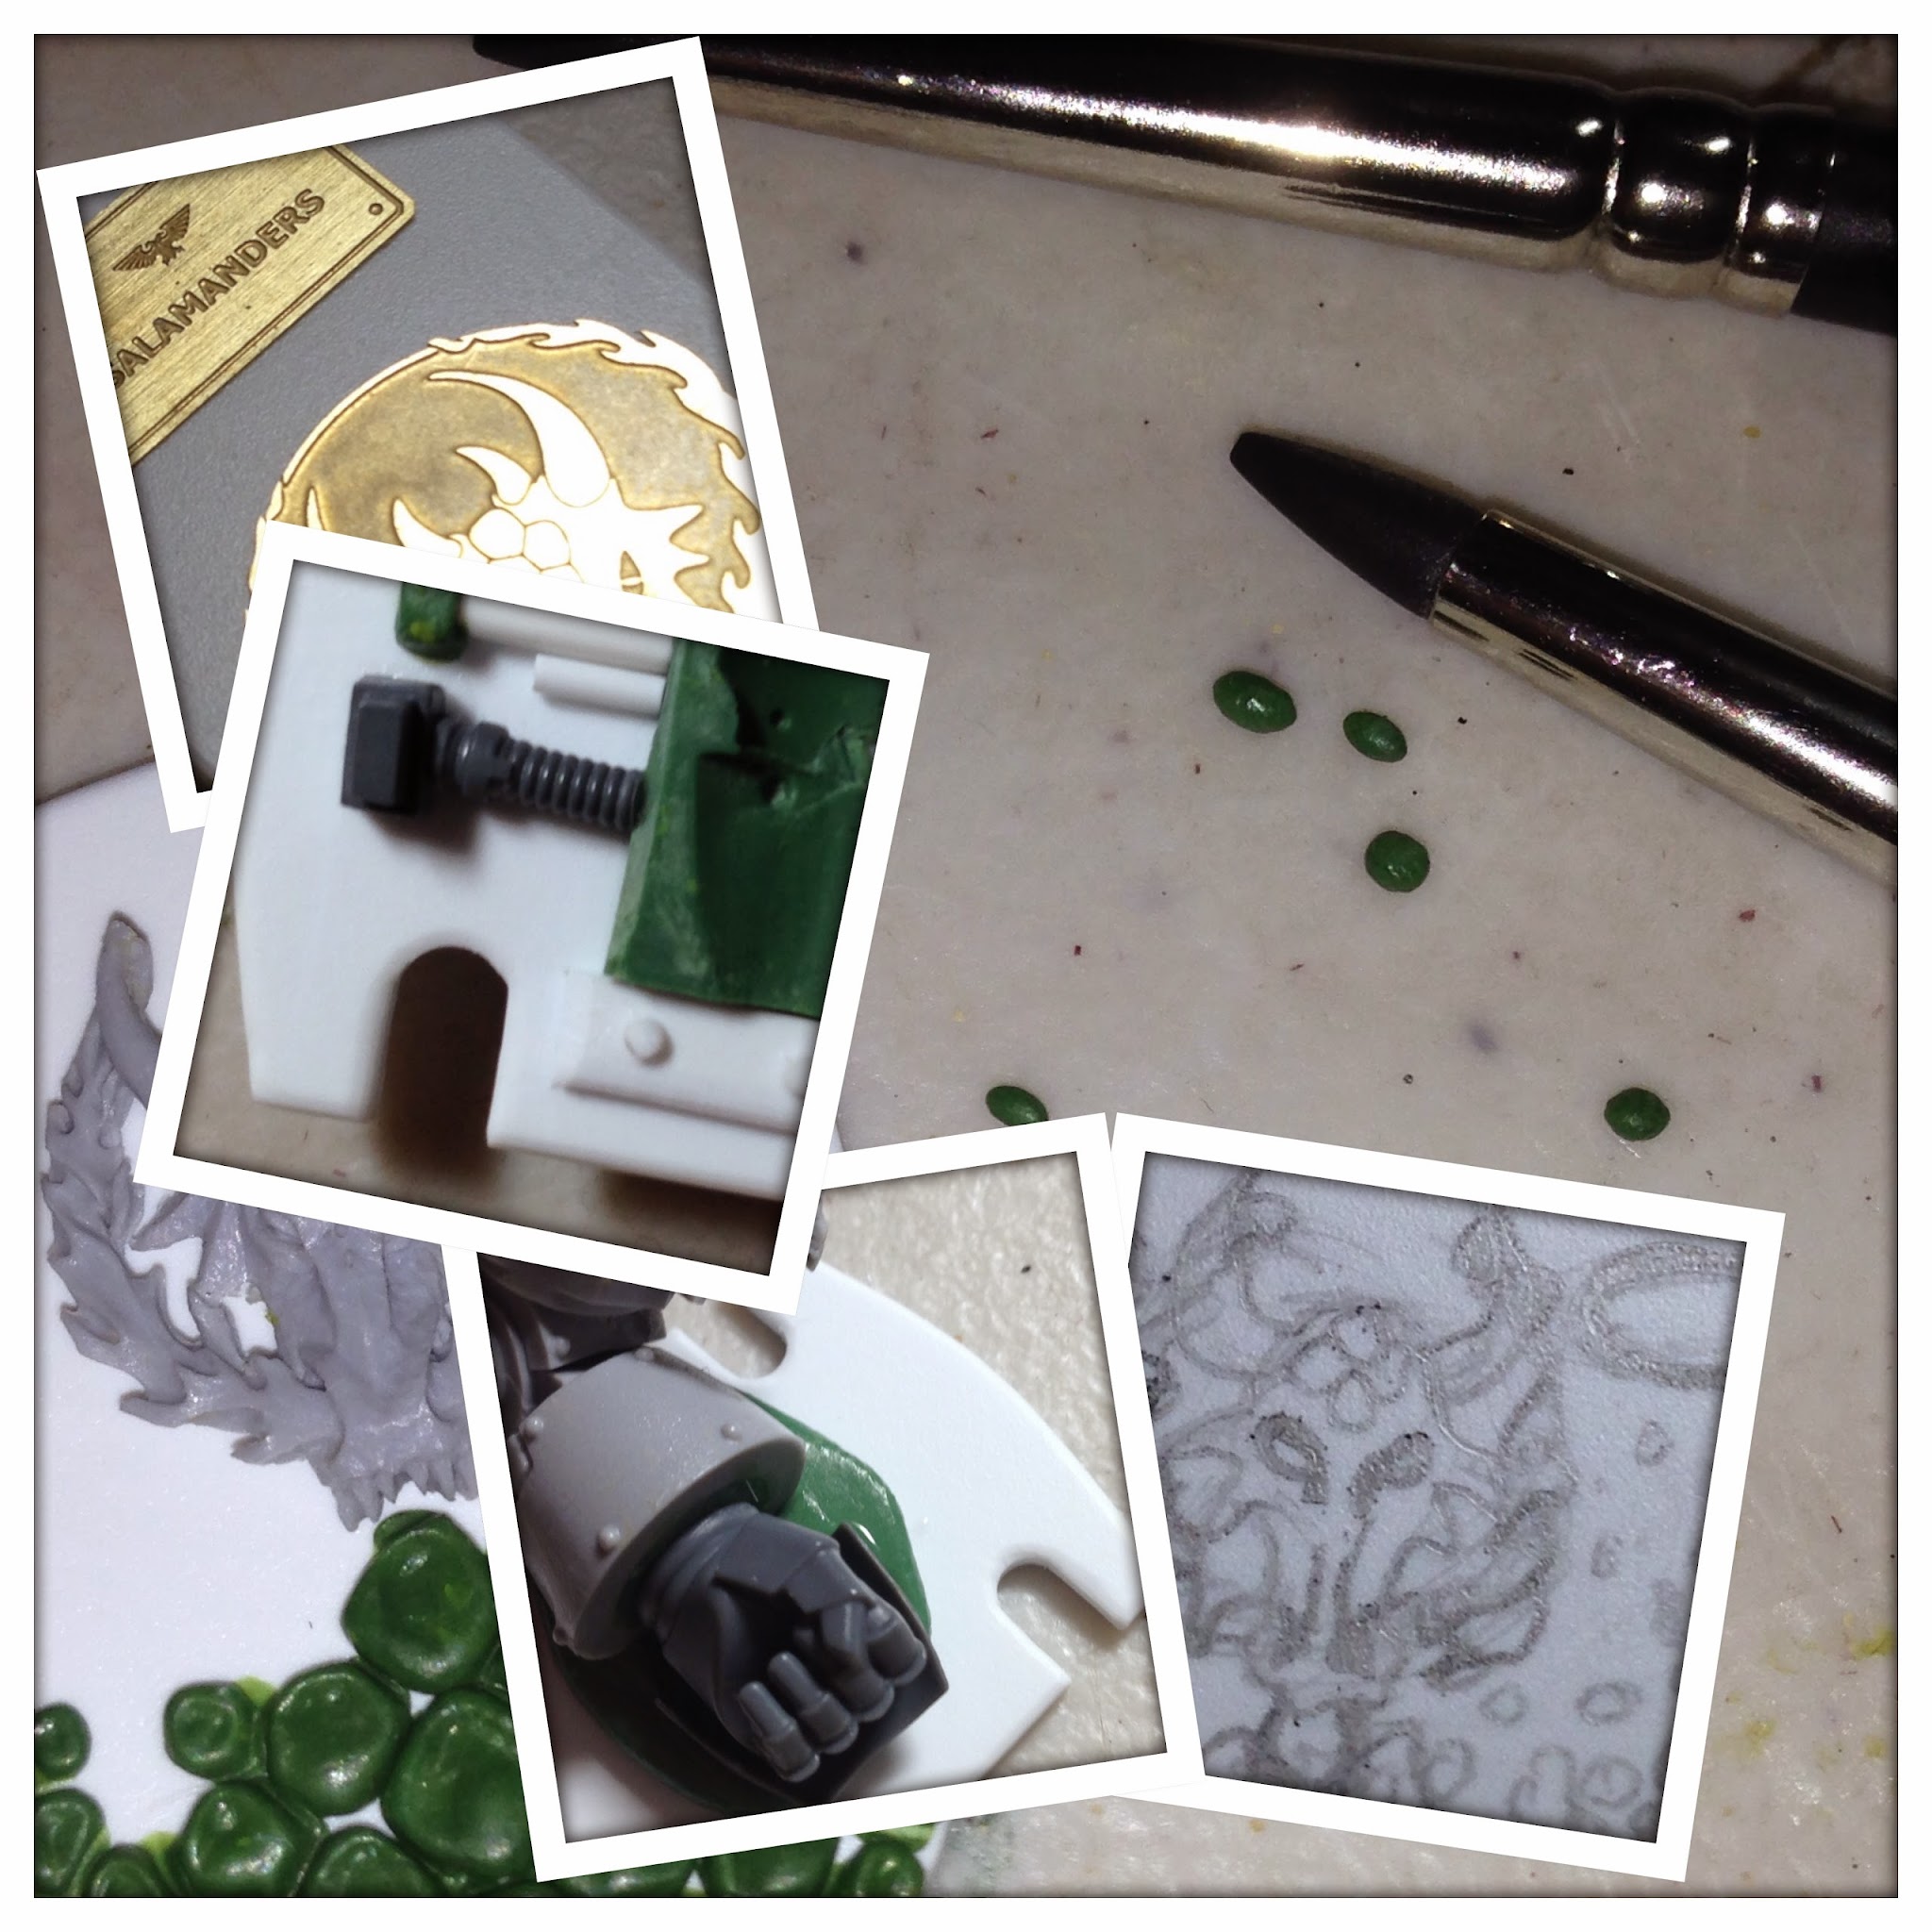
So I refined the look of the cut ins on the other two blanks and set to work sketching on some plasticard I had left over. Utilizing the banner top from the Salamanders named dreadnought from the Badab War, I wanted create a shield with 3-dimensional heraldry and sculpted scale work. I didn't want to just have flattened disks represent the scales though, and while it's a common technique for creating scales, it wasn't enough for me. I started with a flattened disk, but then I gave it some texture with a top lip to the scale, and a small raised inner ridge. Check out the progression below.
I've placed what I originally thought would be the finished version next to both the brass etch concept, and next to my sketched concept.
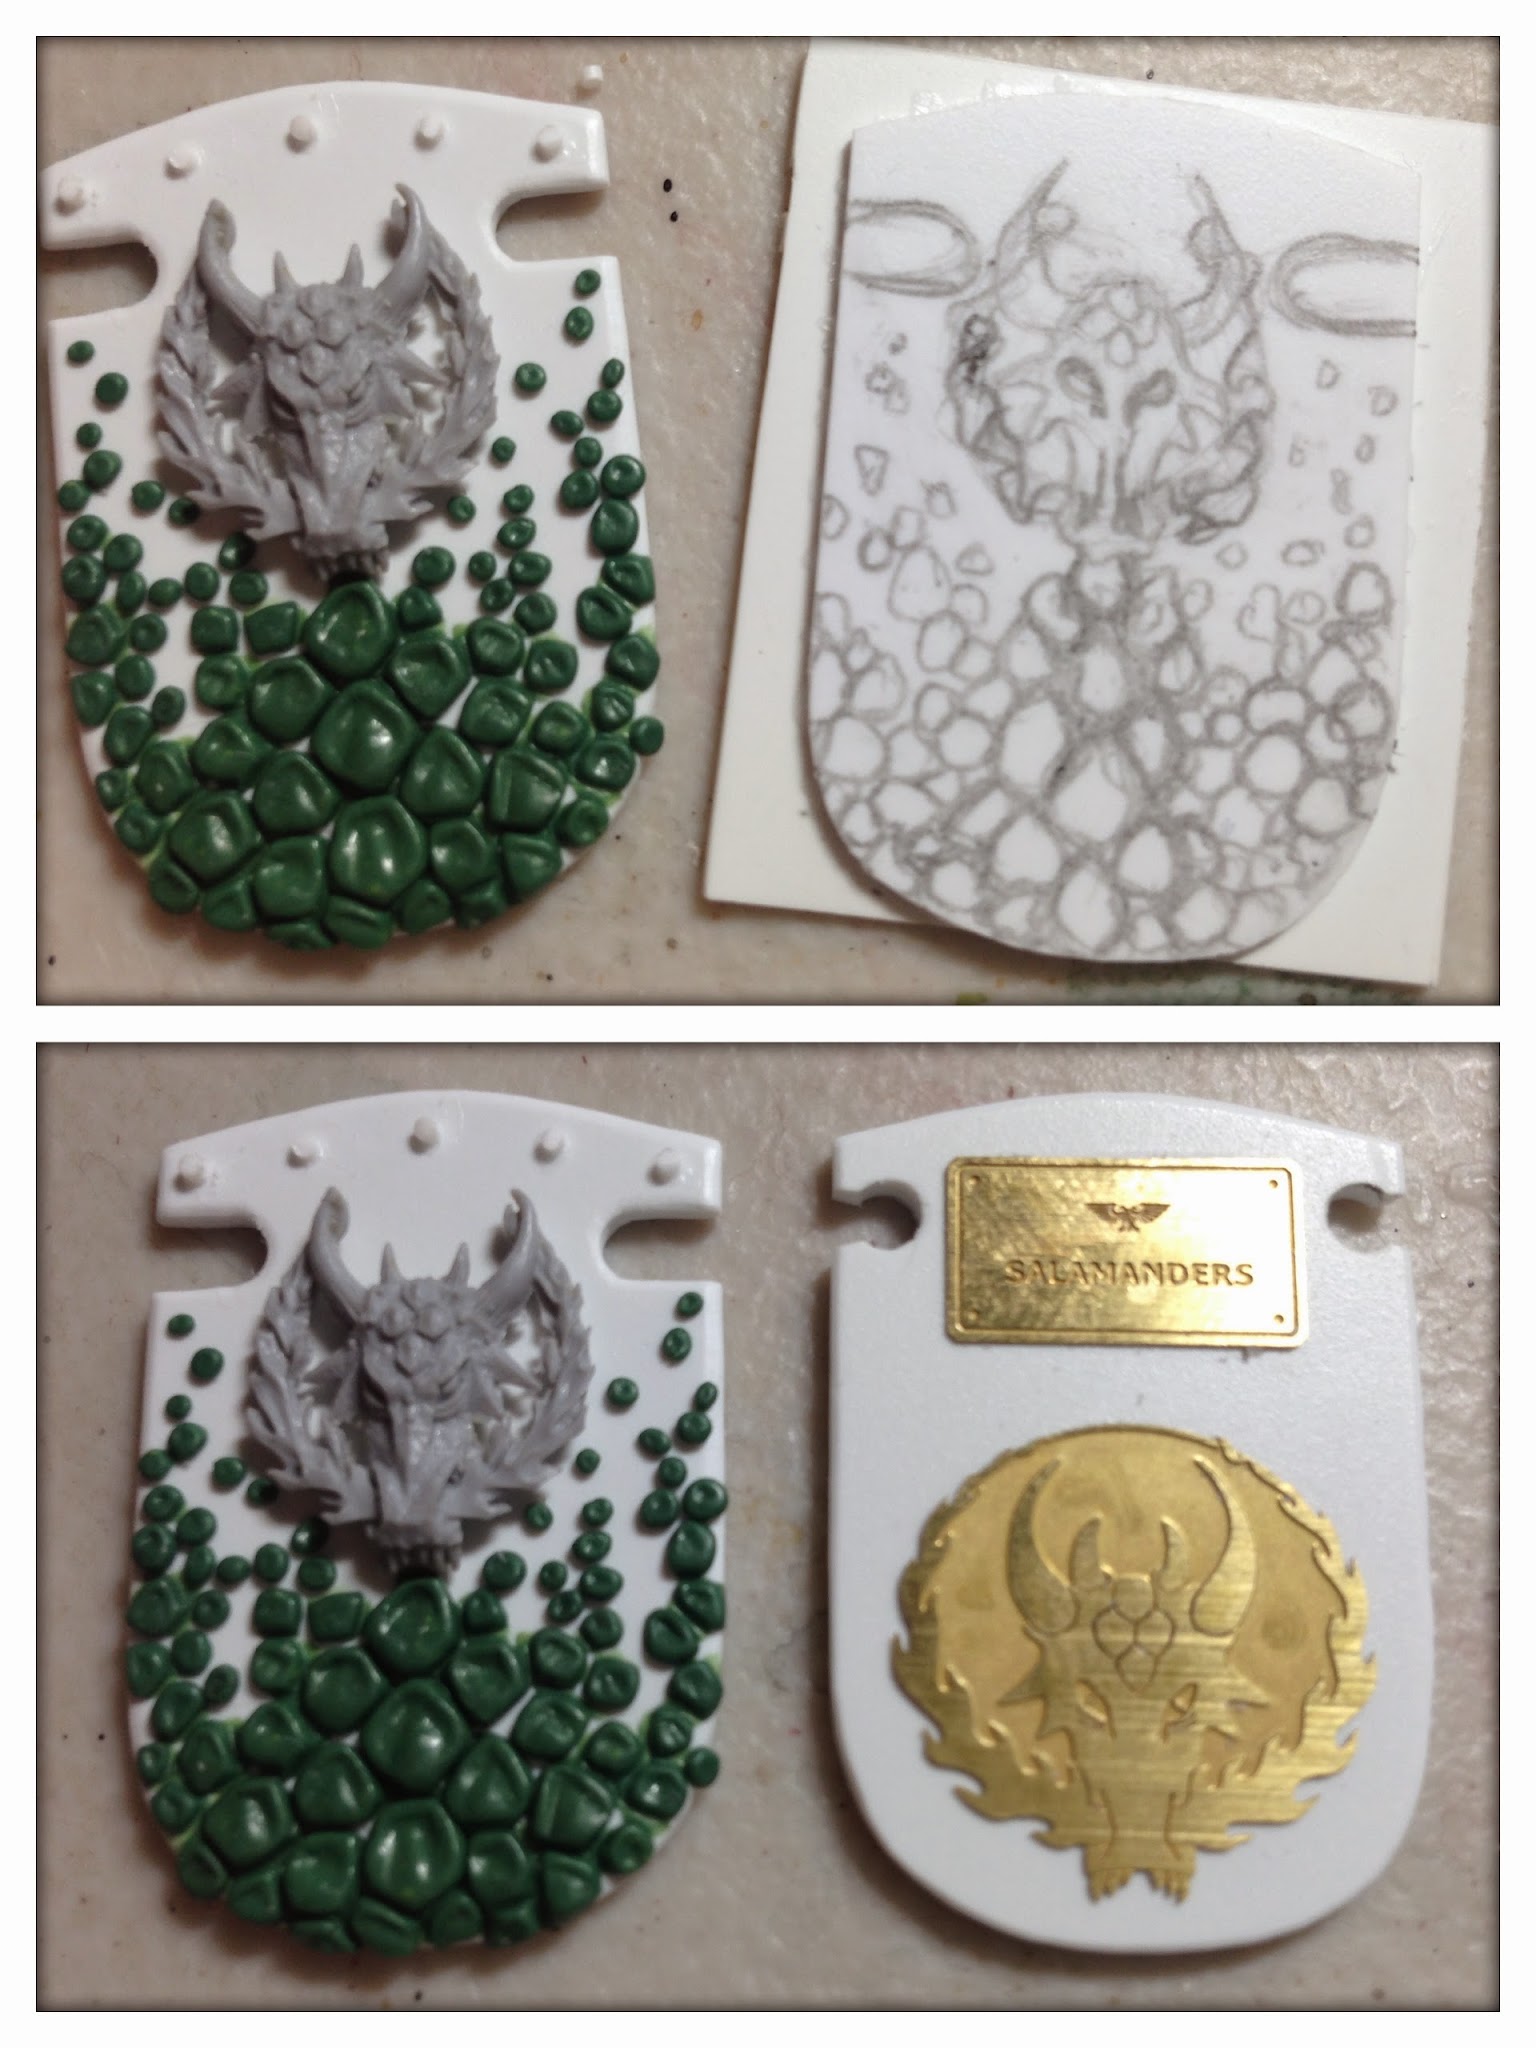
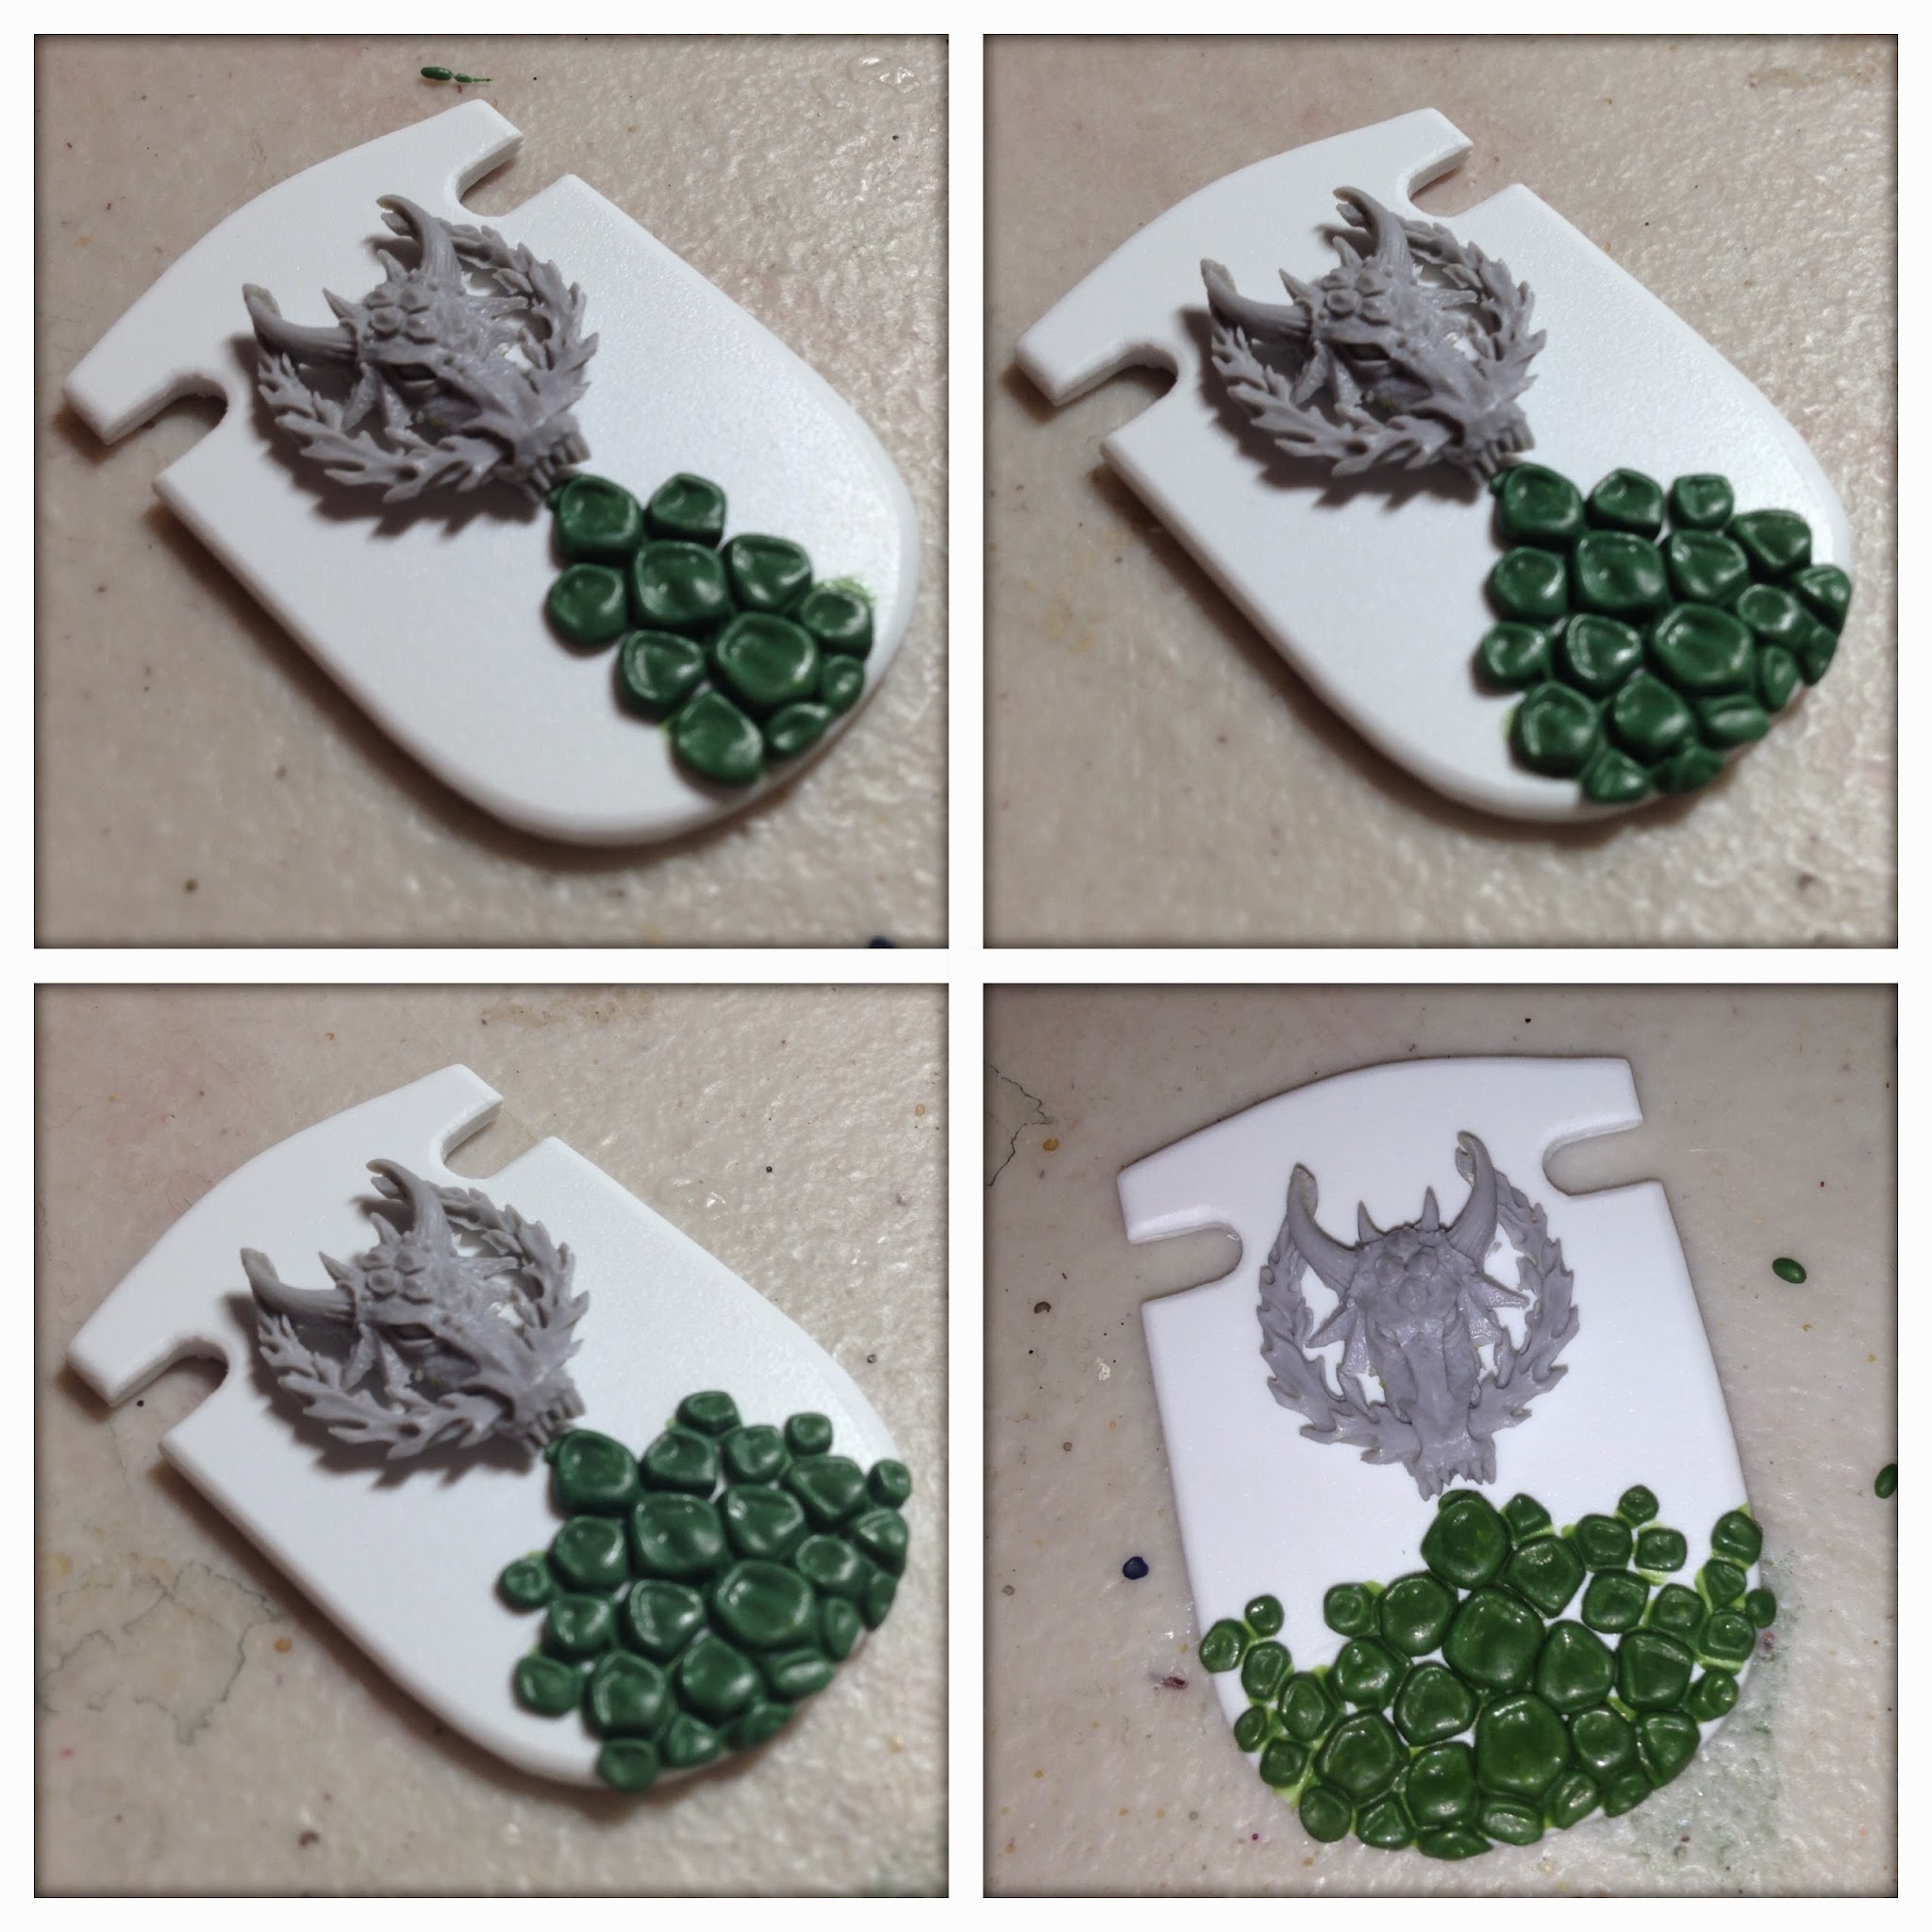
Needless to say I chose the sculpted one. It just has so much more dimension to it, that I felt it was the clear winner. While that was curing overnight, I also affixed the shield arm to the last blank I had with some green stuff and called it a night. The next day I popped the arm off from the blank since I hadn't glued it on, and then carefully took the green stuff off the arm. After shaping it with a hobby knife, I had a nice base for the mounting of the shield.
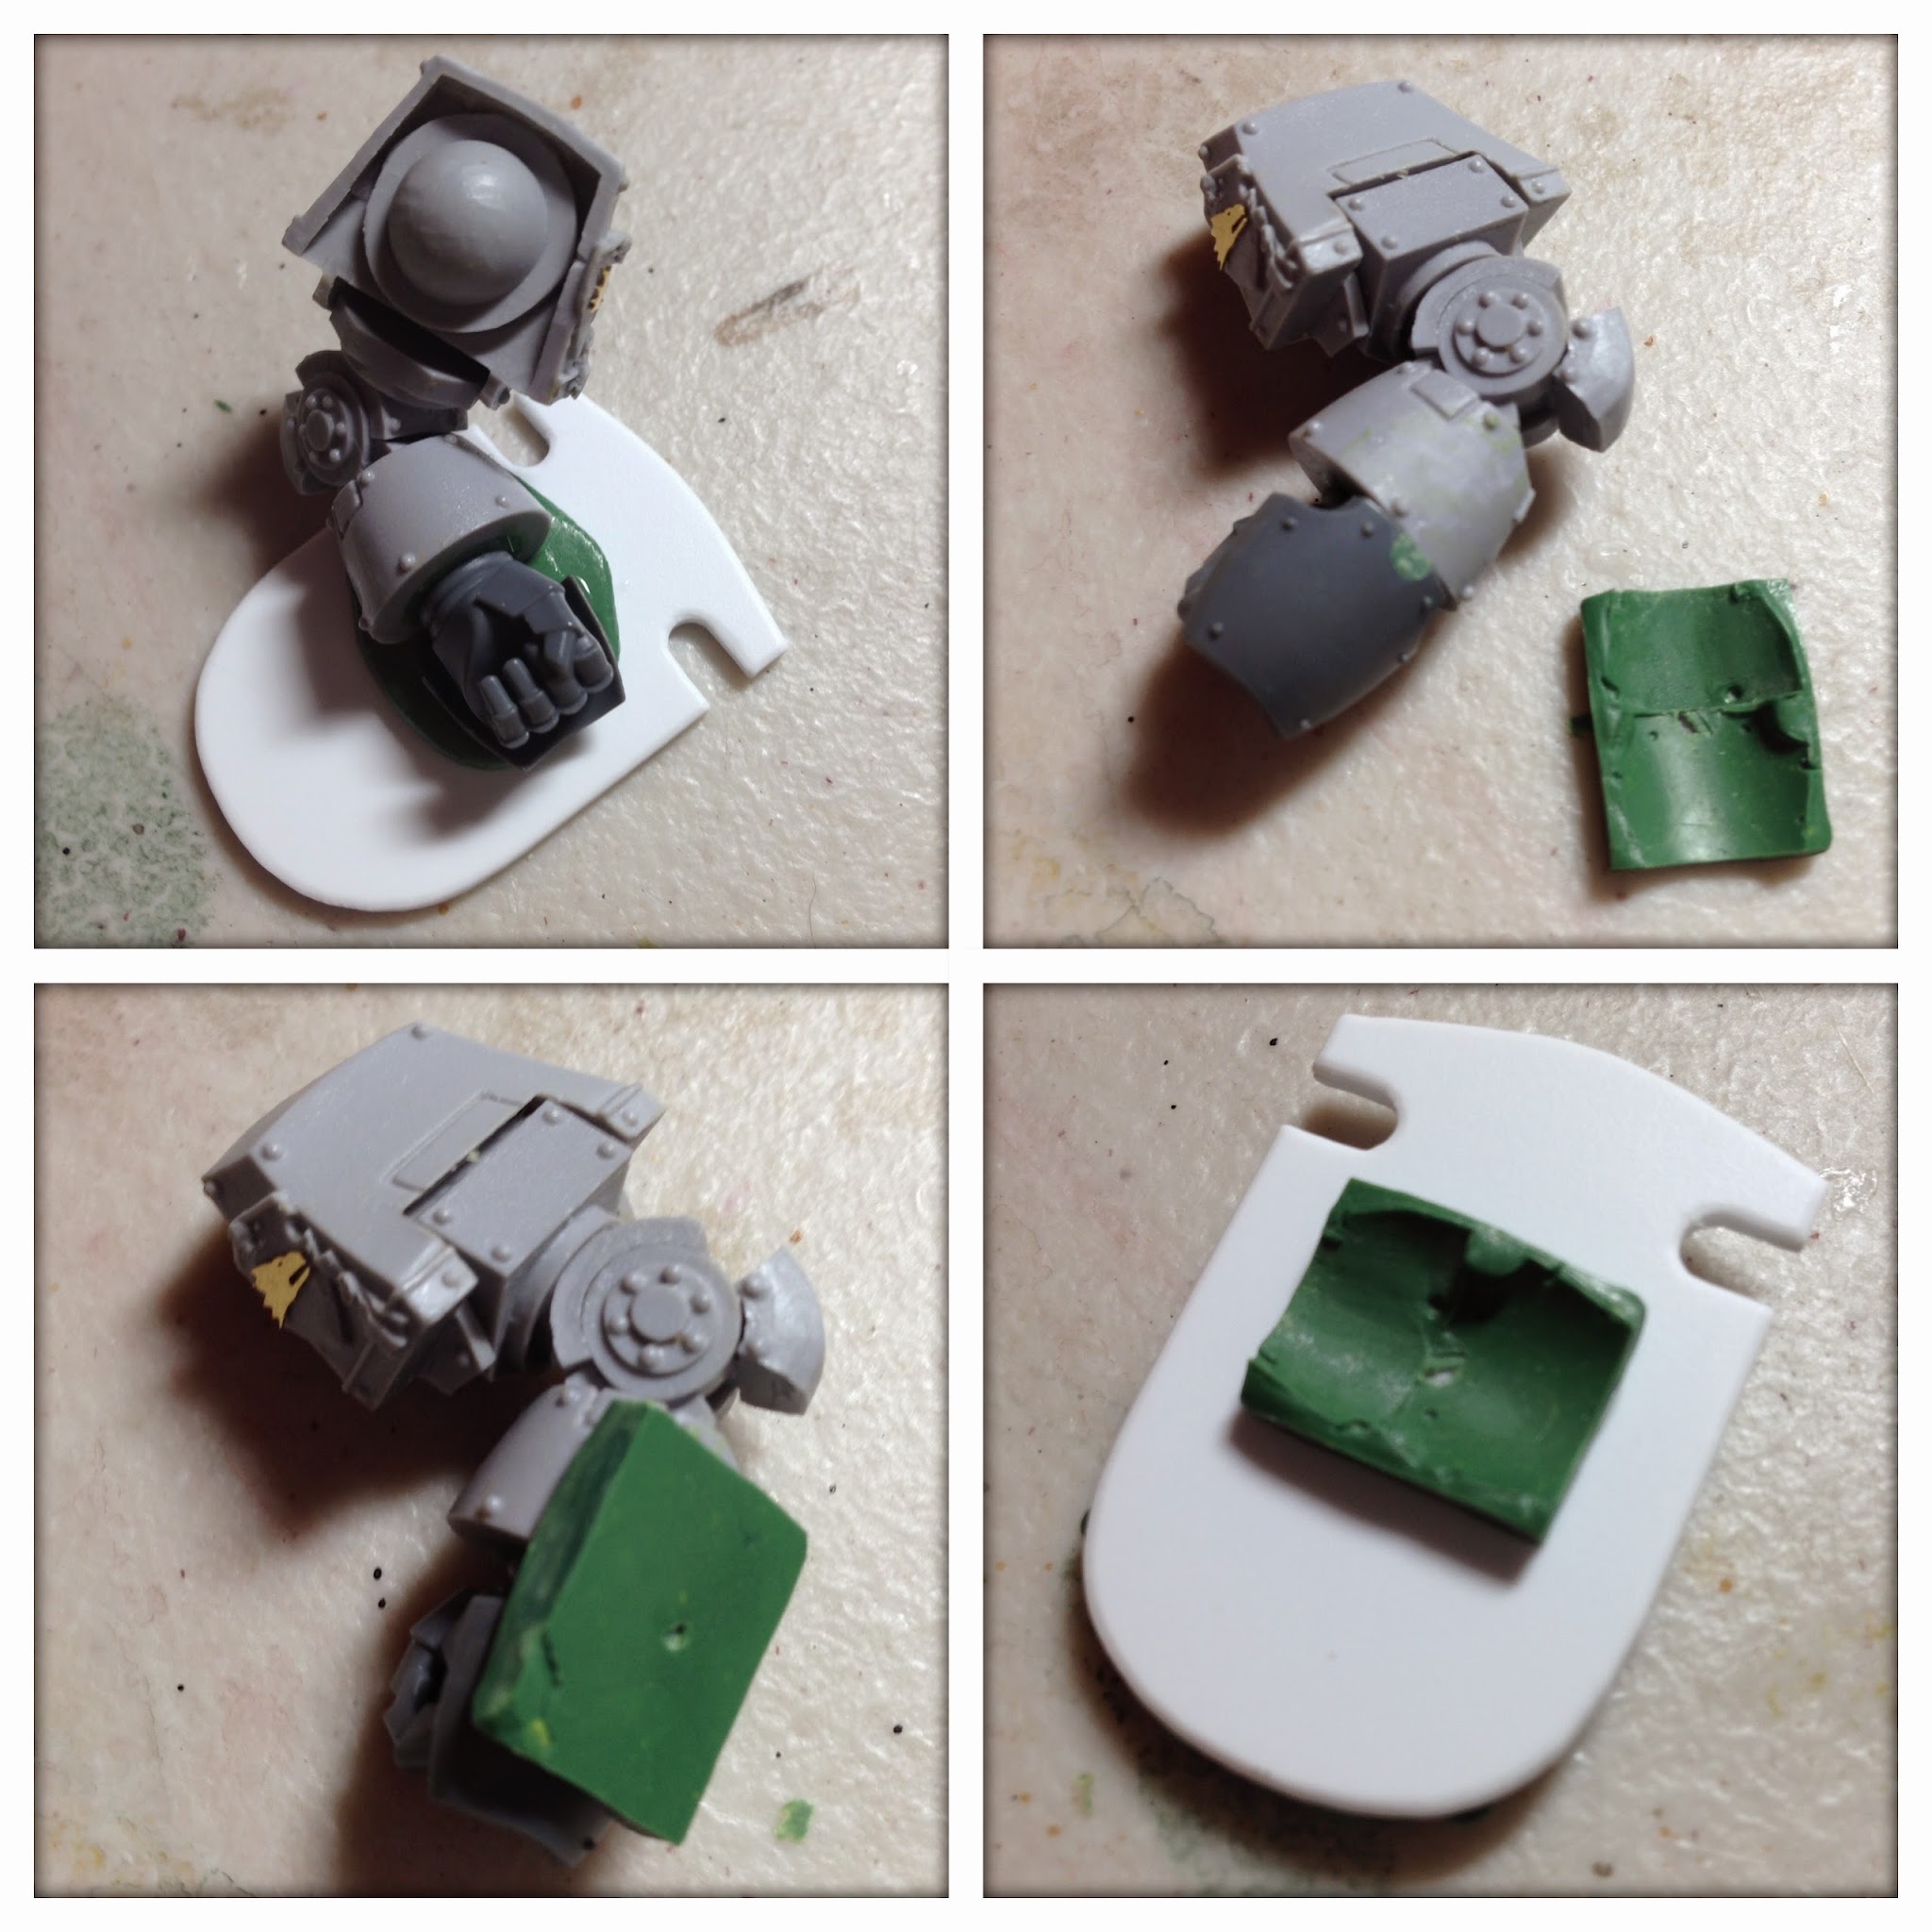
Unfortunately, I couldn't leave well enough alone, and decided that the scales needed one more layer of detail. On the drake scale cloaks that the Marines will have, there are often a central line of even larger raised scales, almost a dorsal ridge line of them. Well, of course that meant I had to go in and work those into the shield scales as well, right? So with a touch of glue, I placed a small ball of green stuff on the scales that would be a part of that ridge, took my clay shapers and pushed the GS around until each ridge scale was done. I also refined the look of the back of the shield as well with some power leads and detailing.

Can you tell I'm enjoying the step-by-step quad pictures?
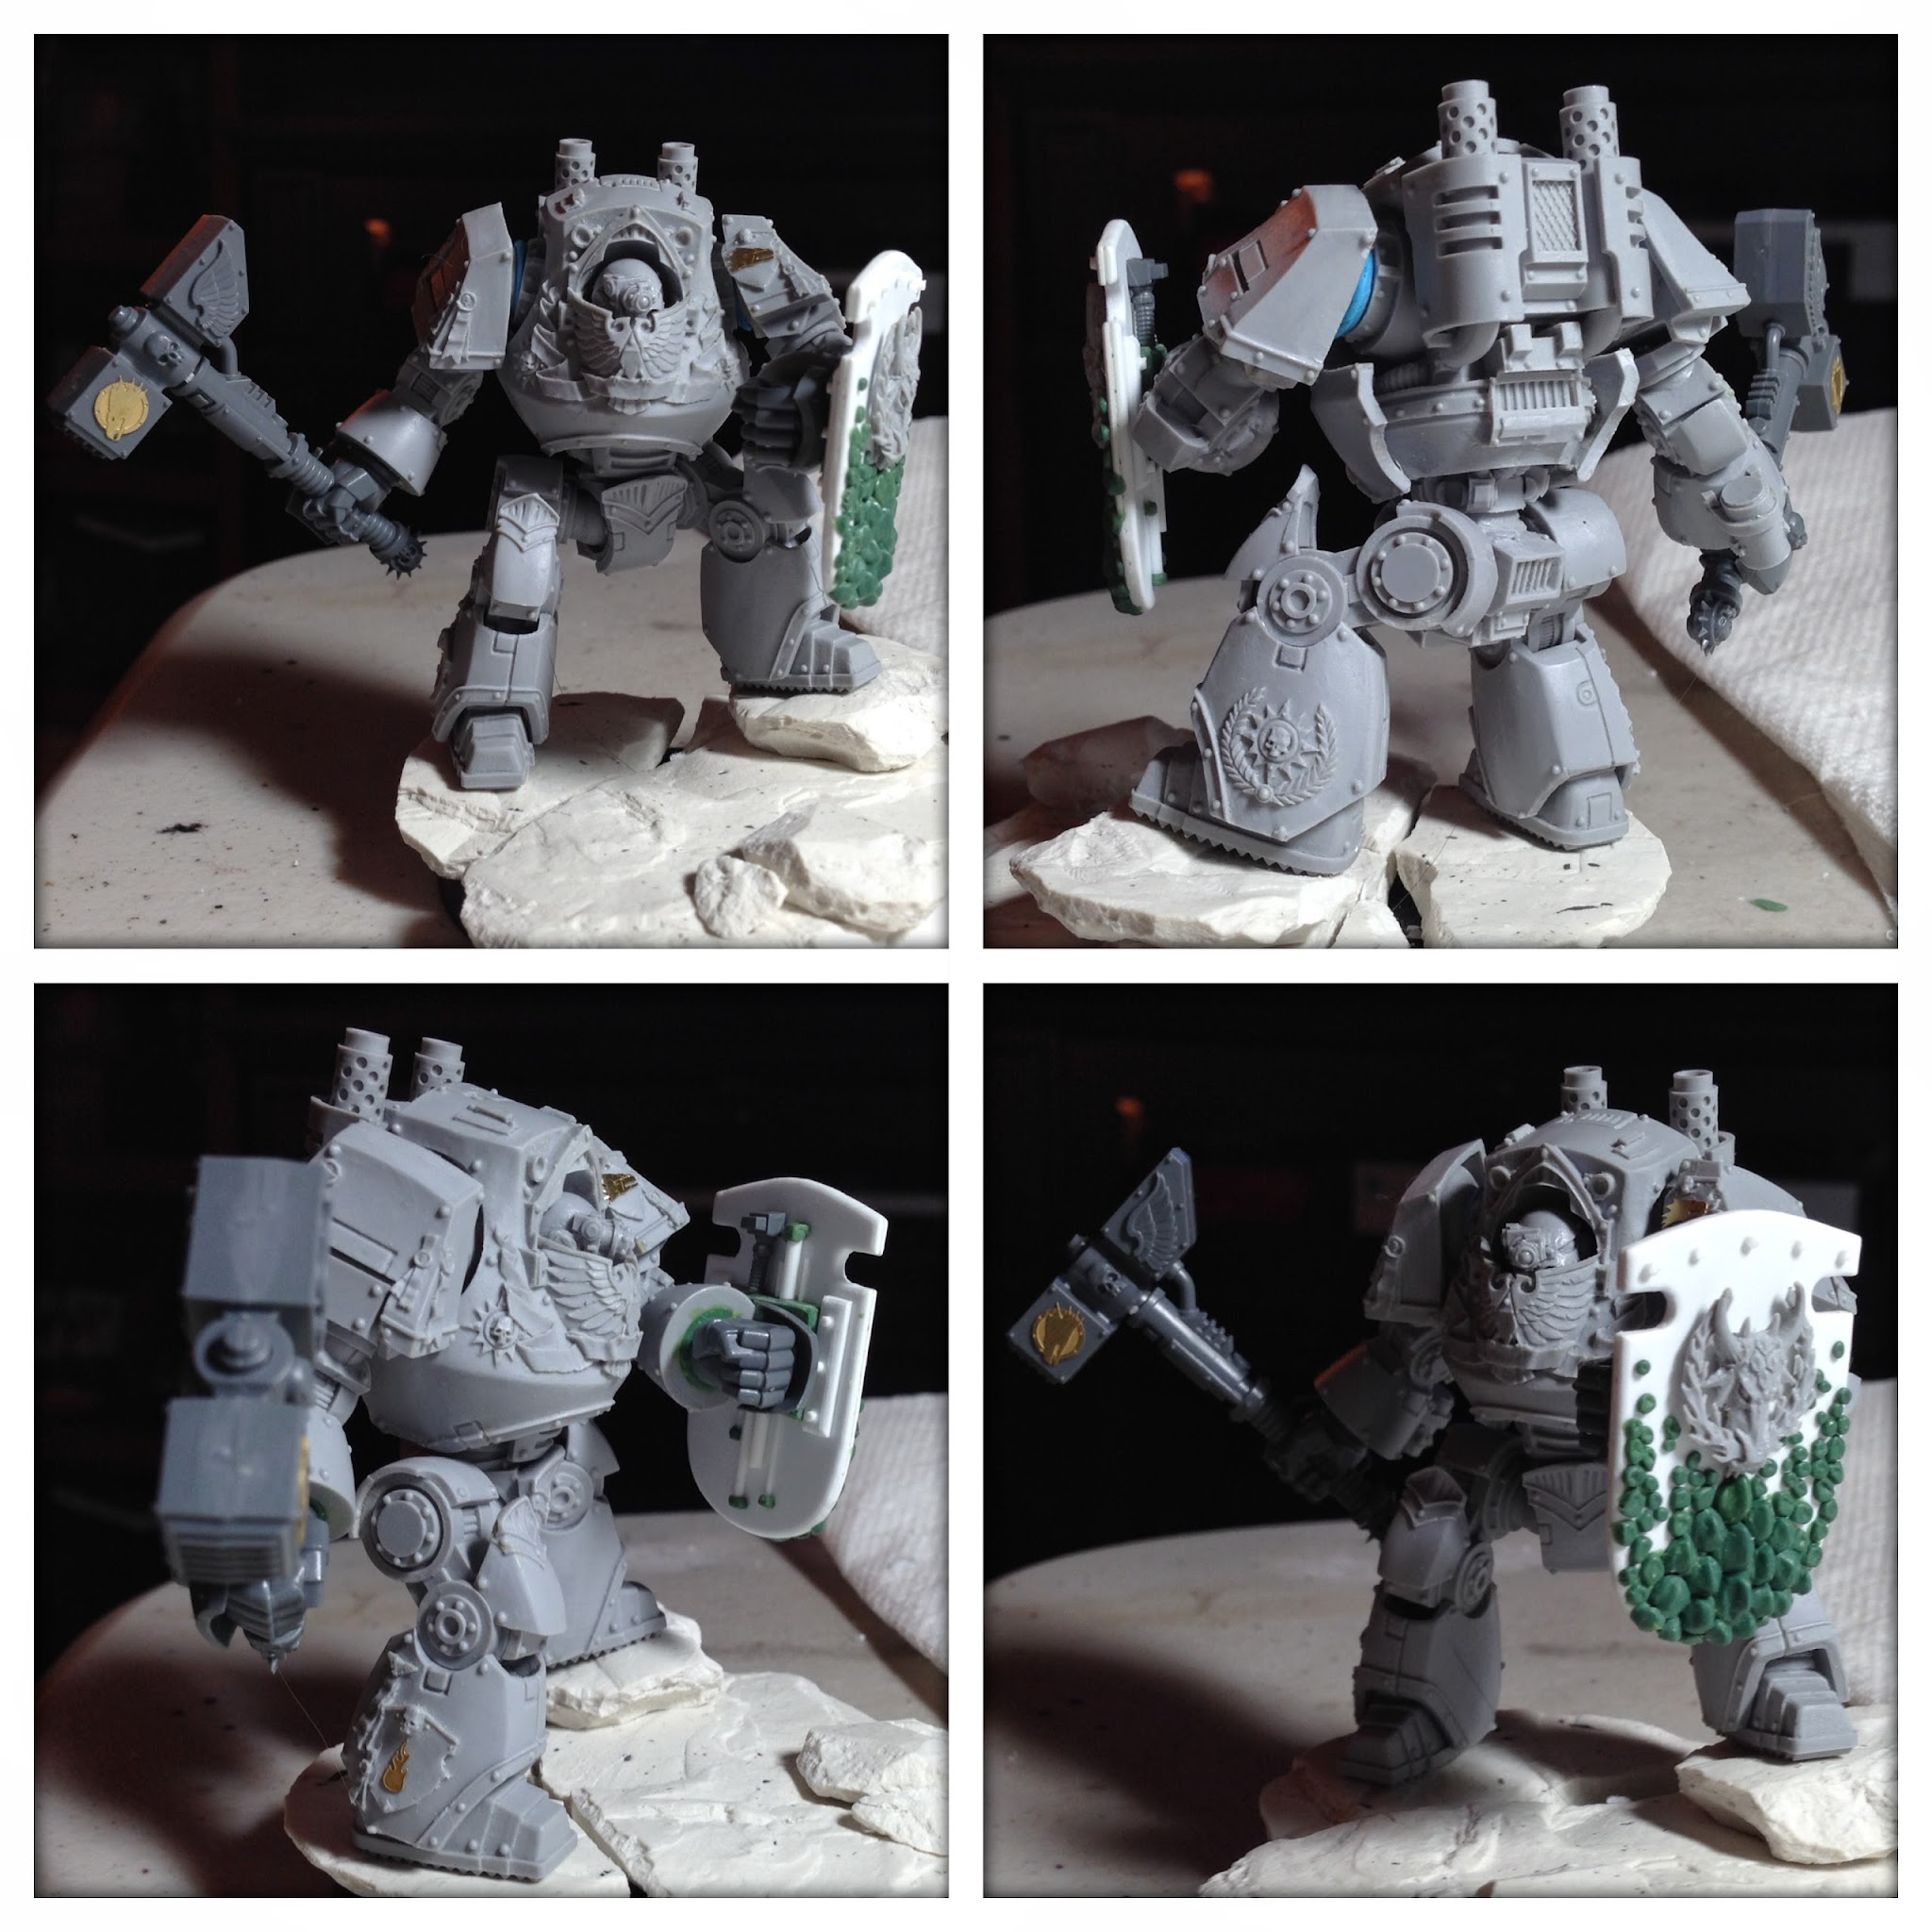
Finally, here is the Ironclad Contemptor on his base, with his arms blue-tac'ed on to give you a better idea how he'll look.
Next up, paint!
- Tim