 |
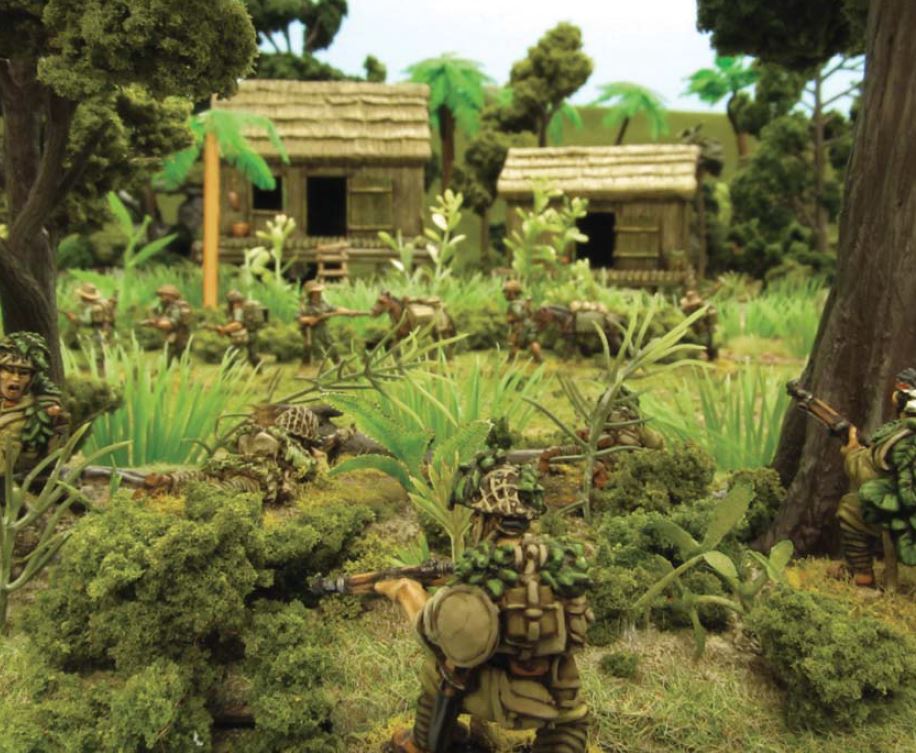
| Borrowed from Warlords webpage and Ambush scenario |
But anyways.. last night a British player was up for a scenario game from Warlords site. I like scenario games, but also like the restrictions that come with them. Though for this one, the Brit playing the British just wanted reinforced platoons so he could bring out he Centaur ( 9+ armor, medium howitzer, and MMG? ). We confirmed over FB, and built our lists accordingly.
Well.. I have to say that my list for this scenario was just horrible. Completely agree with it.
My list was:
- Platoon 1
- 2nd Liu + member
- 2x15 Bamboo Warriors w/tank hunters
- 15 Infantry
- MMG
- 3x Kamikazes
- Type 4 Heavy Howitzer
- Platoon 2
- 2nd Liu + member
- 2x15 Militia
- 2x kamikazes
- Type 4 Heavy Howitzer
- Ho-Ro with heavy Howitzer
So yes, I had 5 units of 15 men, and 3 Heavy Howitzers. And with all my troops allowed to be in hidden deployment, and thus in ambush.. it was a blood bath.
His forces on the table at least were:
- 2x10 Ghurkas
- MMG
- Artillery Observer
- 2nd Liu + member
Off the table he had:
- Centaur
- Flamethrower unit
- 10 Ghurkas
- 10 infantry
- Armored car with howitzer
The layout of the table was as such from the ambush scenario..
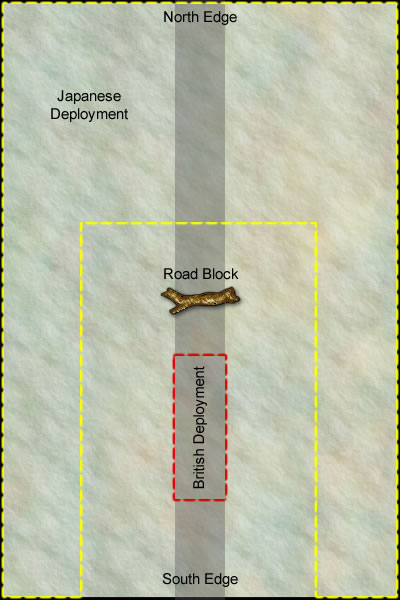
And with this in mind, our set up was more like this..

Everything is 12 inches away ( and a bit more cause he made his Ghurkas sit closer to the center of the board. However with everything in ambush... well.. when he moved...
The Ghurkas learned the hard way what mass combined fire can do to 2 units that don't have any real cover.

And by the 4th dice of the second turn we kind of called it.
I have to say that this scenario really does need to be restricted to the theatre of war.. and I should have encouraged it more with him.
Upside.. we got to play another game, and just wrote that one off as a bad idea!
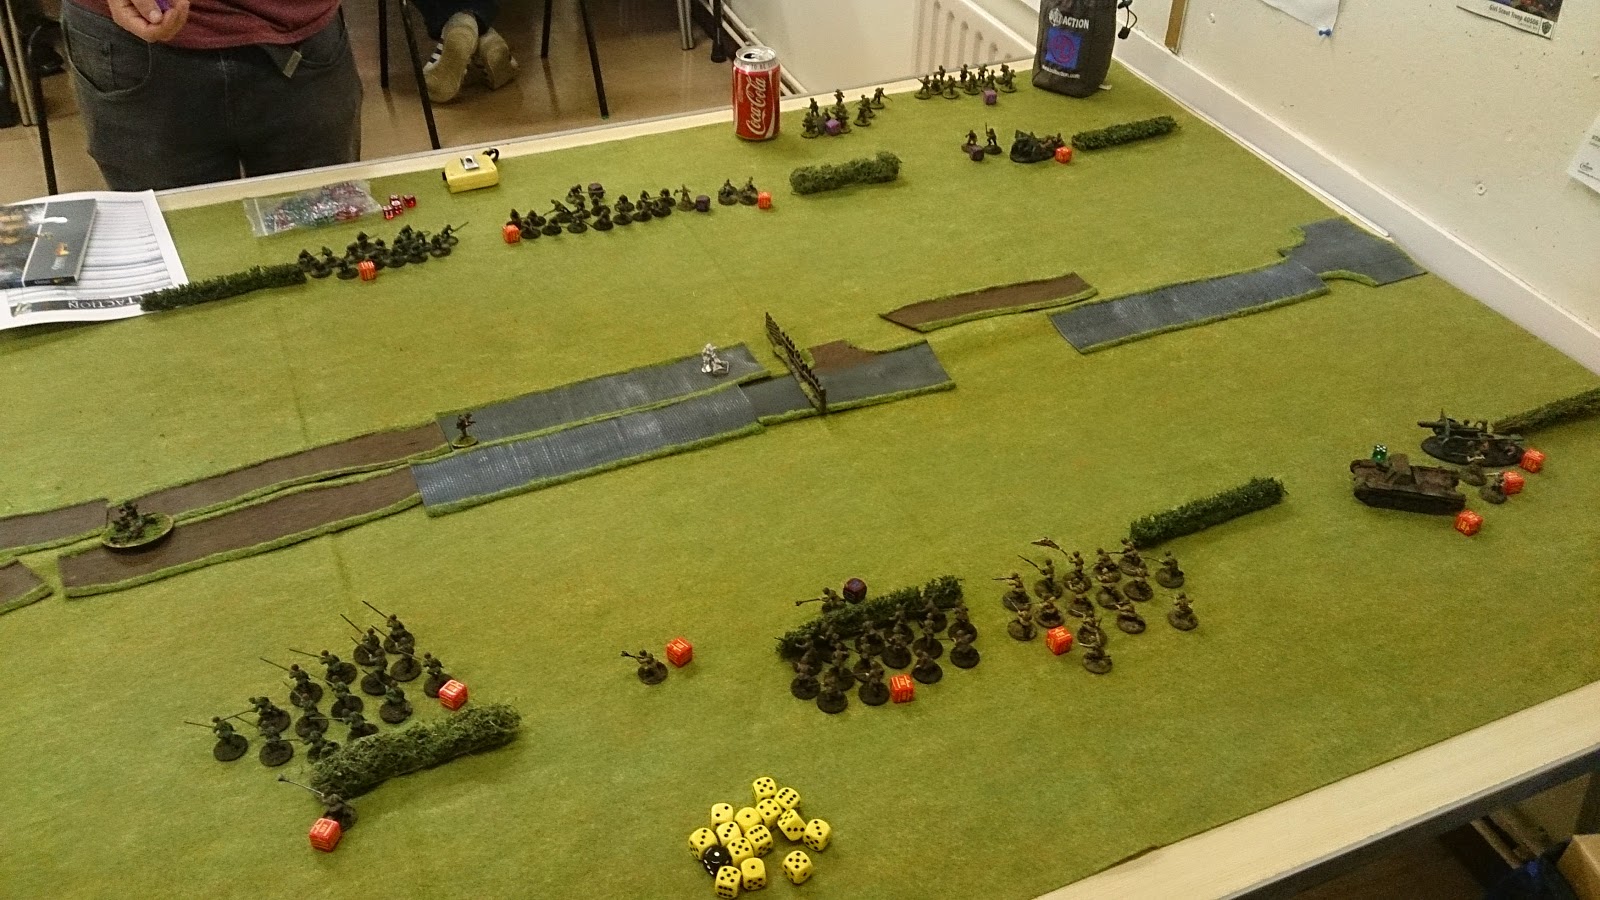
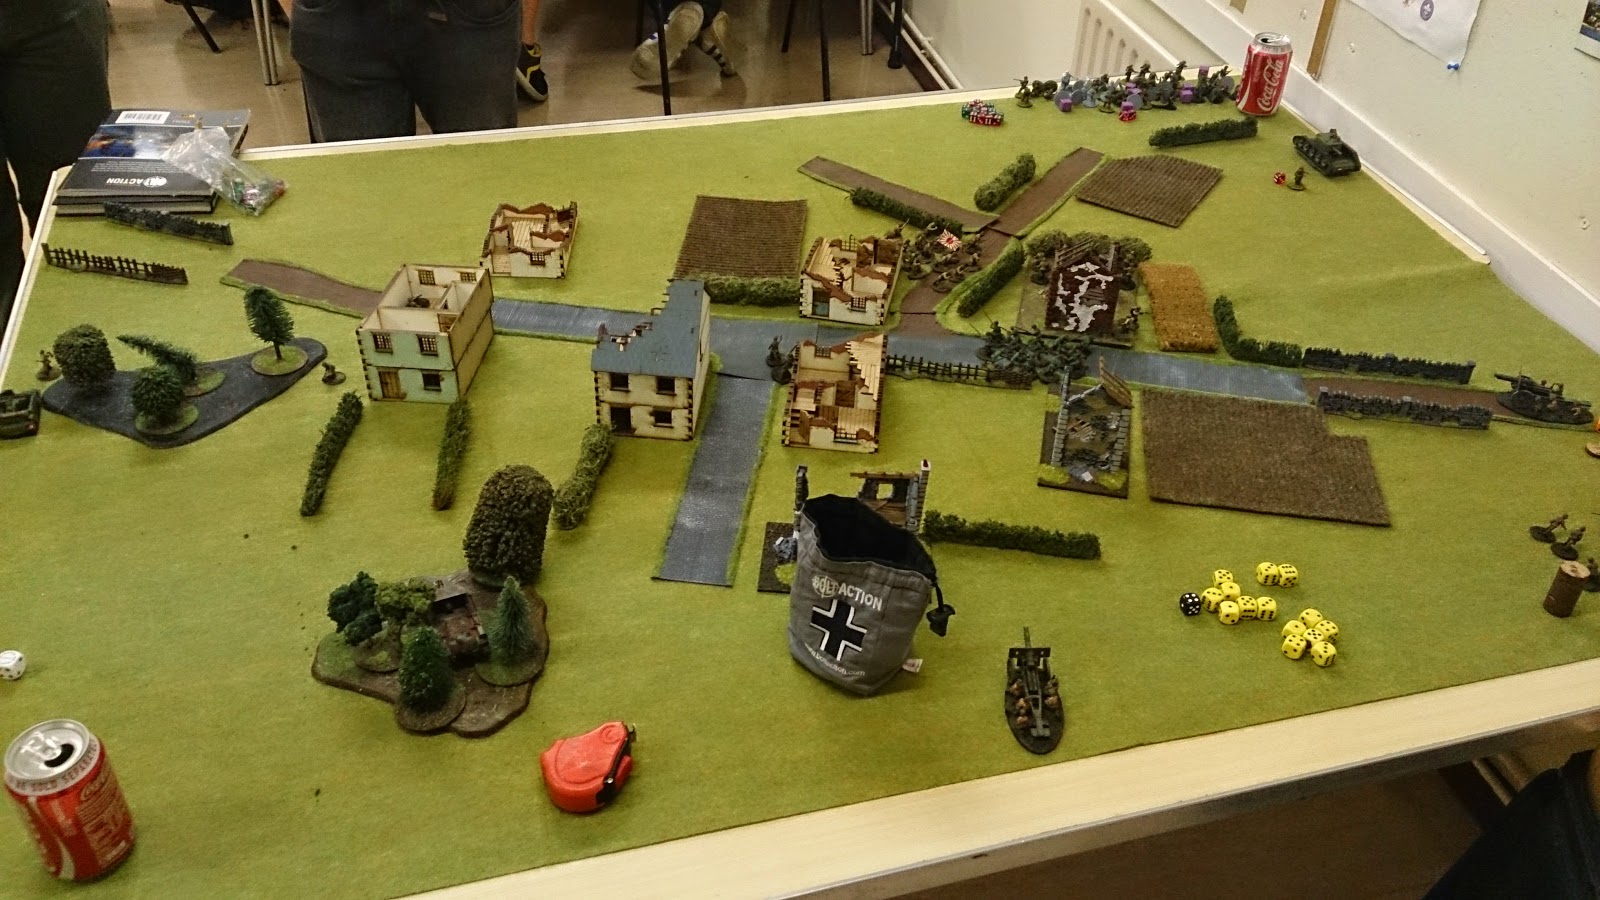
Second game we had much more terrain out to play with, and it took a while longer. Though the scenario was very similar in that my opponent lost the dice roll and had to defend and hold the objective in the middle of the table. Which we claimed to be the crossroads on the main road. And he only had 2 forces on the table to start with everything else coming in on wave 1 or reserves. Was mission 4, but I can't remember the name of it at the moment.

Deployment looked like this. Where I had the chance to place my troops 18 inches away from either the objective or his units, and he could then come on from his table edge for the whole game. We kept sides as they were, but again I am not so sure he picked properly there.

As you can see, his Centaur came in on his left flank to take on the Militia unit that was standing there. Mostly because the Kamikaze had tried to go after the armored car, and was gunned down from the Ghurkas that popped up.
Thankfully his Artillery observer failed his morale test and thus went down in the first turn instead of letting that off. Everything kind of just moved up, and all my shooting went wild at this point.
At turn 3 however, I began to get some of my shots off. I had attempted to charge the Ghurkas in the middle with my bamboo.. normally they do quite well. However Inexperienced troops against Veteran troops that half your attacks is not so easy to kill in hand to hand. So I lucked out, and make some good throws with the Heavies. Taking out those hunkered in the ruins, while also taking out the ones that killed my first Kamikaze. Though they were not killed with the Heavy Howitzers, but suffered 10 pins and ran off due to all the shooting that it took. While my militia had stormed the ruins and killed the arty observer. Meanwhile the rest kind moves up, and we begin to play cat and mouse with the Armored car.
Oh and a lucky shot from the third heavy howitzer takes out the Centaur.
More things were dying here, but mostly British. his flamethrower also attempted to burn the Militia, but rolled triple 1s to wound them. And they easily passed their leadership tests. They would also jump over the hedge, butcher them, and then bounce back over said hedge afterwards.
No photos of that turn however, but the next ones I can kind of go quickly on..


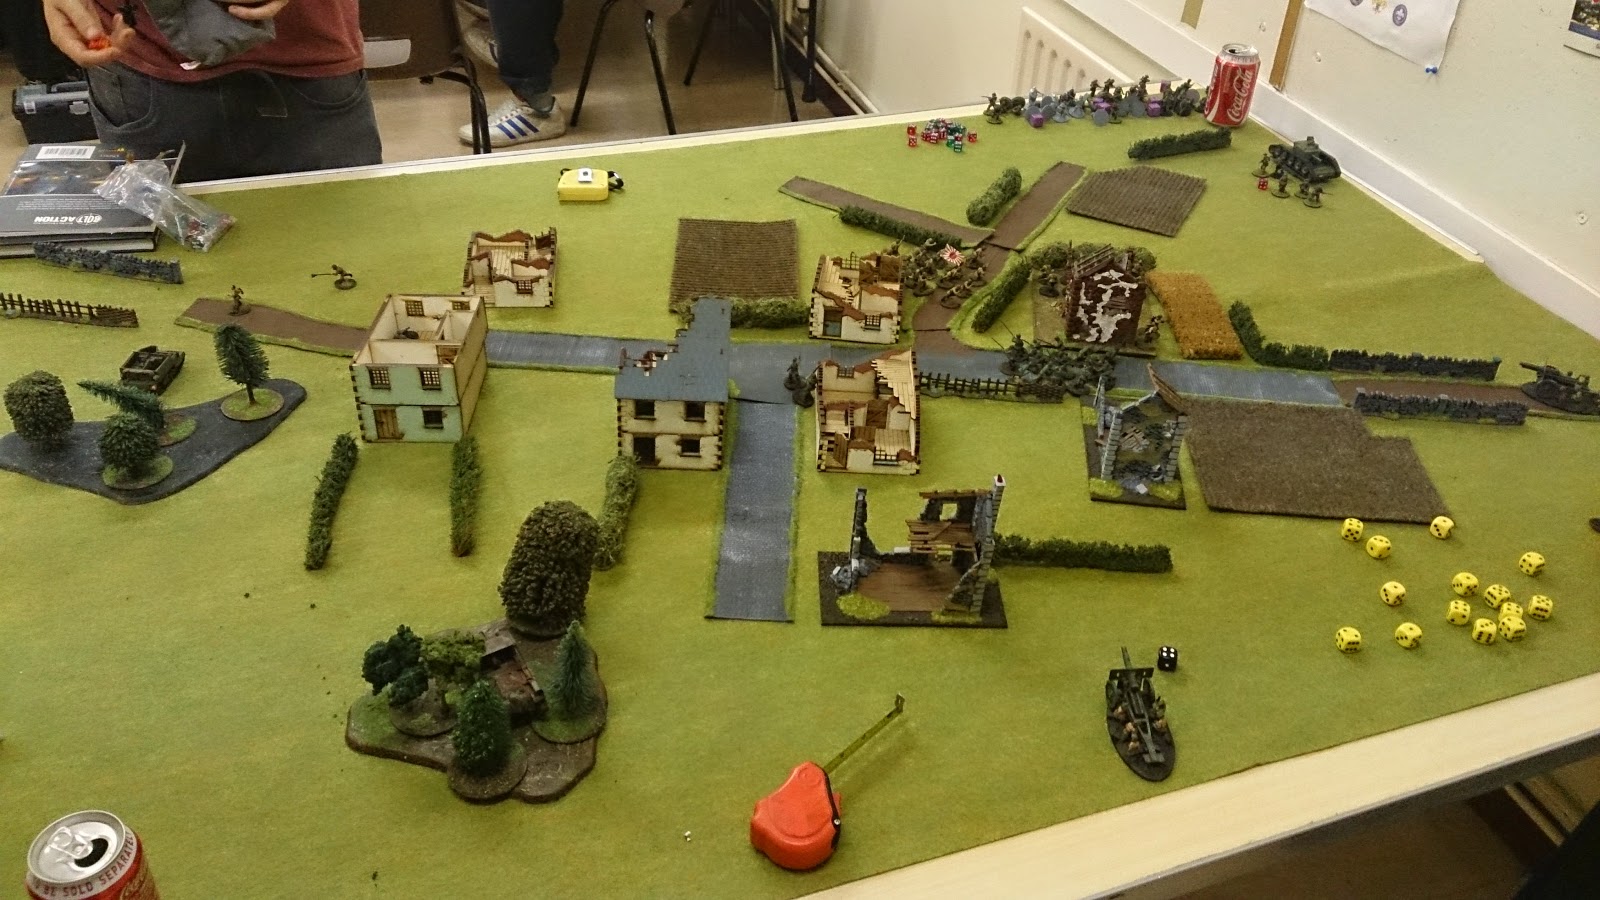
You will notice that the armored car on the left there kept on moving away. My Ho-Ro kept taking pot shots at it. And since it was always in the open, and short range it was going to hurt if I hit it on a 3. So it kept on recce backwards, with the 2 kamikazes chasing it. And considering he had little to no dice left, it was pretty much me dominating the board at this point. I think his personal morale kind of fell flat at about turn 3, and we were just going through the paces.
I have to really rethink my army lists if this is going to continue. I really like playing Bolt Action, and have not seen a ruleset that is this good in a while. I mean there are things that are not the best within it, but overall it is great to pick up quickly and get stuck right in. But if I want to continue playing, I think I might have to adjust my army lists to make them easier for my opponents? Or play more difficult scenarios where it is an uphill slog for me ( like the game vs the 3 flampanzers, yet I still tied that game :S ).
Let's see as the local Italian army player has ( reluctantly ) agreed to play against the Japanese Tsunami force. Let's see if he does better with his forces than the British, Germans, Russians have in the past...