Eldar 'Craftworld Iyanden' - 2,000 points
HQ
Spiritseer - conceal/reveal & horrify/embolden
Troops
5 x Wraithguard w/ Wave Serpent - Serpent w/ twin-linked scatter laser & holofield
5 x Wraithguard w/ Wave Serpent - Serpent w/ twin-linked scatter laser & holofield
5 x Dire Avengers w/ Wave Serpent - Serpent w/ twin-linked scatter laser & holofield
5 x Dire Avengers w/ Wave Serpent - Serpent w/ twin-linked scatter laser & holofield
5 x Dire Avengers w/ Wave Serpent - Serpent w/ twin-linked scatter laser & holofield
5 x Dire Avengers w/ Wave Serpent - Serpent w/ twin-linked scatter laser & holofield
Fast Attack
Vyper - 2 x shuriken cannons
Vyper - 2 x shuriken cannons
Heavy Support
2 x War Walkers - 2 x scatter lasers each
2 x War Walkers - 2 x scatter lasers each
2 x War Walkers - 2 x bright lances each
Tau - 2,000 points
HQ
Commander - command & control node, puretide chip & irdium armour
Ethereal
Elite
Riptide - ion cannon, twin-linked fusion blaster & stimulant injector
Riptide - ion cannon, twin-linked fusion blaster & stimulant injector
3 x Crisis Battlesuits - 3 x missile pods, 3 x plasma rifles & 3 x target lock
Troops
6 x Fire Warriors
6 x Fire Warriors
6 x Fire Warriors
6 x Fire Warriors
20 x Kroot - sniper rounds
10 x Kroot - kroot hound
Fast Attack
8 x Pathfinders
8 x Pathfinders
Heavy Support
2 x Broadsides - twin-linked high yield missile pods & velocity tracker
2 x Broadsides - twin-linked high yield missile pods & velocity tracker
2 x Broadsides - twin-linked high yield missile pods & velocity tracker
Fortification
Aegis Defence Line
Game: Dawn of War + The Scouring
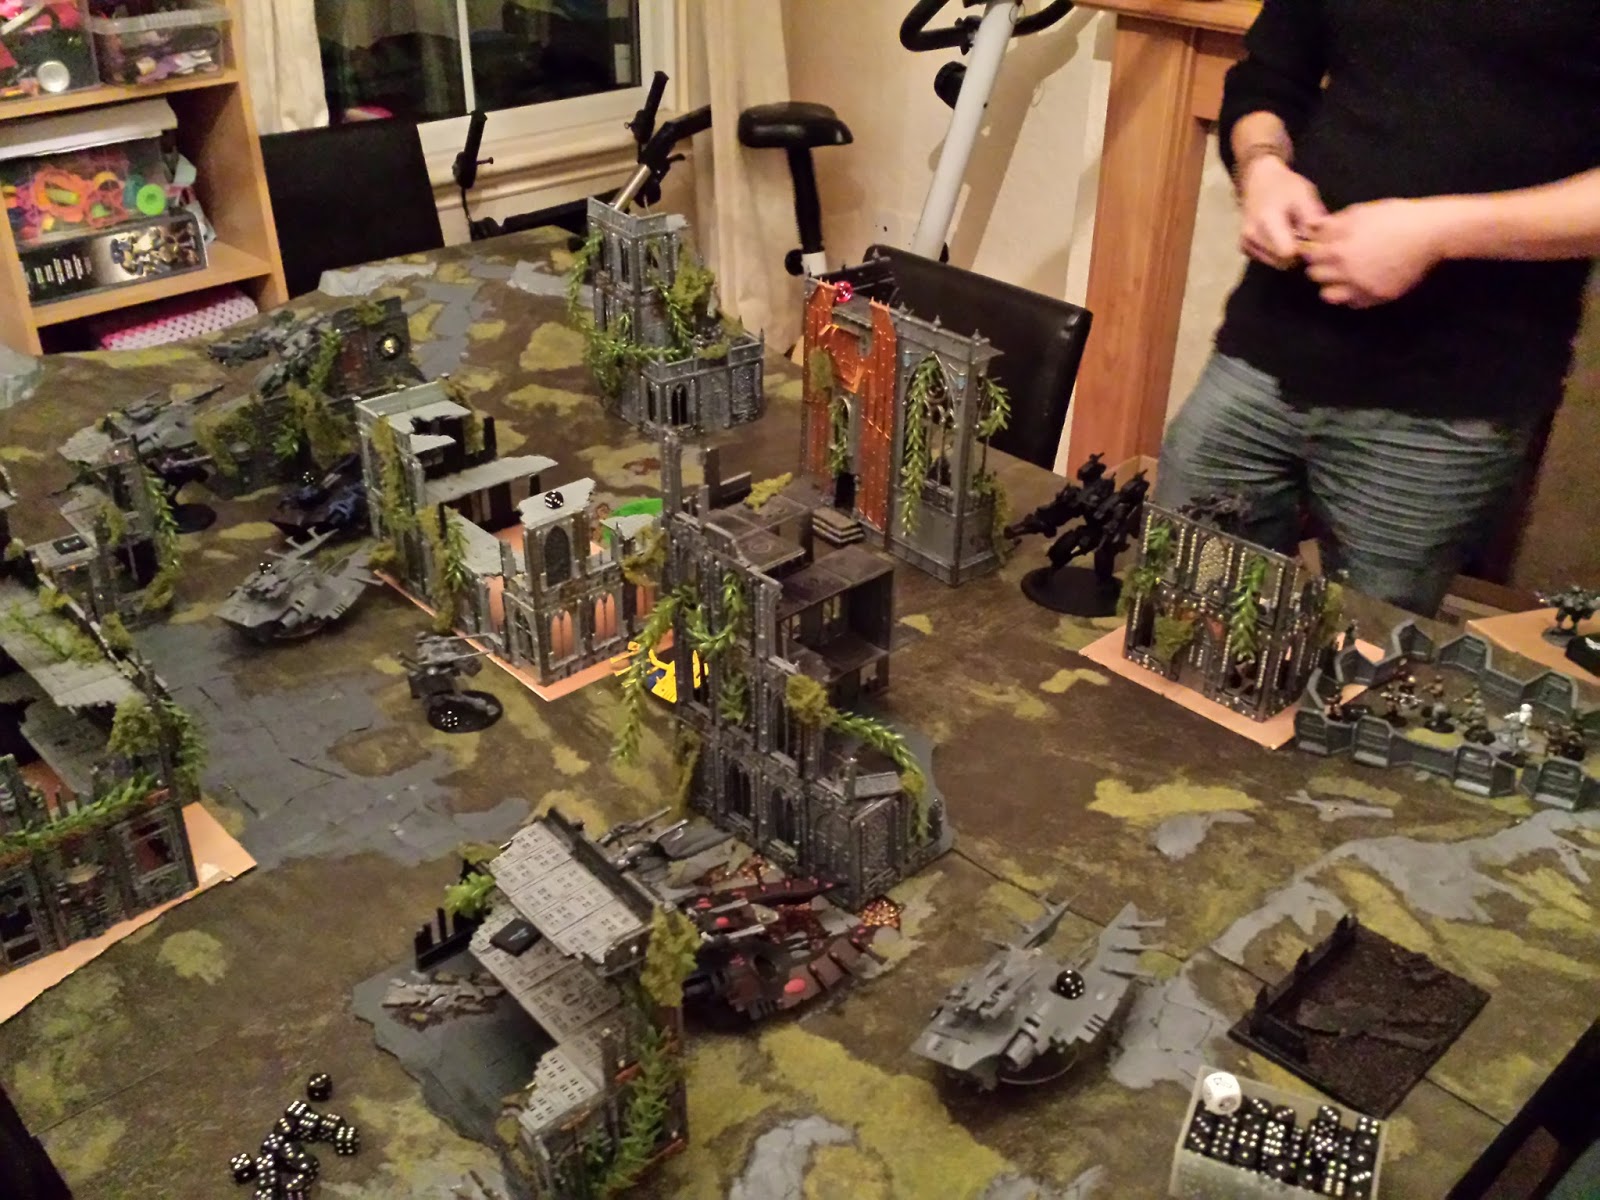
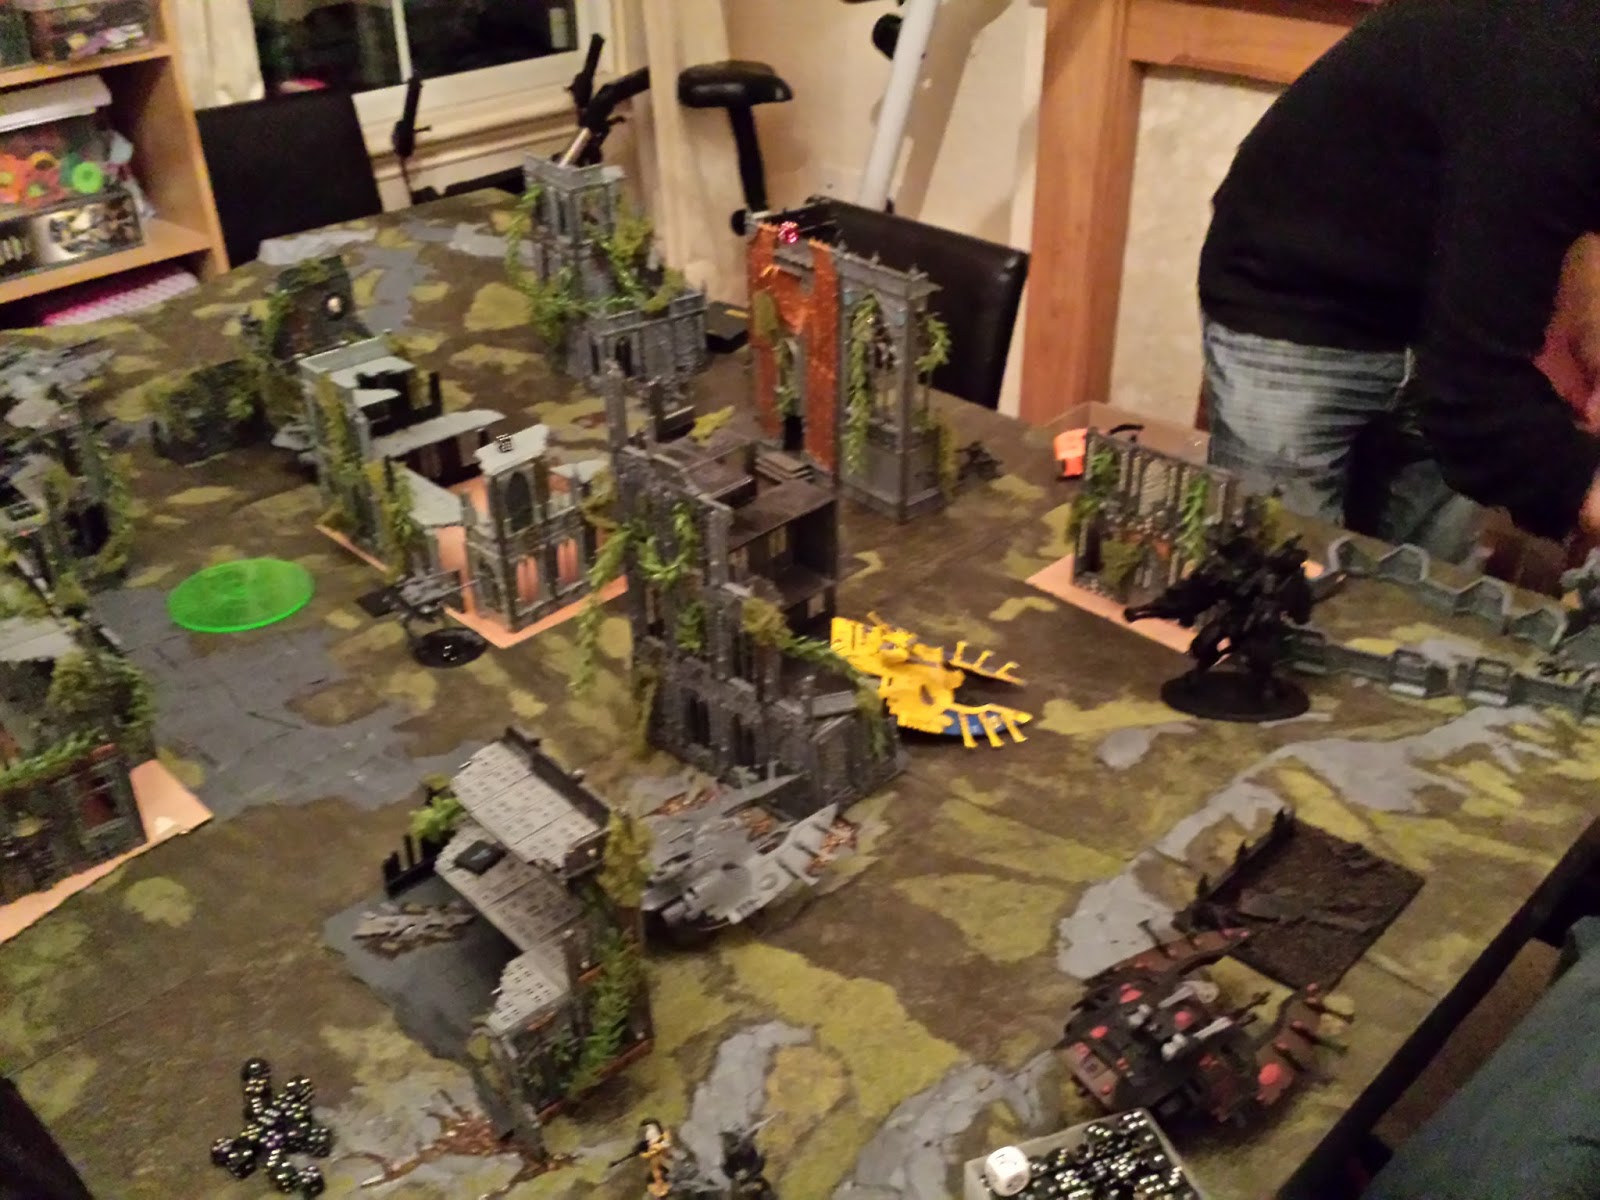
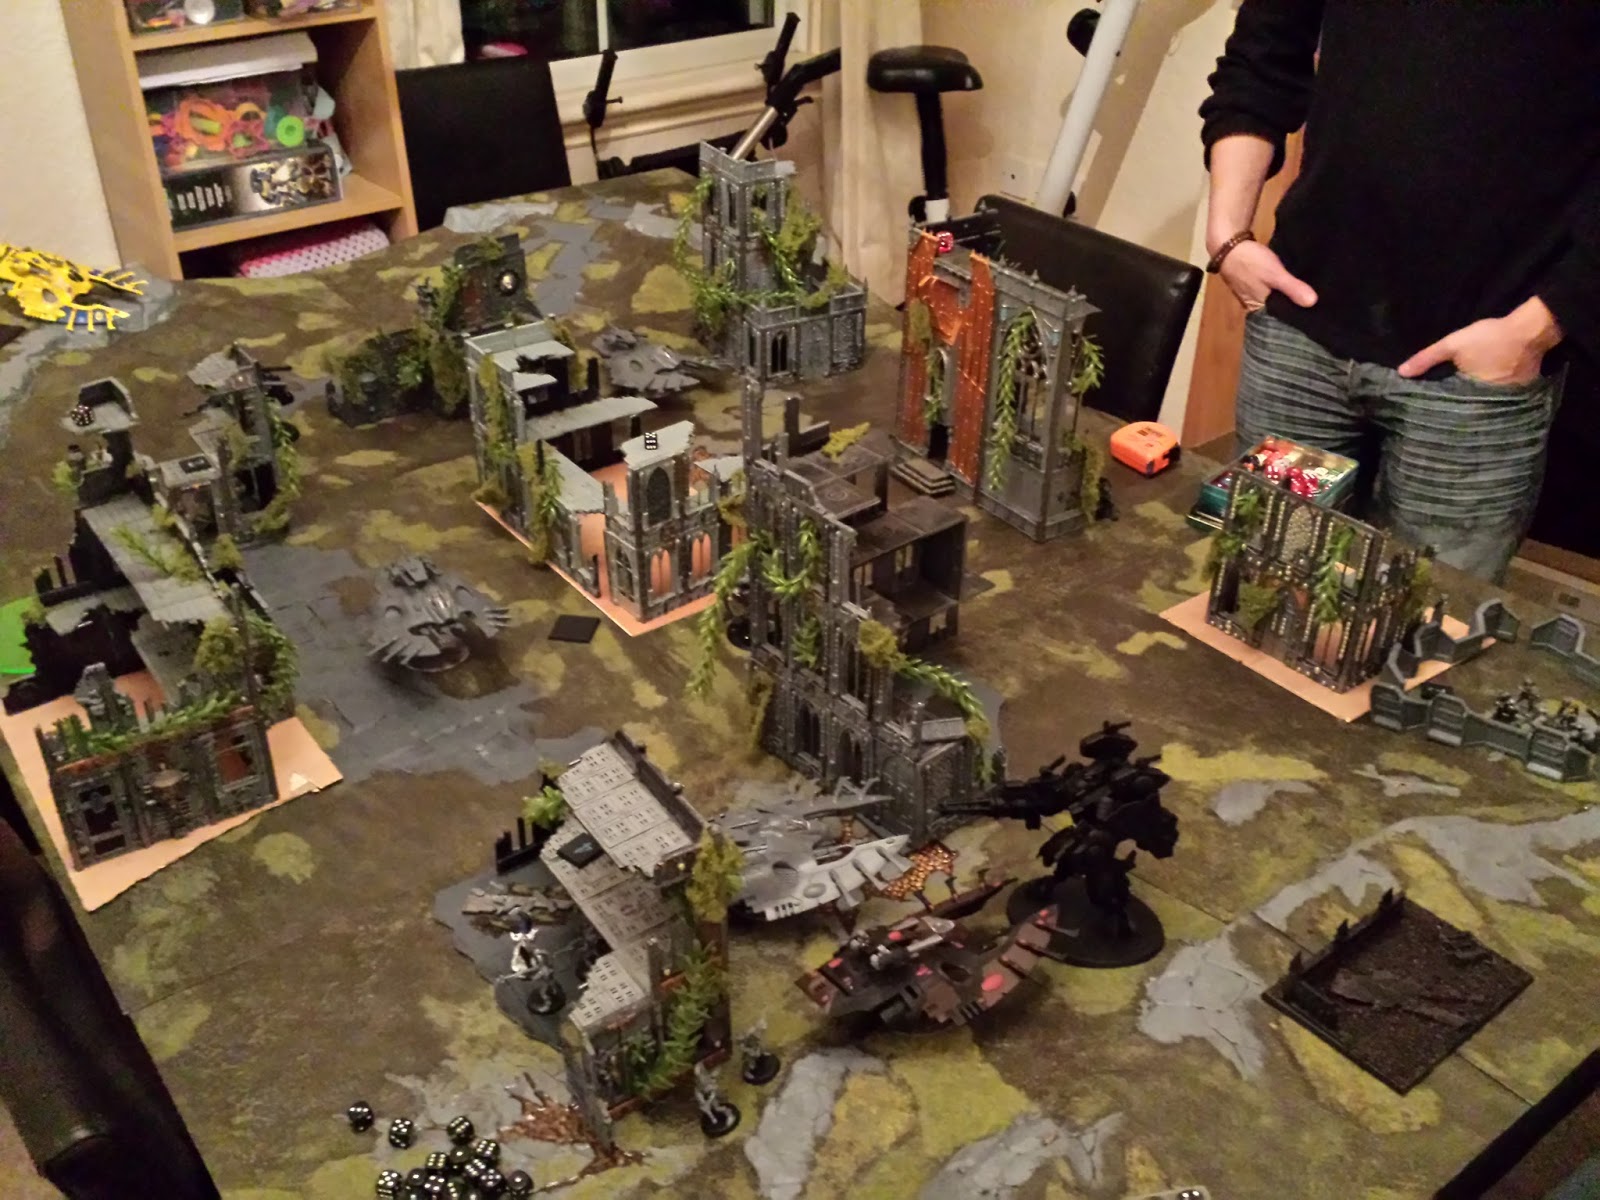
Deployment
I win the roll off and deploy first. I put my Wraith Serpents at the front side on, this is so I do not have to deploy in area terrain. In total I have three Serpents at the front and then one on the left flank and two on the right flank, a big ruin is in between the Serpents on each flank. Inside the large ruin is the Lance Walkers while the Scatter Walkers each bunker down in a ruin on each flank. Walkers on the right are support by dual Vypers.
Shaun deploys, he had previously put his ADL in the top right corner, behind he puts the Sniper Kroot, Ethereal attached to them and unit of Broadsides. In the ruin next to them he puts a unit of Pathfinders and Fire Warriors. In the centre shrine ruin he puts another unit of Fire Warriors who are supported by a Riptide, Broadsides and Commander unit. In the tower ruin is unit of Fire Warriors and Pathfinders and lastly out in the open top left corner is the remaining unit of Broadsides and Riptide.

* Tactical Notes
At first glance Shaun's army isn't very threatening to me; Fire Warriors can only just about do damage on my War Walkers, though with battle focus I can hide them. Kroot can only just about damage the War Walkers too and their rifles are only 24".
What I do need to worry about is the Broadsides and Pathfinders. The Pathfinders seem harmless but they buff the Tau, so killing them makes things harder for Tau plus I gain points for killing fast attack units. Pathfinders will be my first target as all other units are hidden pretty well.
Riptides are mediocre, I am not worried about them, but they can be a pain, especially when my infantry is out in the open.
Turn 1
We flip the objectives and in the ruin by the Vypers I have 4 points, in a ruin on my left I have 2 points, ruin in the middle on the left has 3 points while the objective near the large centre ruin has 3 points, shrine ruin has 1 point and the objective behind the ADL has 2 points.
Shaun attempts to seize and fails.
Eldar; I move my Serpents up 12" with War Walker and Vyper support.
Shooting; Serpents unleash a barrage of scatter laser shots and serpent shields into the Pathfinders on the left, I wipe them out and gain first blood. Serpents on the right blast the other Pathfinders along with Vypers, I can only see so many and three remain; they pass morale. I fire remaining shots into the Kroot just because there's nothing else and I fail to kill anything after good cover saves by Shaun.
Tau; Commander's unit comes forward with the supporting Riptide. Riptide on the left comes down too. All other units hold position.
Shooting; only one Pathfinder can draw LOS on my Spiritseer's ride and misses anyway; Commander's unit fires everything into the same vehicle and does nothing, Riptide has a crack and scores a glance which I fail to save. Sniper Kroot take out a War Walker on the right with some good rending sniper rolls, I shouldn't have pulled them forward so far. One Vyper gets shot by Fire Warriors next to the Ethereal, manages to stun it after cover saves from the ruin I have put it behind. Broadsides and Riptide fire at a Serpent by the large centre ruin, Broadsides do squat while Riptide takes a hull point off it.
Riptide jump pack and provide cover to Broadsides respectively, though Commander's unit is sitting out in the open.
* Tactical Notes
Damage so far hasn't been too bad. I have lost a War Walker and really that's my own fault as I should have played it safe and pulled the War Walkers back where they were positioned instead of moving them forward and cramming them behind the large ruin on the right. I have also lost a few hull points, but I cannot complain.
I have done slightly better than Shaun this turn as I have taken out a whole Pathfinder unit and decimated another one. If I can score some damage on Broadsides this turn and nuke the Commander's unit with Wraithguard then I will be happy.
Plan for next turn is to fire on the Broadside's and hopefully get them pinned. I'll bail out Wraithguard and use them on the Riptide on the left and the other unit against the Commander's unit.
Turn 2
Eldar; Spritiseer cast conceal and rolls perils! Doh! I move up in the ride, get out with the Wraithguard and cast horrify on the Commander's unit. Other Wraithguard stay inside as after some sneaky pre-measure I found they would be out of range. Remaining Serpents hug cover and remain mostly in same positions.
Shooting; Wraithguard fire into the Commander's unit, I do rubbish and shooting and wounding, I kill a single Crisis Suit and the entire unit fails morale and runs off the table! Damaged Serpent in the centre fires on the Broadsides on the left, takes a wound off one and the unit is pinned. Two Serpents on the right fire on the Broadsides by the ADL, I manage to kill one though unit passes pinning test thanks to the Ethereal bubble. Single Scatter Walker dakkas the Kroot along with the two Vypers, I manage to kill several this time. Lance Walkers dakka the Broadsides in the centre, they do rubbish to hit and to wound, but luckily a Broadside is gibbed even with cover. Remaining War Walkers fire shots into the Fire Warriors in the centre, three remain who fail morale and fall back.
Shaun rolls for reserves and the unit of 10 Kroot come on my right flank by the 4 point objective.
Tau; falling back Fire Warriors regroup, they move and run into the shrine ruin. Riptide on the left comes down to party and uses nova reactor to get double fusion shots. Riptide in the centre uses reactor to pimp up the ion cannon.
Shooting; Kroot rapid fire into the rear of a Serpent and take a hull point off it. Sniper Kroot fire into the Wraithguard, they do shockingly rubbish and I pass the three armour saves. Riptide does better and bombs the Wraithguard - three die. Lone Broadside on the right fires into the lone Scatter Walkerand takes it down while the Fire Warriors by the Ethereal fire again into the stunned Vyper and take it down. Lone Broadside centre fires into the Lance Walkers and takes one out. Broadsides on the left fire into other Wraith Serpent and take a hull point off it. Riptide fires into the closest Serpent, holofield saves my bacon along with some shocking poor rolls by Shaun with the double fusion shots.
Riptide on the left jumps down into my face while the other one falls back a little bit.
* Tactical Notes
I have taken more damage than I wanted to this turn; I have lost both Vypers and two War Walkers and some Serpents have lost hull points.
With the Kroot in my backfield threatening the 4 point objective I now have to act; I'll bail out two Avenger units and waste them. I will move the two Serpents forward with support from the Vyper and the Spritiseer's Serpent and drop those Sniper Kroot numbers, without the Ethereal units around that area will be more falling back easier on my behalf. I'll then use remaining units to try and pin the other Broadsides again, gib the solo Broadside and unleash mass death on the Riptide on the left, I do not want this big fella smashing my vehicles up as that is a source of my high fire power.
Turn 3
Eldar; I decide to get the Spiritseer and two Wraithguard back into their ride, two of them aren't enough to deal with the un-wounded Riptide - their ride falls back using the large ruin on the right flank for cover. Avengers bail out the two Serpents on the right to deal with the Kroot while those Serpents move up with Vyper support. Other Wraithguard bail out their ride and move into terrain by the Riptide while the Serpent the Riptide is by falls back, the Avengers bail out ready for, bbbbllllllllaaaaadestorm!
Shooting; Lance Walkers fire into the Broadside in the centre and gib it. Serpents blast the Sniper Kroot and cut down their numbers, unit passes morale test. Both Avengers dakka the Kroot, a single Kroot remains and passes morale! One Serpents blasts the Broadsides top left, they pass armour saves. I fire the now empty Wraith Serpent into the Fire Warriors who regrouped, this is just because I have nothing else for it to shoot, they pass morale. Avengers, Wraithguard and Serpent fire into the nearby Riptide, it survives with three wounds and my Wraithguard cannot hit the broad side of a barn!
Assault; Avengers charge the Kroot and wound it once, Krooty passes armour and kills an Avenger! Unit stays locked in close combat.
Tau; Riptide on the left charges for double fusion and fails, it falls back. Other Riptide charges for double fusion.
Shooting; Riptide fires into the Wraithguard, three die after cover saves. Broadsides blast into the Serpent supporting the Wraithguard, I pass holofield. Other Riptide fires into the Spiritseer's ride, I pass cover thanks to holofield. Last Vyper gets taken out by the lone Broadside on the right.
Assault; Kroot and Avengers draw in combat and remain locked.

* Tactical Notes
Hmm, the Tau seemed to have absorbed some fire power this turn and it seems I haven't done a lot; I have chipped away at the Sniper Kroot and took some wounds off a Riptide and finished off a Broadside, but that's about it. Maybe I am setting things up for next turn?
I think Shaun has had a much better turn than me; his Kroot have tied up my Avengers and absorbed some fire power. He has taken down the last Vyper and bagged a point for that.
Next turn I'll gun down the Sniper Kroot, not many of them remain now. I'll re-position Wave Serpents so they can blast the remaining Broadsides and Riptide to bits.
Turn 4
Eldar; Spiritseer's ride moves lands in terrain, Spiritseer casts conceal and the unit bails out ready to do some shooting. Serpents move down to support the Spiritseer. Serpents on the right move up to dakka the Riptide and Broadsides along with my War Walkers. Lance Walkers draw LOS on the Riptide towards the right and are ready to fire.
Shooting; War Walkers and Wraithguard gun down the Riptide on the left while Serpents blast the Broadsides, one remains who fails morale and legs it off the board. Two Serpents fire into the Sniper Kroot and wipe out the unit. Wraithguard and Lance Walkers fire into the last Riptide and both units utterly fail, I fire the last Serpent into Fire Warriors near the objective and kill a few; unit passes morale. One Serpent fires through the doorway and the unit of Fire Warriors who earlier failed morale and wipes them out.
Assault; Avengers beat up the Kroot and move to getting cover behind a Serpent.
Tau; Fire Warriors in the tower roll out to try and get the objective by the shrine, they end up stuck in no man's land between the two ruins. Riptide overcharges for ion cannon. Fire Warriors in the ruin bail out and go behind the ADL and claim the objective there.
Shooting; Riptide nails the Wraithguard and all of them fail saves including the Spiritseer. Broadside tries to nail some Avengers free from the fight, though I make all cover saves thanks to the Serpent in front.
* Tactical Notes
Looks like the game has firmly fell into my hands on this turn; left flank has been destroyed and the shrine ruin objective is now available. Sniper Kroot unit has gone including the Ethereal, this means units around that area will be more easier to dispose off, plus a troop choice has gone.
At the moment Avengers hold the 2 point objective to the ruin in my left, Wraithguard hold the 3 point objective in the ruin centre left. I will easily get the 4 point objective this turn and top it up with linebreaker.
Turn 5
Eldar; I attempt to move the empty Spiritseer Serpent and it is immobilised - doh! Other Serpents move to draw LOS on the Pathfinders while one Serpents rocks up by the exposed Fire Warriors, Avengers bail out and claim linebreaker.
Shooting; Serpents destroy the remaining Pathfinders and bag me another point. Fire Warriors out in the open are destroyed by Serpent fire as are the Fire Warriors holding the objective by the ADL.
Tau; last unit of Fire Warriors grab the objective behind the ADL while the Broadsides double fusions the Serpent which is immobilised.
We roll for it and the game ends here.
Eldar score a crushing victory with 14 points to Tau 4.
Summary
A pretty brutal game and was even most the way through, though I took it on turn 4 by wiping out the left flank and destroying several troop units.
I made a massive mistake with the terrify power, I thought this power could be used during the psyker's turn, it is actually at the start; the Commander's unit probably would have remained and no doubt would have caused some upset.
I also brought the War Walkers on the right flank too far forward. I should have left them hiding in the ruin with cover/blocking LOS, though I wasn't banking on snipers taking one out.
Shaun made a few mistakes this game; he should have put the ADL spread along his table side, or at least in a line using the ruins for support. With ADL in a corner the Tau army was boxed up, then many units wasn't around the Ethereal to benefit from the extra pulse shots. I did say this at the start Shaun ;)
Speaking of deployment, Broadsides should be in cover or behind the ADL. With them out in the open it is very easy to instagib them with the right weaponry. To stop them running away they should be within 12" of the Ethereal.
Another mistake Shaun made was not assaulting with the Riptides. Riptides would smash open my Serpents and cause some damage to my Wraithguard, they could have easily come down and go in my face and ripped all my rides to pieces. I only have weight of fire to stop them and every Serpent lost counts!