

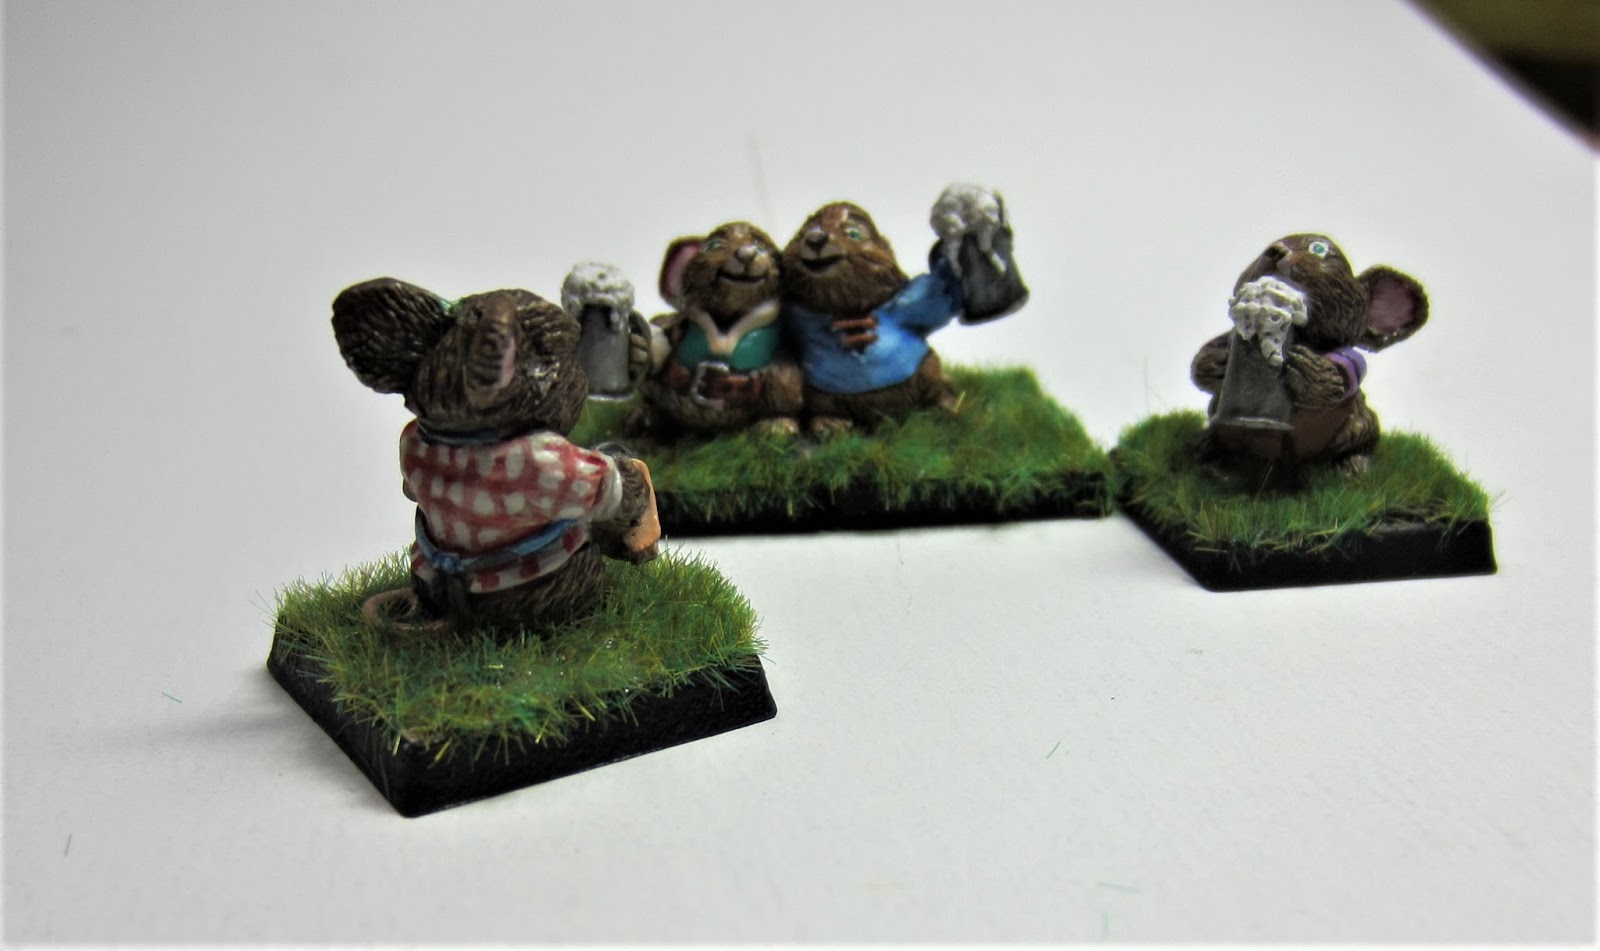
A lot of fun the past couple of days! I have never applied static grass other than manually... by sticking wads of it into adhesive with varying degrees of success... so I was very excited to experiment with a new Static Grass Pro Box from War World Scenics. The box took some getting used to and a far bit of invective but, once I got the hang of it, did a great job applying the static grass to these festive mouslings!
 A lot of close in shots how how nice the grass went in. This first run I only used a 2mm spring mix and did not attempt do do tufts of longer grass. The box handles 4mm static grass as well so it should do great... I'll give that a go next time.


Revealing the pile of unprocessed resin from the last post...
Tri-Vid advertisements from Atenociti's Workshop's Undertown!
These are the small size screens. There are two larger sizes which I will cover in future.

The Models are two parts plus three acrylic rods. I used the rods this time but think they would have been fine without them. During assembly I intentionally put a couple of the signs together somewhat askew. These are intended for undertown and most signs of this type I would imagine to be in poor repair.
The assembled models were sprayed with with Rustoleum French Vanilla primer and paint combo then dry-brushed with Hobbycraft Pure White. Blues were Reaper HD: Dragon Blue a dry-brush of Lightning Blue and then a glaze or two of Army Painter Blue Ink heavily thinned with Vallejo Glaze medium.
Weathering was done with an initial splatter of Caked Mud (Secret Weapon) followed by weathering powder Light Earth... paying special attention to the seams around the photo signs, and Grey Ash (both from Forge World) paying extra attention to make the glossy photo signs and acrylic rods appear to have smudged glass.