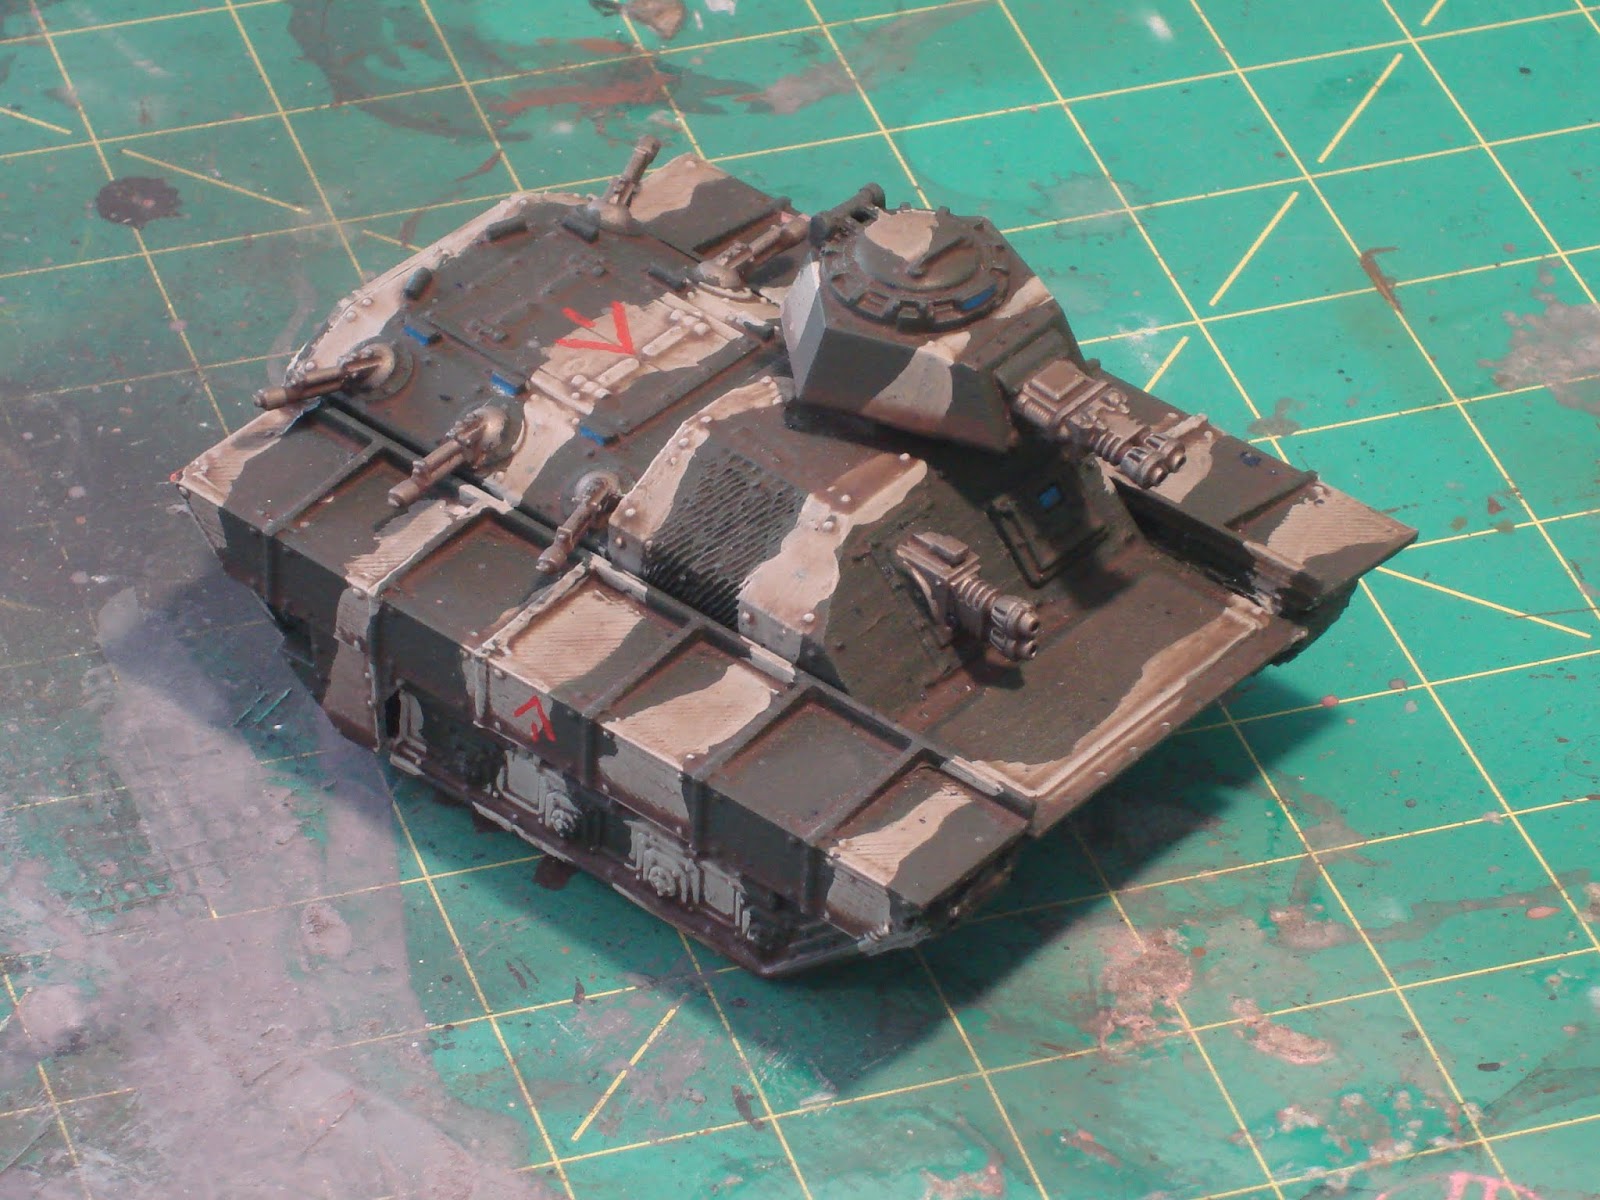
This is the painted version of the modified Chimera. It looks unique, but is still recognizable as a Chimera.
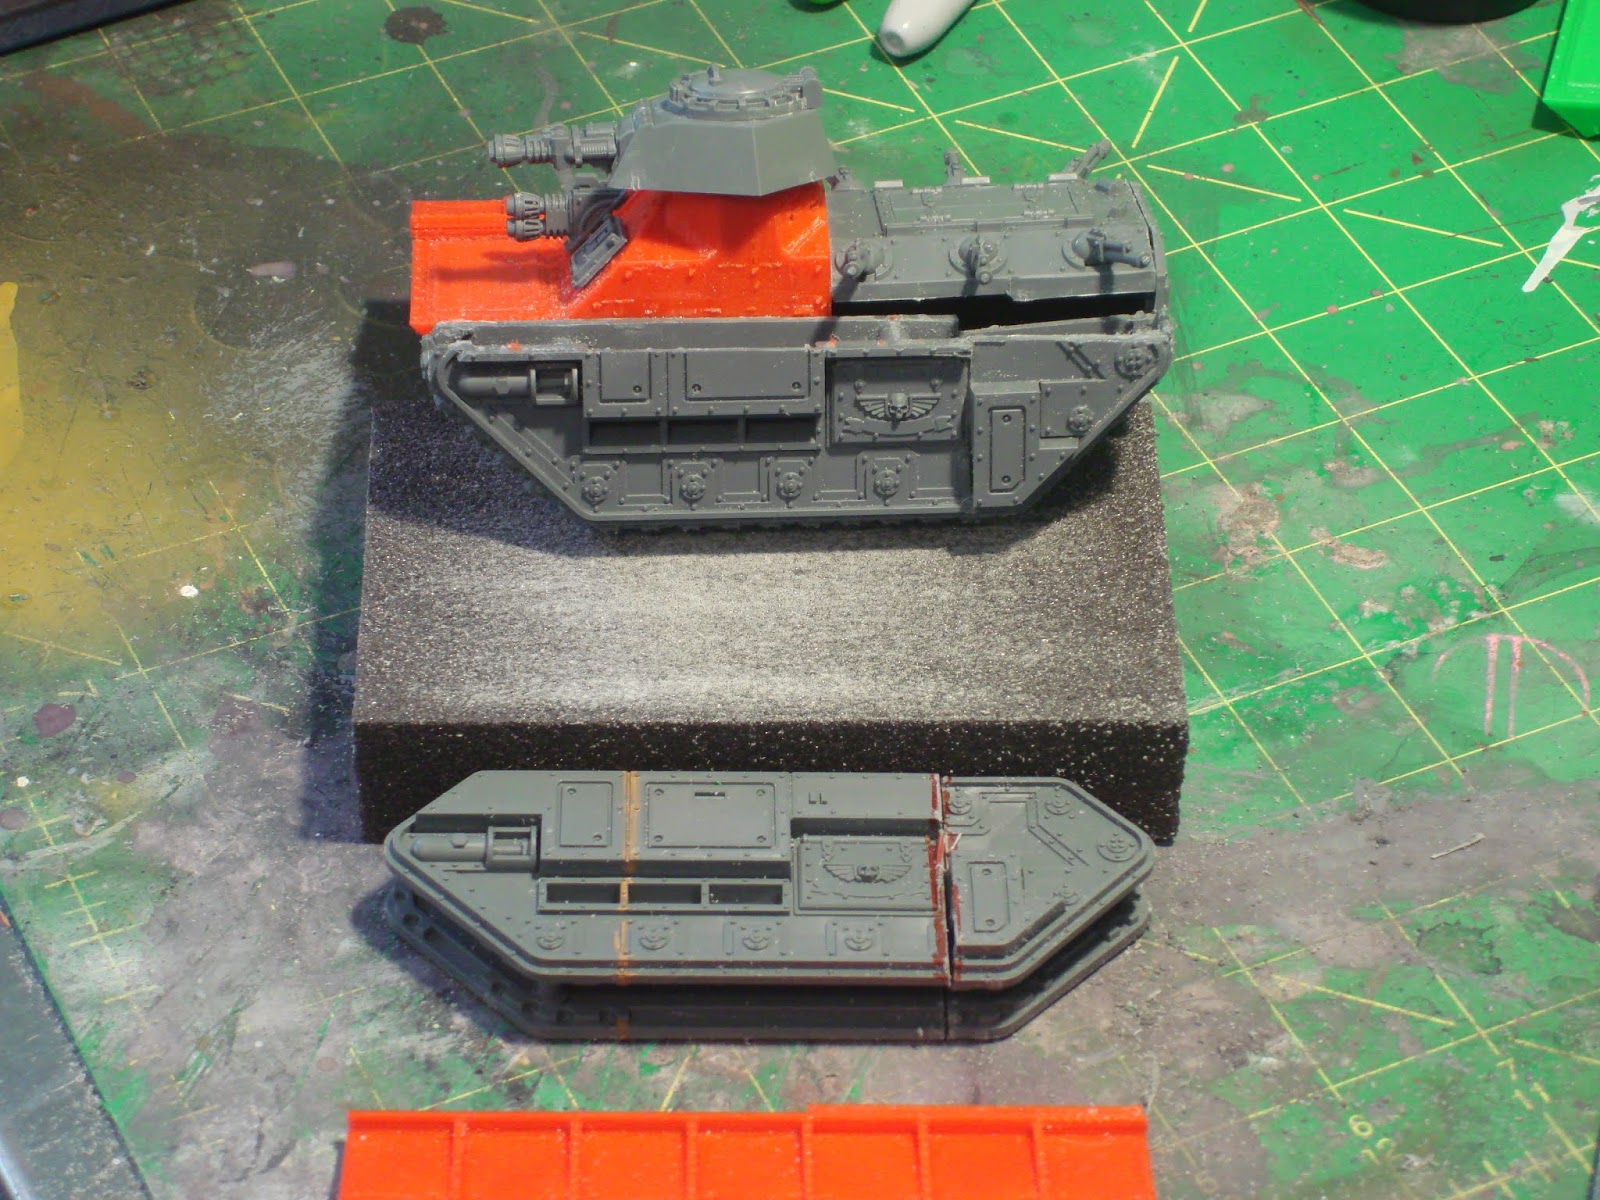
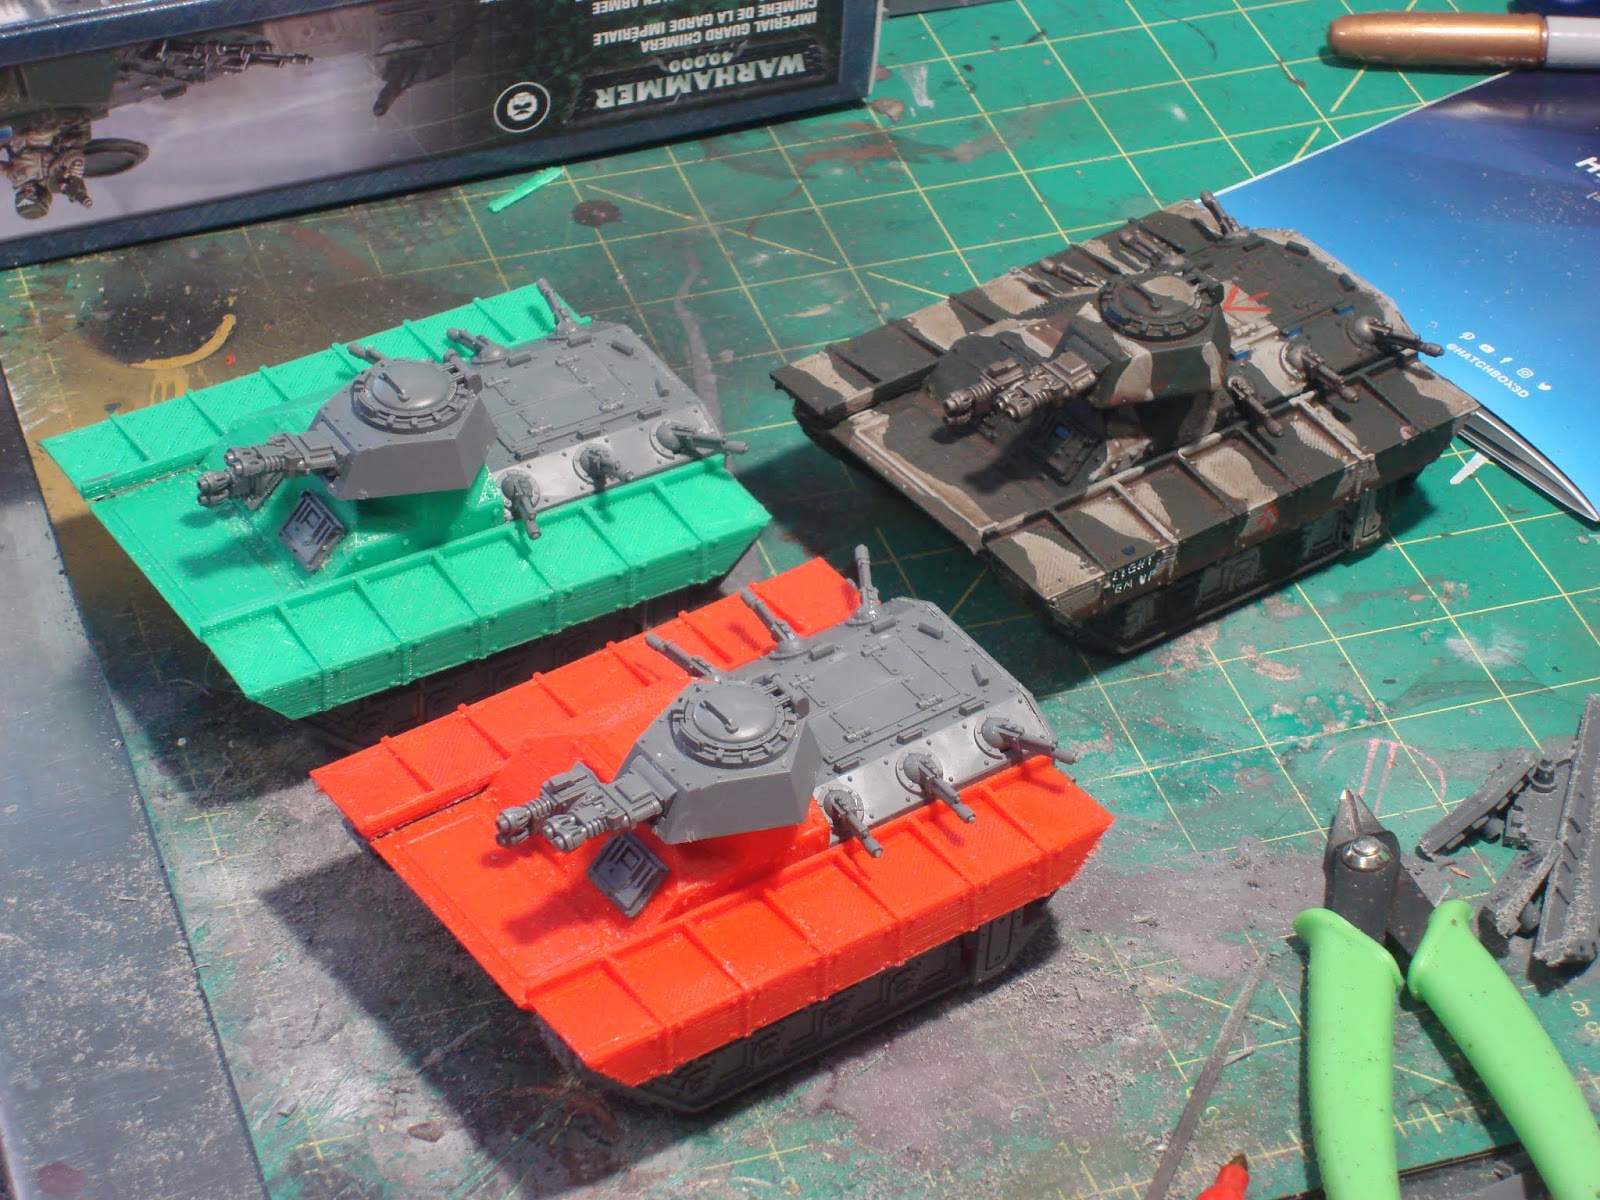
Below you can see the painted one and an unpainted version. Helpfully, the 3D printed parts have been printed in red PLA.
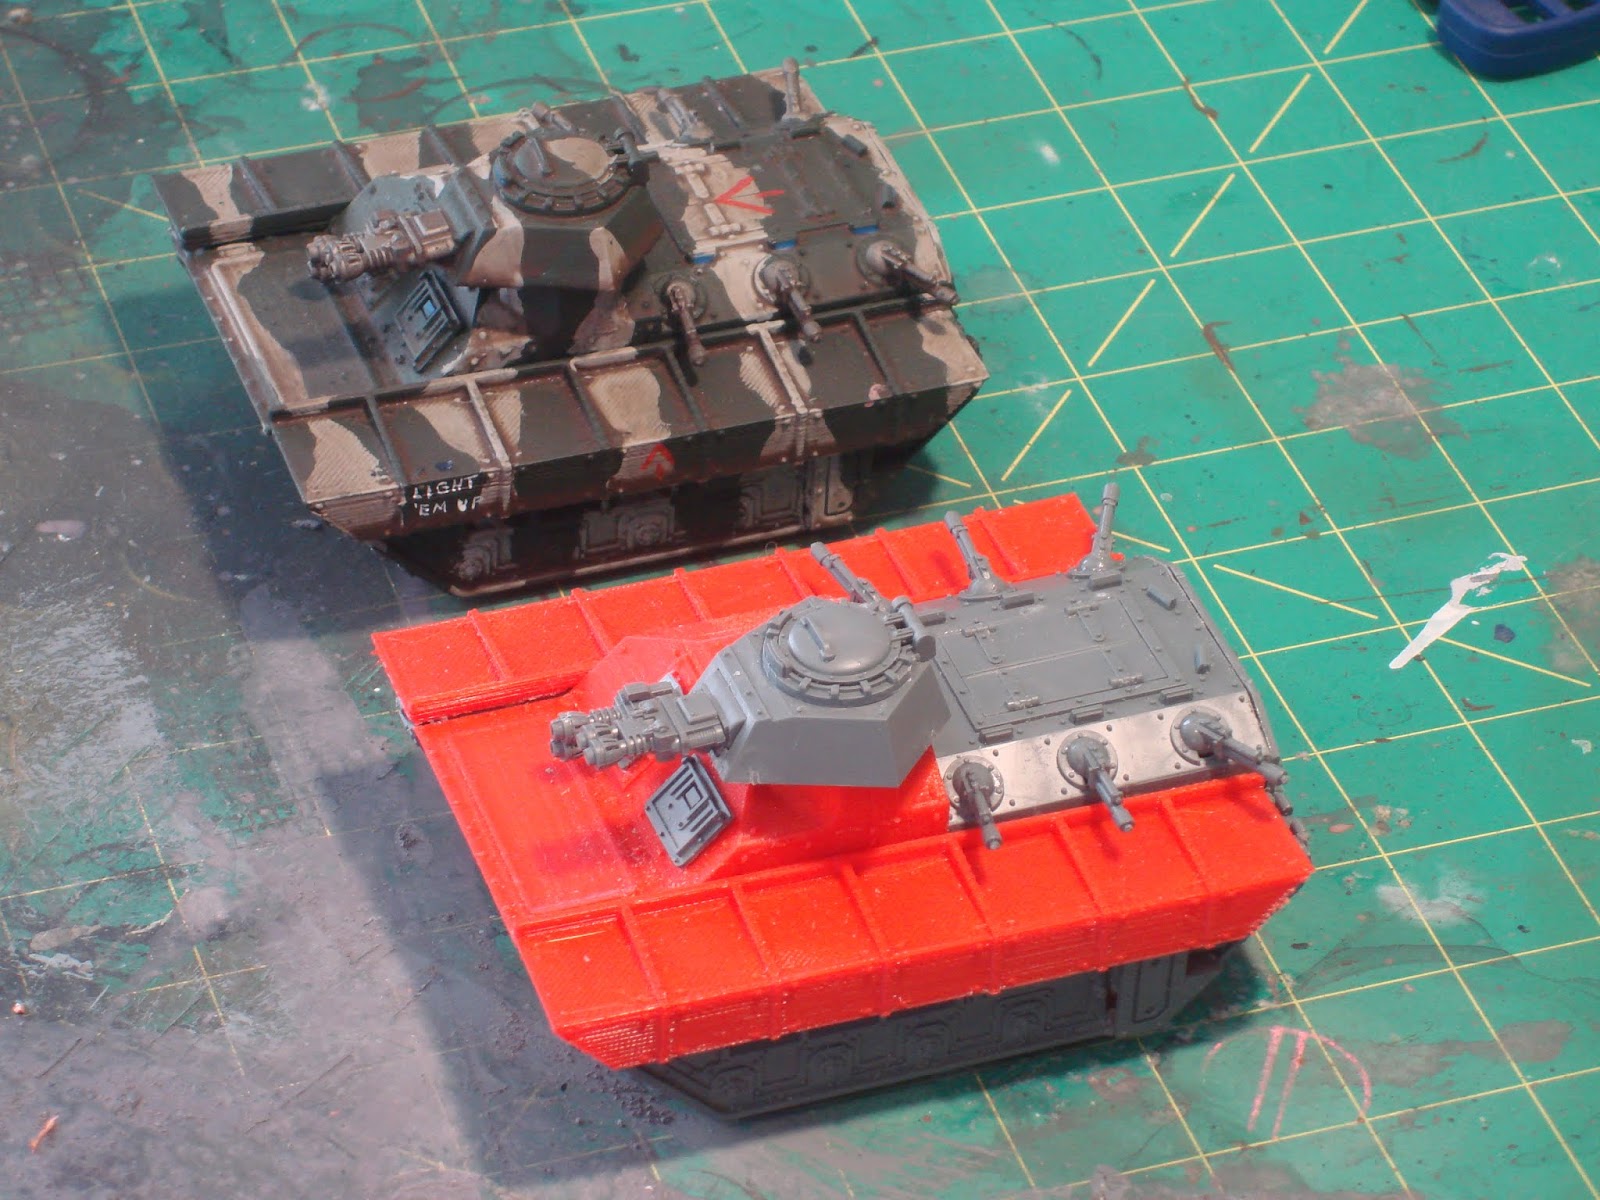

So what do we need? One full Chimera kit, and 3 printed pieces. The .stl files can be found here.

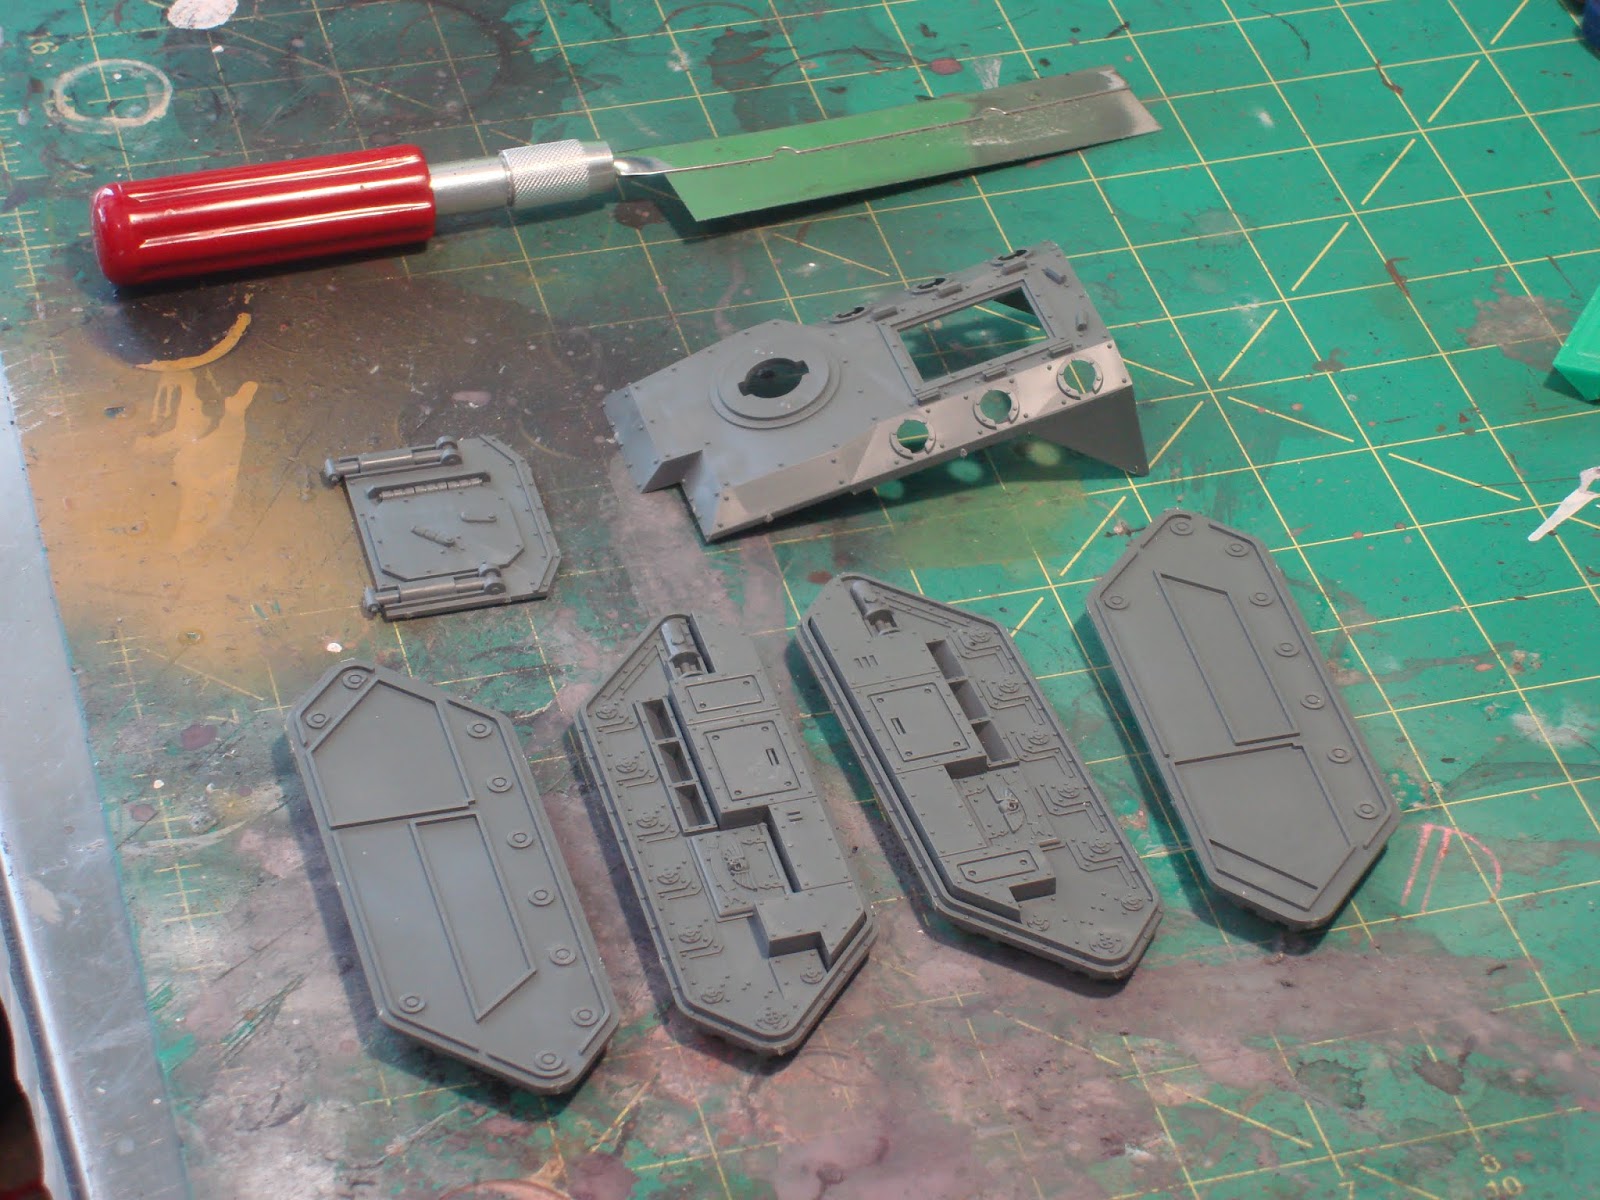
Starting with the rear hull top, we will cut off the two triangles in the rear as shown below.
Once they are removed, the piece will lay flat. We will now remove the front half.

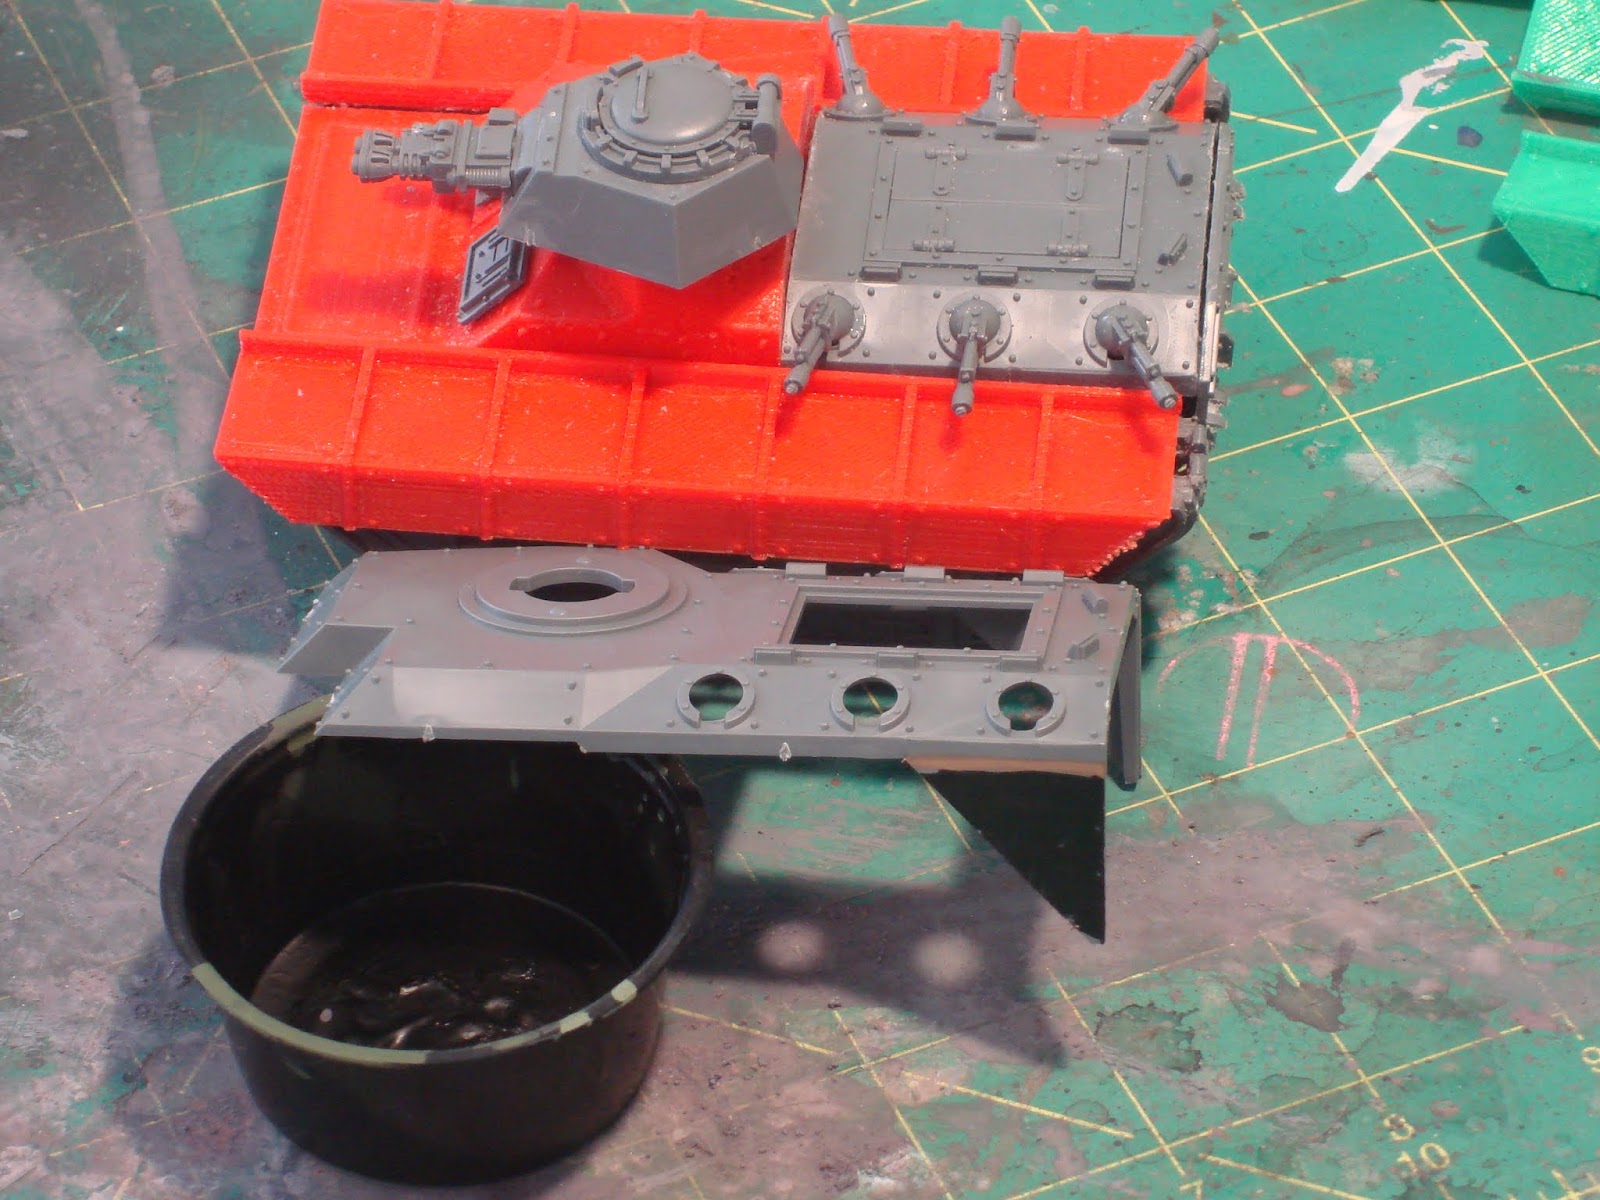
Because I didn't install them first the last two times, I'm recommending that you install the lasgun array before you continue any further.

Part of this conversion is to improve the approach and departure angles of the vehicle. In order to keep the hull from dragging on the ground as the vehicle climbs, the rear hatch must be "bent" to keep it within the track profile. I've found that cutting it at the top of the cylinder rods works best.
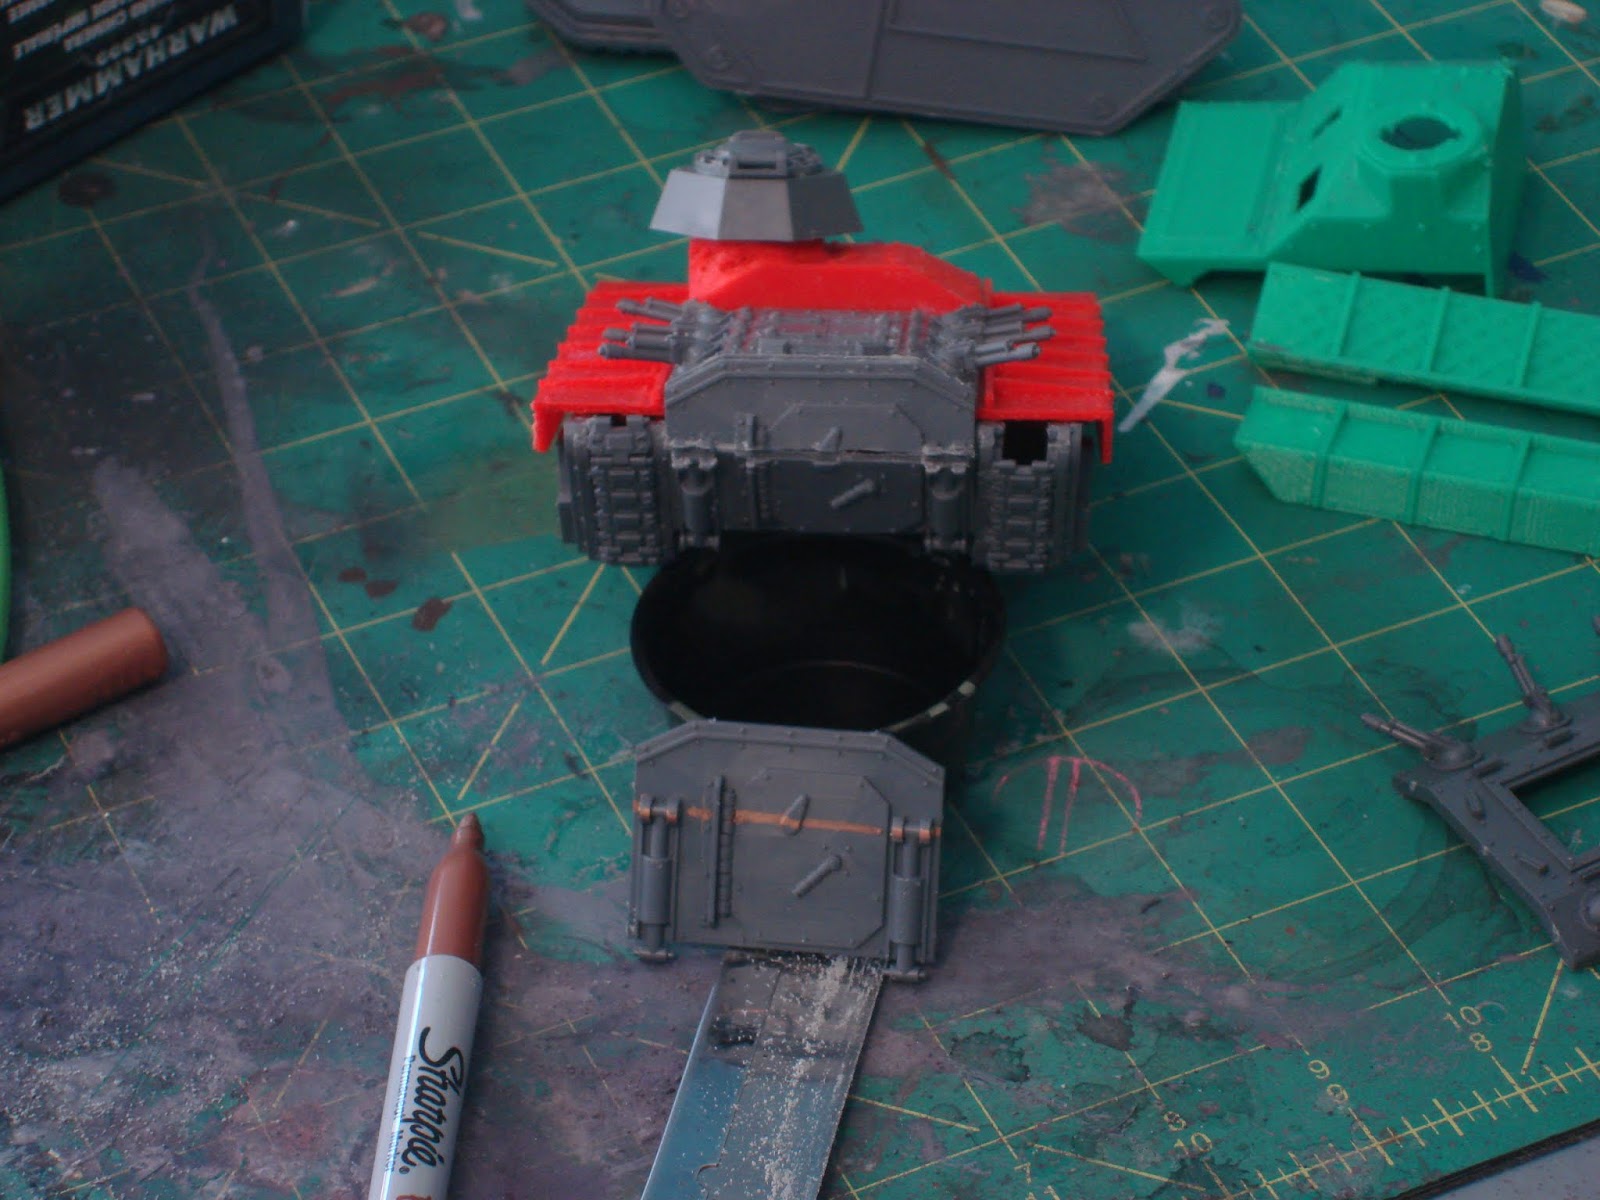

And when split, it looks like this.
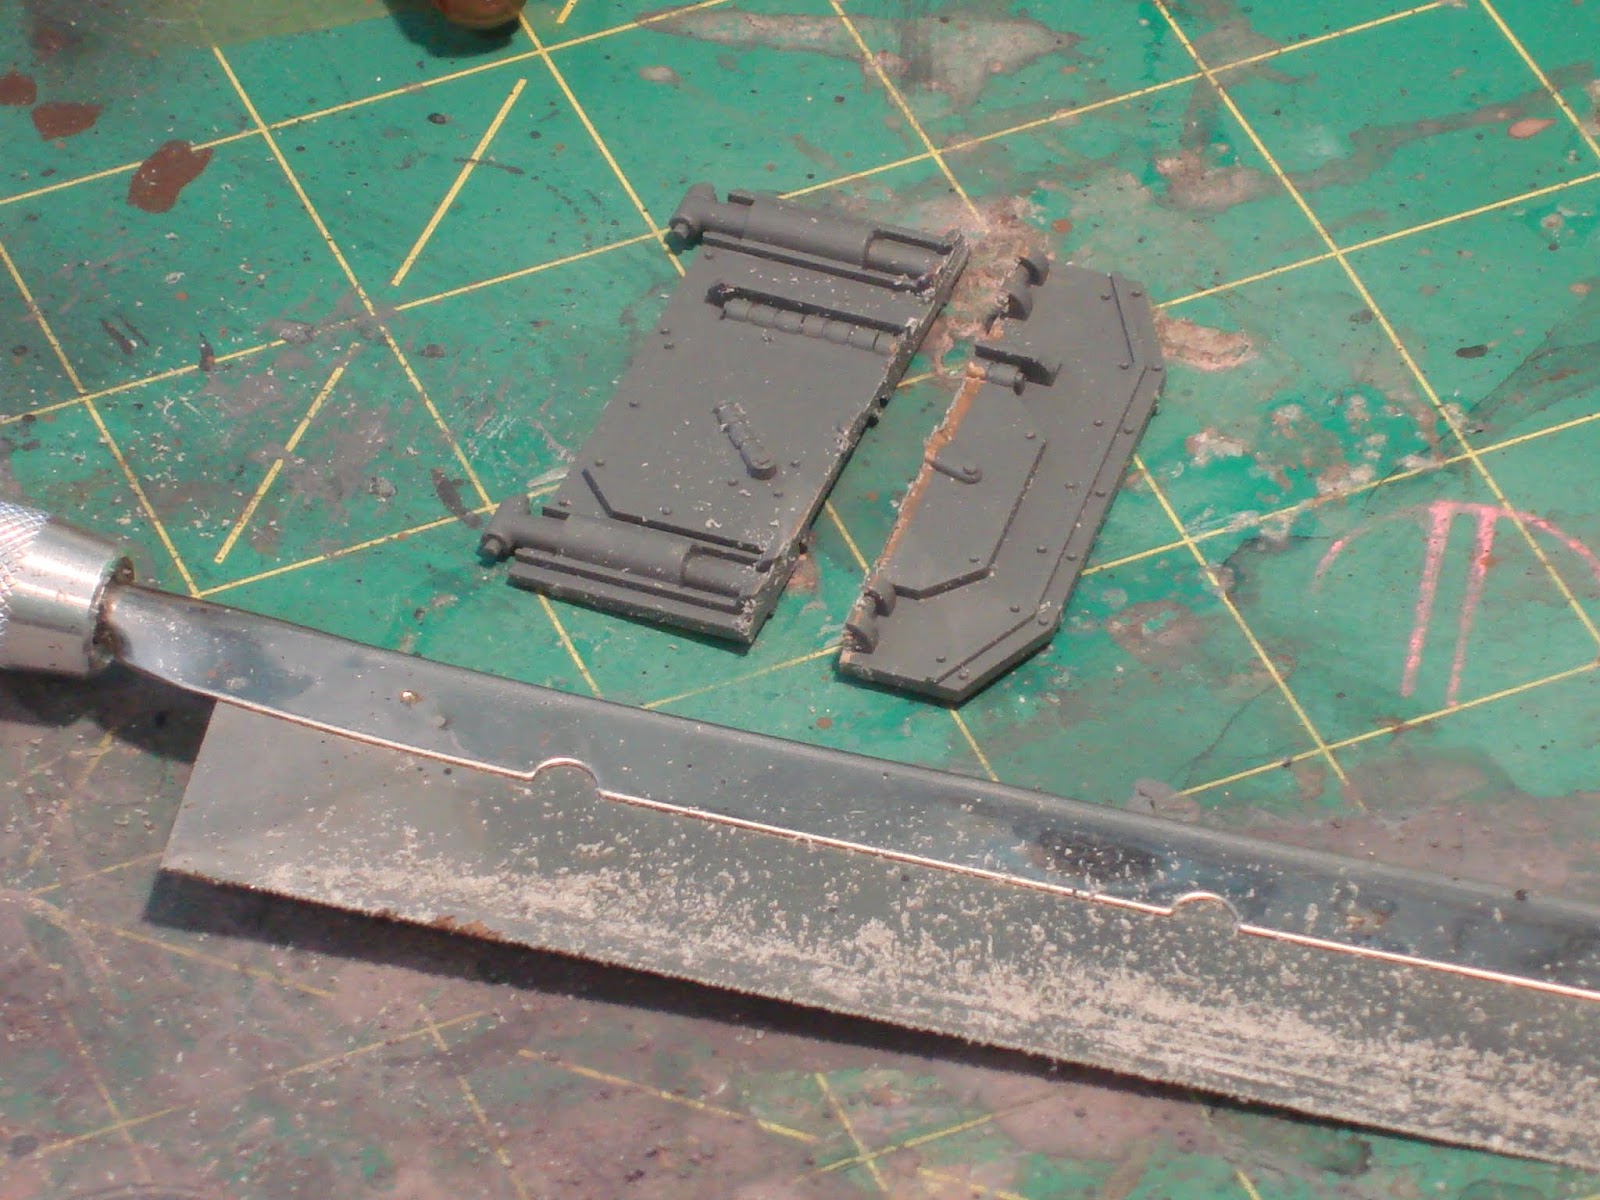
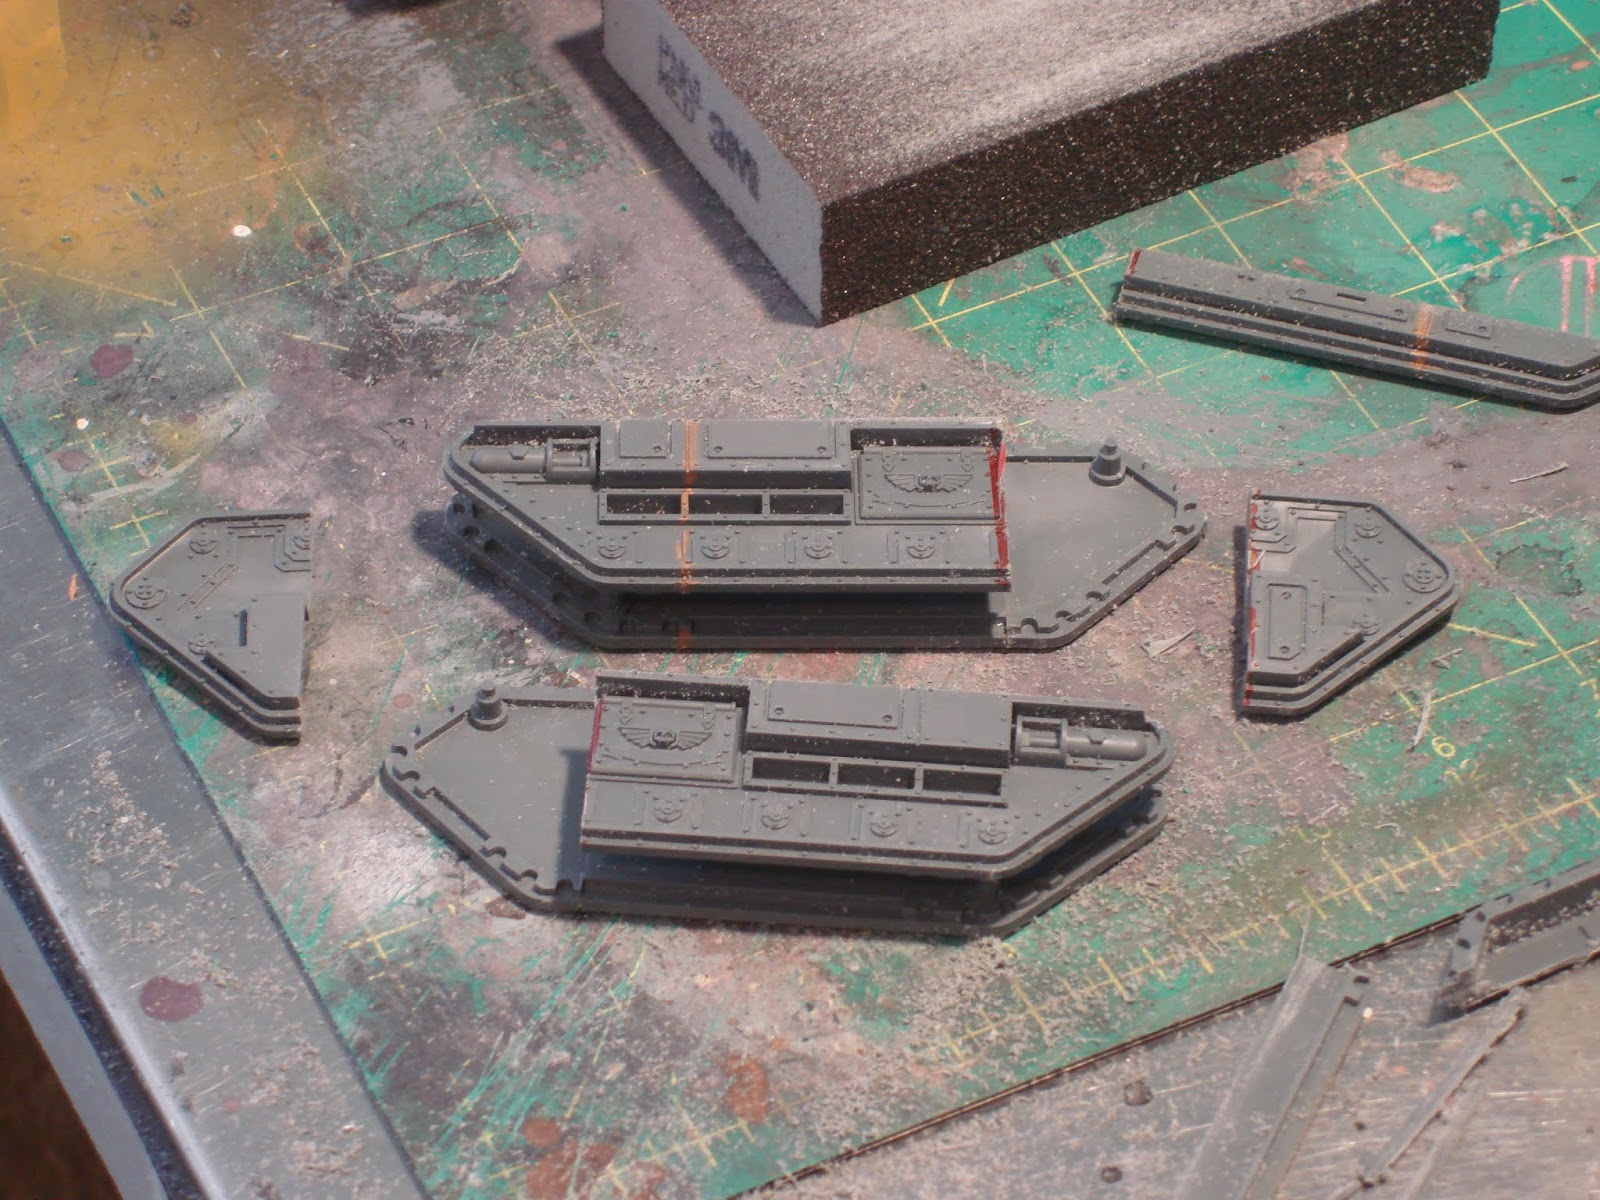
To get the track profile we are looking for, we cut the back 1/4 of the tracks off and swap sides. I use the line between the last panel and the rest as a guide.

Even taking my time, it is hard to get the second cut right. The razor saw I am using has a thicker spine which ended up deflecting the blade.
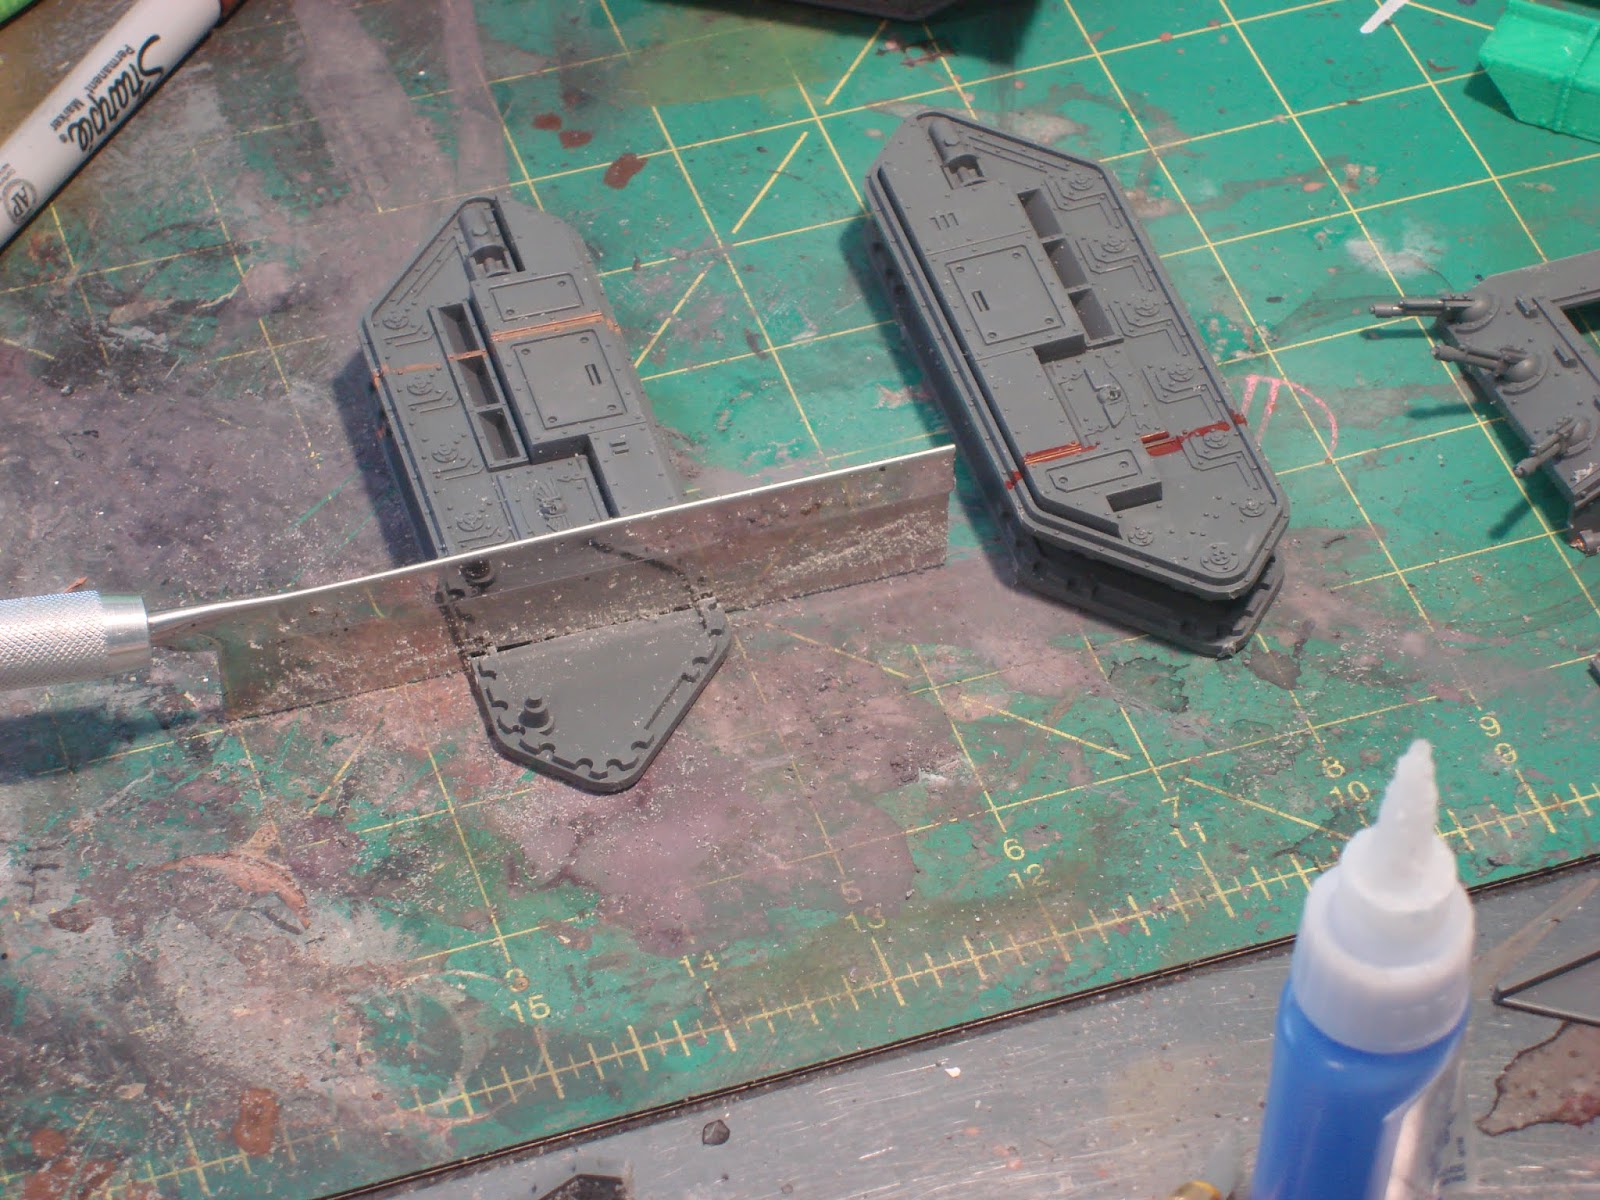
Swapped, we can see how the profile changes. The large gaps are due to some angle in my cuts.
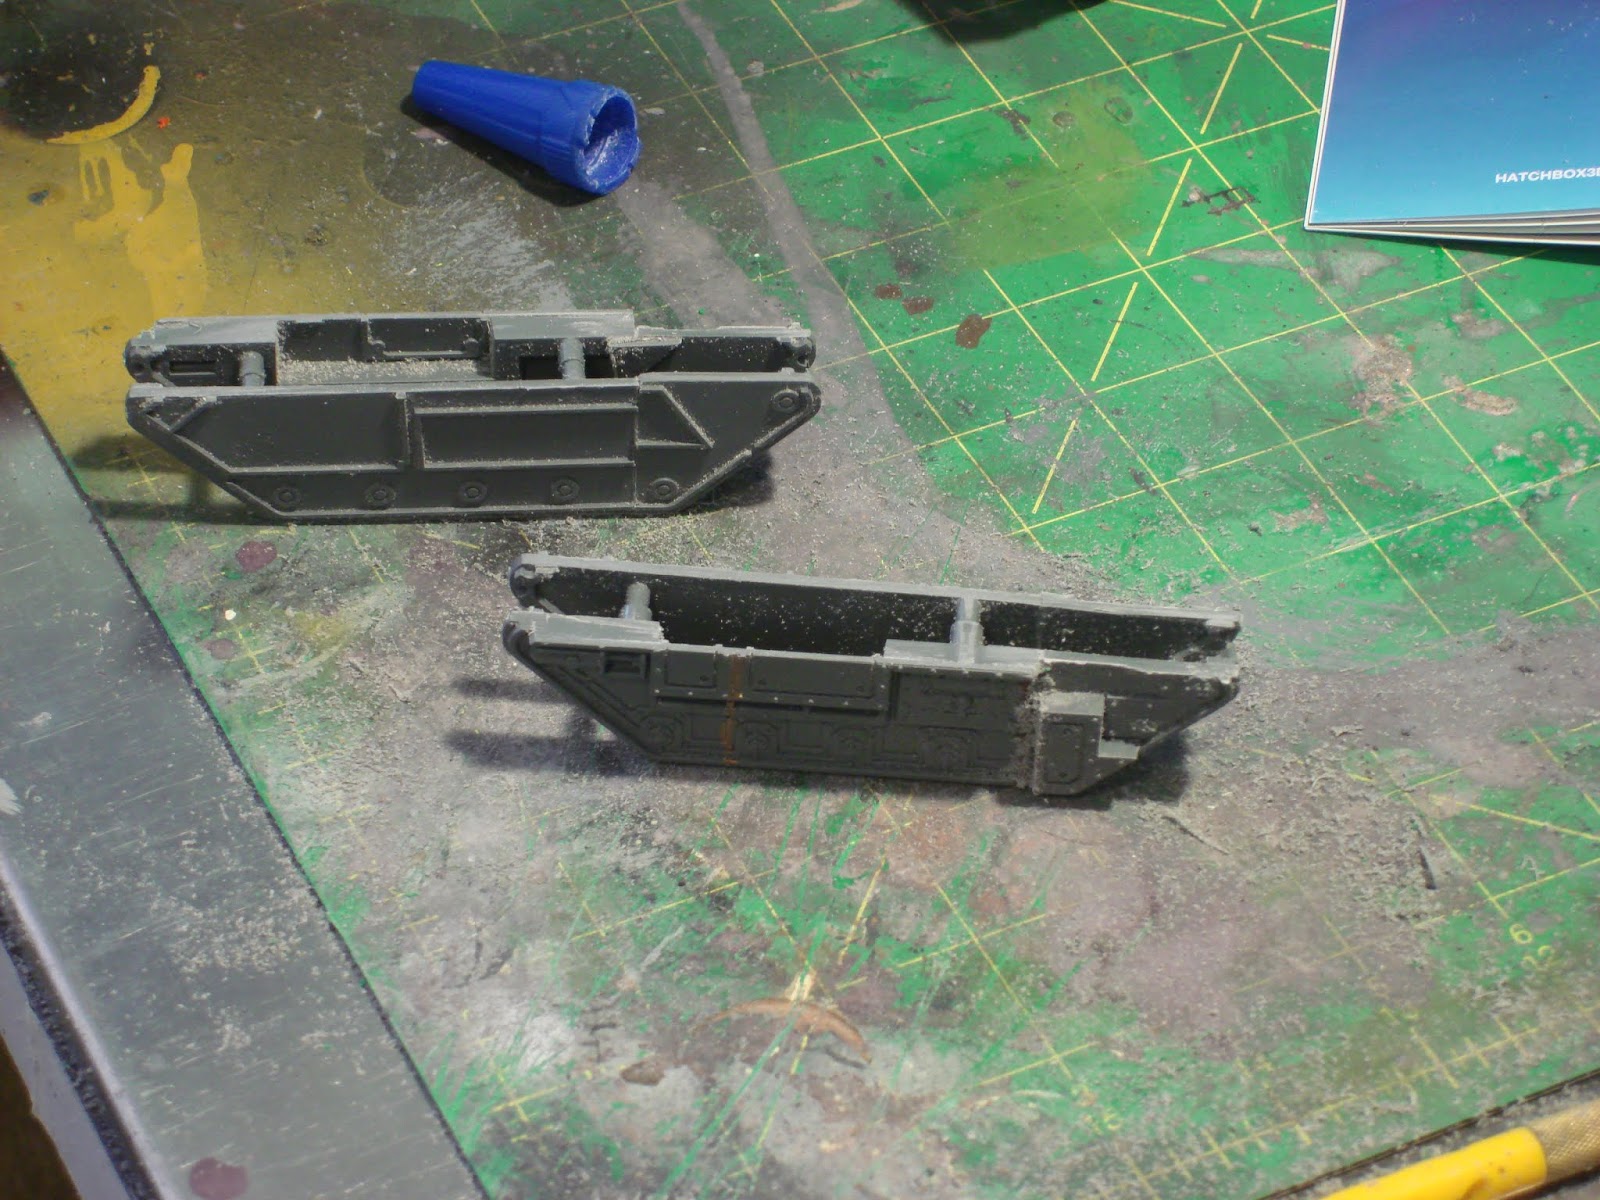
I've taken the track guard off the red Chimera to show how the upper profile is reduced. This doesn't change the overall height of the vehicle, just the height at the tracks.

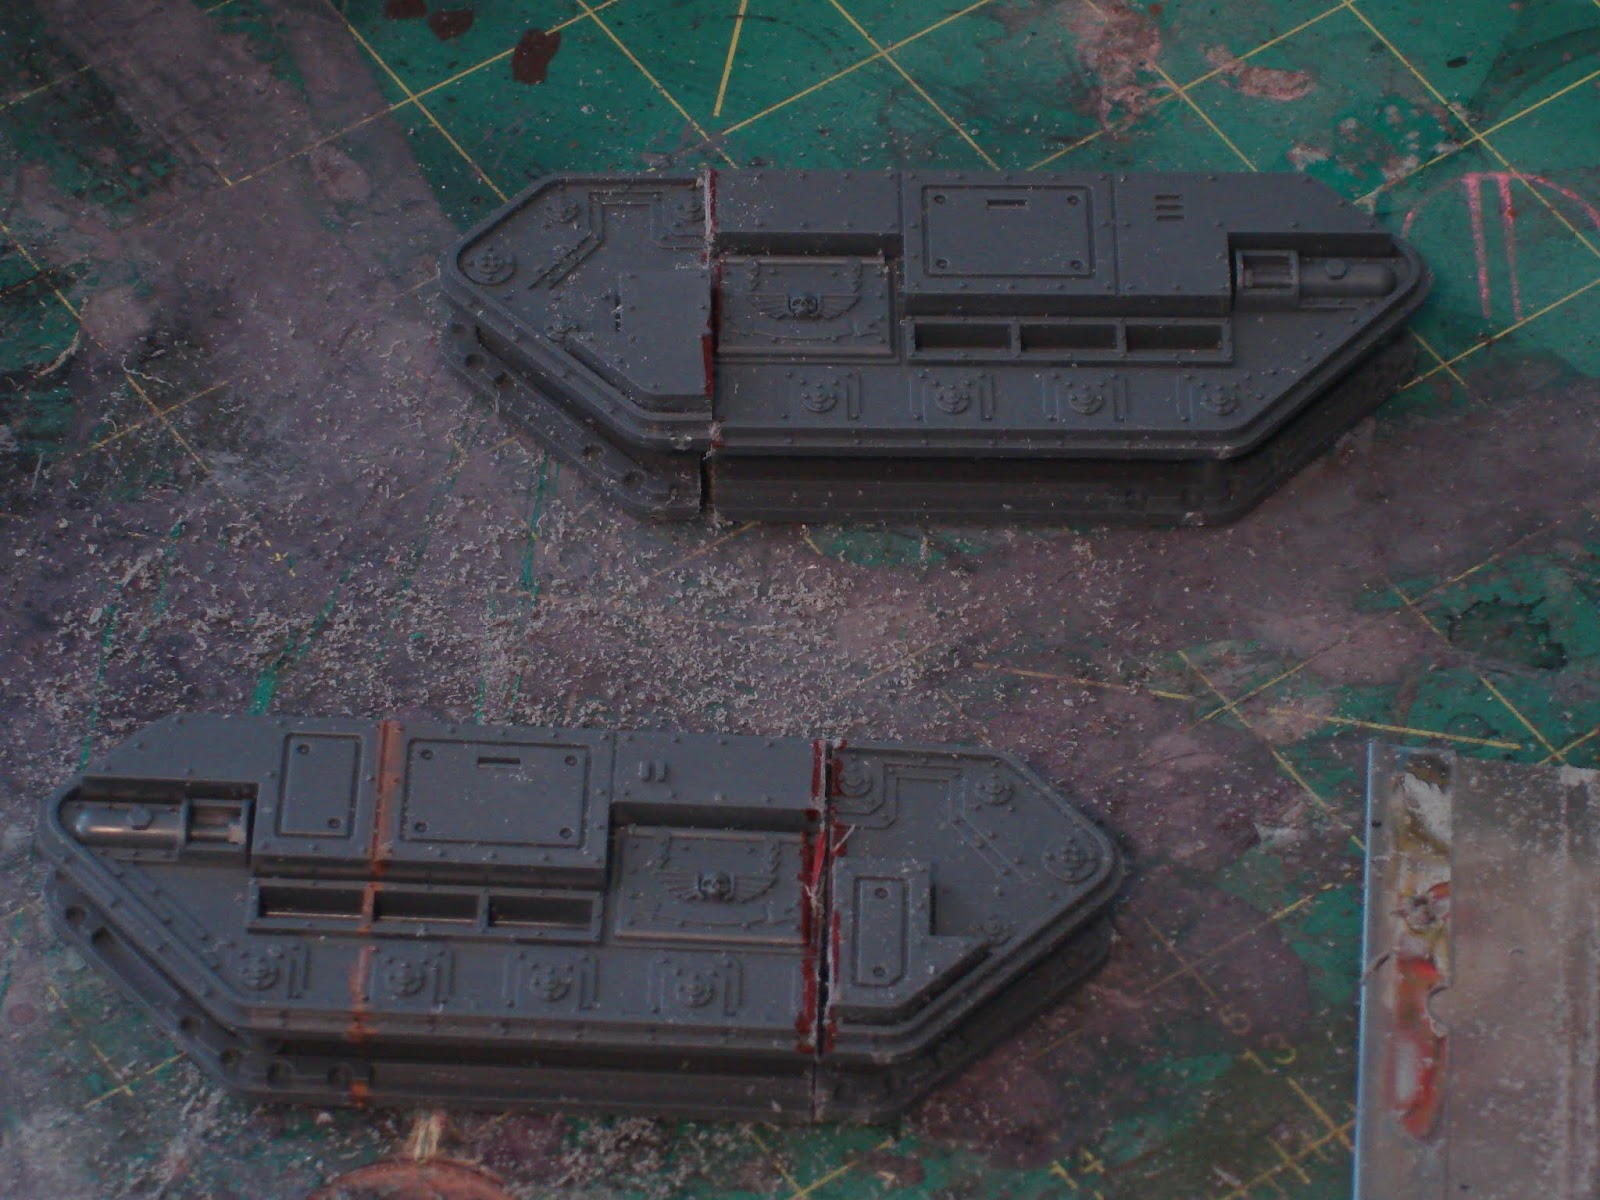
I use the outside section to cut the inside section. I assemble the side, draw the saw across the inside part while using the outside section as a guide. Once I've cut a few mm, I disassemble the side and finish the inside cut to keep the spine of the saw from interfering.
Next I glued the inside rear section, and cut them. then the same for the outside section, but before I glue it, I use the short 4 link track to ensure the back pieces remain aligned.
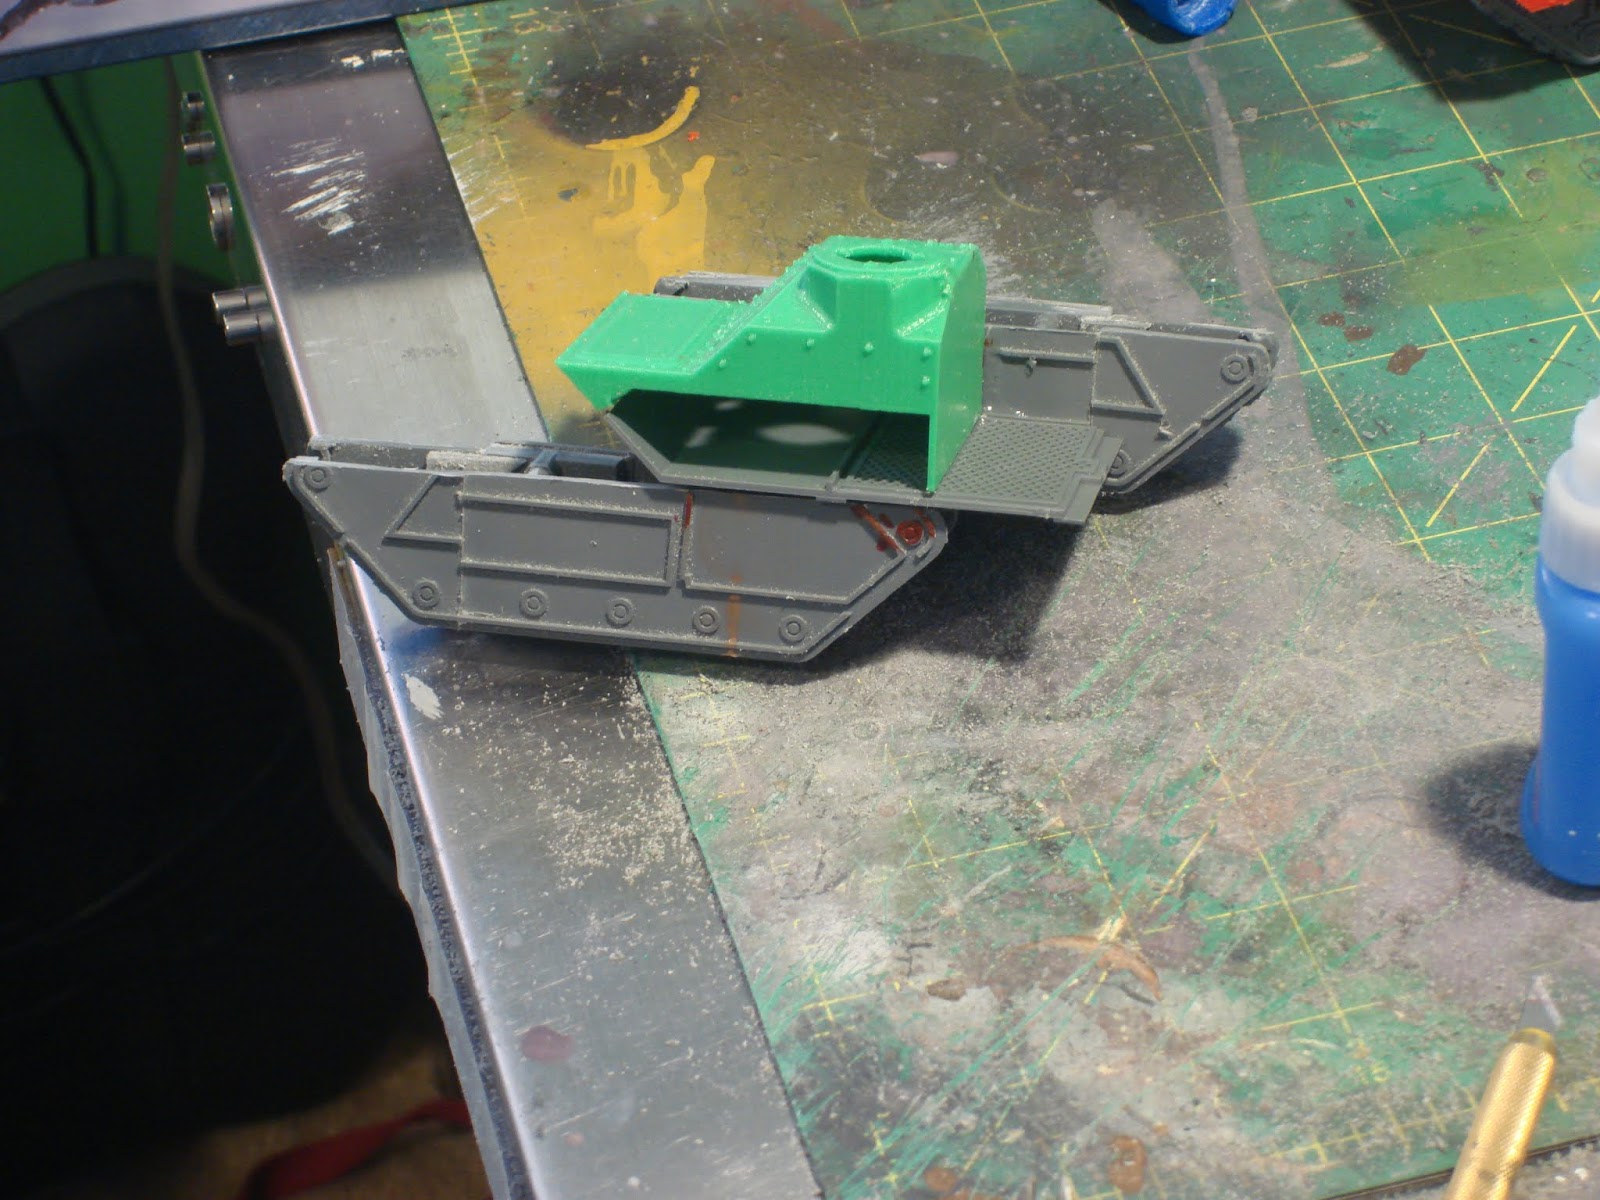
Whew, the saw can be put down now. Glue the front bottom hull in to one side. Taking my hobby knife, I remove the assembly ridges marked in red. Basically, any that interfere with the new front hull fitting flush against the side hull are removed. Cut, fit, recheck.

I glued in the new front hull, then began the same ridge removal on the other side.
Once the two sides are glued together, I place the track guards on each side. Depending on how the sides were cut, there are small protrusions on the track guards that will need to be trimmed. Fit, cut recheck. The track guards delightfully cover most of the butchery on the sides of the vehicle. Yay!
The rear hull top goes on top.
Fit, cut and recheck until the rear hatch and rear hull bottom are to your satisfaction. I don't spend a lot of time looking at the bottom of my vehicles, so I don't spend a lot of time making it look perfect. It isn't.

Lastly, add the front heavy flamer or bolter, add the drivers hatch, and build and install the turret as normal.
Apply putty, greenstuff and paint to taste.
I hope you enjoyed this tutorial. Leave me some comments down below.