I think the jacuzzi is a little hot...
Bubbling Oozing Toxic Slime Pits… always a good time! I have a few bags of GW moonscape crater laying around and decided it was time to do something with them. Here's a step by step of my process to making realistic looking Toxic Slime Pits.
Step 1. Extending the Crater Edge & Blending the Sides.
These craters will be filled with liquid resin so it's imperative to make sure thee's no gaps for it to leak out the sides when you are pouring it. No problem, just extend the side walls with globs of greenstuff. Smush a glob in, smooth it out, then rough it up to make it match the stone edge detail.


GW did a terrible job with the edges of these craters, so I had to hide their ugliness. I used Vallejo Stone Texture paste, globed on like spackle and then blended with a wet paper towel. The Vallejo paste has a stone like texture so it blended nicely once dry. A quick sanding before priming helped eliminate any small dangling dried up bits left on the crater edge.


Step 2. Add some carcases.
To emphasize that these are toxic slime pits, I added some floating skeletons and animal parts.


Step 4. Fill in the craters with opaque liquid resin
This is where we start getting into the nitty gritty. The bottoms of these craters are rocky shaped and in the final product we would have been able to see to that and kill the illusion of a deep bubbling slime pit.
I filled them in with opaque resin to block out line of site. I used Smooth-On Smooth-Cast 320; dyed black for this procedure. This is such a crucial step to complete for the final illusion to be effective.


Step 4. Prime & Paint
I primed the craters black, then airbrushed my stone texture. I made sure to get shadowed in the recesses. A few thin mud washes added a layer of aged grime on the rockface.
I airbrushed shades of green, blue and yellow to make of the ooze color. The final step was some drybrushing of white on the Skeletal areas.


Step 5. Sculpt Some Greenstuff Bubbles
To create the bubbling effect of the ooze, we need to have some Bubbles!
I made balls of green stuff and let them full dry.
Then I made a couple bubble clusters by smushing them into green stuff dollops.


Step 6. Mold & Cast The Greenstuff Bubbles To Make Clear Bubbles
At this point I made a rubber mold. I made a mold box from sheet styrene, poured the silicone rubber in and let dry.
Once the mold was dry I pulled it revealing a perfect inverse.

At this point I made a rubber mold. I made a mold box from sheet styrene, poured the silicone rubber in and let dry.
Once the mold was dry I pulled it revealing a perfect inverse.


I poured Smooth-On EpoxAcast 690 Clear Epoxy Resin in it and cast a bunch of clear bubbles!
I poured Smooth-On EpoxAcast 690 Clear Epoxy Resin in it and cast a bunch of clear bubbles!


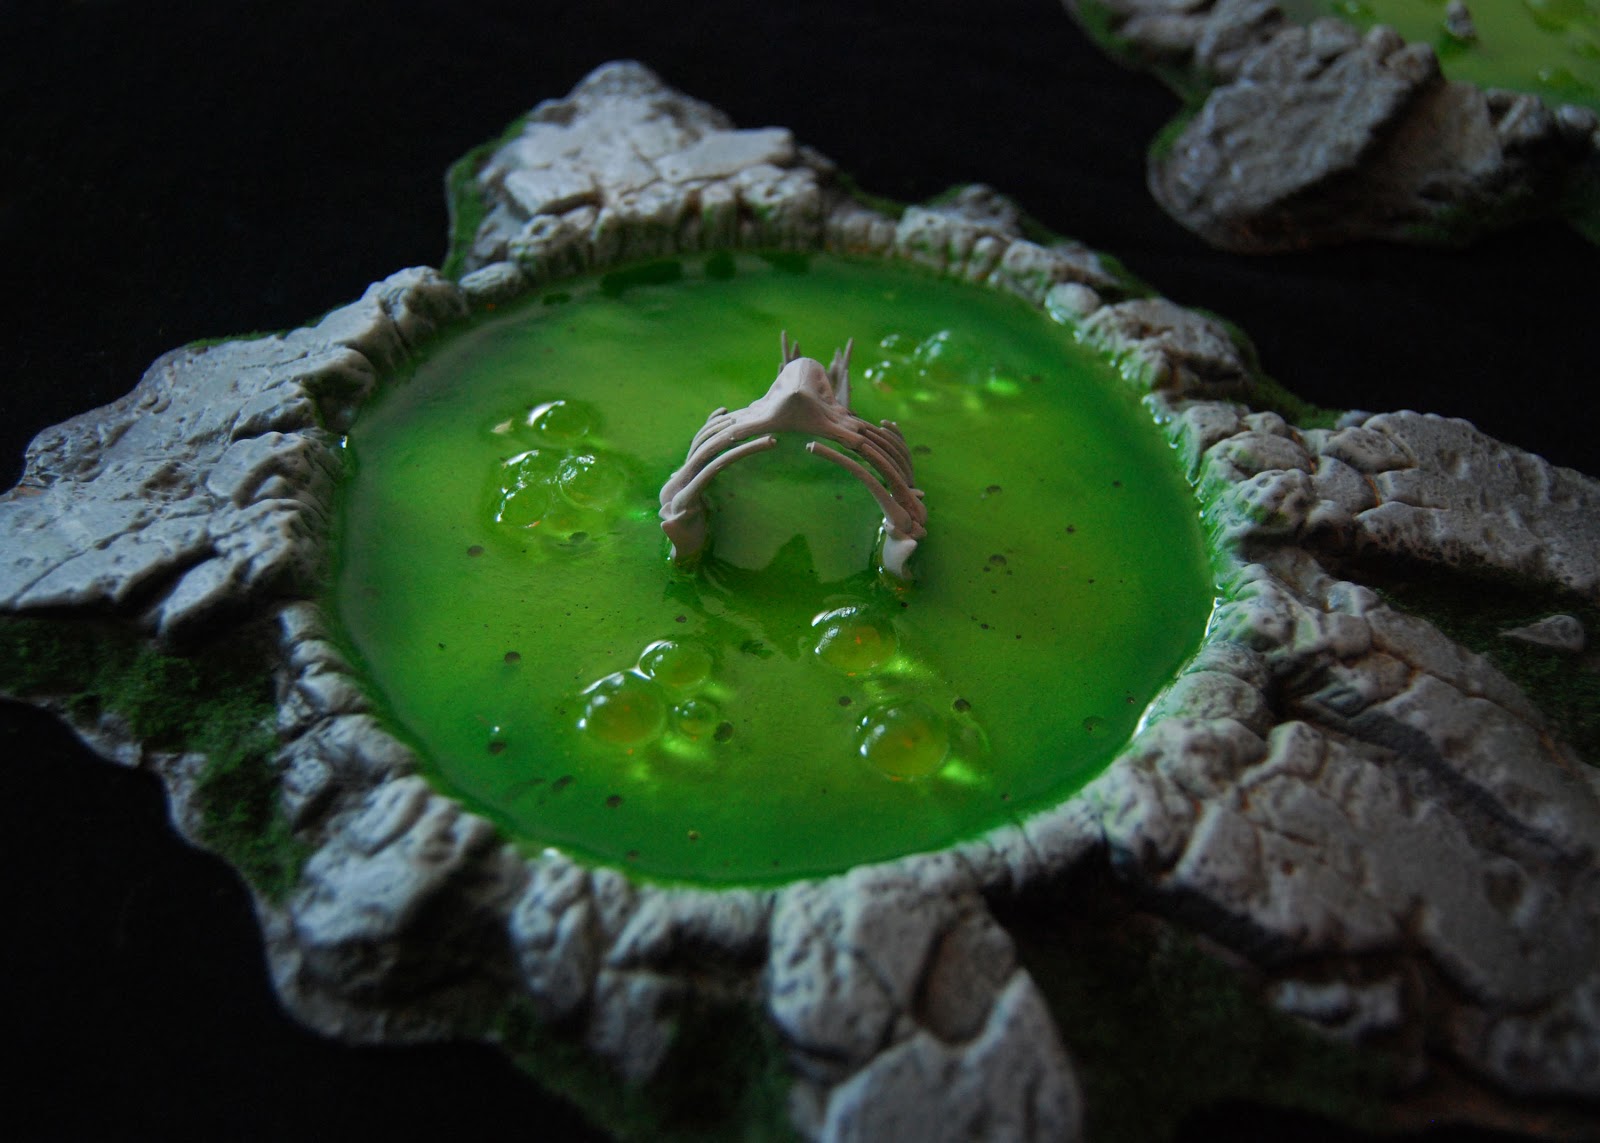
Step 7. Pouring The Ooze In
I used the same resin I cast the bubbles with, for the final effect.
I poured the clear resin in and then dropped the bubbles in randomly across the pits.
The wet resin merged perfectly with the edges of the bubbles and gave a unified liquid effect.
Step 8. Stand Back & Admire