
So after having so much fun in our first game, John and I decided we had to have a rematch.
We started with new gangs for two reasons:
- John's gang had largely met an untimely and unhappy end at the hands of my gang in the first game due to some horrible rolling on the serious injuries table.
- My list had an illegal flamer and other nonsense that needed to be fixed.
John's rewrite
John basically decided that adding a hired gun - an underhive scum - would be a good investment early in a campaign and so wanted to try him out. Now underhive scum roll up their characteristics when recruited and John seemed to do very well. The scum rocked up with +2BS, +1I , +2Ld and Gunfighter - BS5 and the ability to fire both his pistols in one turn - ouch!

John set the scene for the fight: Hans Obrix stood looking over the gantries that formed the outskirts of the Escher territory. Today would be a day for righteous vengeance. Today the Cleansing Flame would act to protect the impressionable minds of the underhive.
He had caught his son, Brunna Obrix, looking at images put out by the Neon Clash gang. Lurid, provocative images desgned to bring them wealth while bringing corruption on the hive. This problem would be burnt out today. Hans had found that within this part of the underhive there were 6 collections of images which the high priest had ordered Hans to bring to him. He had explained that destroying them in situ would be easier However the High Priest wisely knew that he must see the filthy, craven images and be solely responsible for their destruction.
Introducing the Neon Clash
So, in re-birth my gang now has names. They are the Neon Clash and have been given suitably girl band names:
Roxy (Leader) - Chainsword, Plasma Pistol, Flamer
Jinx (Heavy) - Heavy Stubber, Lasgun
Brittany (Heavy) - Flamer, Autopistol
Foxy (Ganger) - Sword, Lasgun
Glitter (Ganger) - Sword, Shotgun
Sparx (Ganger) - Sword, Shotgun, Laspistol
Gem (Ganger) - Sword, Laspistol
Stardust (Ganger) - Sword, Shotgun, Laspistol
Jet (Juve) - Autopistol
The fluff behind the gang will come as we build to the campaign.
Scenario and Deployment
Having played a straight gang fight the first time around, we decided to play the Scavengers scenario. D6 loot counters to claim, and a monster which will attack the most isolated model in the enemy gang on the roll of a 6 at the start of your opponent's turn. Sadly the monster never appeared, nor did anyone get dragged to their doom.
John and I both rolled up territories that gave us special deployment rules (John got vents and I got tunnels). These meant that we could deploy up to 3 gang members at the end of our first turn, anywhere on the board (at ground level for tunnels or above ground for vents), as long as we were more than 8" away from the enemy gang. We both decided that would be a good idea as it would allow us to get close to some of the loot tokens quickly.


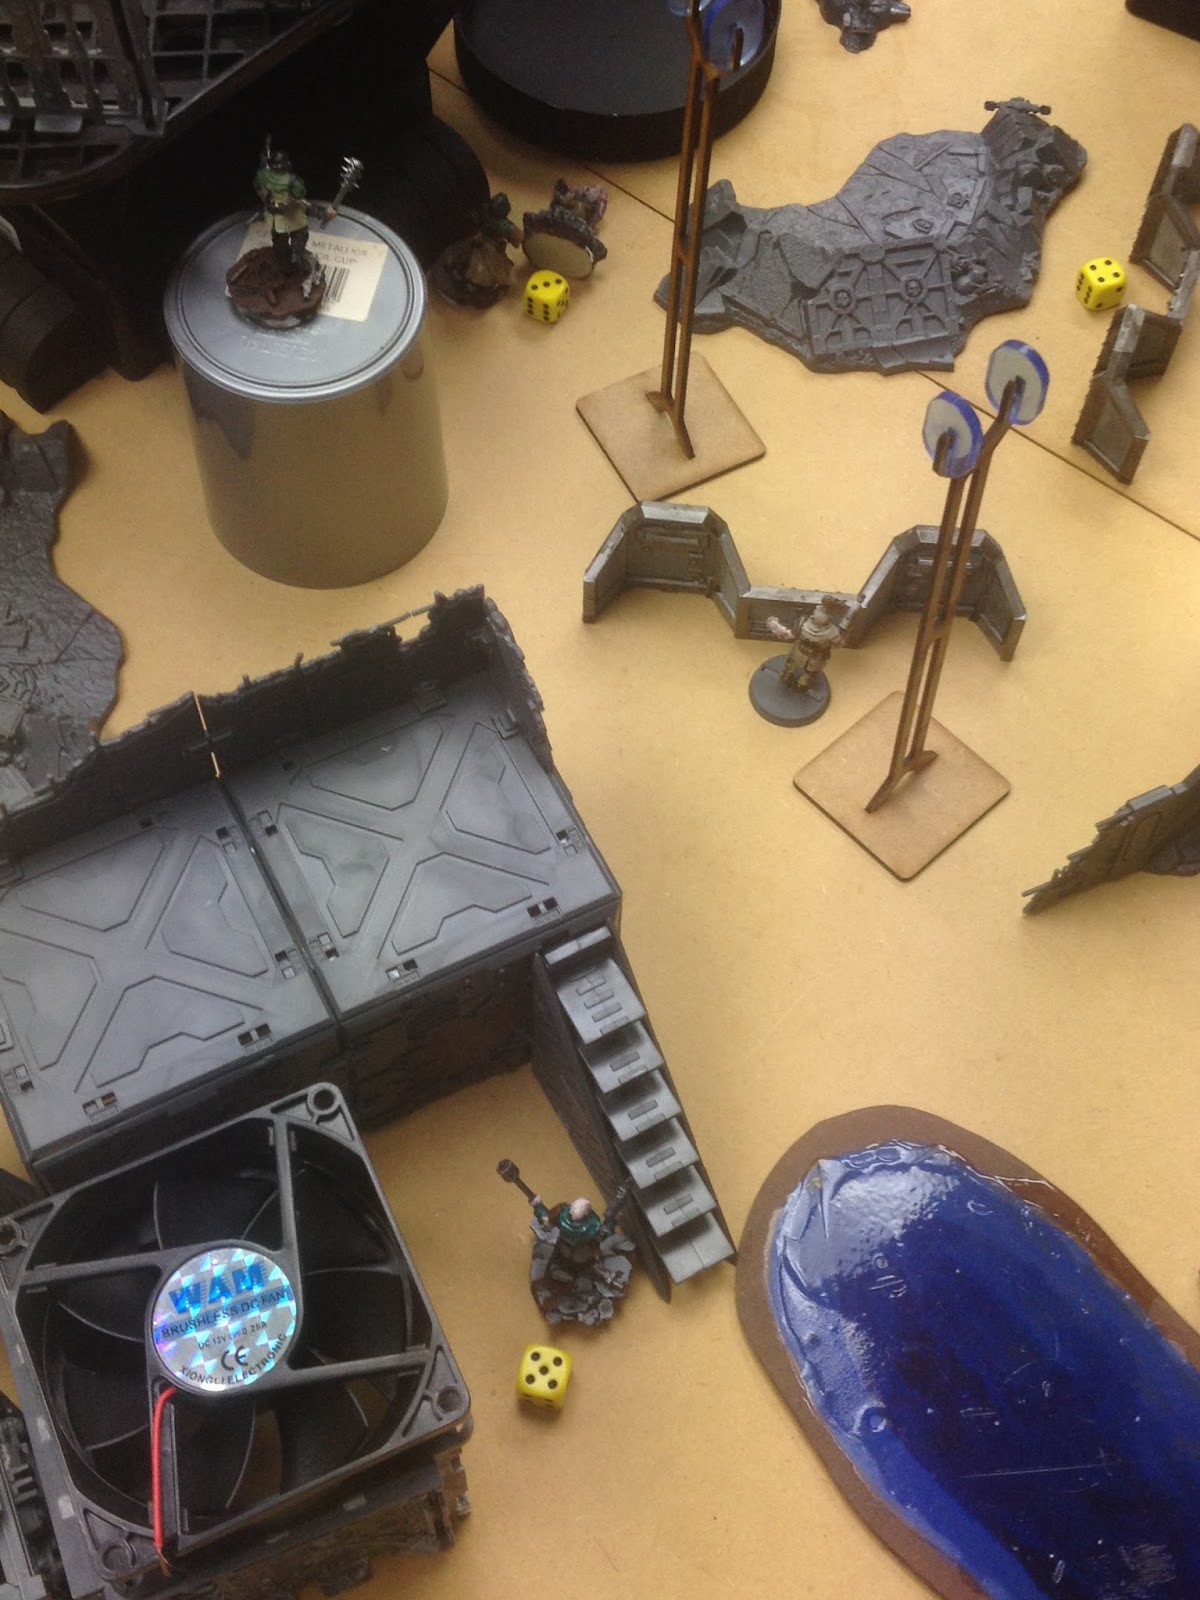
Table set up

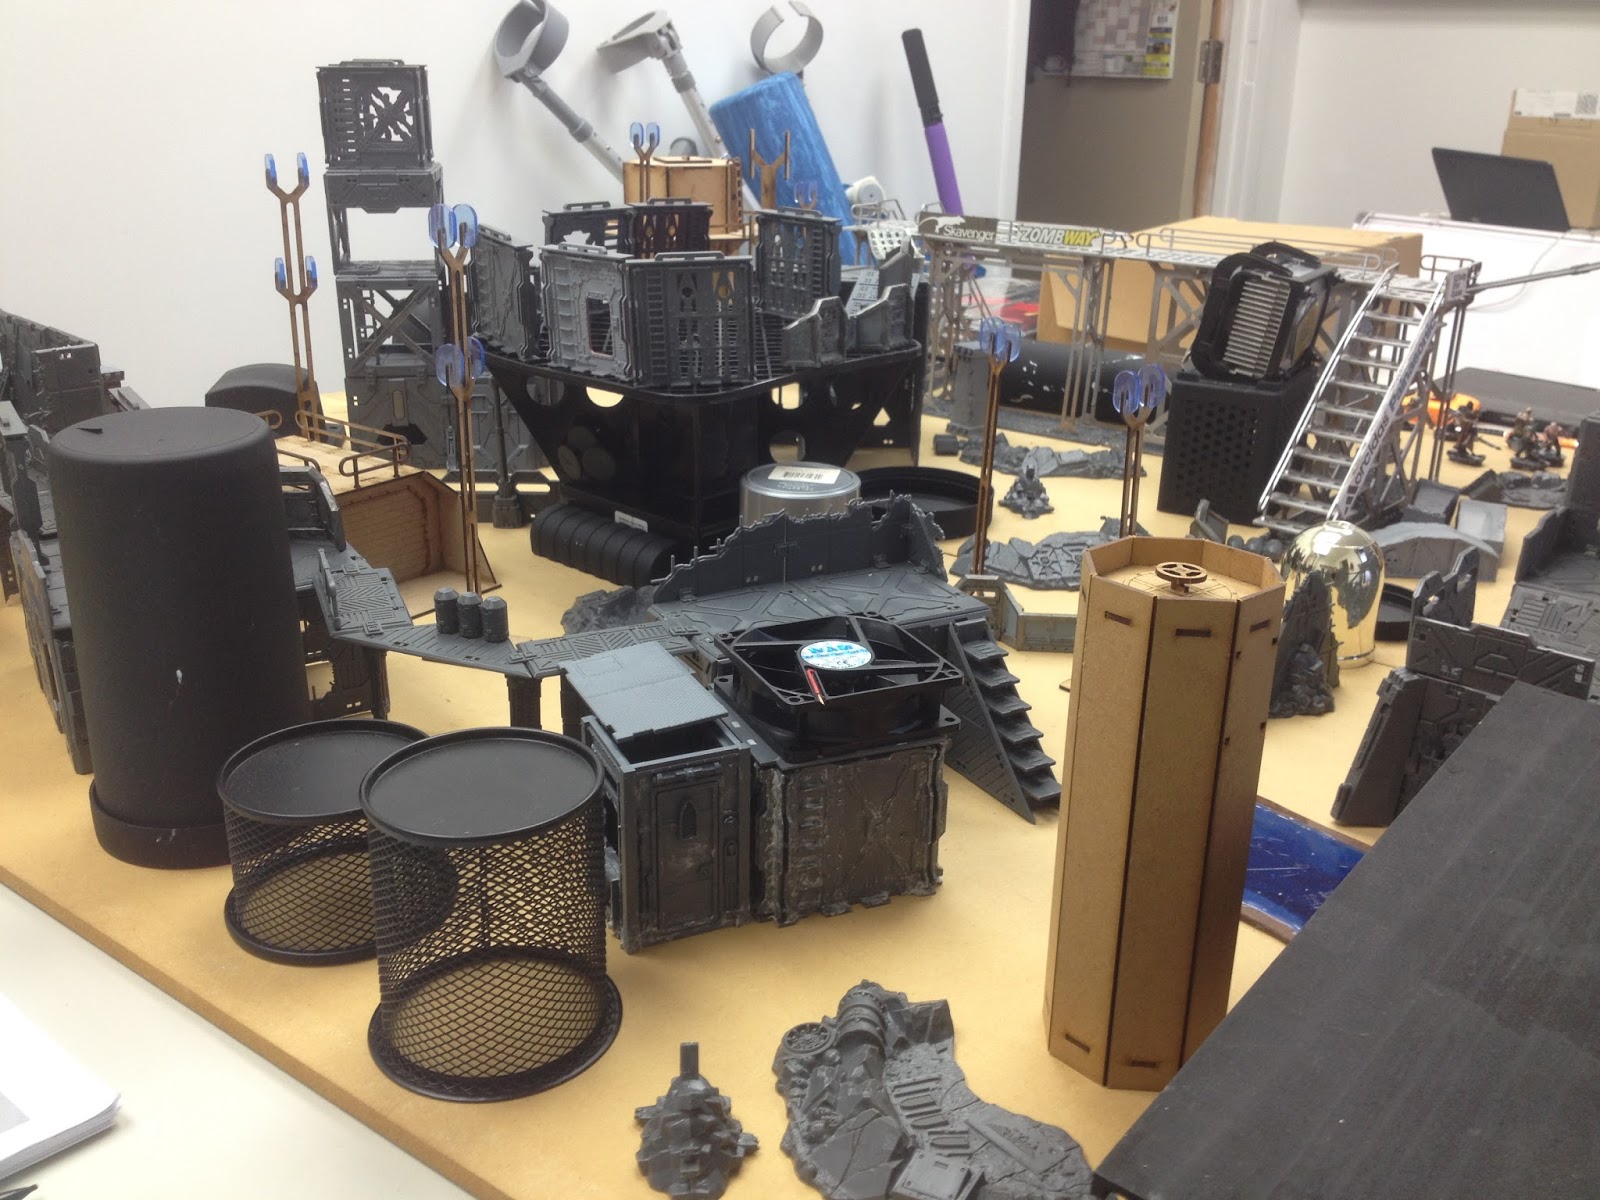
Making use of my new "landing pad" (aka a piling post from the hardware store)


Loot set-up - all in the middle of the table and spread over different heights.
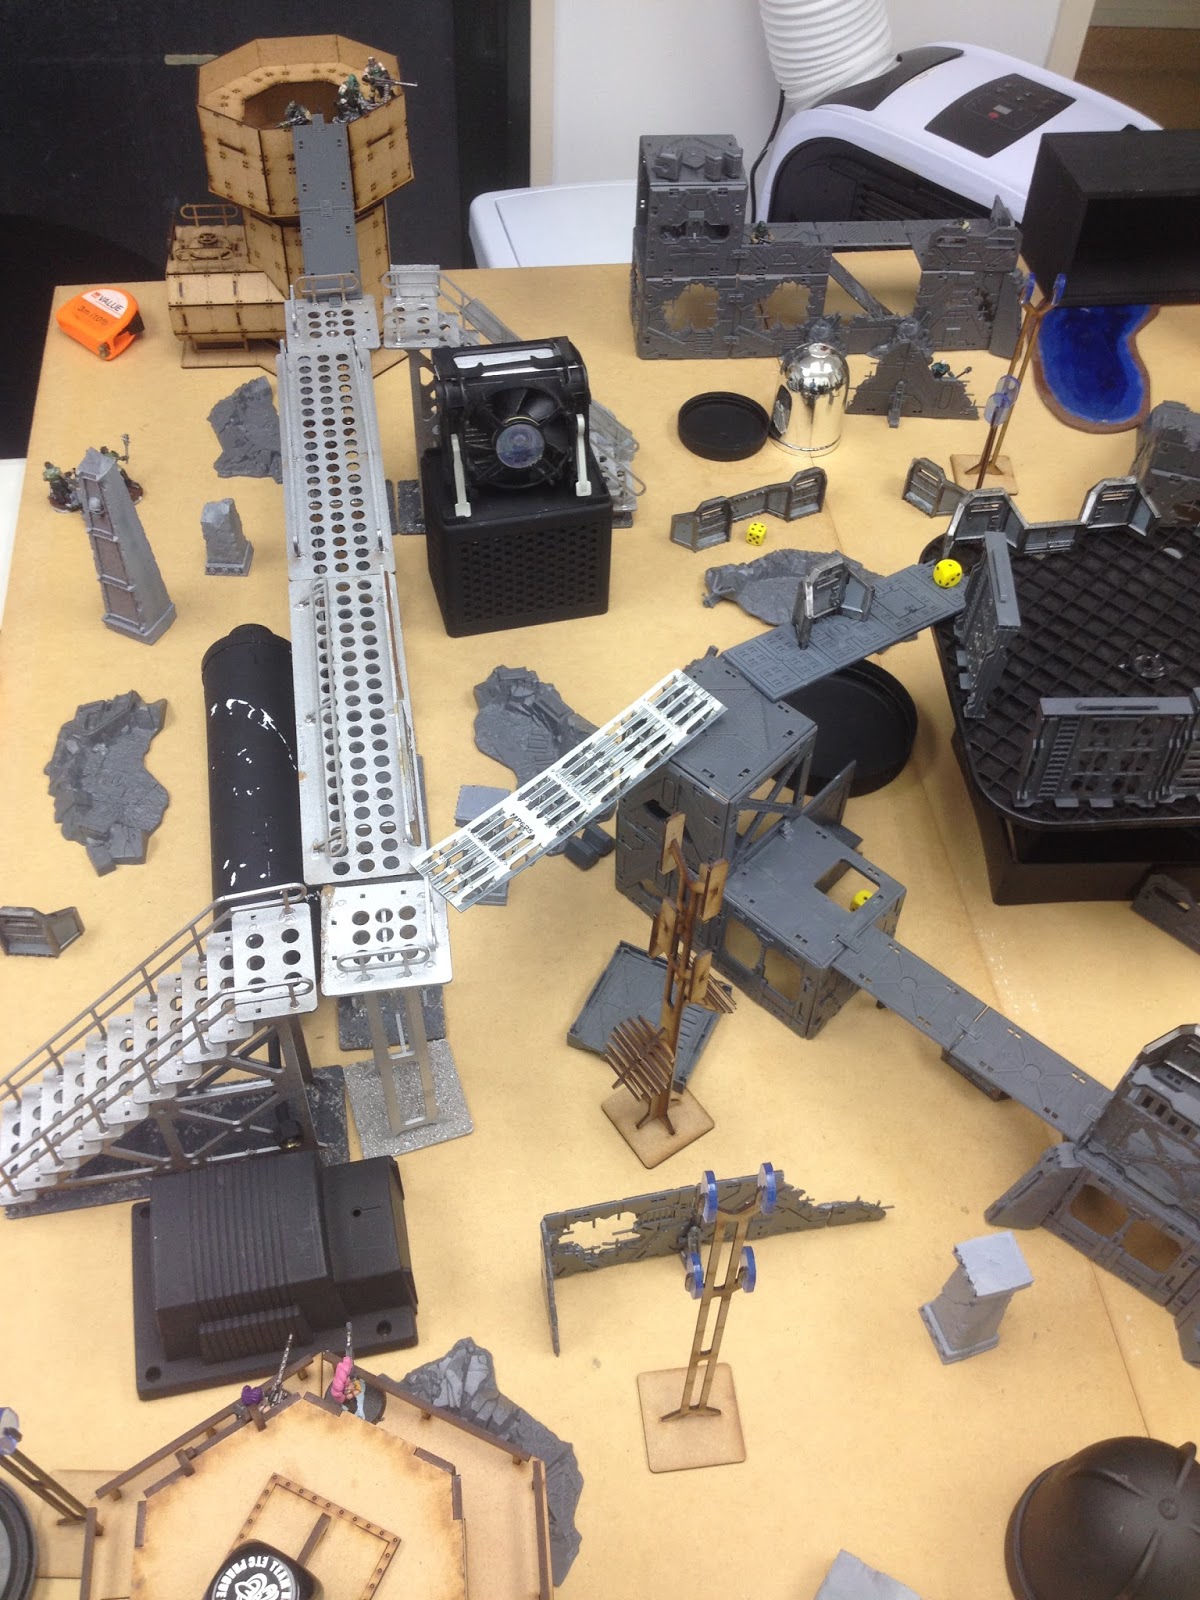
Gangs deployed (apart from vents and tunnels) - heavies staring off at each of from the towers with the rest of the gangs in the middle to converge on the landing pad and its tokens.
John's gangers deploy through their vents to seize the landing pad, keep an eye on my gang should they appear from hiding and seize the first counter.

My Roxy (leader), Glitter (shotgun ganger) and Jet (juve) deploy from the tunnels near my supporting gangers and the loot under the landing pad.

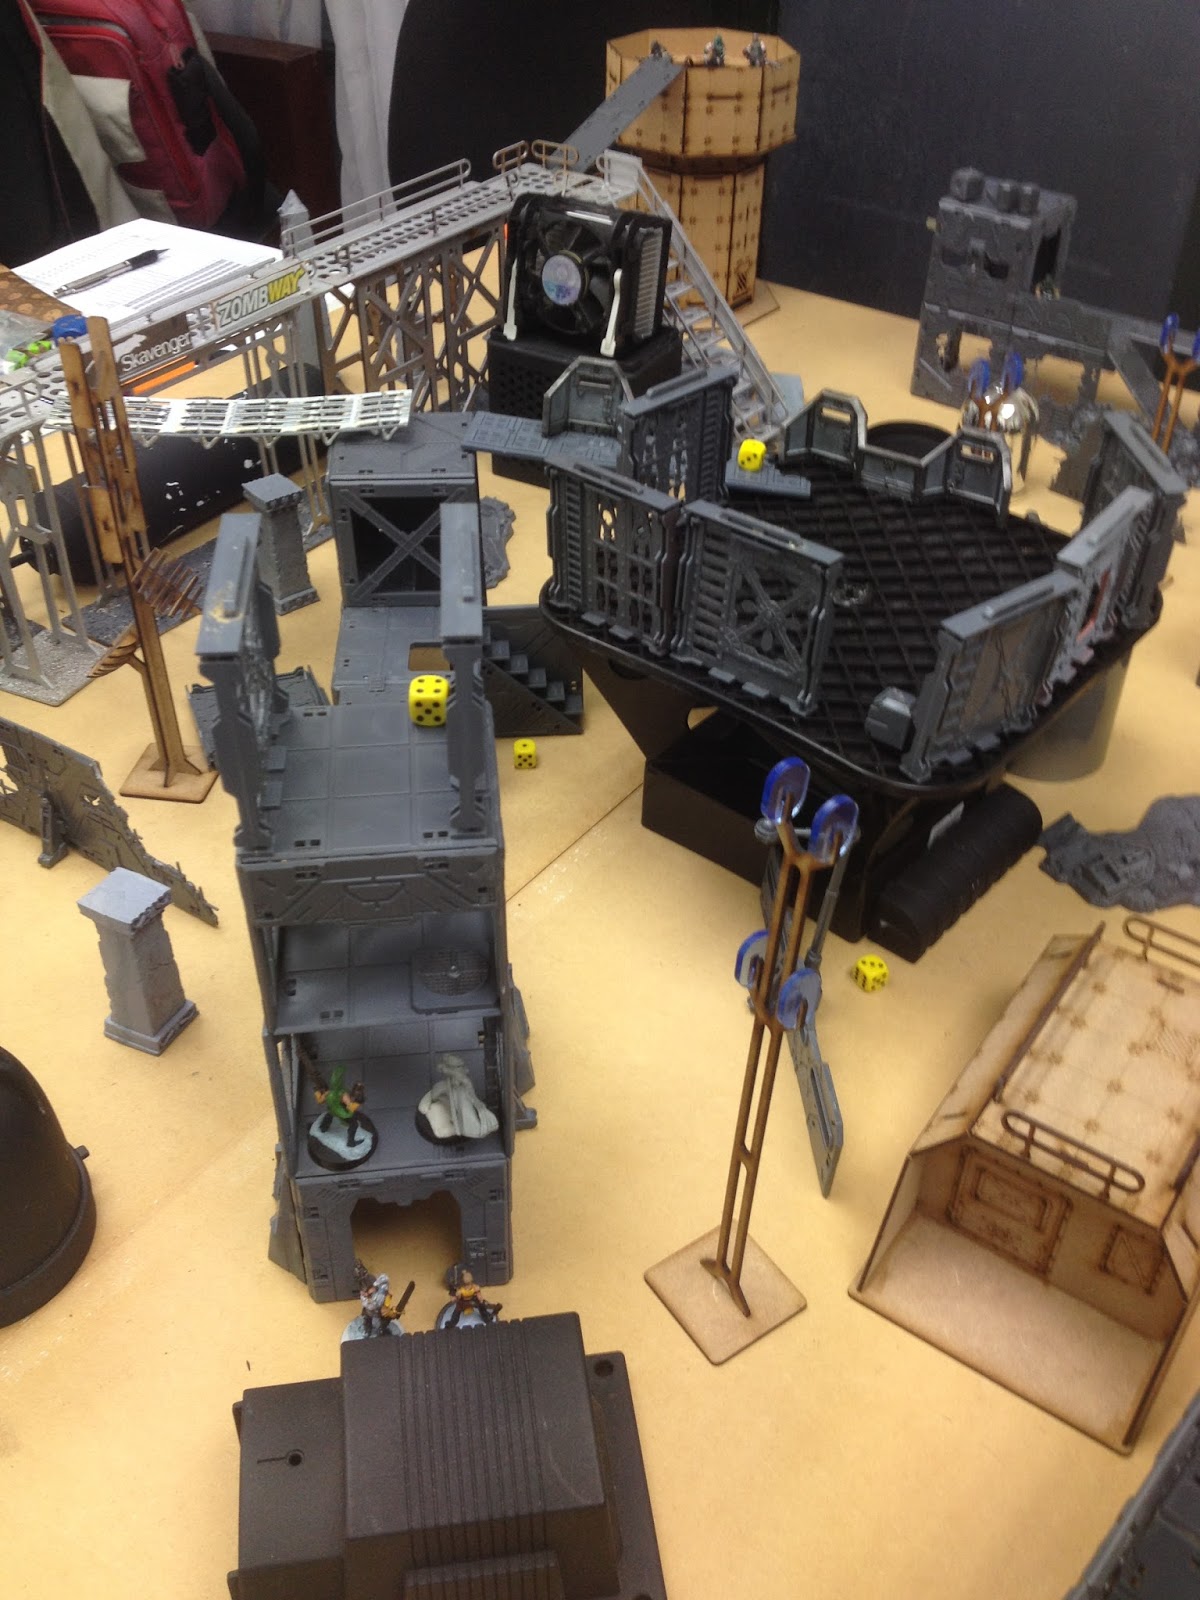
Now the following picture encapsulates the true narrative opportunities in Necromunda. John's juve picked up the loot (obviously encouraged by the two gangers nearby and keen to make an impression) and then jumped off into the pool of water below. Unfortunately for the juve, he would pay the price and go down. While John was able to collect the loot off the juve's prone body with another ganger in later turns, the juve would ultimately succumb to his injuries and died. A big sacrifice from the juve.

John's older and wiser ganger decided it was safer to make the jump down from the landing pad in stages...
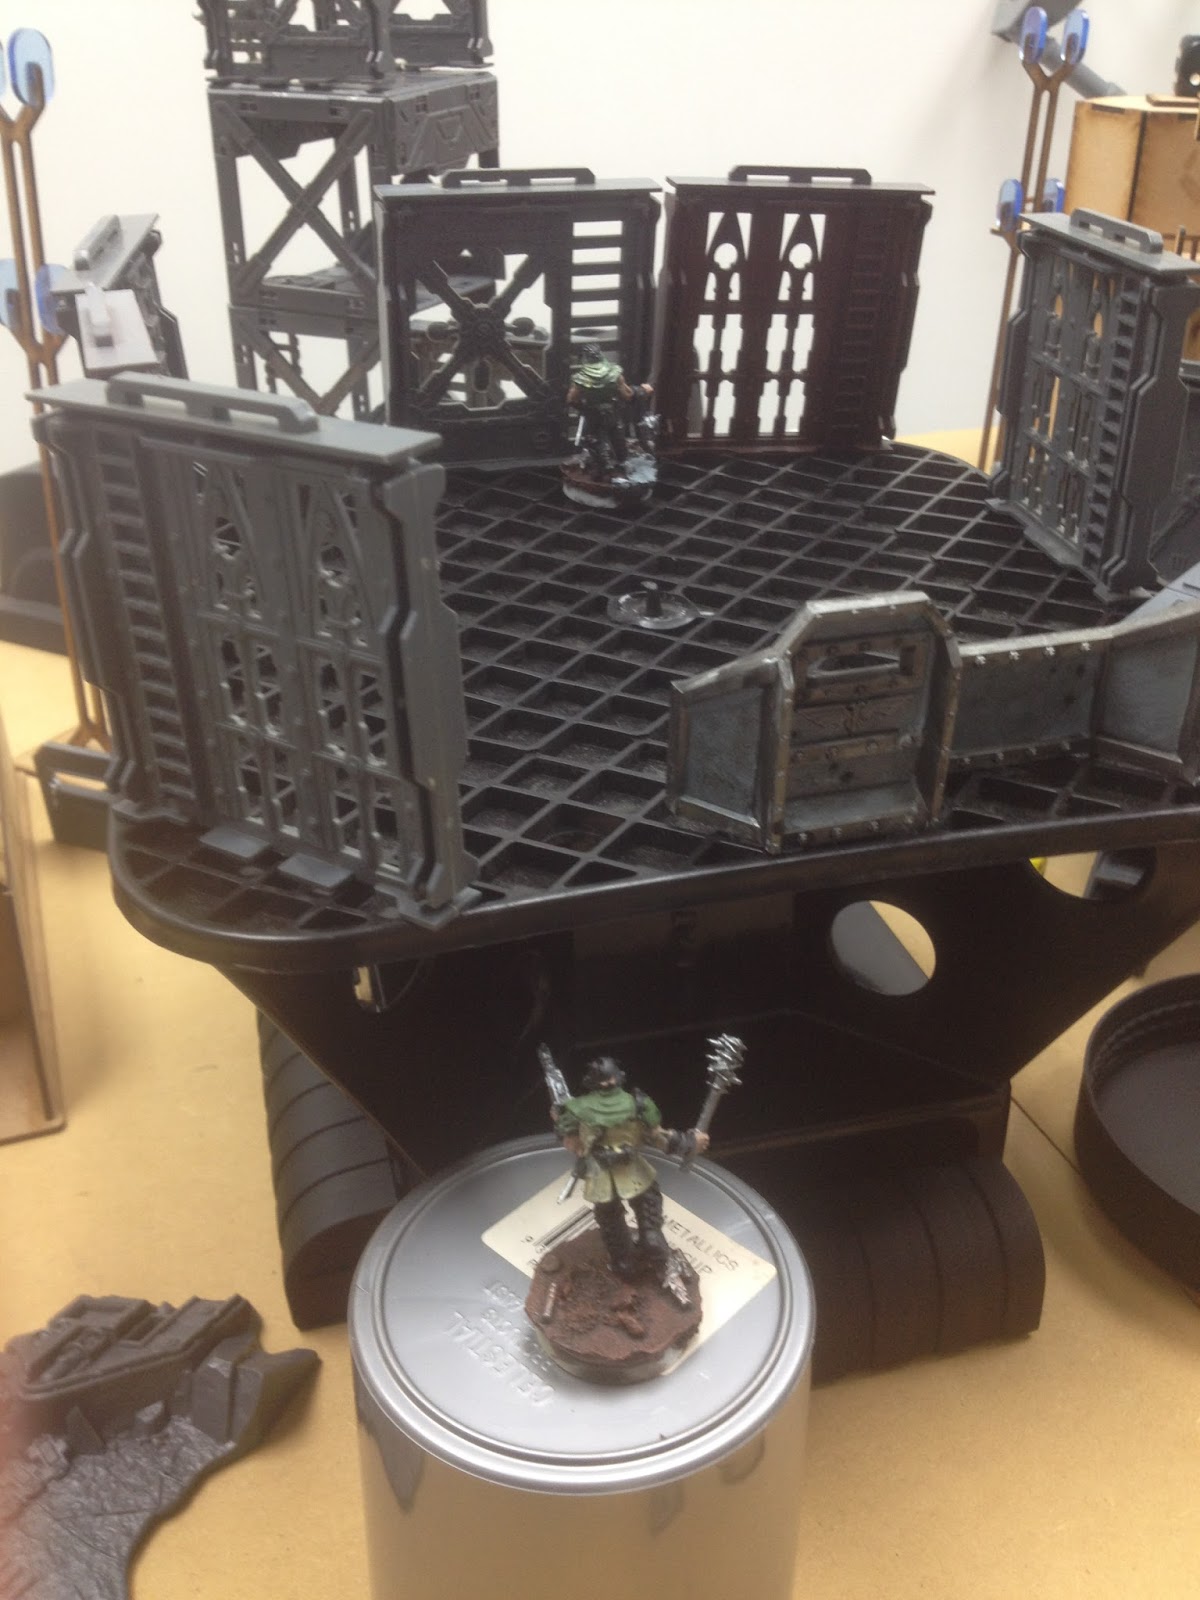
My gang start moving to collect the loot on our side of the board, while the ganger moves along the bridge to draw out the hand flamer.

The aforementioned hand-off of the loot from the dying juve to the ganger.

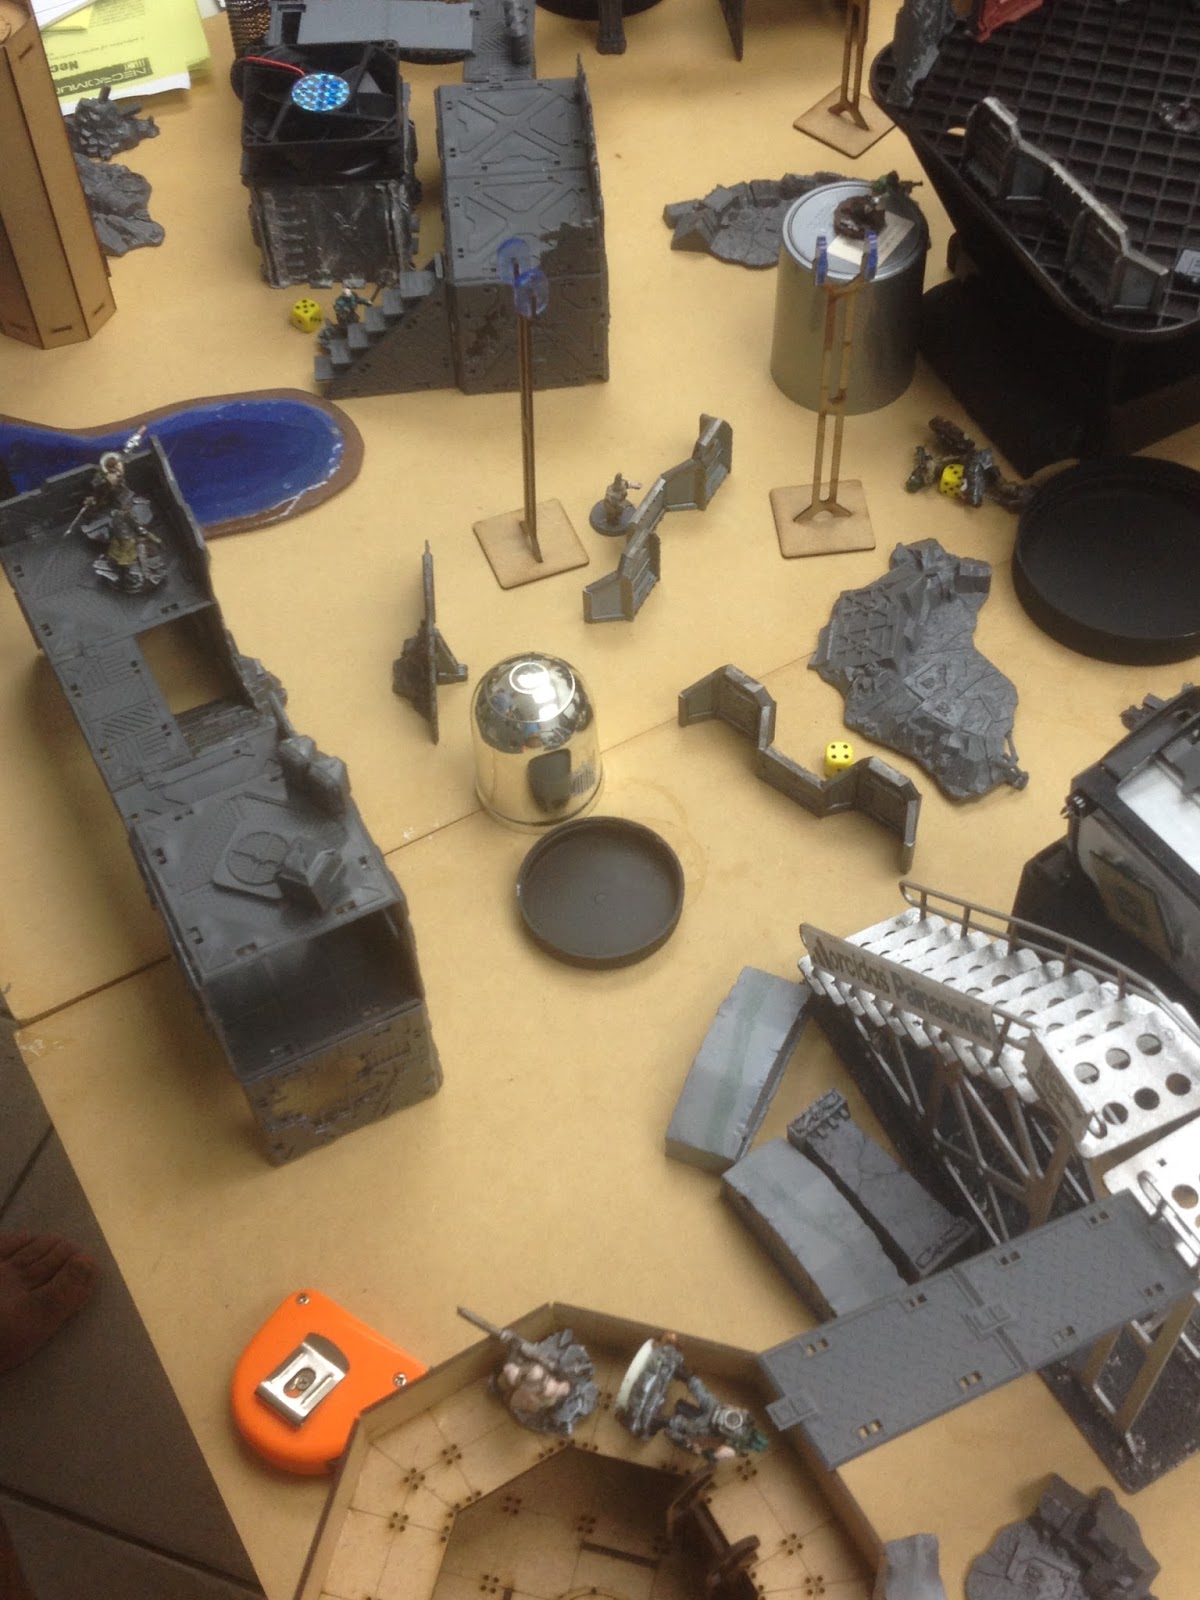
Having secured two of the three loot counters on his side of the board, John's gang set up in overwatch to stop my gang advancing into charge range or finishing off the dying juve. Given the number of casualties that John had taken by now, I had no incentive to advance and could wait for John to fail a bottle test while firing pot-shots with my heavy.

My gang had now secured the three objectives in our half and had no desire to test John's guns, especially those of the scum with BS5 and two pistols.

My heavy again performed well taking out John's fire base up on the tower.
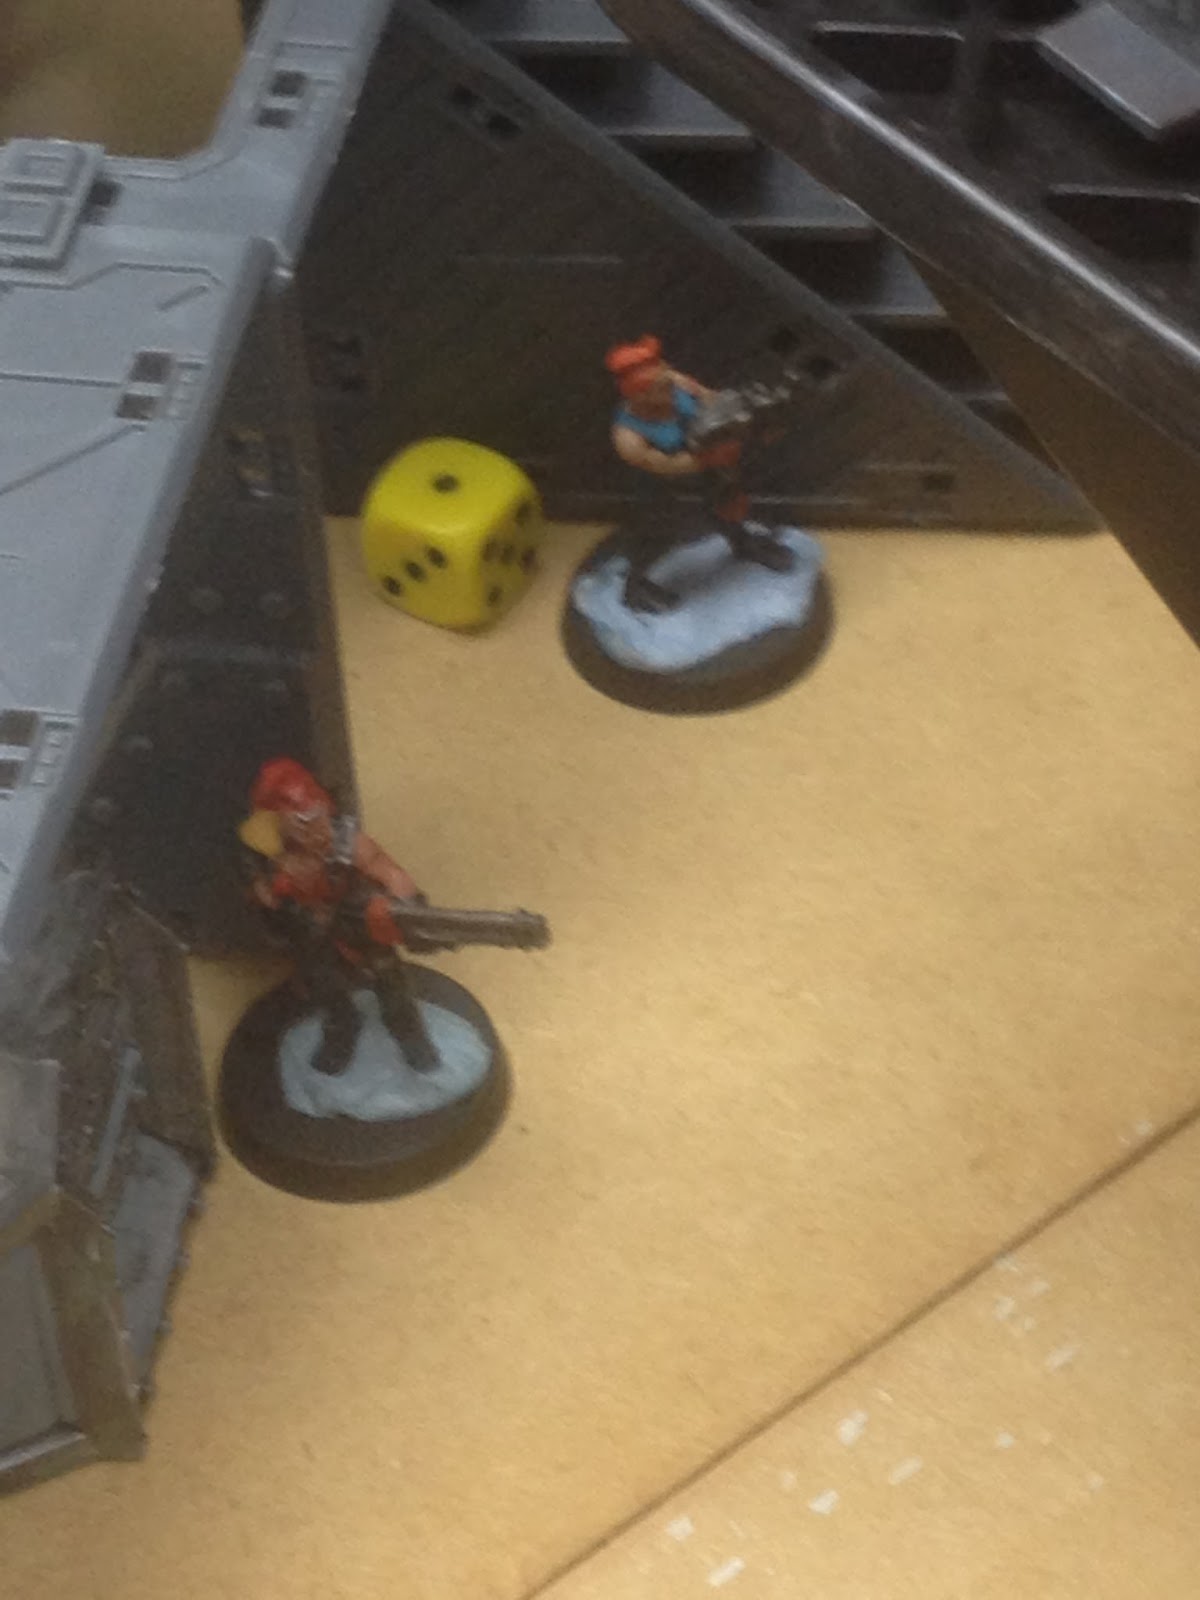
Sadly, I wasn't as careful with my movement as I'd hoped and both Roxy my leader and Stardust came under fire.

Roxy survived with just a flesh wound from the scum's plasma pistol but my Stardust went down to John's heavy.

Before we could resolve the Mexican stand-off that was developing, John's gang bottled out and the Neon Clash were left holding 3 sets of loot compared to John's 2.
The post-game
John still can't roll on the serious injuries table. John lost a ganger and the juve, while again his heavy got multiple injuries (old battle wounds, captured and survives against all odds).
The delicious irony of the post-battle sequence was that John's leader was offered a grave chute as a rare trade - an item that could have saved the juve from his fate, had it come in time.
Having decided he is cursed, and that his models more closely suit scavies, John will be giving them a run as the scavy, scaly, mutants of the Underhive.
Stardust, who had been downed by the heavy, made a full recovery while my poor juve Jet also went out of action with multiple injuries (old battle wound, captured, deaf, survives against all odds).
Now John and I couldn't work out how survives against all odds is supposed to work with the captured result so we just swapped models (as if they had survived or been exchanged). If anyone knows how those results are supposed to work together please let me know.
I also managed to do rather well with generating credits and experience - picking up some flak armour and increased ballistic skill for my heavy, Jinx, and Foxy and increased toughness for my leader.

Closing thoughts
Its a small sample, but I'm interested in how much Necromunda seems to be skewed towards shooting. In our two games we have had zero close combat. Now this maybe because we were ultra-cautious, or because we still did not have enough terrain to allow our gangs to close without risking dying in a hail of bullets.
Definitely looking forward to testing out more when our campaign starts in March. We could have up to 8 gangs which would be great.