For this, you will need:
- 2 mm Magnets
- 2 mm Pin vice
- Paint (any bright colour is fine)
- Spare sprue
Goliath Truck
It actually helps if you don't follow the assembly instructions fully on the Goliath Truck. It is easier to magnetise certain parts of the Truck before assembling the full chassis.
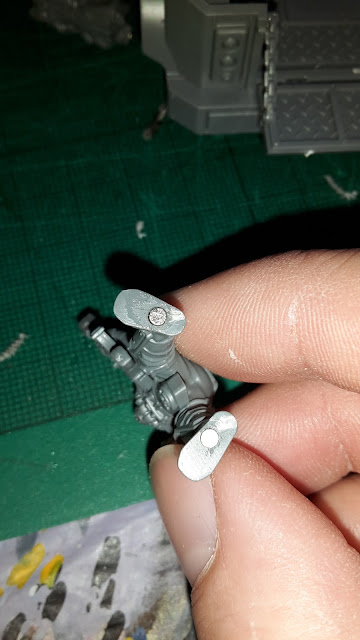
Assemble the Heavy Stubber gunner (Part 2a in the instruction manual). Drill a 2 mm hole in one of the legs with your pin vice.
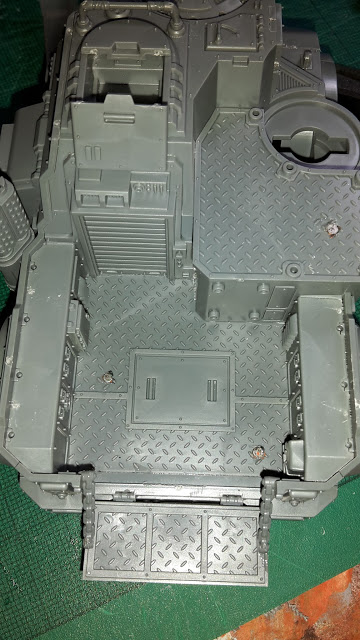
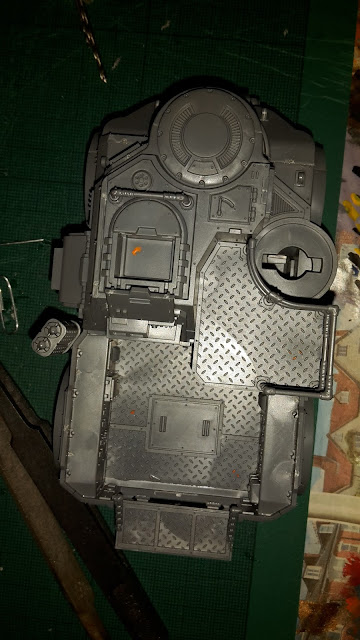
Glue a magnet in place. When dry, put a second magnet on top and put a spot of paint on it. Fit the gunner in place on the bay on part 17. This will leave a spot of paint where the corresponding magnet should go. You will want to glue on parts 10 and 111 (the hatch cover and gun rail) to part 17 so that you can accurately place the magnet.
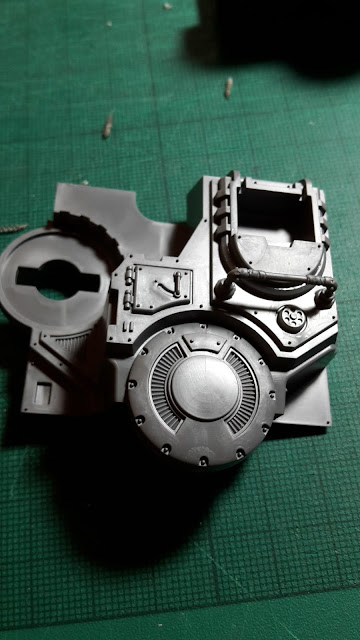 |
| Part 17. |
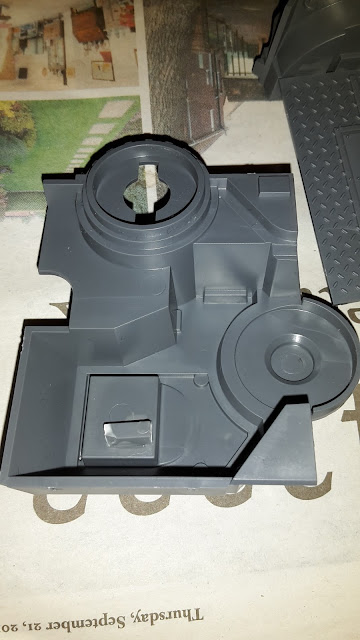
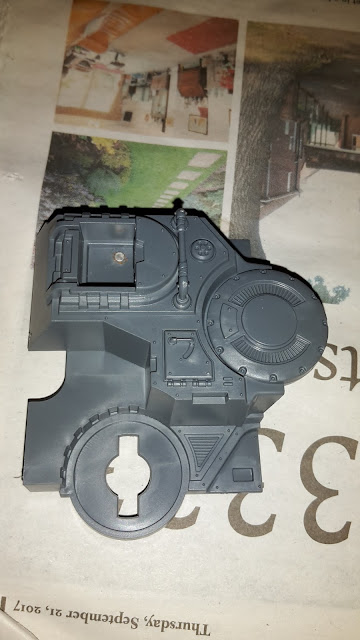
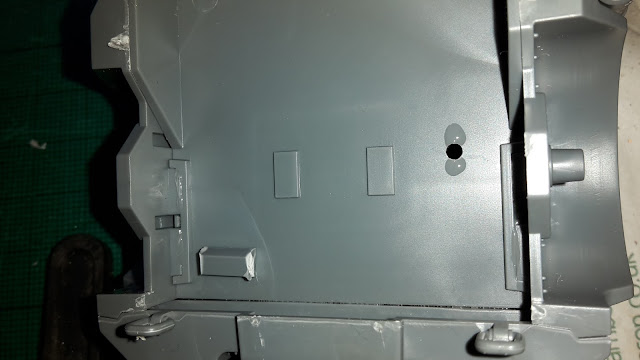
Drill the hole in compartment 17, all the way through. In the above photo, I had assembled the Truck before drilling compartment 17. It is much easier to do it before you fully assemble the chassis, so I was able to rectify this when building the Rockgrinder.
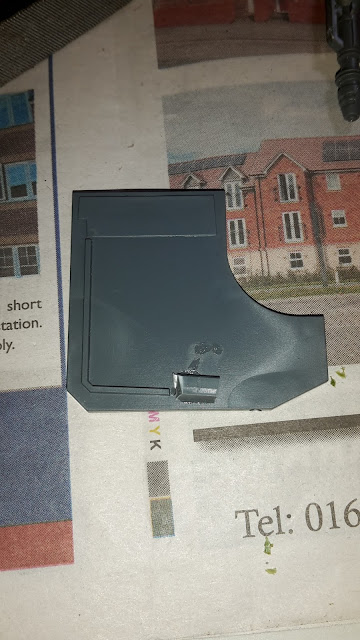
With the whole drilled, glue a bit of spare sprue over the hole as shown below. This acts as a support for the second magnet. Glue the magnet into place. Make sure that it is glued so that it works with the magnet on the gunner's leg.
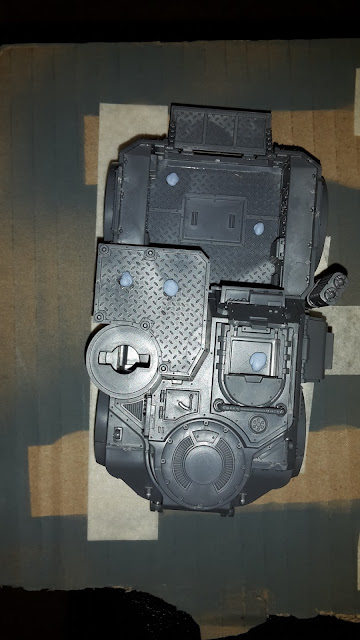
You can now do the same with the crew of the Truck. I found it easiest to fit the magnet to the crew-member first, then position them where I wanted them on the truck body. You can then mark off the area where the magnet should go and drill the hole in the vehicle.
As above, you can affix a small piece of sprue to keep the magnet in place when you glue it and provide support.
With part number 9, it is easier once more to fit the magnet before assembly.
With all the crew magnets in place you can paint up the main hull of the vehicle. Just remember to cover the magnets while you are undercoating the model to avoid getting paint on them. I use blutac to cover them and keep the paint off.
You can do the Rockgrinder in the same fashion, magnetising the gunners and crew in any fashion that you want on the model.
Magnetising the Goliath Rockgrinder Weapons
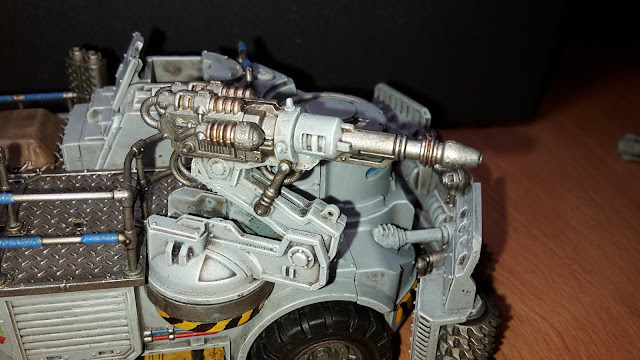
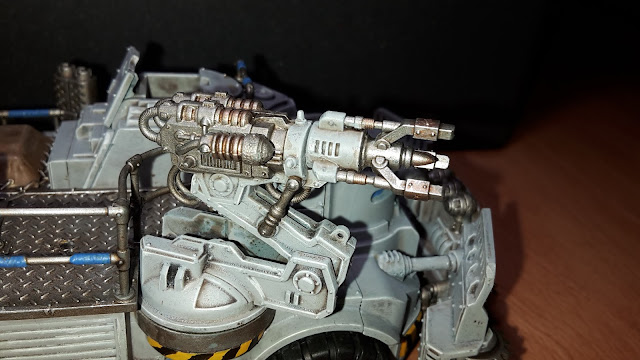
The Genestealer Cult Goliath Rockgrinder comes with a number of useful weapon options. This will show you how to magnetise the gun to use all the options on your model.
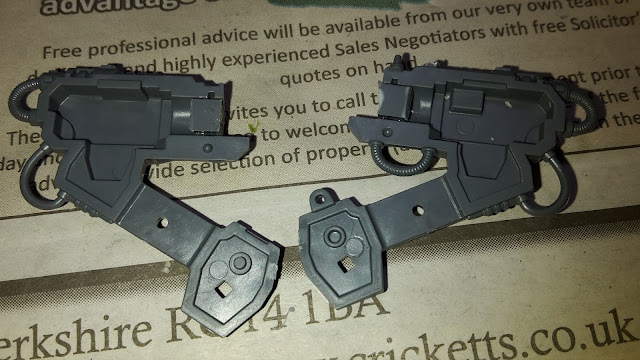
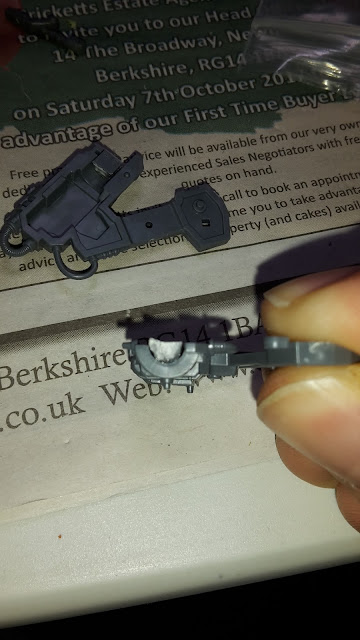
Start with the main gun mount, parts 46 and 49. I glued some sprue offcuts to the gun mount when the weapons would fit, as shown below.
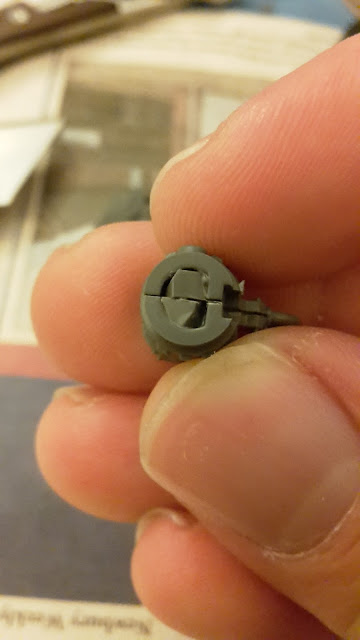
When in place and fully dried, you should shave the sprue down with your hobby knife so that it is flush and the two parts fit together.
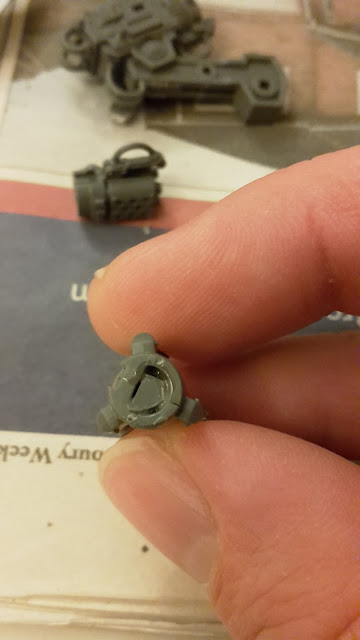
As you can see, you don't need to worry about being too neat, as long as the magnet will stay in place, you will be fine. Alternatively, you can fill the gap with green stuff or modelling clay.
You can now do the same with the three weapons that come with the kit.
You can now fit magnets to the gun mount and gun parts as you would have done above with the crew. This allows you to change the gun used on the vehicle as you try out different options in your list.
I hope you have found this guide useful for magnestising your Goliath Truck and Rockgrinder.
