Hobby Progress for Week 2
6
IS THE NUMBER
of Models
completely painted.
Week Two saw me rushed to the hospital for a good old appendectomy, this though didn’t stop me from making some progress in getting my Necron army closer to competition.
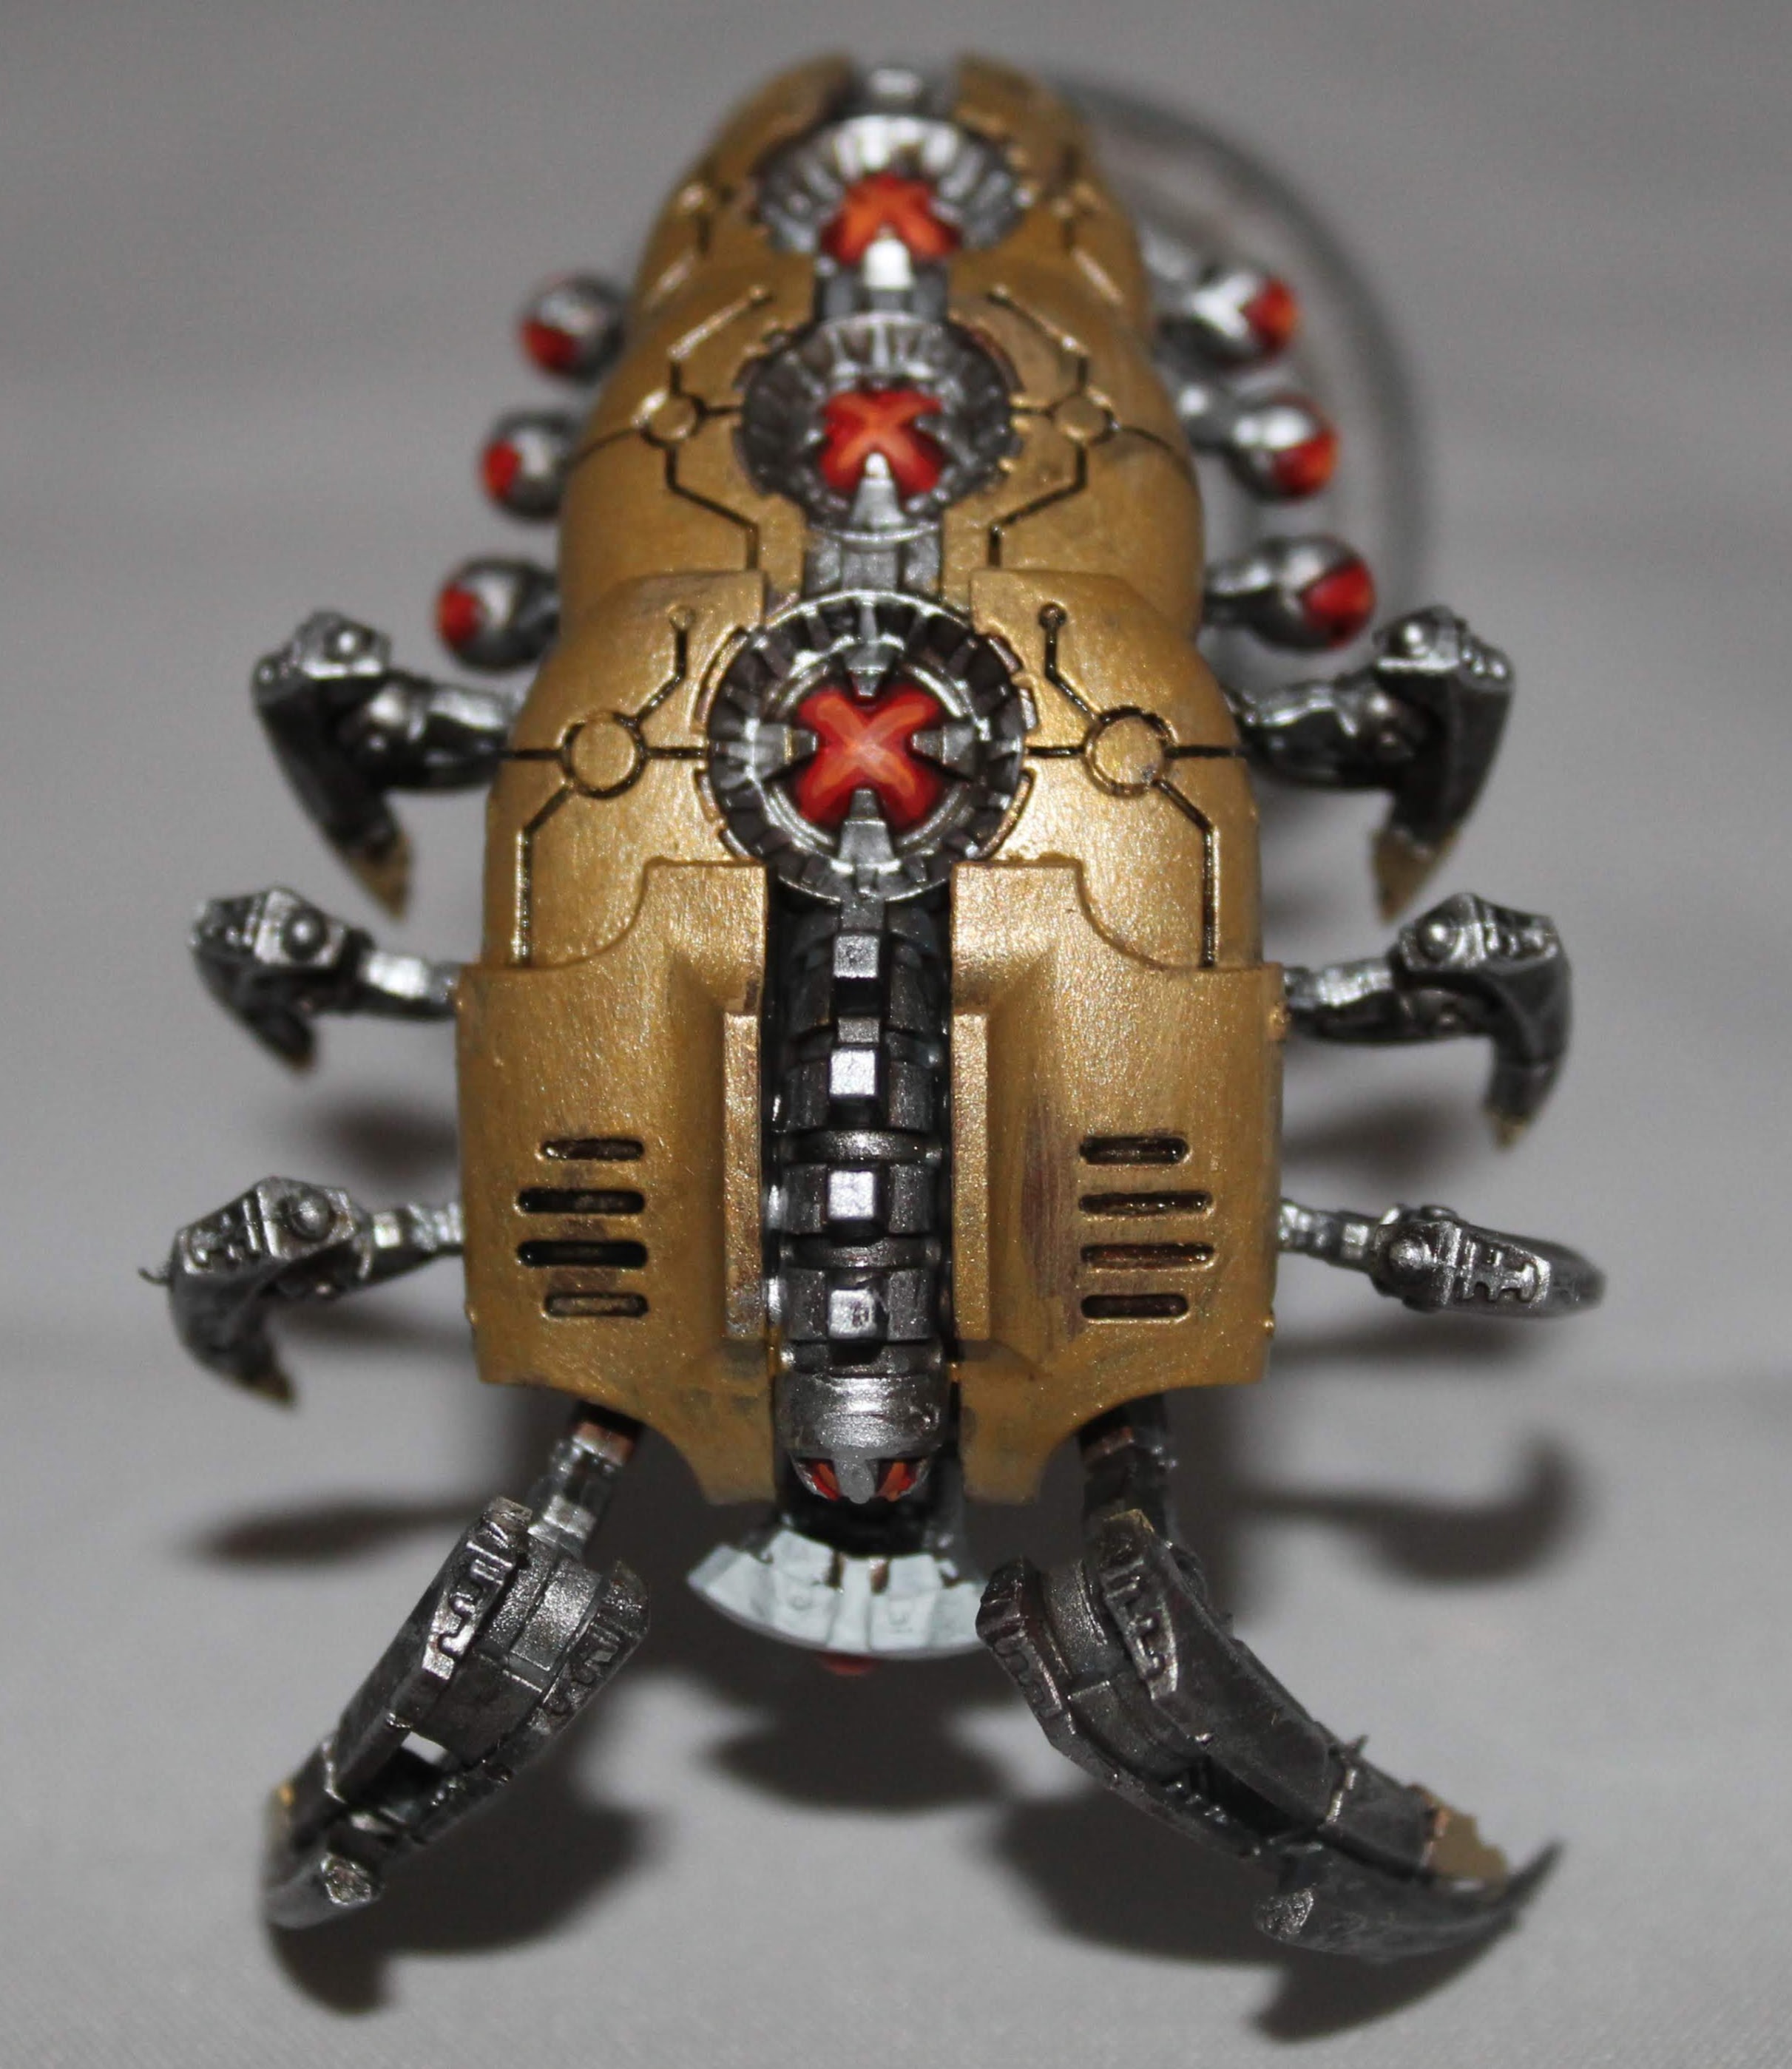
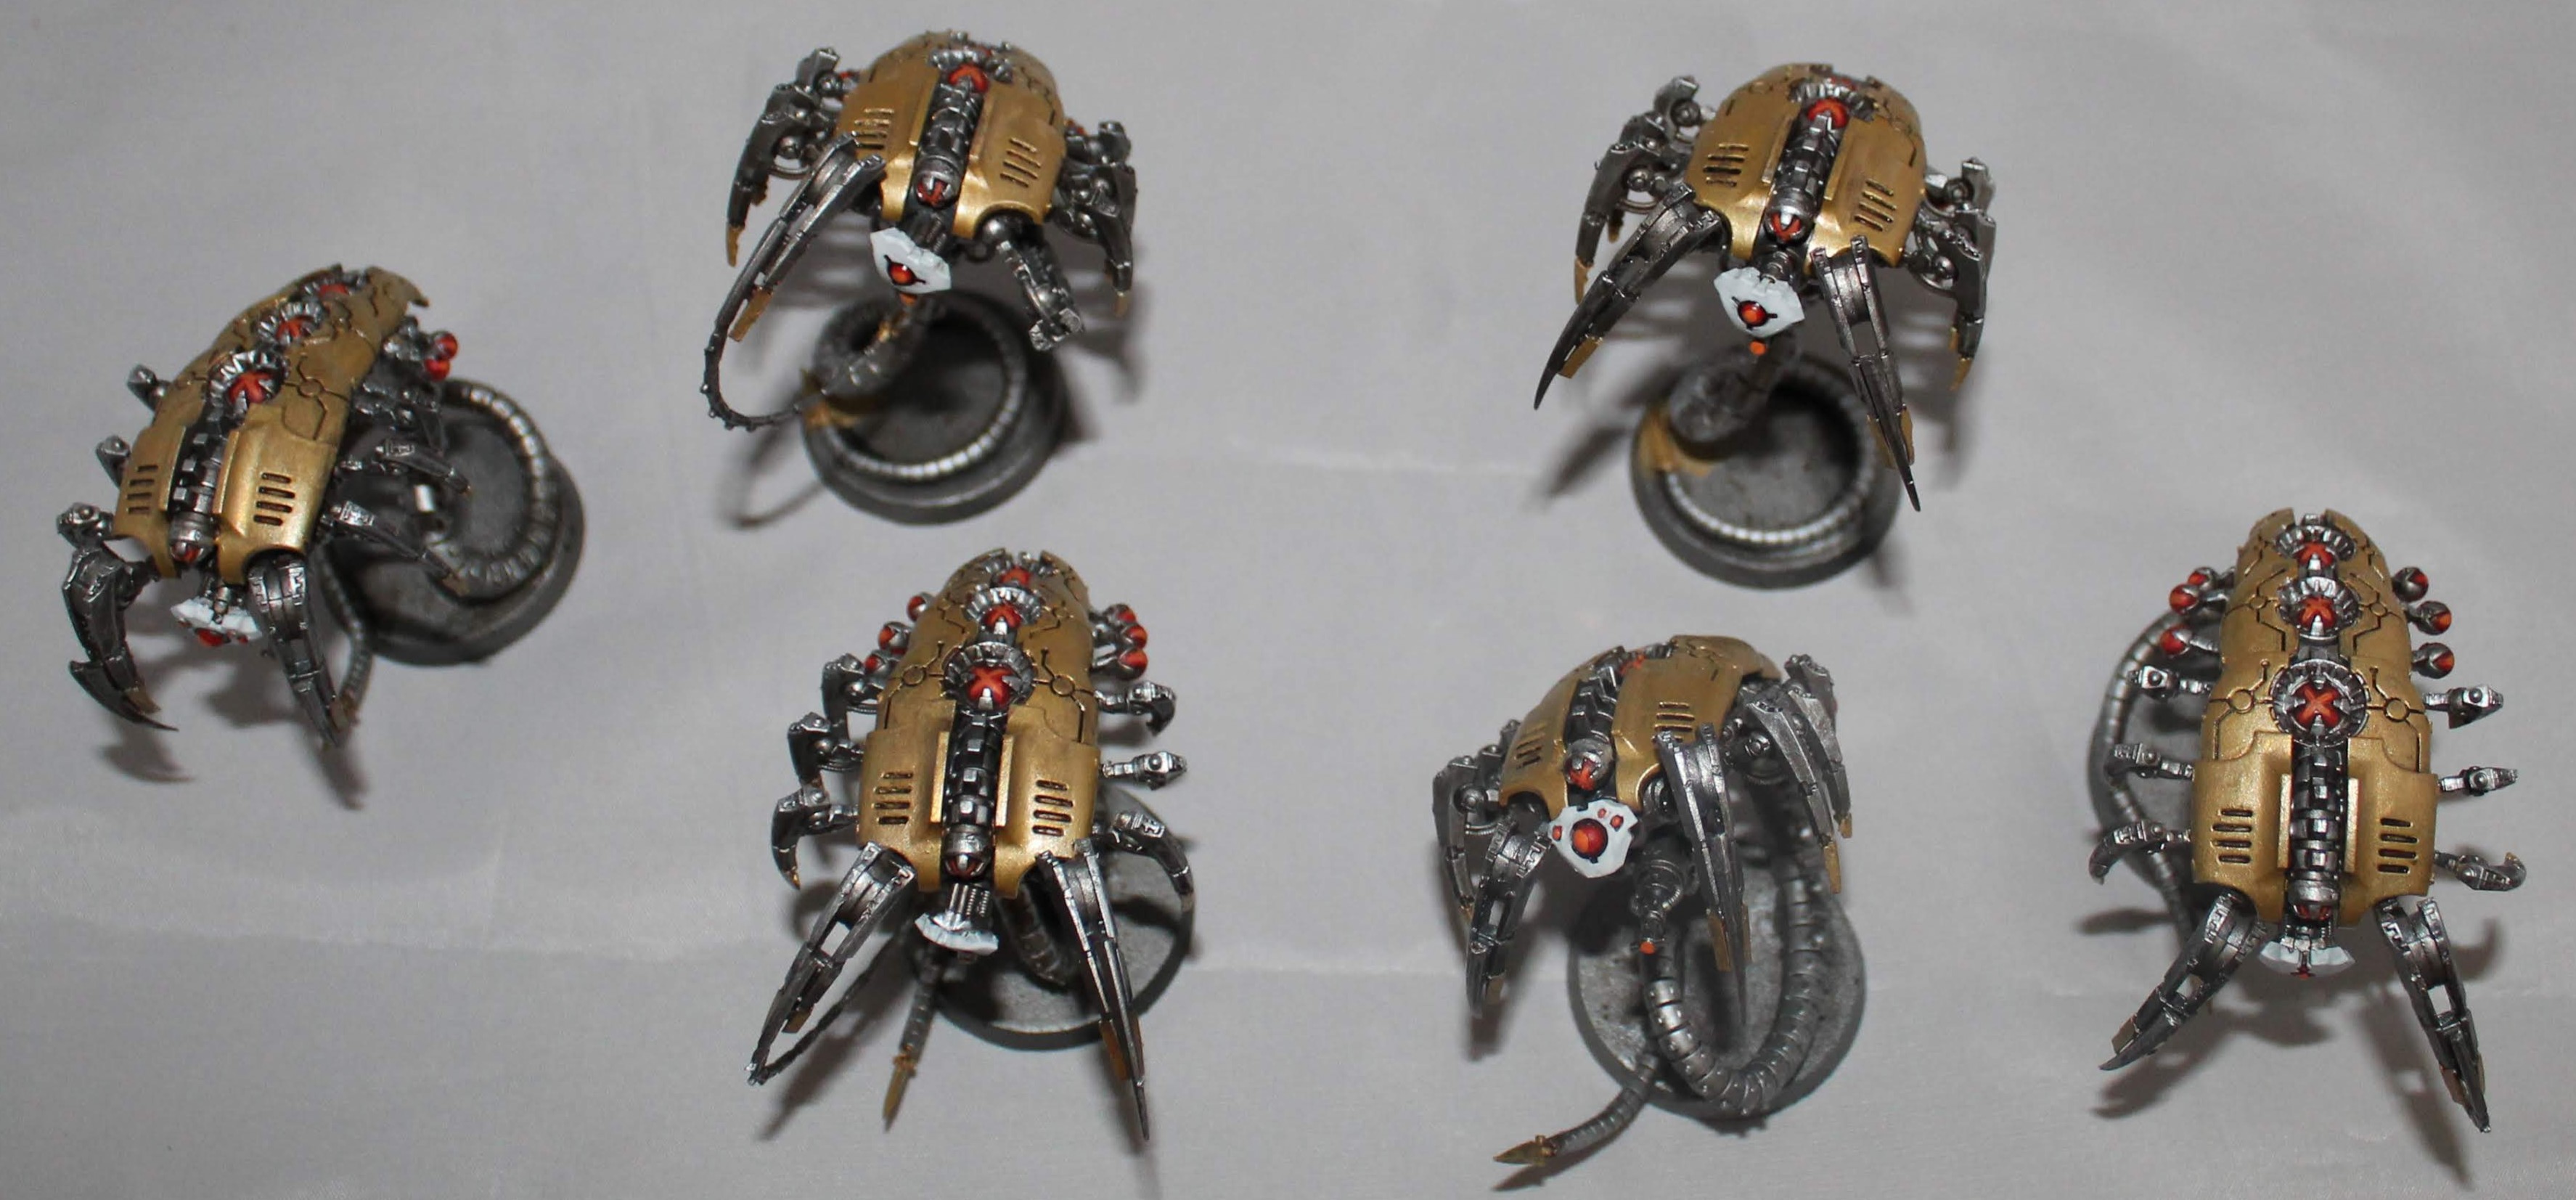
So before knowing I was going to get some surgery I had made up my mind to paint the Canoptek Wraiths using close to the same method I used for the Nephrekh Destroyers. This time I had the luxury of not painting over someone else’s paint job and could start fresh. As you will see below I think things turned out fantastically. So I started by primed everything using good old Leadbelcher. After that I used Balthasar Gold for the carapace, along any leg or vicious claw tip.
I was very liberal applying the Balthasar, knowing I could go over anything again with the Leadbelcher. I then went ahead and used Celestra Grey and Mephiston Red for the head and eyes. Now with everything really base coated I went over everything with Nuln Oil. Let’s take a second to cheer a bit for Nuln Oil, I know many “paint elitist” think is basically cheating, but any shade even one as easy to use as Nuln Oil really allows the average painter like myself to make quick work of a lot of projects. The above videos demonstrates how important shades and glazing are to the painting process.
―
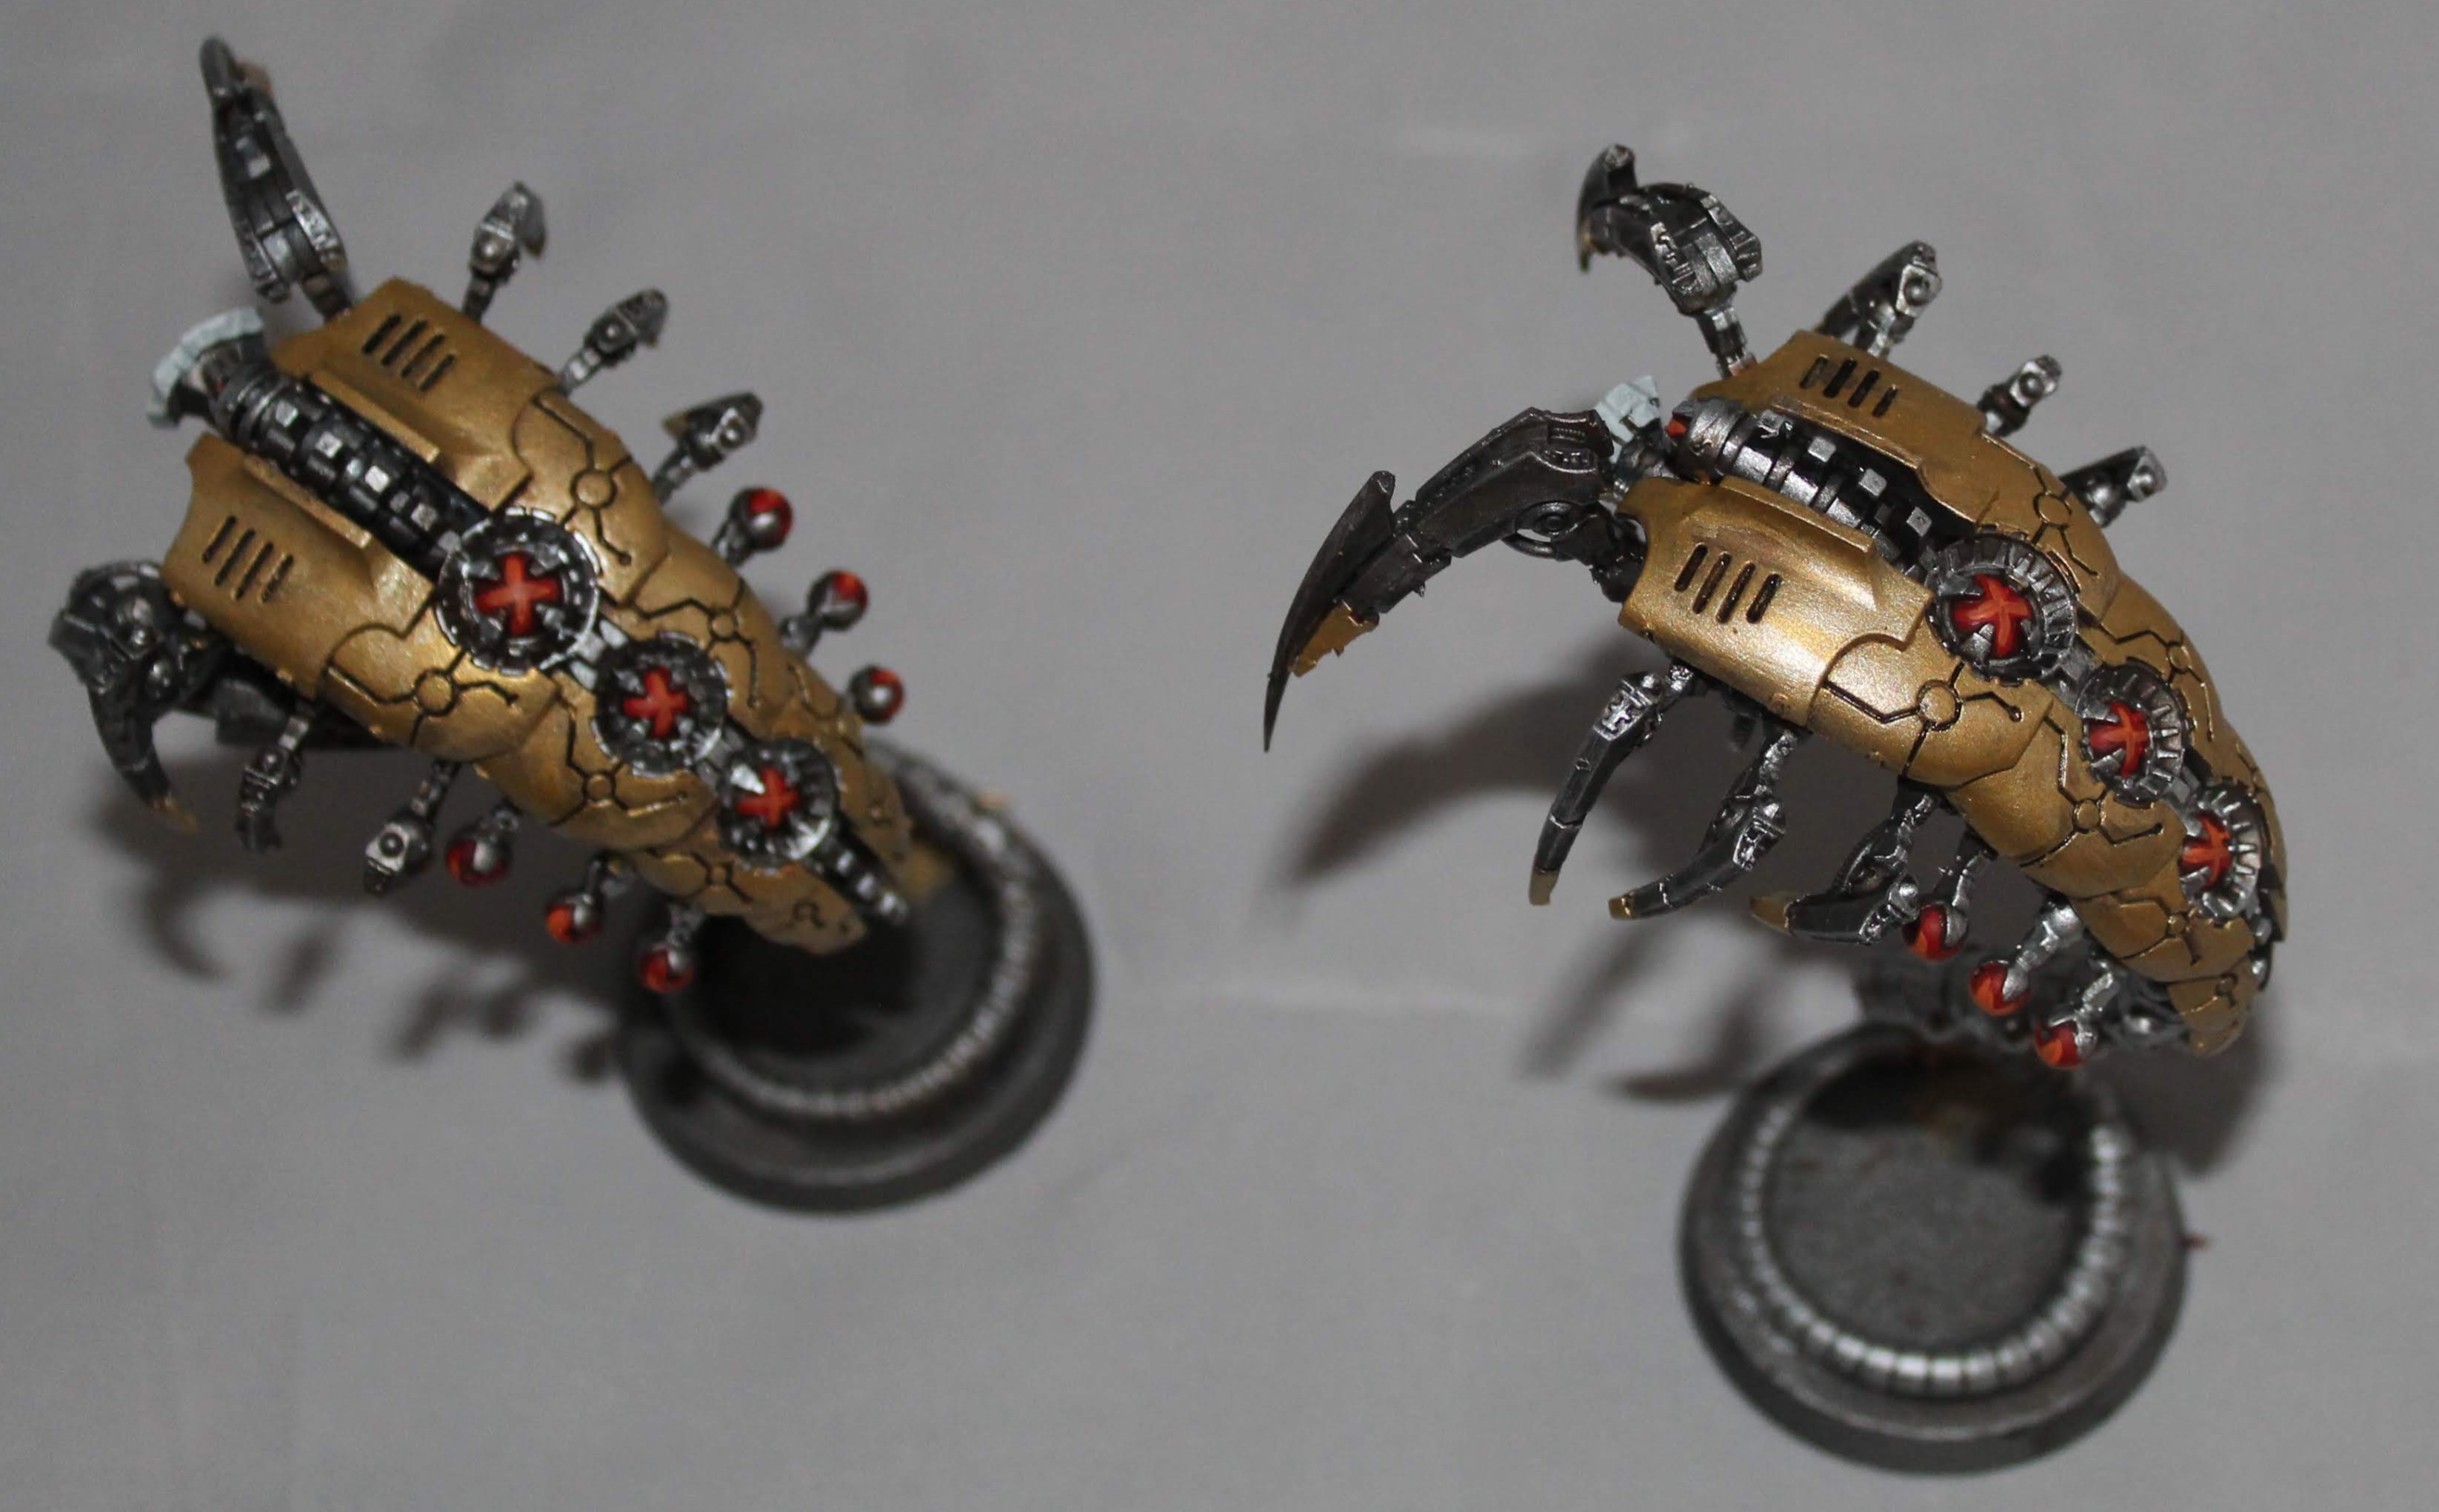
With the shading done it was time to get the detailing in. First to get done was the gold, I went about using a crazy amount of Sigmarite dry instead of the Liberator Gold as with the Destroyers. I found out with the Destoryers that the Sigmarite paint did a better job creating a flat gold surface without paint brush streaks showing up. The only problem was the dry paint would fill in the circuitry lines on the Wraiths, so I had to use toothpick to clean them out very quickly. Once the Sigmarite was applied I did use Liberator Gold in the hard to reach places.
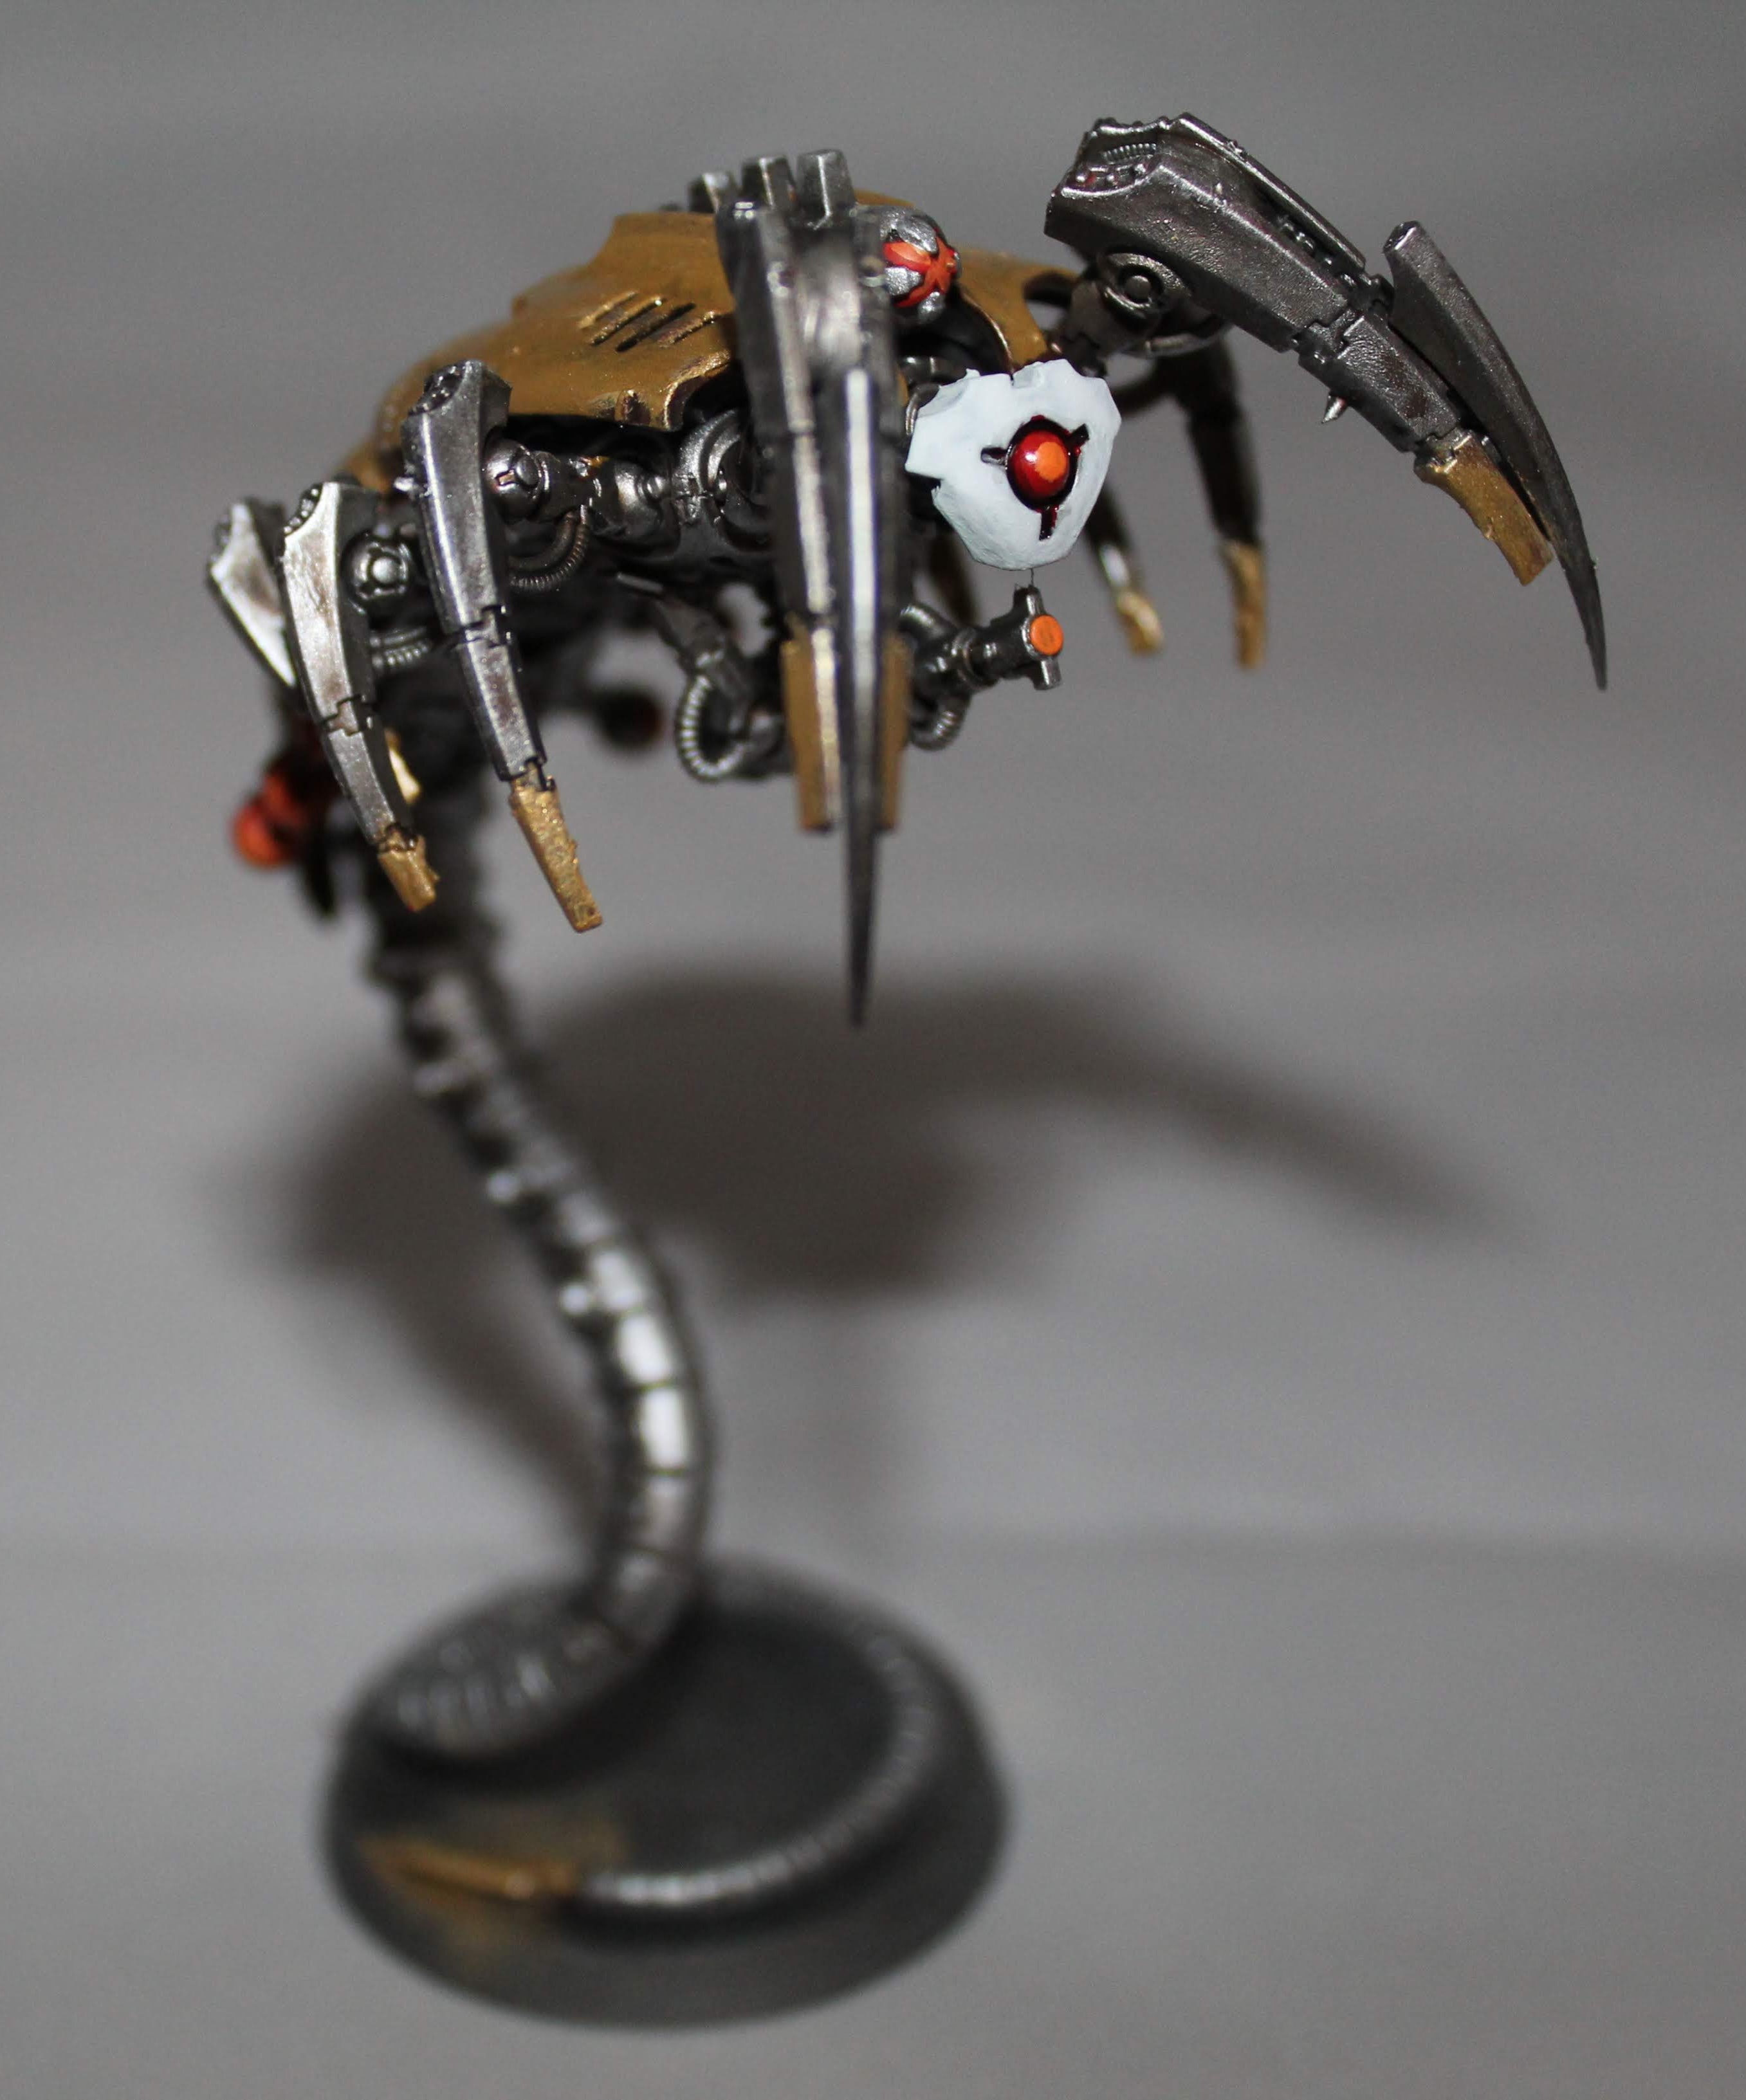
After the gold I had some choices to make. I still wanted to keep the whole army unified regardless of Dynasty, so I decided to use red for anything that looked like an energy source. This meant for the Wraiths, I detailed the eyes and any orb shaped object I could find. Each highlight was easily applied by making smaller and smaller X lines with detail brushes.
After that all I was left building up the White on the Wraith heads and re-shading any recesses that needed it.
The final results are below.

Click the on the image above to see paint scheme details
Necron Receipt Version 1.0
I had to go back and fill in the recesses by using Nuln Oil and Lahmian Medium at a 50/50 split, this final touch really did a good job in making sure the Gold popped and removing any unwanted marks from the detailing. I did make one mistake I didn’t notice until I was done. I had forgotten about the power cell on the underbelly of the Wraiths, I missed it because it was covered by the particle casters. Since it is hard to get to, I am just going to leave it and hope it doesn’t drive me crazy.
I plan on tackling next is the Flayed ones, this will be a slight challenge as I have to decide on the fleshy parts and once again make sure they look like they would fit within the context of the rest of the army.